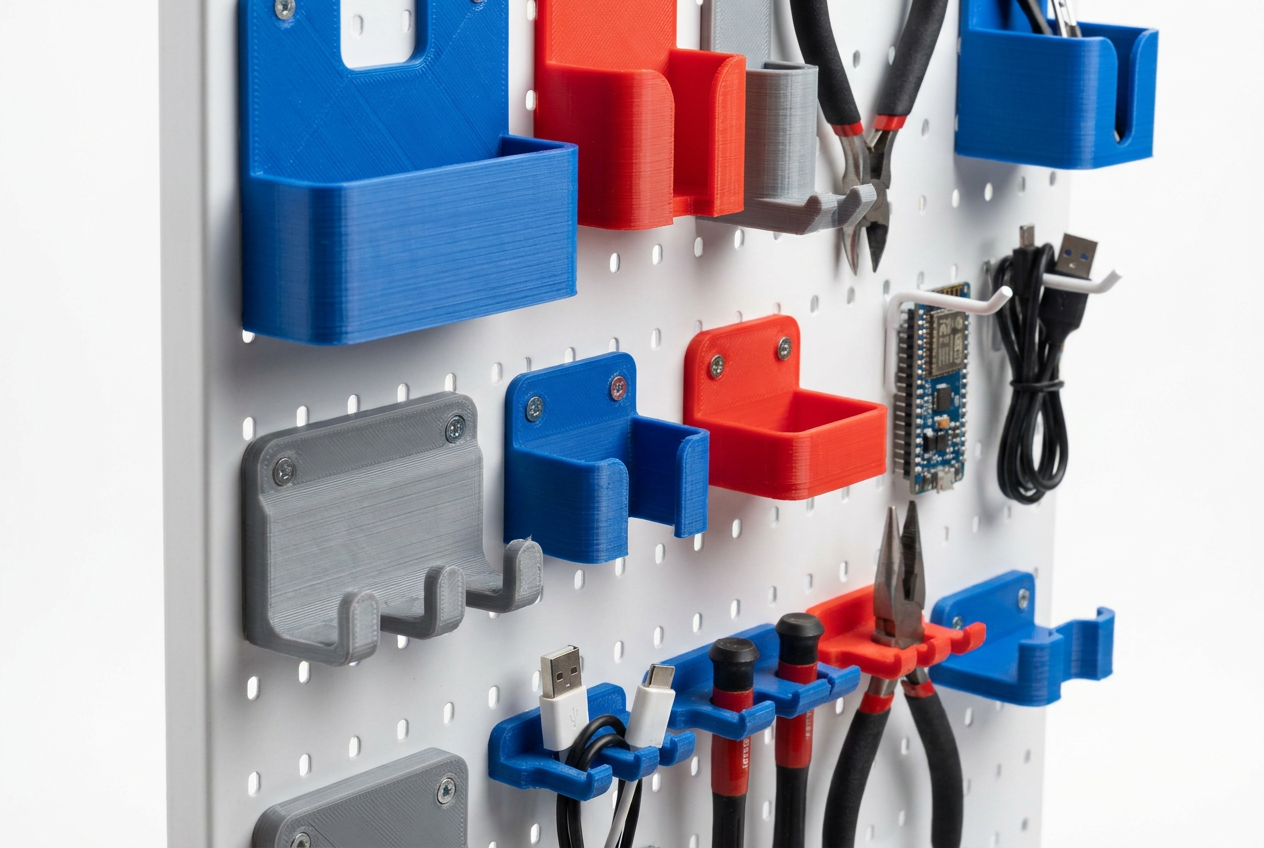
Is your desk a war zone or your workshop a black hole where tools mysteriously vanish? Many of us experience this: even with a desire to keep everything under control, space is never enough, and we end up with a mountain of cables and loose parts. One of the most effective and satisfying solutions for getting organized is installing a pegboard , especially when combined with the superpower of 3D printing to create custom supports that perfectly fit our needs.
The magic of combining these boards with digital modeling is that we stop relying on what's sold at the local hardware store. We can design everything from the simplest screwdriver holder to custom charging stations for our gadgets, optimizing every square millimeter of the wall. If you love DIY and want your workspace to go from a chaotic mess to a temple of efficiency, keep reading because we're going to break down how to get the most out of this technique.
Wall-mounted storage systems: What to choose?
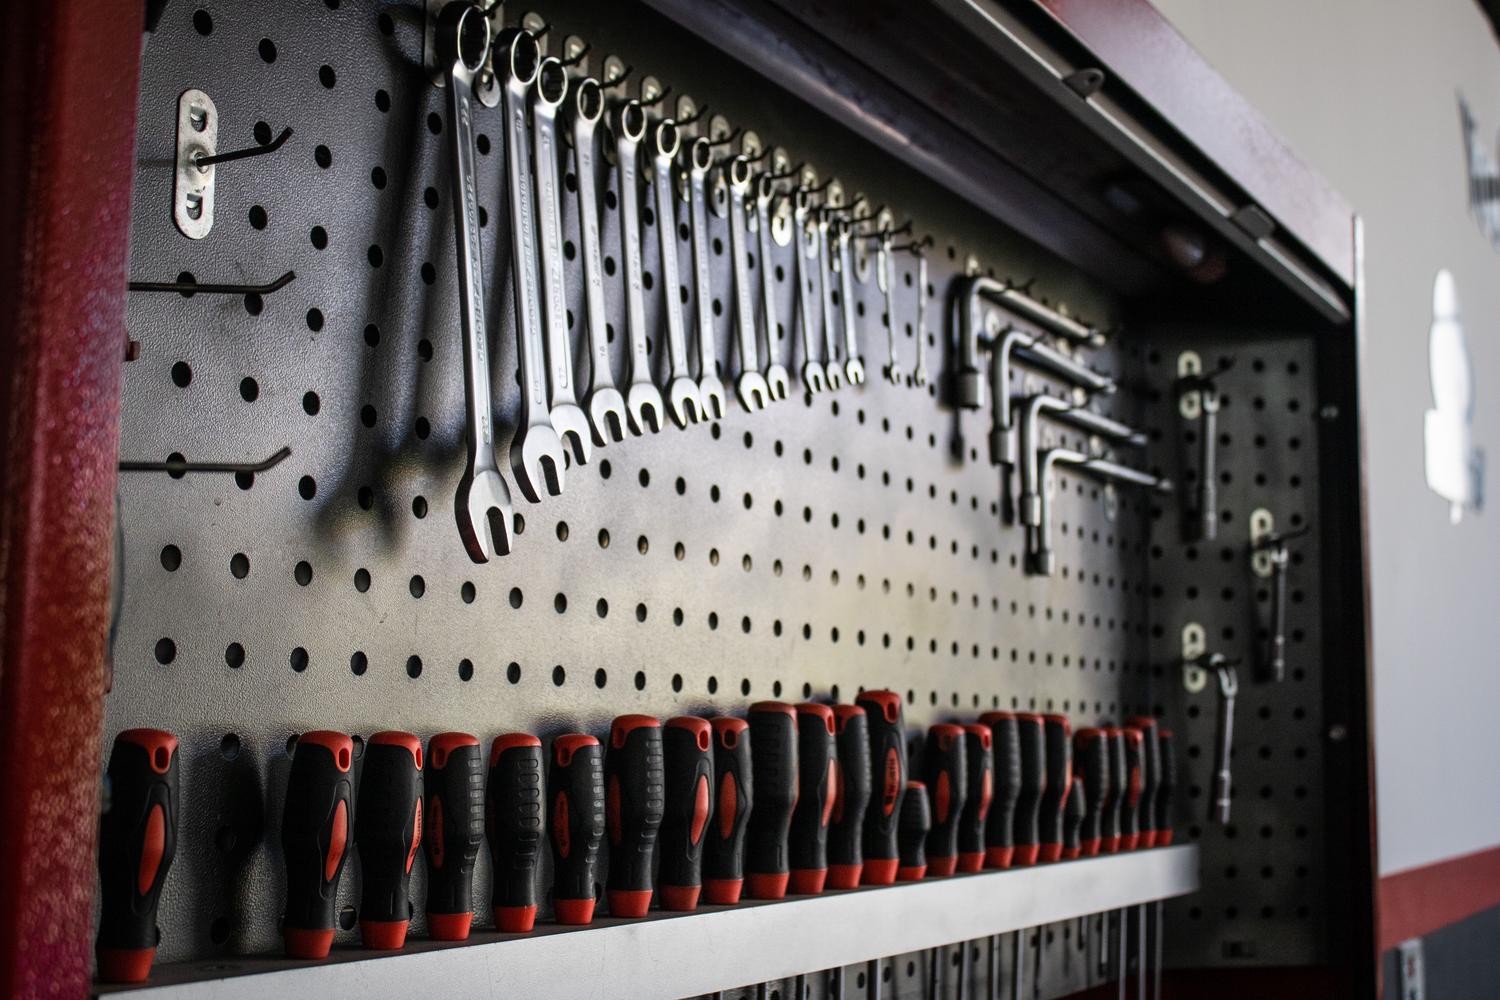
When we start organizing a workshop, the first dilemma that arises is where to store things. While boxes and drawers are great for keeping dust out, they have a serious problem: wasted time . Searching for a specific key at the bottom of a closed container is frustrating and disrupts the workflow. Therefore, ideally, everything should be visible and easily accessible.
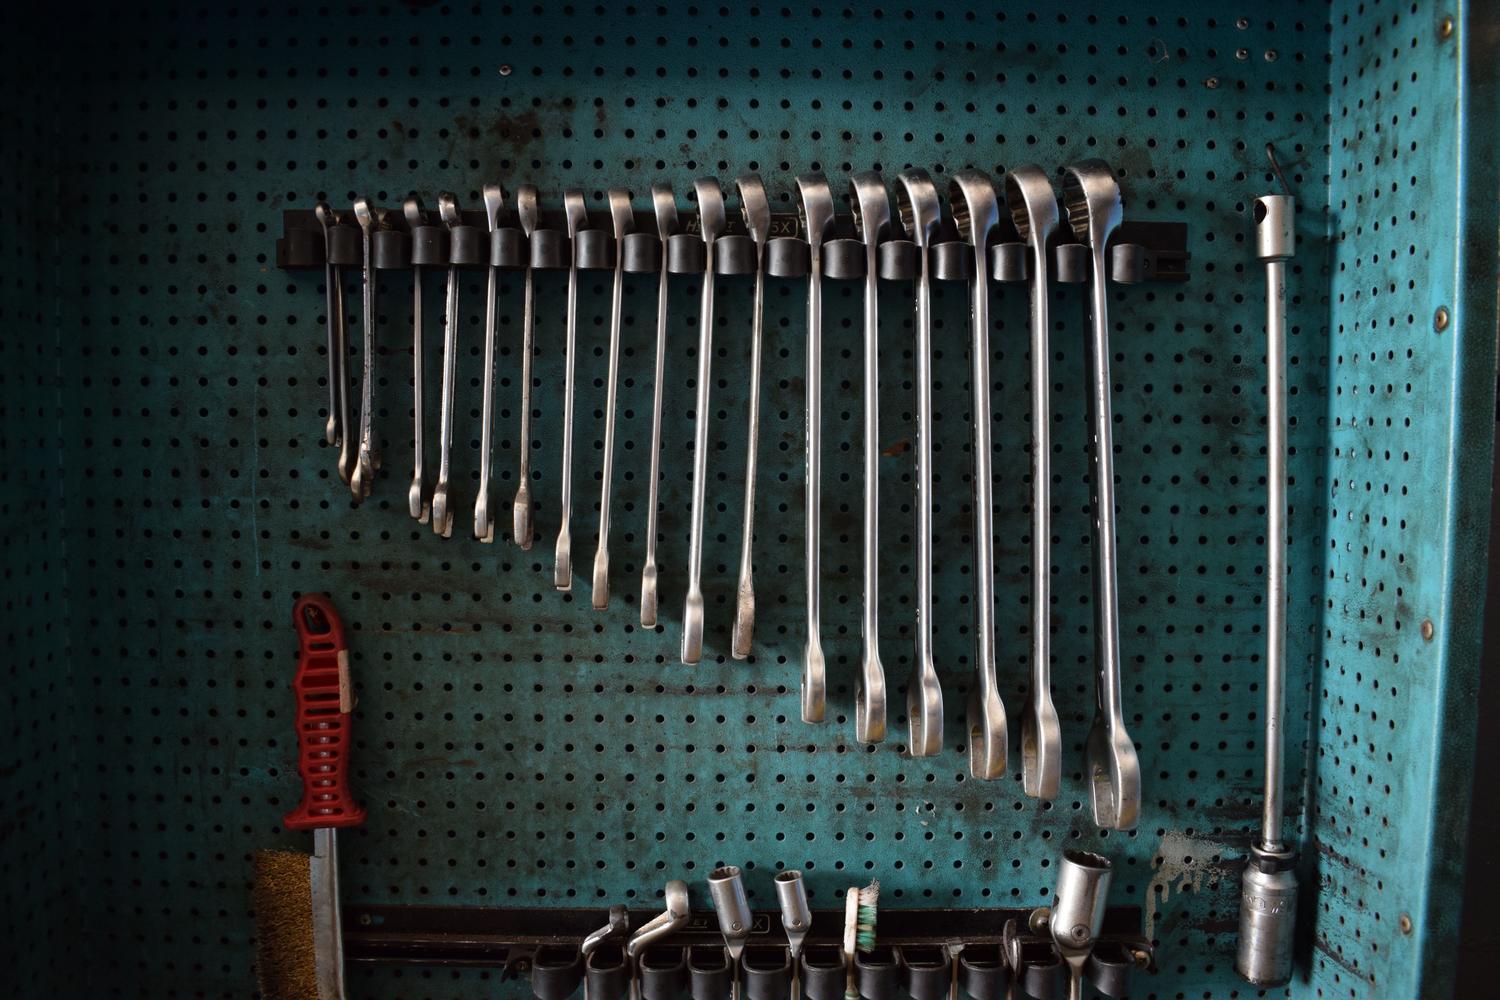
To achieve this, we have several options. We could screw shelves directly to the wall, but that's very rigid and impractical if we decide to rearrange the tools. An alternative is to attach a wooden or particleboard board to the workbench and then anchor that structure to the wall. However, the winning option for makers is a pegboard or perforated panel , as it offers a standard grid of holes that allows us to move the brackets as needed.
It's crucial to keep in mind that printing panels are made from various materials, such as metal, plastic, or reinforced cardboard, and that hole spacing varies depending on the brand and model. Before running your printer at full capacity, be sure to measure your panel accurately so that the downloaded models fit perfectly the first time, preventing loose or incompatible pieces.
Where to get the templates and how to create them
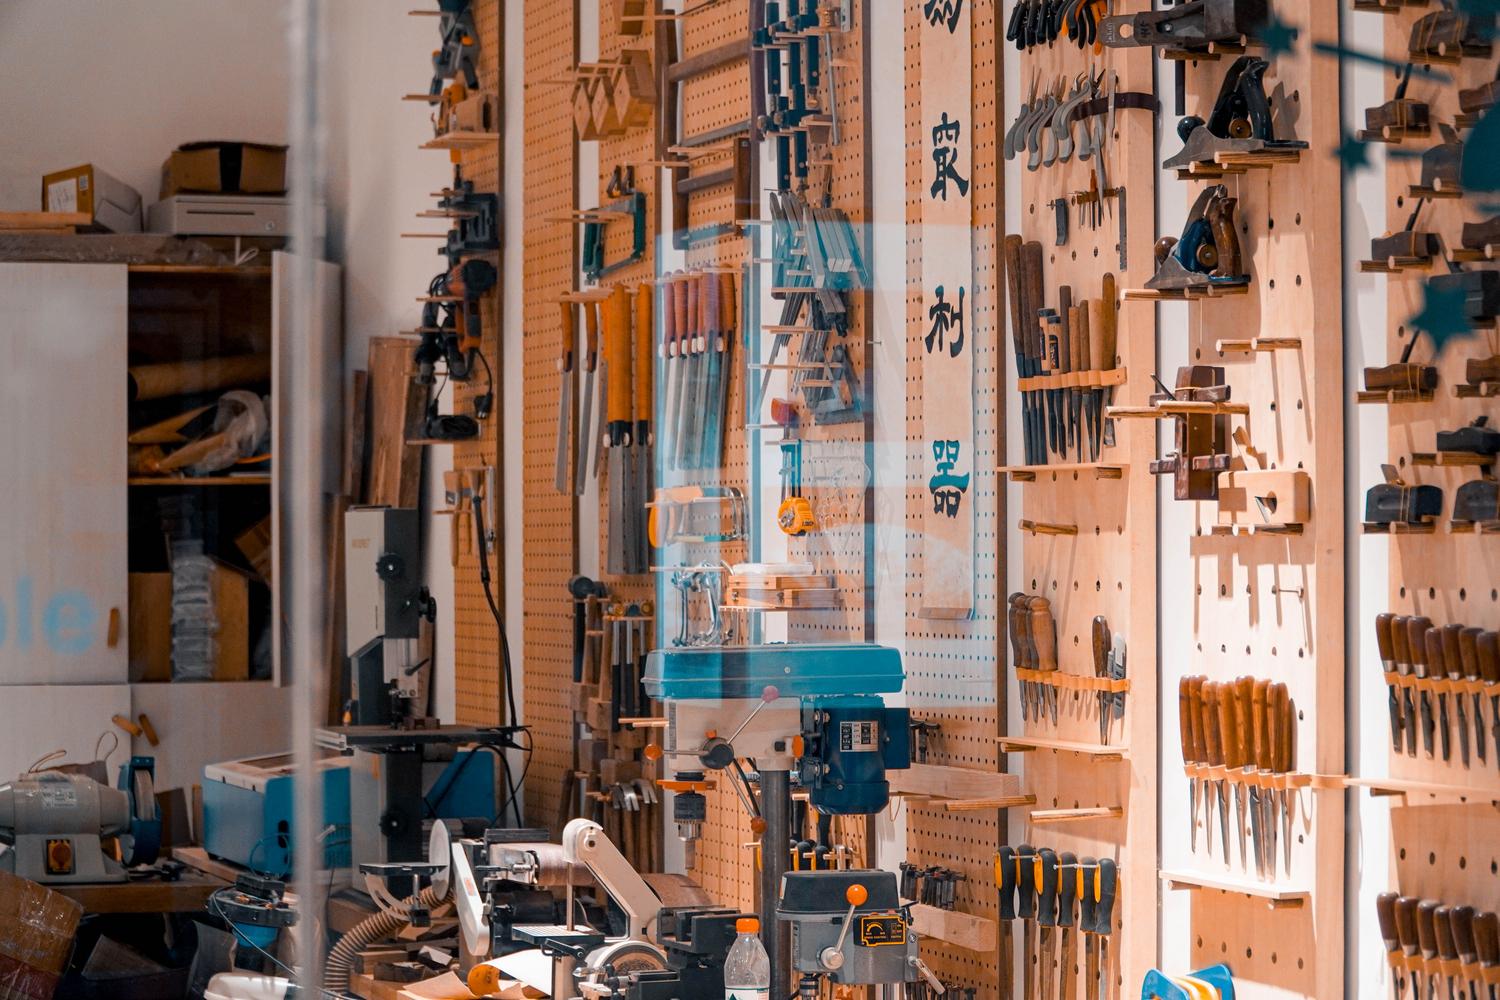
If you don't want to complicate things by designing from scratch, there are amazing communities. Platforms like PrusaPrinters have entire categories dedicated to organization, where you can find curated collections of board supports. Just search, download, and print.
Now, if you're curious about creating your own pieces, this is the perfect project to get started with 3D design. You don't need to be an aerospace engineer; most of the organizers are simple geometric shapes . The most important thing here isn't mastering complex modeling tricks, but having the patience to measure twice and cut (or design) only once.
For those looking to take the plunge, Fusion 360 is a fantastic and accessible tool for beginners. It also allows you to work with parametric modeling, which is a real game-changer: you can create a basic model and, with just a couple of clicks, generate several versions of different sizes without having to redesign everything from scratch. And if Fusion seems too much, you can start by making "remixes" in Tinkercad, modifying existing models to add a hole or remove a tab.
Practical ideas for printing supports
To inspire you, here are some of the most useful pieces you can add to your panel today:
- Hand tool holders: You can print specific organizers for pliers that, although they look simple, keep each tool in its place. For screwdrivers, there are designs that fit the board; if the template you download is for dowels, you can adapt it easily drilling the necessary holes.
- Drill bit management: Nothing is more annoying than searching for a 3mm drill bit in a messy pile. A drill chuck with clear numbering It is the ultimate solution for maintaining discipline and finding the correct diameter instantly.
- Painting and modeling stations: If you paint miniatures or build models, you'll know that each brand (Vallejo, Citadel, AK Interactive) has different paint pots. 3D printing allows you to create hybrid shelves that accommodate different sizes of jars in the same space.
- Screw storage: Although we've said that drawers are slow, they're essential for nuts and bolts. There are systems for stackable modules which you can print in dozens of sizes to fill the empty spaces on your panel.
We can even give printer waste a second life. For example, there are ingenious designs that repurpose the plastic faces of empty filament spools into organizing containers, thus reducing material waste.
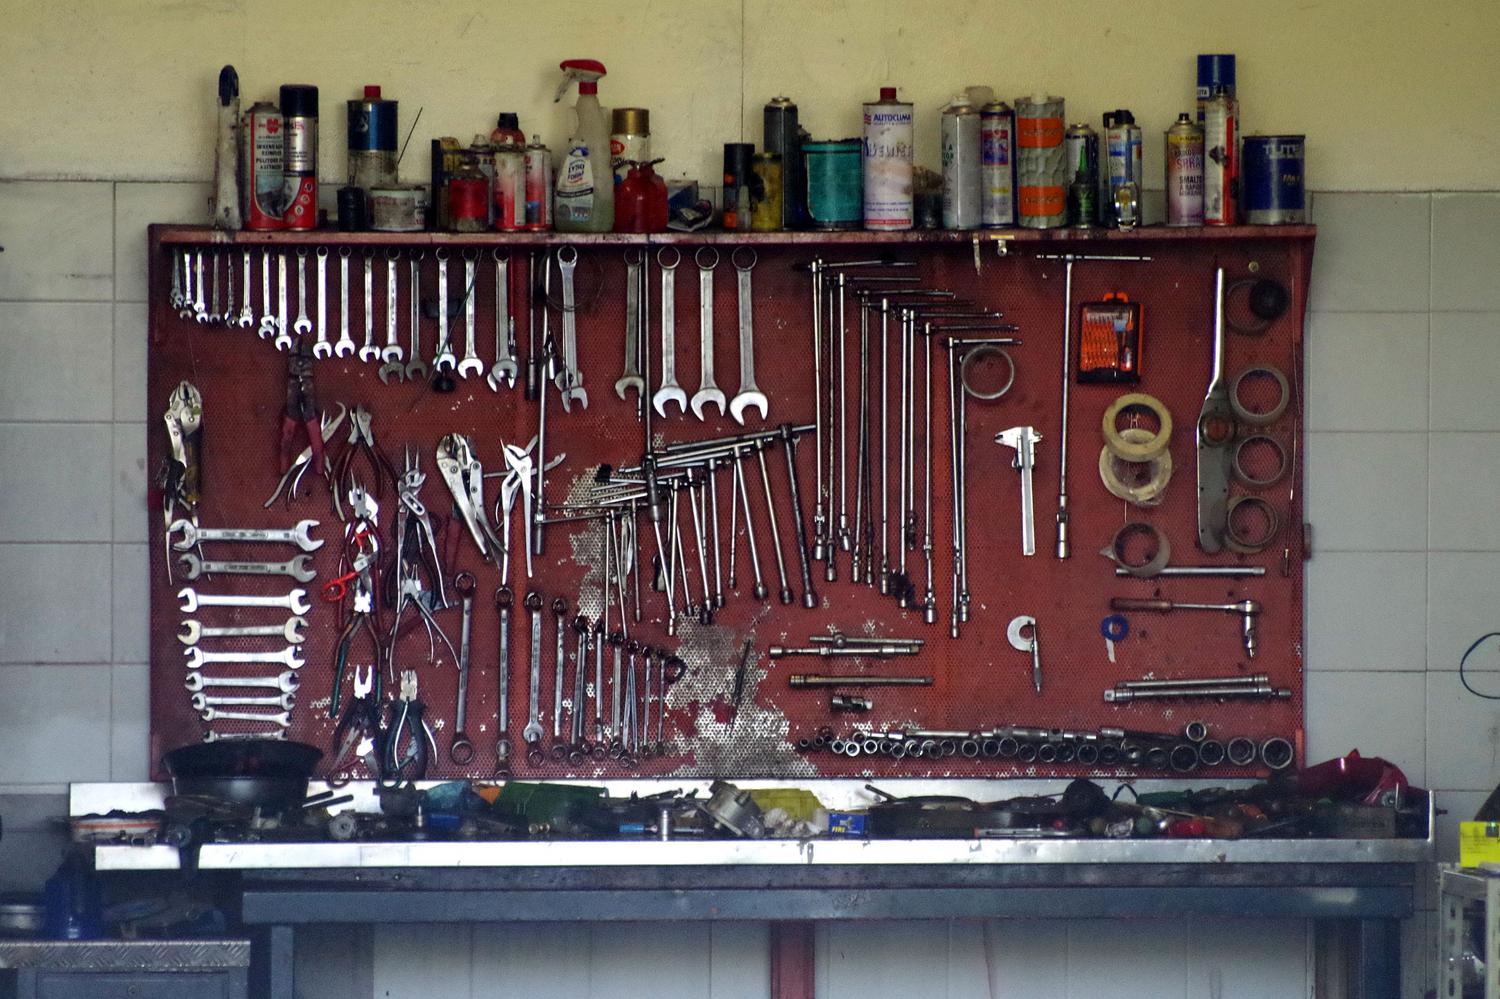
To take organization to the next level, you can set up a comprehensive system that includes not only tool holders, but also heat gun covers or paper towel roll holders. The key is to combine practicality with personalization, choosing colors that match your decor or help differentiate work areas.
Ultimately, transforming a blank wall into an organized command center requires a bit of planning and a few hours of printing, but the reward of having everything in its place is unbeatable. Whether you download tried-and-tested files or venture into parametric modeling, the 3D-printed pegboard is the ultimate tool for those who hate clutter and love efficiency in their creative space.