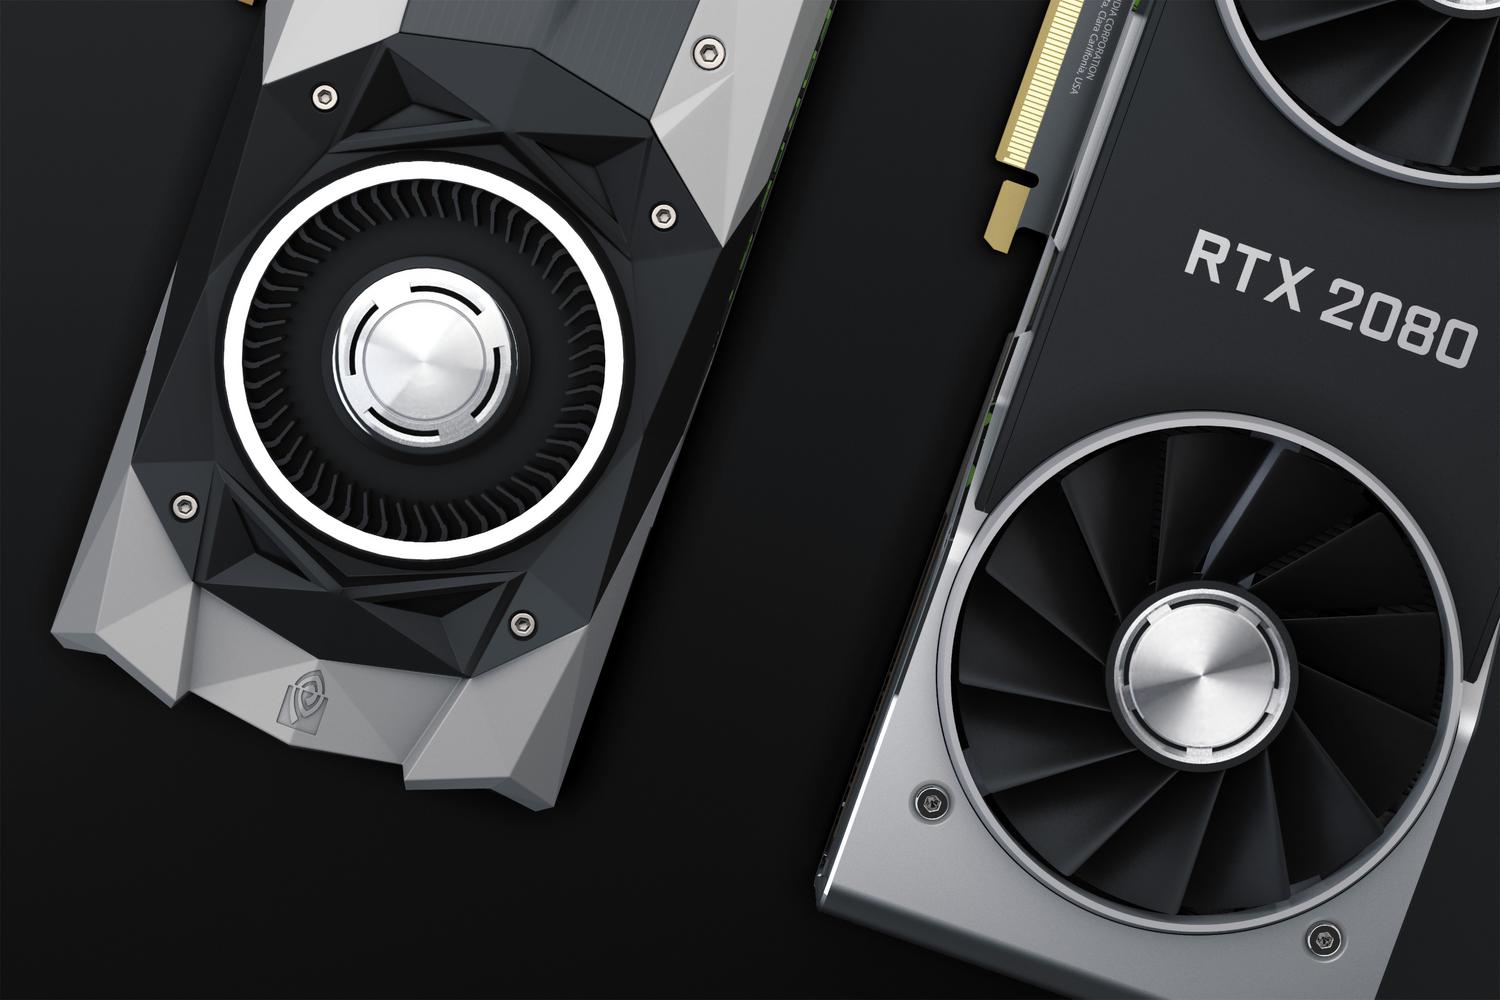
You've probably experienced this: when you're playing a demanding game or mining, your PC starts to sound like a jet engine and performance plummets. Often, this isn't the software's fault; the thermal conductivity of your graphics card has simply become outdated or dried out over time, preventing heat from dissipating properly to the heatsink.
If you notice your GPU is making more noise than usual or that the temperatures under load are alarming, it's very likely you need to perform a thorough maintenance on your gaming PC . This isn't just about blowing some compressed air on the outside; it involves opening the card to replace the thermal paste on the core and the thermal pads on the memory chips—something vital, especially in models with GDDR6X memory, which tend to be quite hot.
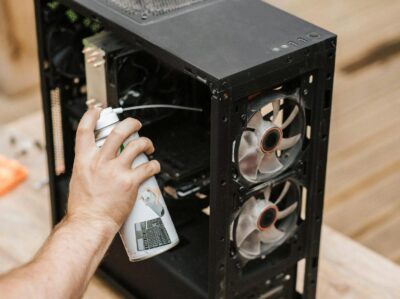
Why is this maintenance essential?
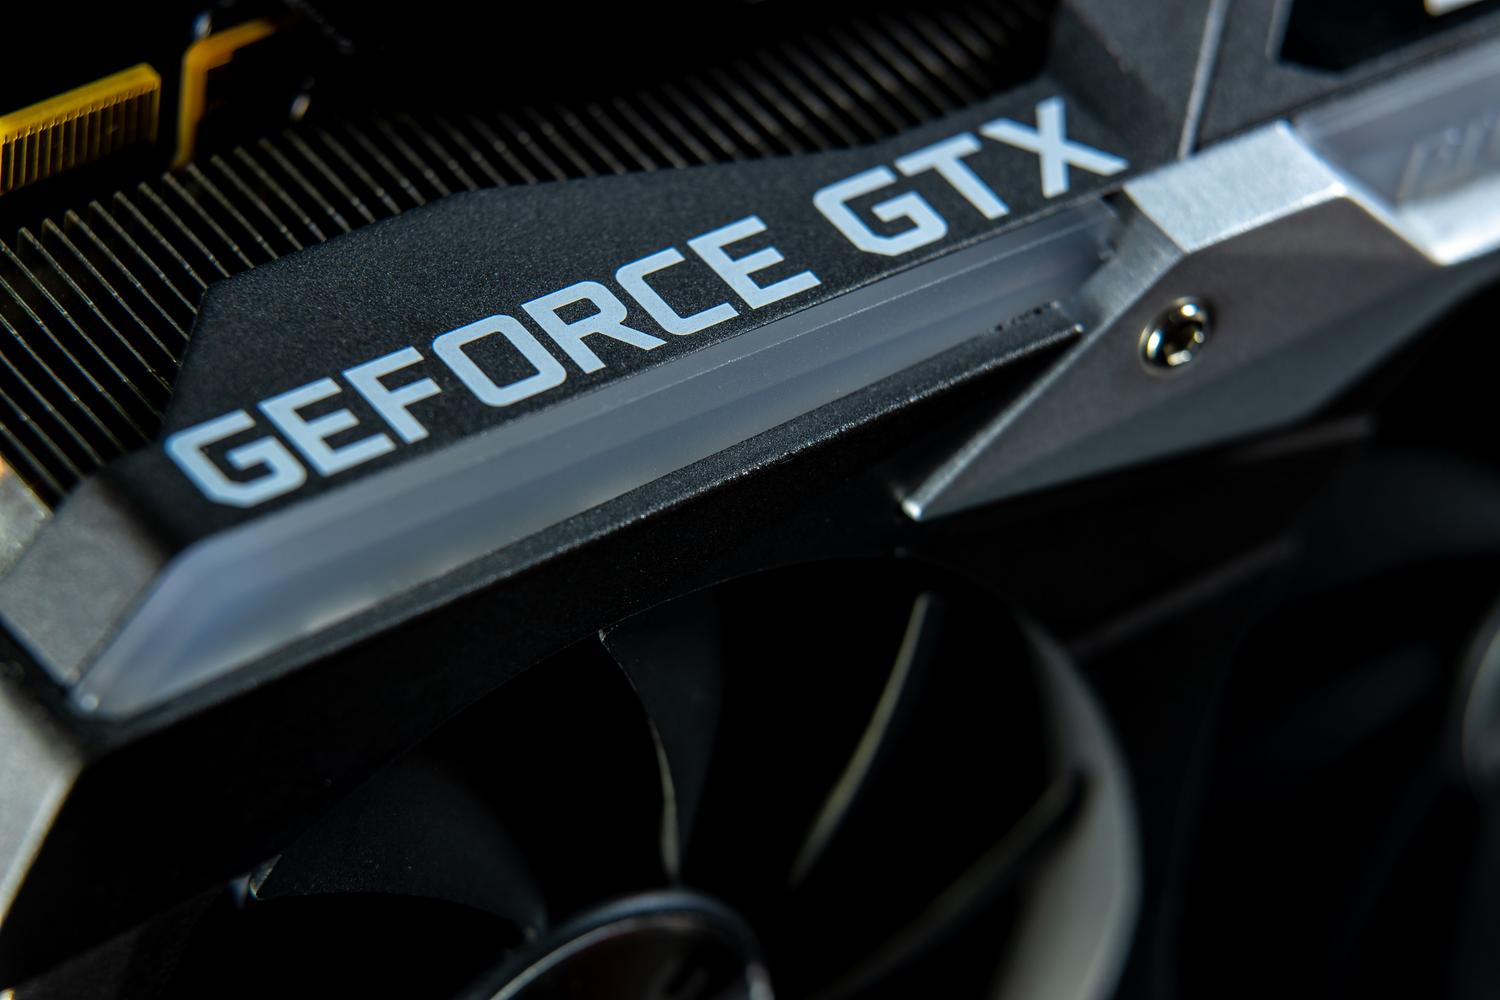
Unlike a conventional processor, graphics cards have a complex architecture where the graphics chip (GPU) and memory modules (VRAM) coexist on the same board. To prevent heat from damaging the hardware, thermal paste is used on the central die and thermal pads on the VRAM, as the latter prevent the material from dripping onto the PCB.
The problem is that these components degrade. When a thermal pad dries out or loses its properties, the dreaded thermal throttling occurs . This is simply a defense mechanism where the card reduces its power and frequencies to avoid overheating, which can result in a loss of up to 25% of FPS in your games. If your VRAM reaches 95-105°C, the graphics card will drastically reduce performance.
Essential tools and materials

Before you start disassembling anything, make sure you have everything laid out on the table so you don't get stuck halfway through. You'll need a Phillips screwdriver (star-shaped) and, if you have a laptop, perhaps a precision screwdriver. For cleaning, it's essential to use isopropyl alcohol (at least 90%), as it evaporates quickly and doesn't leave any residue that could cause short circuits.

For the conductive part, choose a high-end thermal paste (such as Arctic MX-4 or Noctua NT-H2) and thermal pads of the exact thickness for your model. You'll also find it useful to have lint-free microfiber cloths , scissors or a utility knife for trimming the pads, a ruler for measuring, and, if you want to be extra safe, an anti-static wrist strap to prevent damage to the chips from static electricity .
Step-by-step guide to renovating your refrigeration system

The first step is to turn off your computer and disconnect the power. If it's a desktop PC, remove the graphics card from the PCIe slot. Be very careful when removing the backplate and the heatsink screws, as breaking the security sticker could void the warranty . When detaching the heatsink, do so gently to avoid pulling on the fan or RGB cables, which could tear them from the motherboard.
Once opened, carefully measure the old pads before removing them. Clean the entire surface of the chip and memory modules with isopropyl alcohol and a cloth, removing any traces of old thermal paste or oily residue . If you see any pads that have melted and stuck to the heatsink fins, clean them as thoroughly as possible to prevent future contact issues.
Now comes the critical moment: applying the new components. Apply a small amount of thermal paste to the center of the chip, about the size of a grain of rice . You don't need to spread it yourself, as the heatsink's pressure will do the trick. For the thermal pads, cut them to the measurements you took and always remove the protective plastic from both sides before applying them; if you forget, the temperature will rise instantly.
Pay attention to the thickness of the thermal pads: if they are too thin, they won't make contact with the heatsink and the VRAM will overheat; if they are too thick, they will lift the heatsink and the graphics chip won't make contact , causing an immediate thermal failure. Finally, reassemble everything, connect the fans, and tighten the screws without overtightening them.
How to choose the right thermal pads
Don't buy just any pad, as not all of them are suitable for the same purpose. You should pay attention to two parameters: the thickness in millimeters (which must be exactly as specified by the manufacturer) and the thermal conductivity measured in W/mK. The higher this value (for example, 12.8 W/mK), the more efficient the heat transfer to the radiator.
If you're unsure which size to use, look for guides specific to your exact GPU model or purchase kits designed for your GPU. Remember that brands like Arctic offer safe, non-conductive silicone-based options, preventing any risk of short circuits if you use too much material.
To verify that everything is working correctly, use software like HWMonitor or GPU-Z . Run a stress test or play a demanding game and compare the current temperatures with the previous ones. A successful change can reduce the load temperature from 85°C to around 65-70°C, allowing the fans to operate at lower speeds and making the system much quieter.
Maintaining the internal hygiene of the GPU and replacing its thermal compounds every few years is the best way to prevent premature hardware degradation. By combining thorough cleaning with the use of high-quality materials and precisely sized thermal pads, you can stabilize frames per second and reduce thermal stress on the VRAM and core, significantly extending the graphics card's lifespan.
