- Latency is the technical delay caused by the processing of hardware and software during recording.
- Audacity has native tools to adjust the tempo and speed of tracks without altering the original pitch.
- Using an external sound interface is the ultimate solution to reduce input and output delay.
If you've ever tried recording an instrument or your voice over an existing track in Audacity and, when you press play, you notice that your recording sounds slightly off-kilter , don't despair. It's a very common problem, especially when you're starting out in the world of home studios and don't have professional equipment available.
This phenomenon, which can range from a few milliseconds to a very noticeable delay, is technically known as audio latency . Essentially, it's the time it takes the computer to process the sound coming through the microphone and send it back to your headphones, causing the track to fall out of sync with the backing track.
Understanding latency and hardware
Latency occurs because the integrated sound card in most PCs isn't designed for professional audio. The data stream has to go through several processes before being written to the disk, and that short journey causes the track to be recorded late . Even with quick reflexes or short cables, the bottleneck is in the hardware.
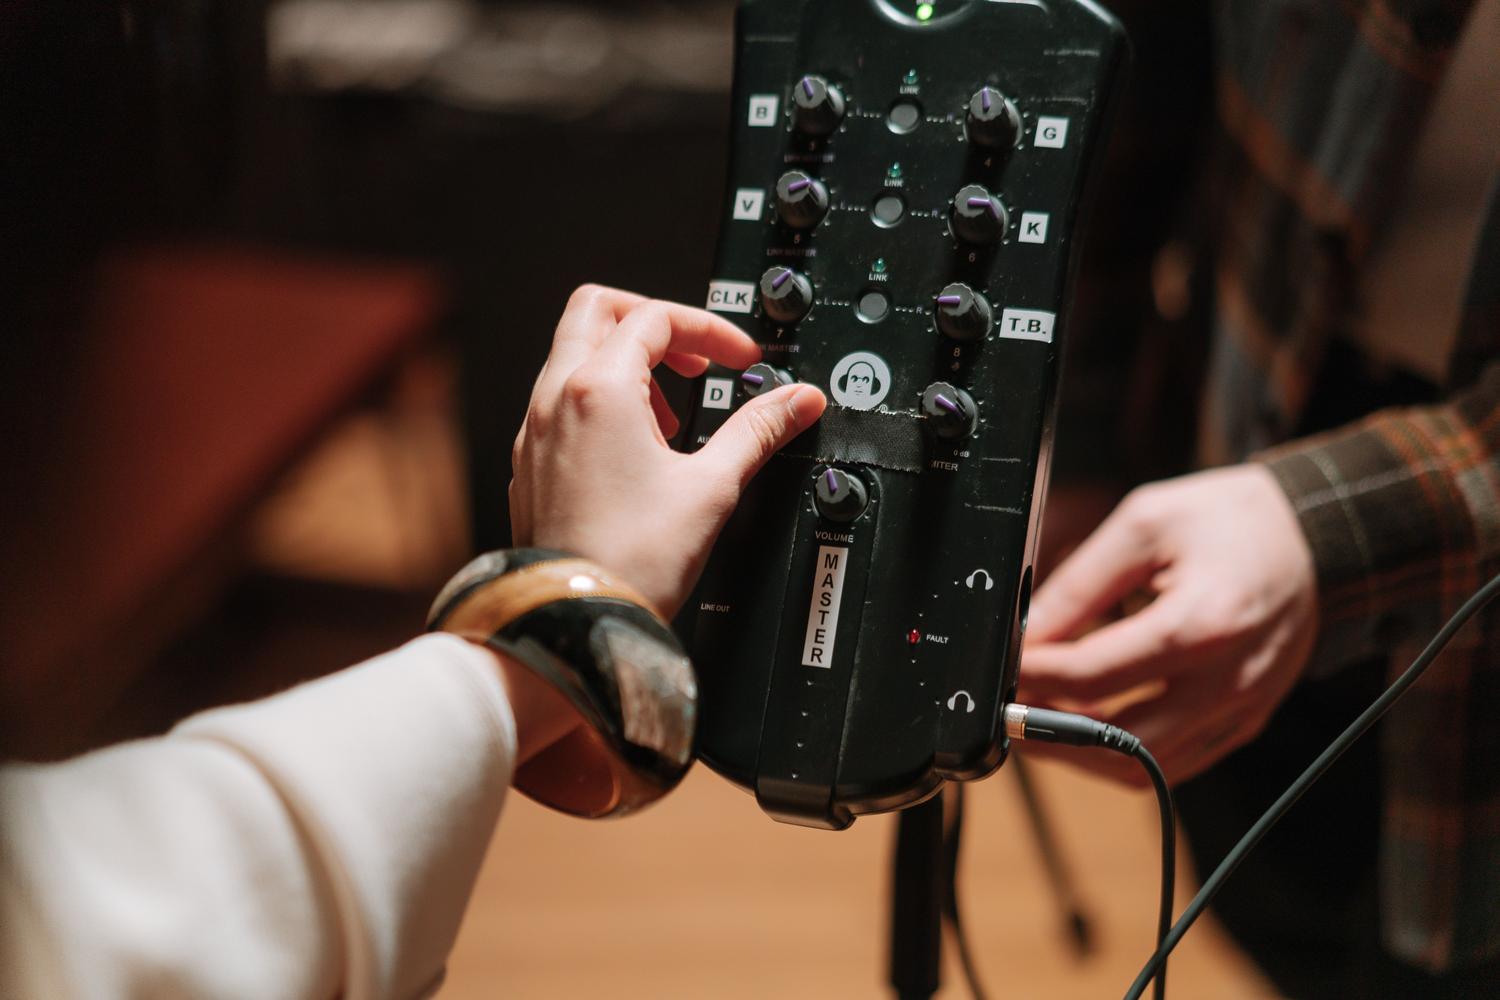
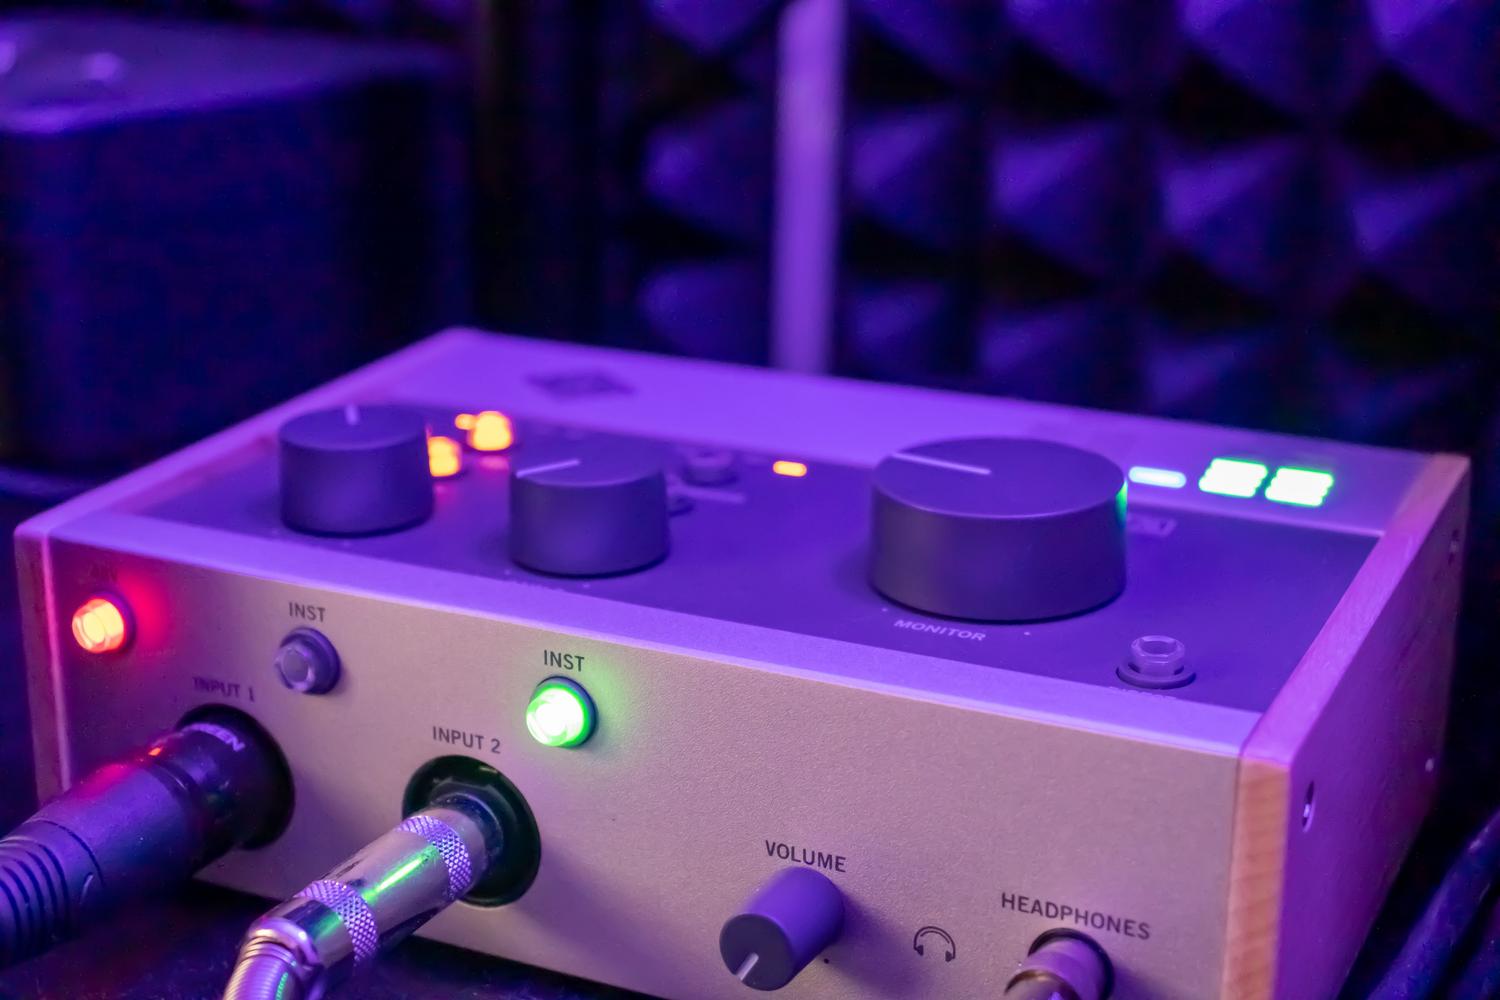
To solve this problem permanently, the best solution is to invest in an external audio interface (like those from M-Audio or Behringer). These interfaces are optimized to process audio almost in real time, drastically reducing latency. If you're looking for quality, try to find one that supports 24-bit recordings for greater dynamic range. Also, remember that if you're using dynamic microphones like the Shure SM58, you don't need phantom power, but having a mixer with a preamp will help ensure a cleaner signal and prevent impedance issues by avoiding connecting the microphone directly to the PC.
Quick tricks to correct sync issues in Audacity

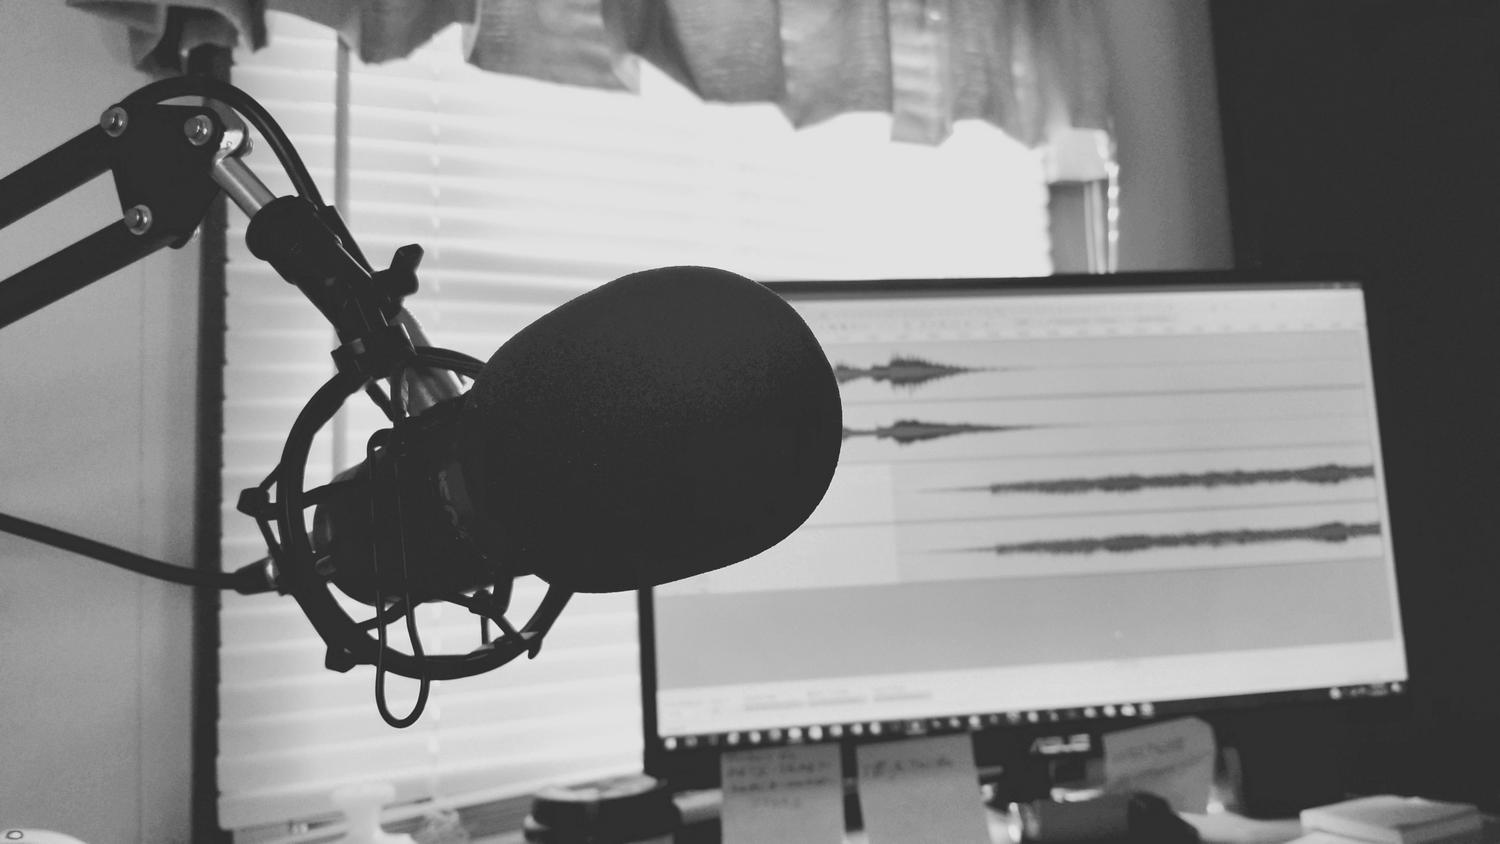
If you can't buy hardware right now, there are ways to work around this within the program itself. One of the simplest solutions is to work directly on the audio waveform . If you notice a silence at the beginning of your recording due to delay, you can simply select that extra bit and delete it, manually moving the track to the left until it fits the beat.
Another option is to check the recording settings. Sometimes, the option to play the track while recording is enabled , which can create an artificial delay of one or two seconds that drives anyone crazy. Ideally, you should only leave the option to remix other tracks while recording a new one checked, thus preventing real-time monitoring from messing up the synchronization.
Precise rhythm and speed adjustment
When the problem is not a simple displacement, but rather that the recording speed does not exactly match the backing track (something typical in live performances where the tempo fluctuates), Audacity offers powerful tools to manipulate the clip's duration without the voice becoming high or low.
- Change the Pace: It's the star tool for synchronization. It allows you to change the total duration of the track in seconds or beats per minute. without changing the toneIt's ideal for adjusting a studio take to a live recording.
- Change Speed: Unlike the previous effect, this one does alter the pitch. If you speed up the track, it will sound higher-pitched; if you slow it down, it will sound lower-pitched.
For professional tuning, it's best to work in blocks or sections . If the rhythm varies throughout the song, you can use the Split Clips function (Ctrl+I) to divide the track into verses and choruses. This way, you can measure the exact duration of a reference segment and apply that same value to the segment you want to correct, achieving pinpoint synchronization.
Final mixing and optimization
Once the tracks are aligned, the next step is to make them sound cohesive. If you're mixing a studio track with a live track, you can use the audio mixer or the gain controls in each track's header to balance the volumes. It's crucial to monitor the VU meter to prevent peaks from exceeding 0dB , as this would cause unpleasant clipping.
To give it a more natural feel, you can use the envelope tool to create smooth fade-ins or fade-outs. If the live audio is very muddy, the smartest approach is to leave the studio track as the base and add only ambient samples from the audience to maintain sound quality without losing the essence of the event.
Having control over latency and timing in Audacity requires a combination of good equipment and patience with the editing tools. Whether by investing in a dedicated interface, manually adjusting delays on the waveform, or using the block tempo change effect, it's entirely possible to get all your tracks perfectly synchronized, eliminating those annoying lapses that ruin any recording.