- Rescuezilla's built-in verification tool allows you to ensure that the data is readable before starting a restore.
- Real-world validation involves performing restoration tests in isolated environments to avoid damage to production systems.
- Using checksums like SHA-256 ensures that restored files are identical byte by byte to the original.

Having a backup stored on an external drive provides incredible peace of mind, but there's a harsh reality: many backups become corrupted without the user even realizing it. The program might say the process was successful, but when push comes to shove, when the hard drive fails and you need to recover your digital life, you find that the file won't open or critical data is missing.
To avoid this scare, it's crucial not to blindly trust confirmation messages. The only real way to sleep soundly is to implement a thorough testing routine , from the software's built-in tools to real-world restore tests in environments that won't put your primary system at risk.
Native verification in Rescuezilla

RescueZilla, which is essentially a user-friendly graphical version of Clonezilla, includes a specific function called Verify Image . This tool acts as the first line of defense, reading all parts of the image to confirm that the files are complete and that the storage medium has no bad sectors that would prevent reading.
When reviewing the image list, pay attention to the partition column. If a yellow warning triangle appears , it's a clear sign that partitions are missing and the image is incomplete. Additionally, for more technical users, you can analyze the nvme0n1-pt.parted file from within Windows to determine if the image will actually fit on the target disk based on the last sector of the last partition.
The importance of restoration trials

If you want to go a step further, it's not enough for the software to simply say the image is readable. Ideally, you should perform a periodic restore in an isolated environment . This means using a secondary hard drive or a virtual machine where you can deploy the backup and verify that the system boots, applications open, and critical files are intact.
It's vital to define what constitutes a successful recovery. It's not just about the computer booting up, but about verifying the expected recovery point , checking for missing database tables, broken links, or administrator privileges. If you're doing this on a website or server, be sure to use a staging environment with non-indexable URLs to avoid interfering with production or accidentally sending emails to your customers.
Technical validation using digital fingerprints

When restoring individual files, the litmus test is hash comparison. A file might appear to open correctly but have a single altered byte that could corrupt the data in the long run. Using algorithms like SHA-256 , you can generate a hash fingerprint of the original file and compare it to the restored one.
On Windows, this is easily done with the command `certutil -hashfile` , while on Linux or Mac, `shasum` is used . If the two strings match exactly, you can be absolutely certain that the copy is an identical byte-for-byte clone . If there is even a single difference, the backup should be considered failed and regenerated immediately.
Preparing the system for a reliable backup
To avoid headaches during verification, the backup must be done correctly from the start. On Windows, it's recommended to disable BitLocker before creating the image, as Partclone cannot read encrypted volumes like NTFS and saves them block by block, increasing the file size and complicating verification. It's also advisable to disable hibernation and fast startup so the file system isn't marked as "in use."
If the `fsutil dirty query` command indicates that the volume is dirty, it is imperative to run a `chkdsk` before proceeding. Otherwise, RescueZilla might stop with an error stating that the volume is scheduled for a check , resulting in an incomplete image that will fail any subsequent verification tests.
Advanced data maintenance strategies
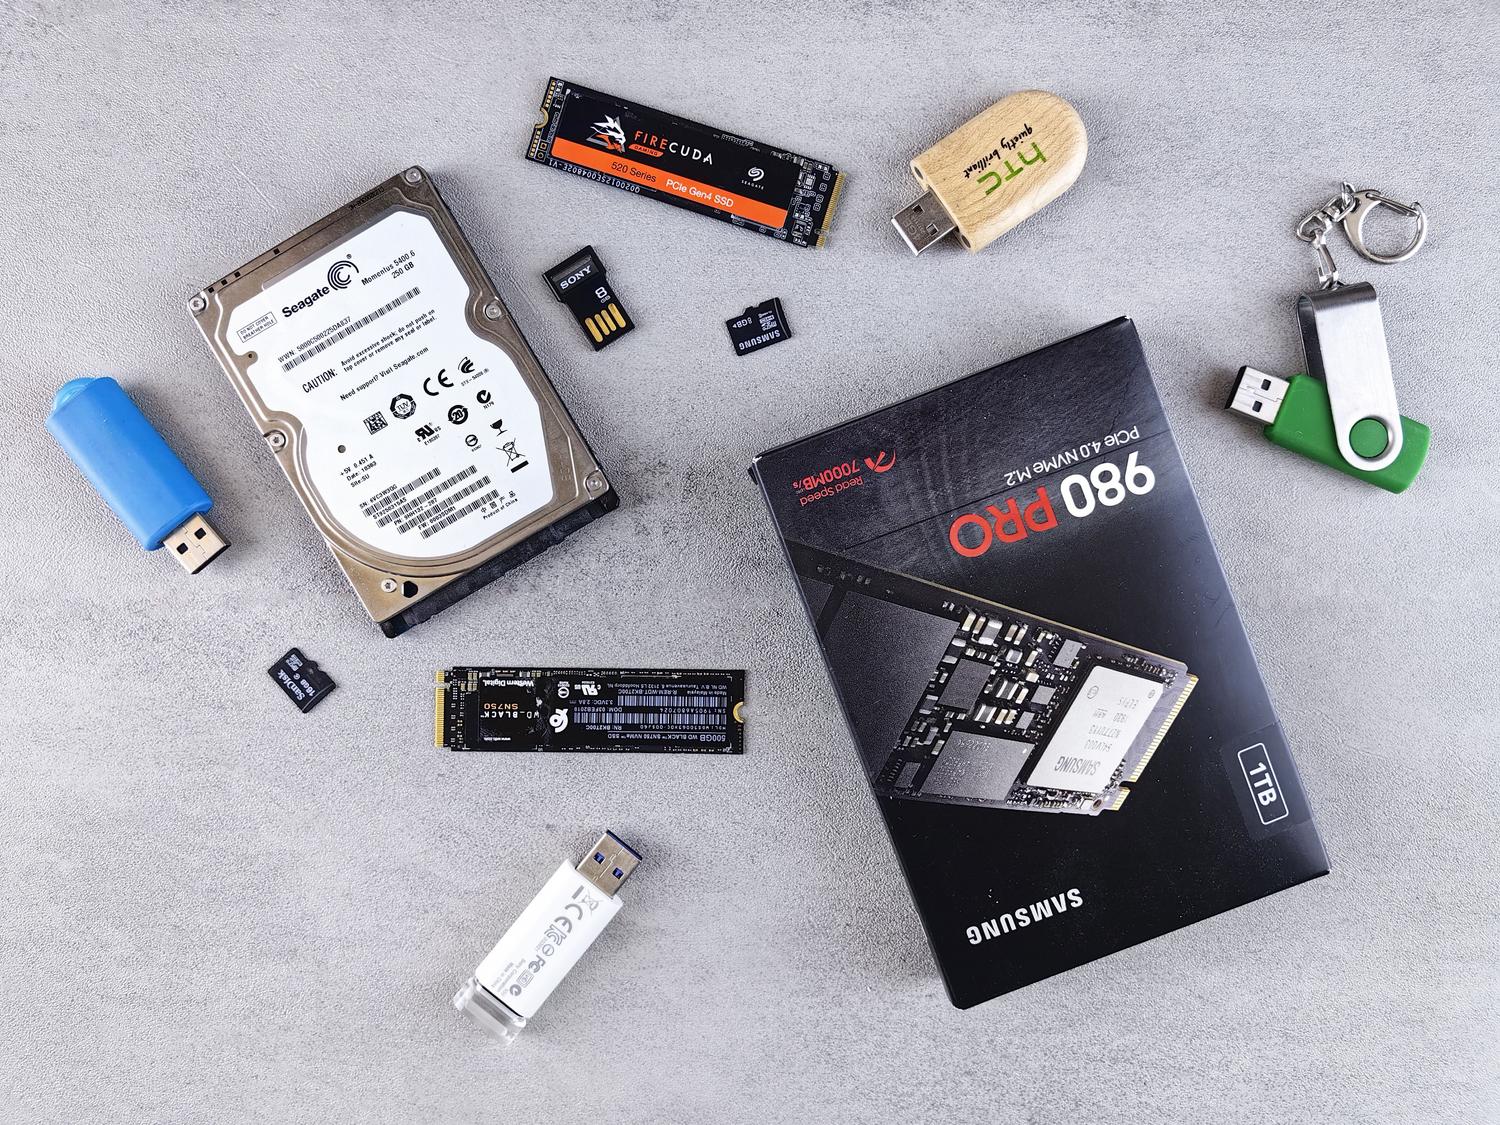
For those managing large volumes of data, adopting the 3-2-1 rule is the best approach: three copies, on two different storage media, and one of them stored off-site. But remember that this rule only works if accompanied by monthly restoration tests of randomly selected files, avoiding always testing the same ones, to ensure the entire repository is healthy.
If a test fails, the first step is to analyze the hardware. If the external hard drive is making strange noises or taking too long to read folders, it likely has bad sectors . In that case, don't try to repair the image; the best course of action is to replace the storage device and create a new full backup from the original files.
Maintaining the health of your backups requires a constant cycle of creation, verification using internal tools, validation with hashes, and simulated restores on separate disks. Only by combining RescueZilla's technical verification with real-world boot and data read tests can you guarantee that your information will be available when you really need it, thus preventing irreversible data loss due to silent storage errors.
Table of Contents