- Choose the type of paste according to your scenario: ceramic, metallic, carbon, or liquid metal for extreme needs.
- Simple and effective application: pea-sized amount or well-controlled thin layer and uniform spreader pressure.
- Monitor temperatures: 30–40 ºC at rest and avoid sustained temperatures of 90–100 ºC; change the paste if they rise or when disassembling.
- Buy wisely: W/m·K isn't everything; quality, ease of use, and ventilation of the equipment are just as important as the actual figure.
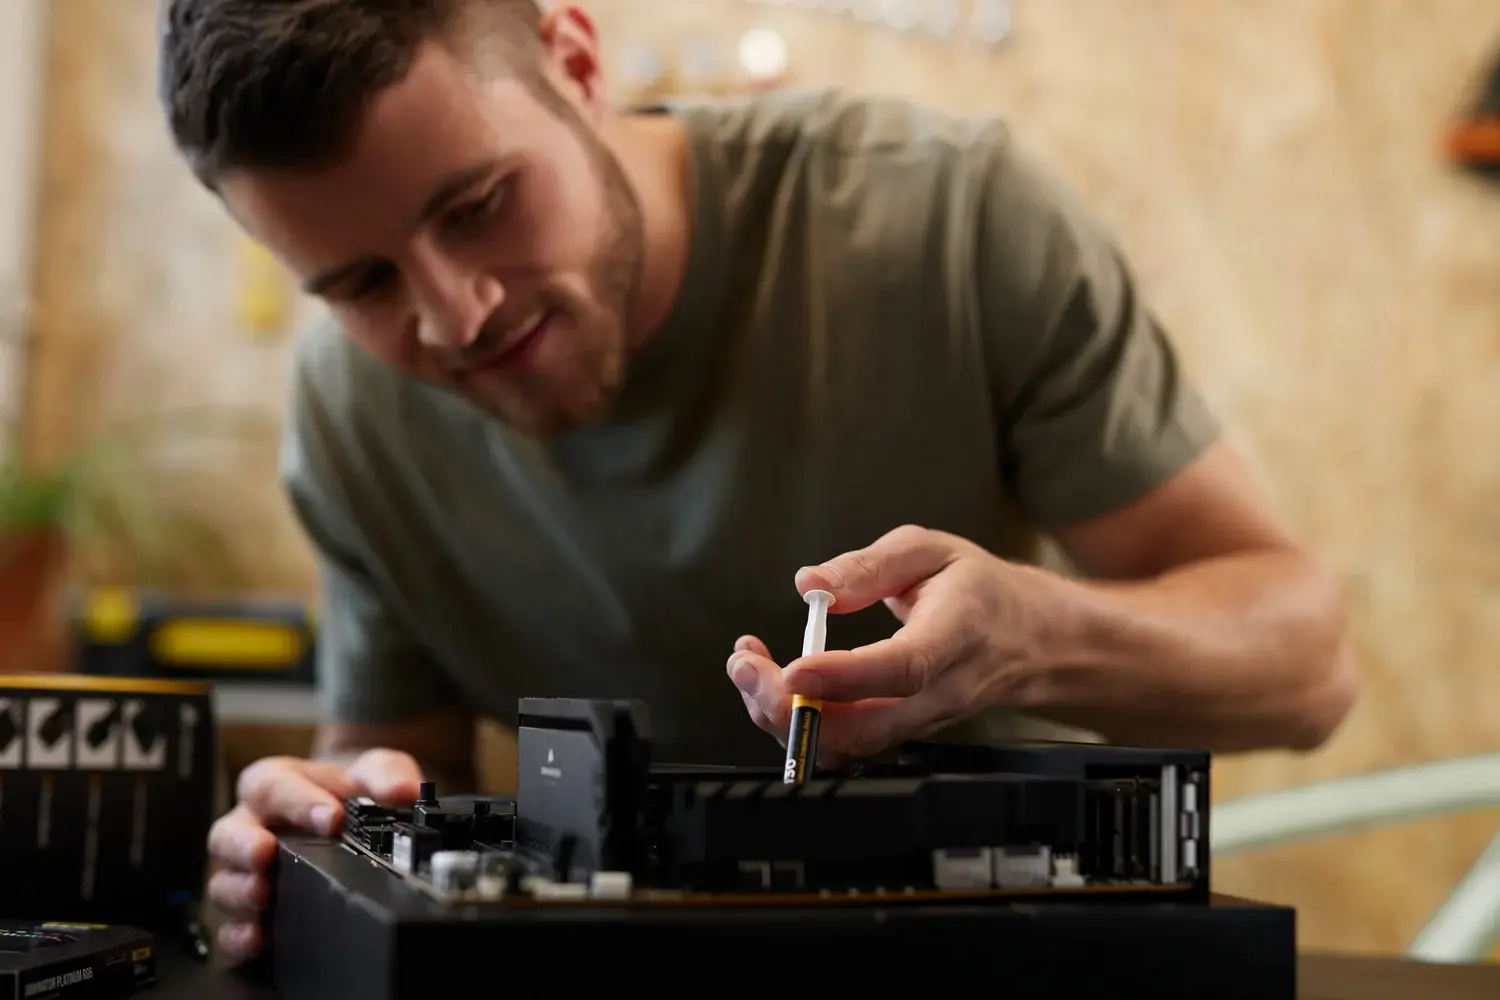
Thermal paste is one of those components that's rarely seen, but it can make the difference between a computer performing as it should and one that suffers performance drops or shutdowns due to overheating. In a modern PC, where the CPU and GPU generate a lot of heat, a good thermal interface between the processor and the heatsink is key to keeping temperatures under control.
If you're building a PC from scratch or planning maintenance, you'll likely have some questions: how much product to use, which type to choose, how long it lasts, and how to check that everything is working properly. This guide will explain, in detail and in clear language, what you need to know about PC thermal paste , how to apply it correctly, and which models are popular for their performance, ease of use, and price.
What is thermal paste and why is it essential?
Thermal paste, or thermal compound, is a material designed to improve heat transfer between the CPU and its cooling system (air cooler or liquid cooling block). Although the surface of the processor and the base of the heatsink appear smooth to the naked eye, at a microscopic level they have micro-imperfections that trap air, and air is a poor conductor of heat.
To bridge these micro-cavities, thermal paste acts as a bridge: it fills the gaps and expels the air , allowing for much more efficient thermal contact. The compound compresses under the pressure of the heatsink mount, ensuring that heat is transferred evenly from the IHS (the processor's metal cover) to the heatsink.
This detail is vital in any build, whether you're using an air cooler, an AIO, or a custom block. It's not about adding "a layer just in case," but about applying the right amount in the right place , avoiding both too much and too little material.
If you're in the middle of building a PC, you know that you have to align connectors, screws, and assembly steps. In that process, attaching the CPU cooler to the CPU is almost the end, and this is where thermal paste is essential : without it, the CPU will overheat, and the computer will either limit performance or shut down for safety reasons.
How much paste to apply and how to do it right
The debate about the "perfect" technique is endless, but there's no mystery: for most users and coolers, a pea-sized amount in the center of the IHS is sufficient. When you tighten the cooler, the pressure will spread the compound across the CPU surface, ensuring good contact.
There's also the thin-layer method, more common among those who prefer to "see" the thermal paste. In this case, a very thin film is applied to cover the contact area. It works well if the amount is controlled and excess is avoided. Keep in mind that many modern AIO coolers include pre-applied thermal paste , so you'll only need to worry about reapplying it when you remove the block and reinstall it.
Recommended steps to do it carefully: disassemble what is necessary to access comfortably (if you have a very large GPU, it may be advisable to remove it), place CPU and heatsink on a padded surface , completely clean the old residue with isopropyl alcohol and a soft paper or lint-free cloth, let it dry, apply the correct amount and mount the heatsink following the pressure pattern indicated by the manufacturer.
A trick that's often overlooked: when installing the heatsink, pressure is crucial . You need to tighten it firmly and evenly so the sealant penetrates the micro-grooves and displaces the air. However, always respect the maximum torque and tightening sequence recommended by the cooling system manufacturer.
Types of thermal paste: materials, pros and cons
Several thermal pastes with different properties are available on the market. Understanding them helps you choose the right one for your system and your goals. Ceramic (whitish) thermal pastes are the basic option: easy to apply and inexpensive. They work well on standard systems, but if your CPU reaches high temperatures or you overclock, they may not provide sufficient conductivity.
Metallic- filled thermal pastes (silicone-based with particles of aluminum, silver, or other metals) increase thermal conductivity and generally perform better in high-TDP environments. However, they usually cost more. Their application remains simple, and in most cases, they are not electrically conductive in practice, although spills should be avoided.
There are also carbon- based compounds , which are very popular because they offer good performance, easy application, and sometimes long durability . They are among the most well-rounded options if you're looking for a solution that works well and doesn't complicate your assembly.
Liquid metal deserves special mention . Its thermal conductivity is exceptionally high and can significantly lower temperatures in demanding CPUs. However, it's a product for experienced users: it's electrically conductive, can react with certain materials (like aluminum), and requires meticulous application and extra precautions.
Duration, maintenance and signs to change it
There is no single expiration date, as lifespan depends on several factors. Generally speaking, some manufacturers indicate that their compounds can last between three and five years , while in hot environments or with heavy loads, it may be advisable to replace the paste more frequently, even once a year as a precaution.
Factors that most influence its lifespan: the type of compound (higher quality ones tend to last longer), the operating temperatures of the equipment, proper application , ventilation and internal cleaning of the PC, and the use it receives (daily hours, sustained loads, etc.).
The best way to know if it's time to change the thermal paste is to monitor the temperatures . At idle, it should normally be around 30–40°C , depending on the CPU model, case, and ambient temperature. Under load, the figures vary considerably, but a sustained spike above 90–100°C in desktop processors usually indicates that something is wrong, such as degraded thermal paste, poor contact, or insufficient airflow.
Whenever you remove the heatsink for any task (deep cleaning, hardware replacement), take the opportunity to completely remove the old thermal paste and apply new paste. Reusing the same paste once the surfaces are separated rarely yields good results.
Buying Guide: What to Look for and Popular Models
To choose wisely, consider three things: thermal conductivity (W/m·K), viscosity or ease of application, and temperature stability . Don't get too hung up on the conductivity figure alone; overall quality, ease of use, and your actual setup (heatsink, case, ventilation) are just as important, if not more so.
Some models highly rated by users and enthusiasts include the popular carbon thermal paste ARCTIC MX-4, renowned for its excellent value and the durability claimed by the manufacturer (up to 8 years under ideal conditions). It's generally a safe bet for most home and gaming PCs.
If you're looking for something extra, ARCTIC MX-6 is an evolution with around 20% more thermal performance than MX-4. Furthermore, its high viscosity helps minimize risks if you use the wrong amount, while also preventing problems like corrosion under normal use.
For high-performance builds, Thermal Grizzly Kryonaut is a common choice. It's a compound with high conductivity (the manufacturer cites values around 12,5 W/m·K) and is designed for demanding scenarios, from gaming with high-TDP CPUs to moderate overclocking , provided it's applied carefully.
In the liquid metal range , options like Silver King deliver extremely high conductivity (values close to 79 W/m·K are cited). They are extremely effective, but remember that their application is delicate and they are not recommended for beginners or for just any surface, because they do conduct electricity and can damage hardware if used incorrectly.
Noctua, in addition to its heat sinks, offers the NT-H2 , highly valued for its ease of use, non-conductive nature and corrosion resistance, including a small installation kit that makes life easier for the user during application.
Brands also manufacture their own pastes to complete their product line; for example, some high-performance compounds come with application templates to prevent errors when spreading the product. If you opt for a recent all-in-one (AIO) product, many already include pre-applied paste in the base, enough for the first installation.
Example of technical specifications to take into account
Technical specifications can be intimidating at first, but it's helpful to know how to interpret them . Here's an example of parameters you might find in a generic product, to give you an idea of the range of values:
| Operating temperature range | -50 to 240 ºC |
| Viscosity (reference) | 76 FPS |
| Thermal conductivity | 4,5 W/m K |
| Thermal resistance | 0,205 ºC/W |
| Color of the product | Grey |
| Sustainability Certification | RoHS |
| Dimensions of the product | Width 50 mm, Depth 80 mm, Height 15 mm |
| Weight of the compound | 1,5 gr |
| Package dimensions | Width 325 mm, Depth 335 mm, Height 175 mm, Weight 2,1 kg |
Don't let the numbers fool you: beyond the W/m·K figure, what's important is proper application , even heatsink pressure, and good airflow in the case. A basic thermal paste, applied correctly, can perform better than a high-end one that's poorly applied.
Notes on stores, prices and usual conditions
When comparing prices online, remember that some retailers indicate their web rates apply only to online purchases and may differ from those in their physical stores. In some cases, shipping and services are limited to mainland Spain and the Balearic Islands, and it is specified that promotions and offers are valid only for products sold by that retailer.
The way internal search results are ordered in some stores may include criteria such as whether the term matches the product description, popularity, availability, category relevance, and recency. Additionally, some products may be highlighted because they are part of promotional campaigns.
Regarding financing, some establishments offer it through participating credit cards or payment providers, subject to approval . It's not uncommon to find plans with 0% APR and 0% AER for typical terms of 3, 6, 10, 12, 18, 20, or 24 months, with minimum amounts (for example, from €299). Illustrative examples include: for €654 over 24 months, 24 installments of €27,25, total amount due €654, with a French amortization system and interest subsidized by the merchant.
They also often launch limited-time promotions tied to the release of popular phone or electronics products, with specific start and end dates and times, and promotional activities such as prize draws linked to purchases below a certain amount through their app. Always read the fine print, as dates, conditions, and compatibility with other offers change frequently.
Sometimes you'll see notices that some of the content has been automatically translated (for example, from English), which can explain unusual turns of phrase or expressions. If the business or brand indicates this, don't be surprised to find this notice on their information pages.
Practical tips, verification and common mistakes
Before tightening screws haphazardly, check that the heatsink base is clean and free of debris , that the thermal paste is fresh, and that you've applied the correct amount. If you're unsure which method to use, the "pea in the center" method is simple and reliable in most cases. Avoid touching the IHS surface with your fingers to prevent leaving grease behind.
After assembly, monitor temperatures with a reliable utility. At idle, aim for temperatures around 30–40°C ; under sustained load, ensure your CPU doesn't exceed the upper limit (depending on the model), and above all, make sure it doesn't frequently overheat. If you see unusual spikes, check the heatsink contact, fans, and case airflow.
Remember that no thermal paste, no matter how good, can compensate for poor airflow in the case. Check the direction of the fans, avoid obstructions, and clean away dust. A well-ventilated and dust-free interior reduces thermal stress on the thermal compound and extends its lifespan.
If you decide to experiment with liquid metal, proceed with caution. Protect the area around the socket if the manufacturer recommends it, avoid incompatible surfaces (such as aluminum bases), and don't apply too much . If in doubt, it's best to opt for a conventional high-performance thermal paste.
For those using brand-name AIO coolers, check if your unit comes with pre-installed compound ; if so, you don't need to apply anything extra during the initial build. When you remove the block for maintenance, clean it and replace it with fresh compound. Some brands include application templates to help you spread the paste with the correct pressure and reduce errors.
In closing, it is worth emphasizing that consistency of assembly is key: uniform pressure, the correct amount of compound, and a clean and well-ventilated system usually yield better results than chasing technical specifications without considering actual installation practices.
Choosing the right thermal compound, applying it correctly, and checking temperatures regularly are three simple steps that prevent problems and help your PC run smoothly, cool, and for longer . With the criteria and examples you've seen, you'll know exactly what to buy, how to apply it, and when to replace it to get the most out of your system without any headaches.
