- Fundamental differences between FDM and resin technology depending on the part to be manufactured.
- Recommended materials such as PLA, PETG, and ABS to ensure hardware durability.
- CAD design process and post-processing to achieve professional and ergonomic finishes.
- Scalability options from home prototypes to industrial CNC manufacturing.
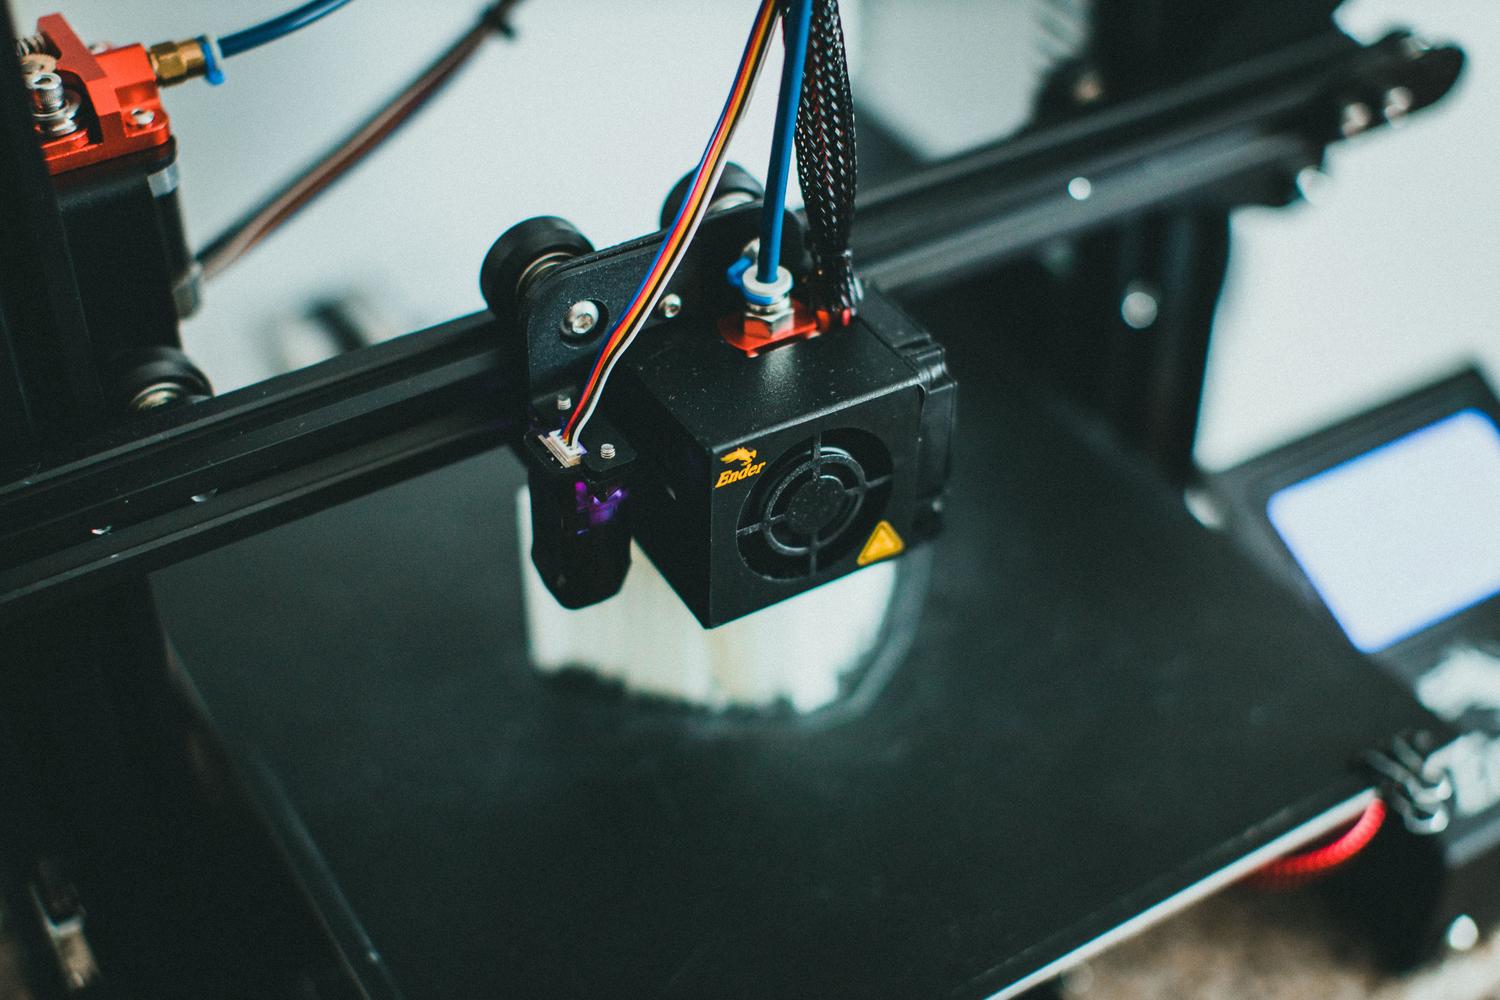
If you're someone who isn't satisfied with what's sold in stores and wants your workspace to have a unique touch, entering the world of 3D printing for mechanical keyboards is a one-way street. You no longer have to accept the standard factory design; now you can create everything from a casing that fits the shape of your hands to keys with crazy shapes that express your personality.
The best part is that this technology lets you experiment to the fullest without spending a fortune. You can try different angles, play with the keyboard's acoustics, or design a completely custom macropad , adjusting every detail until the feel and sound are exactly what you envisioned before diving into more serious production.

Why start customizing your keyboard with 3D?
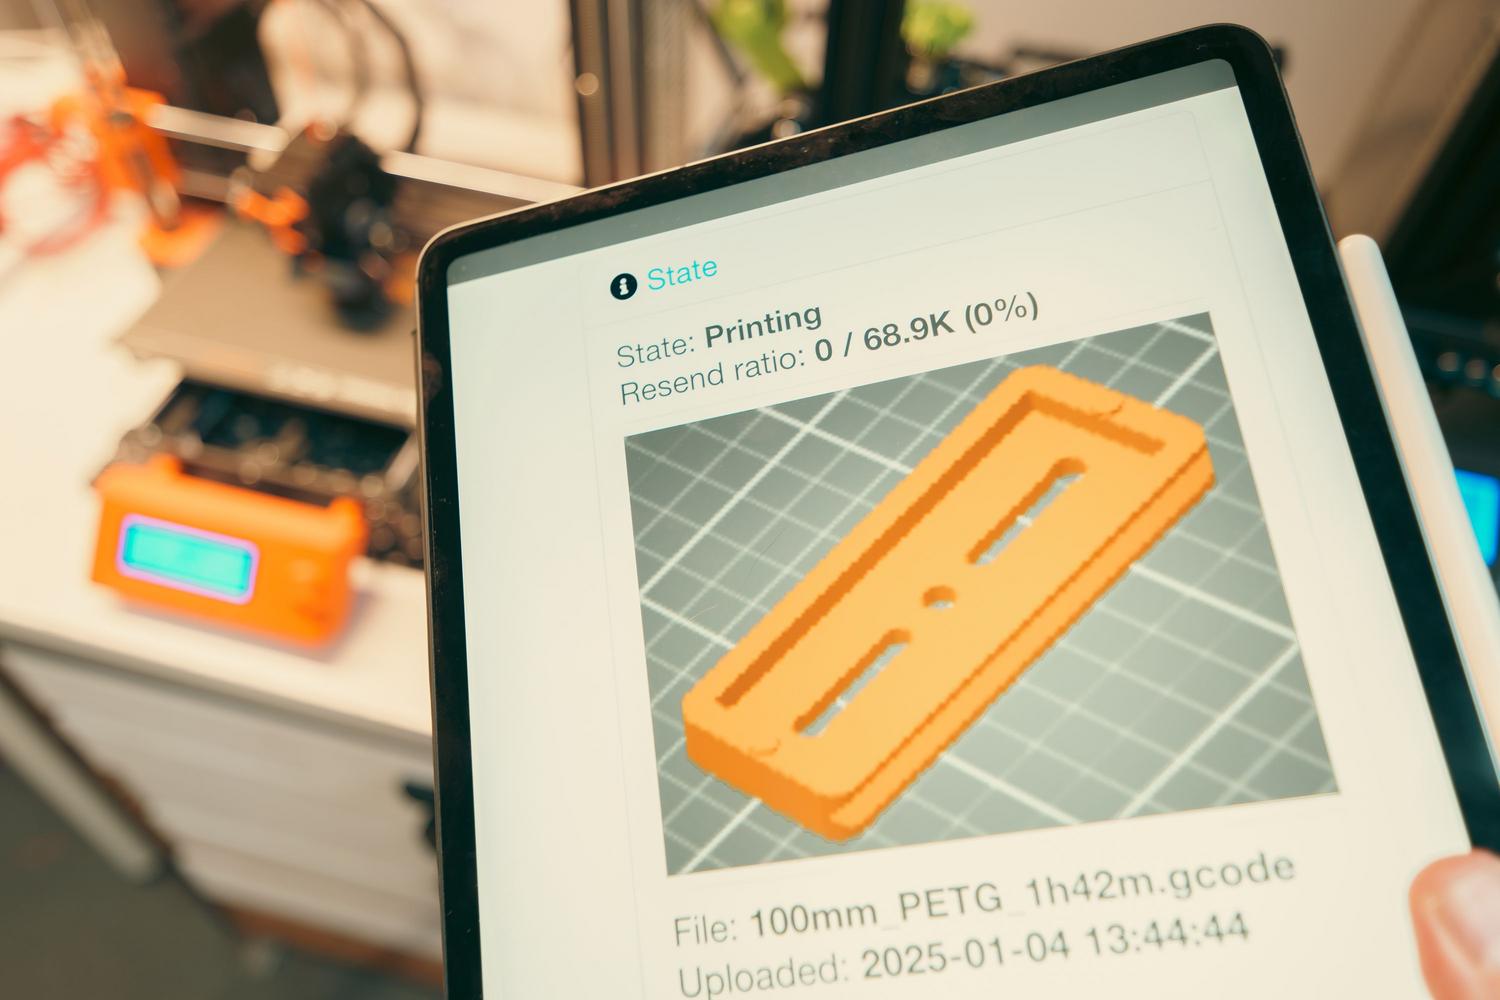
The biggest advantage is creative freedom. While commercial keyboards are rigid in their design, additive manufacturing allows you to create ergonomic designs or split keyboards that help prevent injuries and improve posture. Furthermore, it's the fastest way to prototype; if a part doesn't meet your expectations, you simply modify the file and reprint.
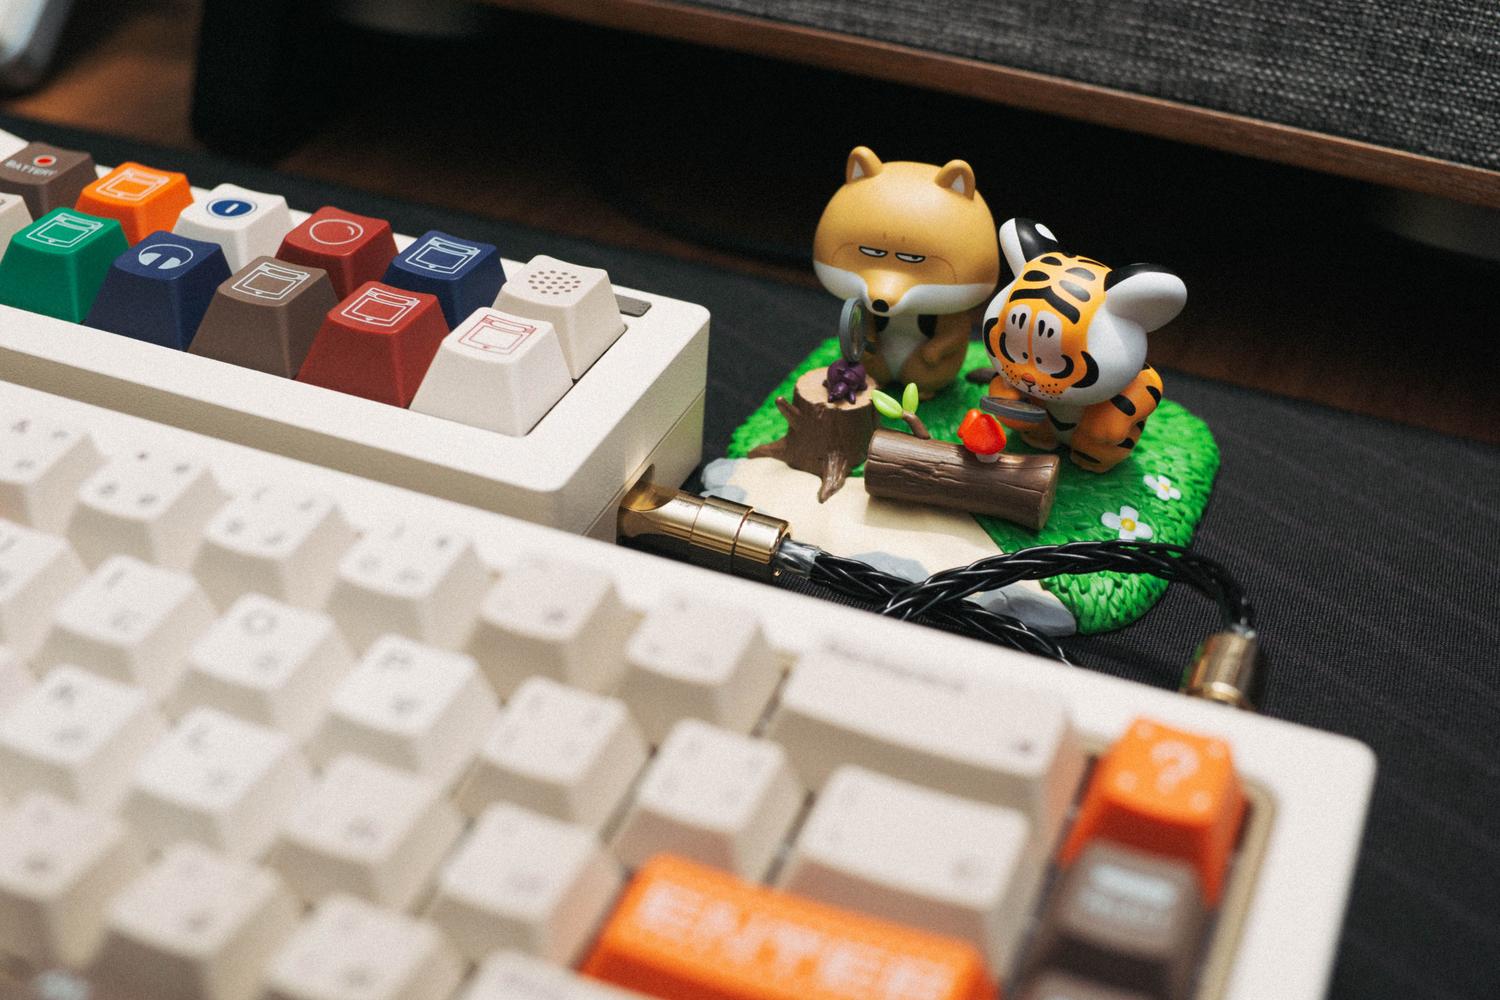
From an aesthetic standpoint, the possibilities are endless. From cases with side windows to showcase the RGB lighting to branding details integrated into the piece's geometry itself. It's the perfect bridge for those who want to move from a digital idea to a physical object that is not only beautiful but also fully functional.
Technologies: Resin or Filament (FDM)?
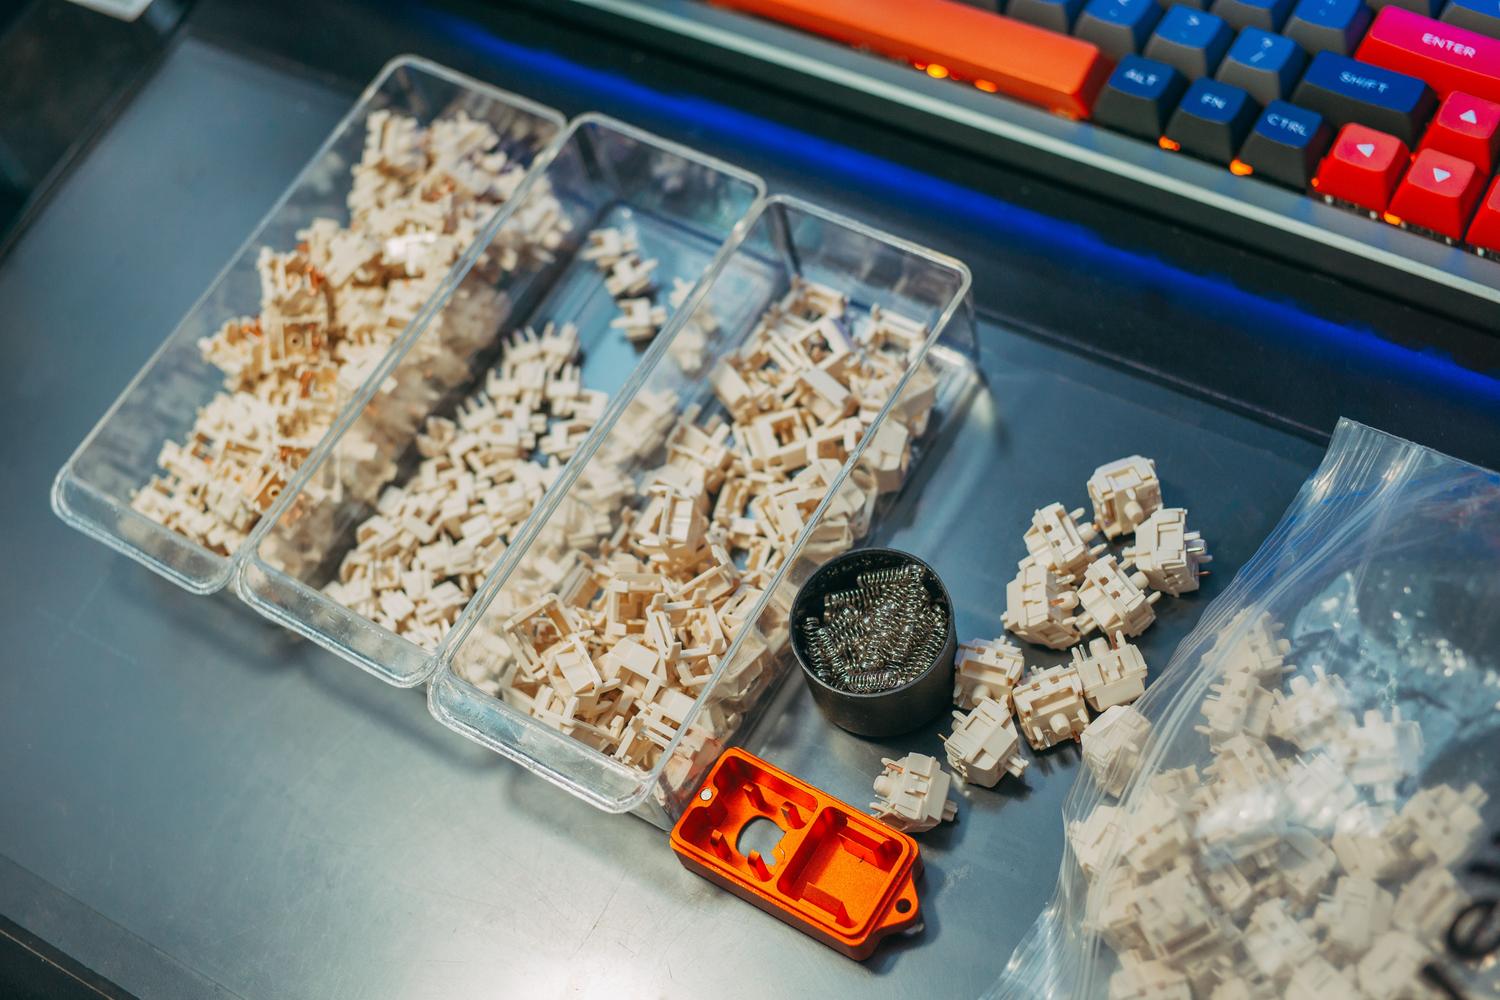
Depending on which part of the keyboard you want to manufacture, you'll need a different machine. FDM printing , which is the most common and uses plastic rolls, is the absolute best for large parts. It's ideal for the outer structure, base, and internal circuit board, as it's economical and the materials are very durable.

On the other hand, if you're looking to print keycaps with minute details or very fine logos, resin printing (SLA/MSLA) is the winning option. This technique offers a smooth surface and incredible precision, allowing you to create handcrafted keycaps that look factory-made, although it does require a more laborious cleaning and curing process.
Recommended materials for a lasting result

Not all plastics are suitable for the same purpose. PLA is the simplest and most rigid option, great for cases that won't be moved much, although you have to be careful with excessive heat as it can warp.
- PETG: A perfect balance, it is more resistant to shocks and has a slight flexibility that prevents the casing from cracking.
- ABS and ASA: These are the top materials if you're looking for thermal stability and durability, making them ideal for keyboards that are transported a lot.
- Nylon and Polycarbonate: Engineered filaments for those seeking industrial strength in their parts.
From CAD design to printer
To ensure everything fits perfectly the first time, accurate modeling is key. Ideally, use the PCB layout and switches as a reference and build the enclosure around them , making sure the USB ports and surge protectors have the exact cutouts. Don't forget to add chamfers and ribs to reinforce the structure.

Once you have the model, the slicing software is where the magic happens. For FDM cases, a layer height of 0.16 to 0.2 mm and an infill of between 20% and 40% are recommended. It is essential to orient the parts so that the most visible surfaces face upwards and that the screw holes are aligned with the filament's resistance.
The finishing touch: Post-processing and Assembly
If you want your keyboard to look more than a school project, post-processing is essential. Sanding the layer lines, applying a filler primer, and then painting with solid colors can make the plastic look like professional injection molding . To prevent the screws from stripping over time, it's best to install metal threaded inserts using heat.
During assembly, the most practical approach is to first install the stabilizers and switches on the board and then fit the entire assembly into the case. Once closed, you can configure the firmware using tools like QMK or VIA to make the keys do exactly what you want and create spectacular lighting effects.
Fine-tuning the sound and the feel
One of the most fun parts is the acoustic tuning. The casing material and wall thickness completely change the keyboard's sound. To prevent it from sounding like an "empty box," many enthusiasts add foam or silicone sheets inside the printed casing.

You can experiment with different fillings or even use mounting gaskets between the plate and the case to achieve a smoother writing feel and a more subdued, satisfying sound, known in the community as a more "thocky" sound.
When the project grows: From 3D to CNC
There comes a point where 3D printing falls short, especially if you plan to sell your designs. For larger production runs or premium finishes, the ideal solution is to migrate to CNC machining in aluminum or injection molding. The files you've already perfected in 3D serve as the perfect foundation for these industrial processes.
Collaborating with OEM factories allows scaling up production without losing the essence of the original design, going from a homemade prototype to a product ready for the global market with professional quality standards and high-end metal materials.
The ability to create fully customized hardware has democratized peripheral design, allowing anyone with a printer to optimize its ergonomics and aesthetics. From filament selection to final sound tuning and the possibility of scaling production to an industrial level, the path to crafting a unique keyboard is a blend of art, engineering, and extensive experimentation.