- Brightness control in Windows depends on the type of computer and the drivers; on external monitors it is usually done from the physical buttons.
- Windows offers brightness adjustments, Night Light, and color calibration, but their availability varies depending on the hardware and configuration.
- Updating graphics drivers, system checks, and, in extreme cases, reinstalling drivers are key when brightness fails.
- Applications like Gammy or Dimmer allow you to further fine-tune the perceived brightness and manage multiple screens while maintaining visual health.
Properly controlling screen brightness in Windows is far more important than it seems. Incorrectly configured brightness can strain your eyes, make reading difficult, and even lead you to believe your monitor is broken when, in reality, the problem can be solved by tweaking a couple of settings. Furthermore, the method for adjusting brightness differs depending on whether you're using a laptop, a desktop computer, or an all-in-one PC.
In this article, we'll take a step-by-step look at all the ways to adjust monitor brightness in Windows 10 and Windows 11 , the most common problems (such as when the brightness gets stuck at maximum or the slider bar doesn't appear), the role of graphics drivers, and what additional options the system offers, such as Night Light or third-party programs to force more or less brightness.
Why can you change the brightness on some computers from Windows but not on others?
One of the most common questions is: why doesn't the brightness bar appear on my desktop PC but it does on my laptop? The explanation is that Windows can only directly adjust the brightness if it has control over the screen's backlight, which is almost always the case with laptops and All-in-One PCs, but not with external monitors connected via HDMI, DisplayPort, or similar devices.
On a laptop, the screen is part of the computer itself, and the operating system communicates with the panel through the graphics driver and the manufacturer's firmware. That's why you see brightness controls in Settings, in the Action Center (or Notification Center), and often also dedicated keyboard shortcuts. In contrast, on a desktop PC with a separate monitor, Windows typically doesn't have this direct control.
If you're using a desktop computer with a standard monitor, brightness is usually controlled via the monitor's physical buttons : an On-Screen Display (OSD) menu where you can adjust brightness, contrast, color temperature, and other settings. In this case, even if you press Windows + A to open the Action Center, you probably won't see a brightness slider simply because Windows can't modify it via software.
This leads many users to believe that Microsoft has removed the brightness option in Windows 10 or 11, when in reality, their hardware simply doesn't expose that function to the system . If your friend with another desktop PC sees exactly the same thing as you (no brightness bar, no "Expand" button with that control), it's very likely that you're in the same situation: external monitors that can only be adjusted with their own controls.
On Dell All-in-One, G Series, Alienware, Inspiron, Latitude, XPS, Vostro, mobile workstations and other similar models, the behavior may vary: on most laptops and All-in-One models you will have brightness controls integrated into Windows , while on towers with a separate monitor you will almost always depend on the buttons on the panel.
Check if the problem is actually with the brightness or with the application.
Before you start fiddling with settings, it's worth confirming that the screen appears dark or dim is actually due to the overall brightness and not a specific app. Some websites, games, and video players use their own color profiles or dark filters , which can be misleading.
Ideally, you should test with different types of content: open your Windows desktop, a clear photo, a text document, and a video. If the image appears "dull" in all of them, it's quite likely a problem with the monitor's brightness, contrast, or overall calibration . If it only looks bad in a specific game or app, check those first, as they probably have an internal brightness slider.
In any case, don't start reinstalling drivers or making deep changes to settings without first performing these basic checks. Often, switching to a dark theme, a color filter, or enabling Night Light is the culprit behind that "low light" appearance on the screen.
Adjust the brightness from Windows Settings
In Windows 10 and Windows 11, the first logical place to adjust brightness is the Settings app. There you'll find controls for brightness, night light, and color calibration , provided your display type supports them.
In Windows 10, you can go to Start > Settings > System > Display . You'll usually see a slider labeled "Brightness and color" or something similar. If available, moving it to the right increases the brightness, and moving it to the left decreases it. In Windows 11, the path is very similar: Start > Settings > System > Display , where you'll also find a brightness control for compatible devices.
If you search for "brightness" in the Start menu and select "Change brightness level," and it takes you back to the main Settings page without showing the brightness slider, it means Windows can't natively manage brightness on your computer . In some cases, you'll also see options like OneDrive, rewards, or suggestions, but nothing about brightness. It's not that Microsoft has simply hidden it; the system considers that this control isn't compatible with your hardware.
Whether or not you have the correct drivers installed also plays a role. If the graphics driver is incorrect, or if the ACPI driver that exposes the backlight is missing, the Windows brightness adjustment may not appear, even on a laptop . In these cases, updating the drivers from the manufacturer's official website usually restores this option.
Use the Action Center or Quick Area for brightness
In Windows 10, another quick way to adjust brightness is through the Action Center . You can open it with the Windows + A shortcut or by clicking the notifications icon next to the clock. Typically, at the bottom you'll see shortcuts such as Bluetooth, network, airplane mode, VPN, and a brightness slider.
If you only see tiles with options and no slider, try clicking "Expand." On many computers, this button reveals additional options such as brightness adjustment . However, if "Expand" doesn't appear at all, or if there's no brightness control when all the options are displayed, the previous explanation applies: you're probably using a desktop PC with an external monitor or a computer with incomplete drivers.
In Windows 11, this concept changes slightly: the quick access area appears when you press Windows + A or click on the network/volume icons. There you'll see controls for Wi-Fi, Bluetooth, volume, and, if your computer supports it, a brightness slider in the foreground . It works the same way: to the right for more brightness, to the left for less.
This method has the advantage that the icon is always visible regardless of the application you have open , so it is very convenient to raise or lower the brightness on the fly, for example when switching from working with a text editor to playing a game or watching a movie.
Adjust the brightness using the keyboard keys
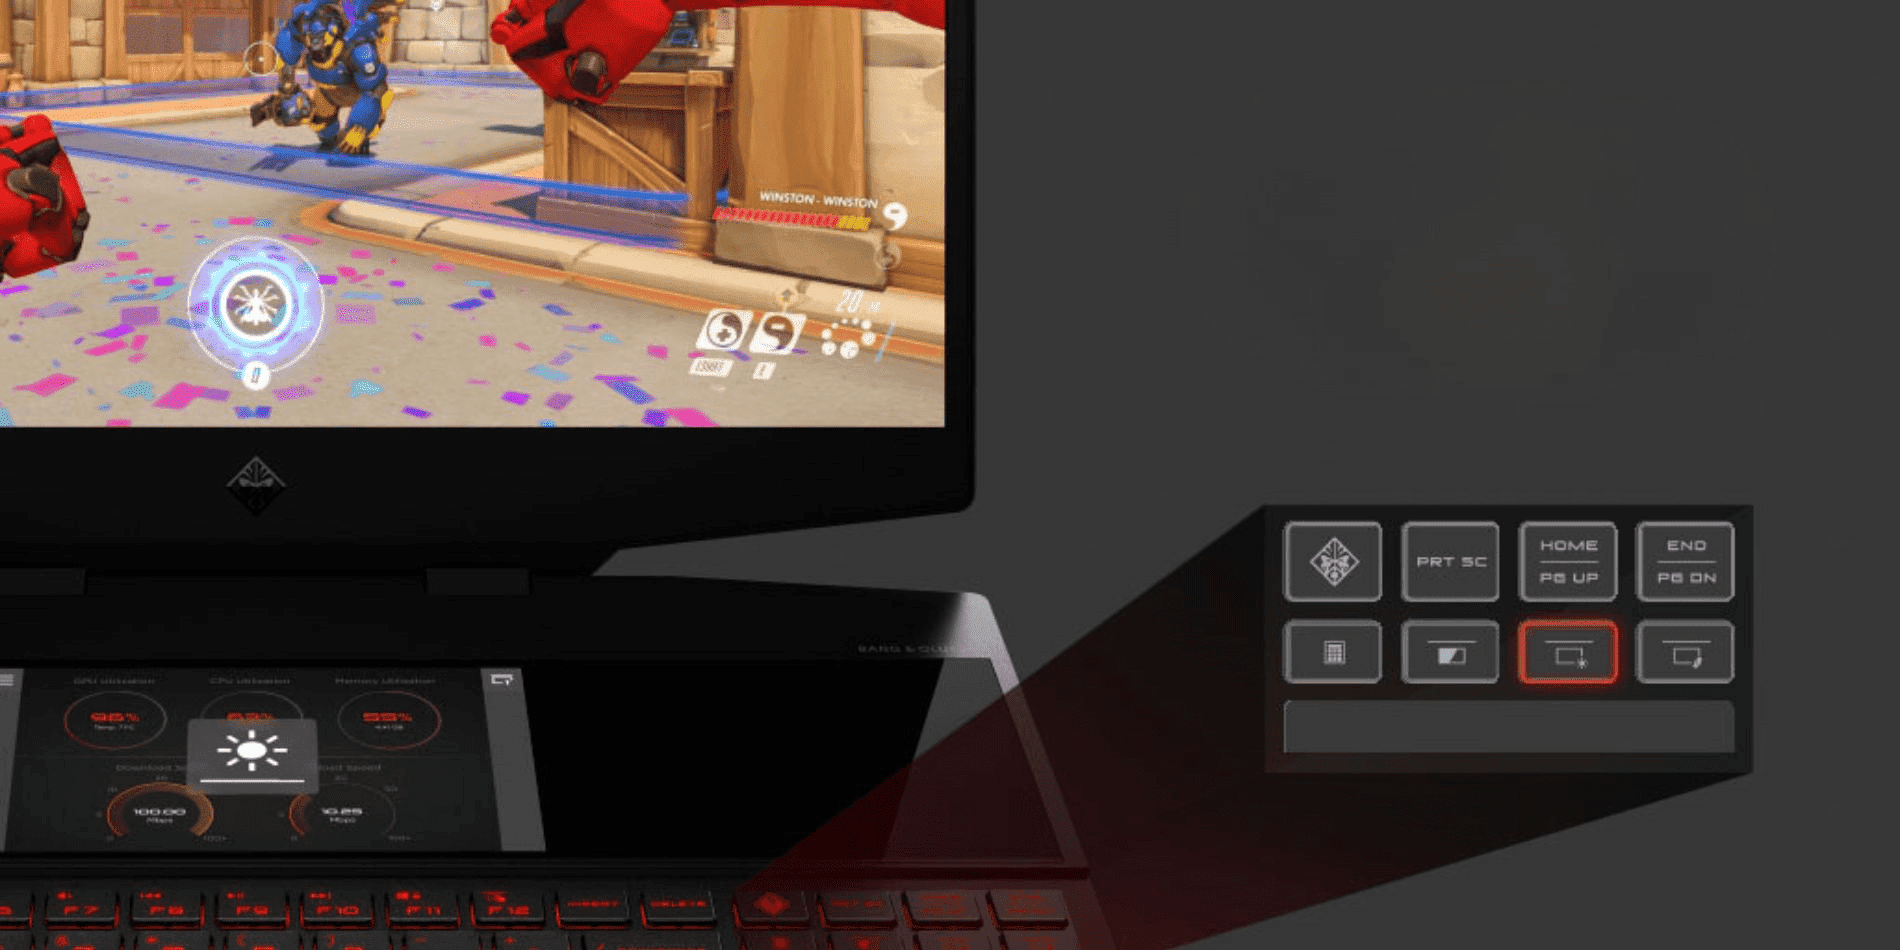
Many laptops and some all-in-one computers include dedicated function keys for brightness , also known as keyboard shortcuts . These are usually located in the top row, with sun or lightbulb icons, and are used in combination with the Fn (Function) key to quickly increase or decrease the brightness.
In practice, it works like this: hold down the Fn key and press the brightness + or – key . A graphic indicator will appear on the screen showing the brightness level. It's a very practical way to adjust the screen without having to open menus.
If these keys aren't working, the power management software or the manufacturer's utility package (Dell, HP, Lenovo, etc.) responsible for interpreting these keystrokes might be missing. Visiting the official support page, searching for your specific model (for example, in the Inspiron, Latitude, XPS, G Series, Alienware, etc. section), and installing the recommended drivers usually resolves this issue.
Keep in mind that while almost all laptop manufacturers offer these keys, it's not as common on desktop PC keyboards, and even if there's a key with a sun symbol, it's not always linked to the monitor's brightness, but to other functions of the brand itself.
Review Night Light and its impact on brightness perception
Windows 10 and Windows 11 include a feature called Night Light . Its purpose is not to change the actual brightness, but to modify the screen's color temperature, making it appear warmer (yellowish) to reduce blue light at night and, theoretically, facilitate rest.
The problem is that when this feature is activated at a high intensity, many users feel that the screen "loses its vibrancy" or appears dull and less bright . In reality, the brightness level remains the same, but with less blue light and more warm tones, the image appears dimmer.
You can check and adjust this by going to Settings > System > Display and finding the Night Light section. There you can turn the feature on or off and adjust the intensity of the warm colors using a slider. You can also schedule times, either from sunset to sunrise or with custom hours.
In Windows 11, the process is similar: within Display settings, you'll find the Night Light toggle. Clicking on it will allow you to adjust both the strength of the effect and when it activates automatically . It's important to understand that this feature is independent of the brightness slider, but it can completely change your perception of the overall screen brightness.
Calibrate screen color and brightness in Windows
In addition to basic controls, Windows includes a calibration tool designed to adjust gamma, brightness, contrast, and color balance. This utility, called "Display Color Calibration ," can help if, even with the brightness at maximum, the image still appears blurry or washed out.
To open it, you can search for “Display Color Calibration” in the Start menu search bar or access it from the Control Panel, in the Display section. When you launch it, it will guide you step-by-step with visual examples on how to adjust the brightness so that details in shadows and highlights are displayed correctly, as well as the contrast and balance between the different color channels.
This tool doesn't replace the monitor's own settings (its OSD buttons), but it does help to establish a reasonable color profile within the system. However, if you tweak the calibration extensively and then also change brightness and contrast settings on the monitor, you may need to repeat the process to achieve a balanced result.
In professional environments (photo editing, video, design), it may be interesting to go a step further and use solutions with a calibration probe, but for most users, Windows' built-in calibration is more than enough to make the most of the screen's capabilities.
Check drivers and graphics controller when brightness fails
Often, brightness problems in Windows are more related to the graphics driver than the screen itself. If, after installing an update, changing your graphics card, or adding a new monitor, you start noticing strange behavior (brightness doesn't change, the slider doesn't appear, flickering when adjusting, etc.), it's a good idea to check your drivers.
A quick first step is to restart the graphics driver . On Windows, you can do this with the Windows + Ctrl + Shift + B key combination . The screen will go black for a second, you'll hear a short beep, and if everything is working correctly, the driver will reload. Sometimes, this simple action resolves temporary errors.
If the problem persists, the next step is to ensure you have installed the official drivers from your graphics card manufacturer (Intel, AMD, NVIDIA) or your computer manufacturer (Dell, for example, for All-in-One, G Series, Alienware, Inspiron, Latitude, Vostro, XPS, or mobile workstation models). Download the drivers from their official websites, never from dubious repositories.
If you don't know which motherboard or graphics card you have, you can press Windows + R, type msinfo32 , and look at the "System Model" field to identify your computer. With that information, it's much easier to access the support website and find the correct drivers for video, chipset, and power management.
In more serious cases, when you suspect corrupted system files, it's recommended to perform a system file check . To do this, open Command Prompt as administrator and run these commands one by one:
- sfc / scannow
- dism.exe /online /cleanup-image /scanhealth
- dism.exe / online / cleanup-image / restorehealth
- dism.exe /online /cleanup-image /startcomponentcleanup
When they finish, restart your PC and check if the brightness control is working normally. These commands repair system files and the Windows image, which can resolve conflicts affecting how the system manages brightness and video output.
Reinstall the display drivers in Safe Mode
If, despite all of the above, the brightness still does not work correctly (for example, the level is not saved after restarting, it is only applied when turning on again, or the setting appears and disappears), a more drastic option is to completely reinstall the video drivers.
To do this with less interference, it's recommended to boot into Safe Mode , where Windows loads a minimal set of drivers and uses a basic graphics mode. From there, go to Device Manager > Display adapters , right-click on your graphics card, and choose "Uninstall device." You can check the box to remove the driver software if it appears.
Once uninstalled, restart your computer normally. Windows will attempt to automatically install a generic driver to restore your display. Afterward, manually install the recommended drivers from your graphics card or computer manufacturer's website. This usually restores full functionality, including proper brightness support on laptops and all-in-one PCs.
In the case of external monitors connected to a desktop PC, even after updating drivers, you may still not see the Windows brightness bar. This doesn't mean there's anything wrong; it simply means you're limited to the monitor's physical brightness control or specific software solutions that simulate brightness changes.
BIOS options and third-party software that affect brightness
Some manufacturers include certain display-related options in the BIOS or UEFI , such as default brightness, power-saving behavior, or special panel settings on laptops and all-in-one PCs. If, after adjusting BIOS settings, you notice the screen doesn't look the same, there may be an option related to the backlight.
There's no single path, because each brand organizes the BIOS differently, but it's a good idea to check the power, display, and integrated graphics settings. However, it's important not to change things randomly: make a note of what you modify so you can revert if you're not happy with the result.
Additionally, there are third-party applications that add visual effects, overlays, color filters, or desktop enhancements. Some aggressive customization tools may conflict with screen brightness or Windows Night Light. If you notice unusual behavior after installing this type of software, try temporarily disabling or uninstalling it to see if the situation improves.
Don't forget that if none of this helps and you still notice the screen looks worse than normal, there could also be a physical problem with the monitor or the backlight . For relatively new monitors from brands like Dell, HP, Lenovo, etc., it's worth checking if they're still under warranty to request a repair.
External programs to increase or decrease brightness beyond normal
Although Windows offers its own brightness controls, some users are still not satisfied with the minimum or maximum brightness levels available. For these situations, there are free utilities that allow you to force additional adjustments or simulate brightness changes using color and gamma filters.
One of the veteran programs in this field is Gammy . This application allows you to set different levels of brightness and color temperature, adapting to the programs you have open. One of its most interesting features is its automatic brightness adjustment , which can regulate both the brightness and tone of the image according to your preferences.
Gammy is useful when, for example, your monitor is already at its minimum physical brightness but you still find it too bright in very dark environments. With this tool, you can apply a kind of "filter" that further darkens the image, helping to prevent glare at night without having to change your hardware.
Another very popular option is Dimmer , a utility specifically designed to control the perceived brightness of the screen on all types of devices, both desktops and laptops. Dimmer works well with older monitors and modern panels, and its main advantage is that it supports multiple displays, each with its own dimming level.
This way, if you work with two or three monitors, you can choose to make one darker than the others, which is useful for reducing distractions or reserving a screen for reading text . In both cases (Gammy and Dimmer), their developers offer free downloads from their official websites, and they are usually very easy to use, even for novice users.
Risks and disadvantages of using excessive shine
While having a bright screen might seem comfortable at first, excessive brightness can have consequences. Spending many hours in front of an overly bright screen can affect your eye health , cause headaches, and even disrupt sleep if you continue working at night.
On the other hand, forcing the backlighting of a monitor or laptop screen for extended periods can slightly shorten its lifespan , especially in older generation panels. It won't break overnight from being set to maximum brightness, but it can cause less uniform areas or color shifts to appear over time.
On laptops, screen brightness is also one of the factors that most significantly impacts battery life. Always working at 100% brightness will considerably reduce battery life compared to adjusting to a suitable intermediate level for the room's lighting. Reducing the brightness slightly usually provides an extra few dozen minutes or more of battery life, which is especially noticeable if you often work away from a power outlet.
Therefore, the general recommendation is to find a comfortable brightness level that doesn't strain your eyes but also doesn't dazzle you. It's a good idea to readjust it several times a day: lower at night or in dark interiors , and higher if there's a lot of natural light or you're using the device outdoors.
Ultimately, maintaining a reasonable balance between visibility, eye health, and monitor lifespan is key to enjoying your computer longer without discomfort. Between Windows features, monitor controls, and third-party applications, you now have many tools to adjust the brightness to your exact preference in almost any situation.