- Access to encryption keys via the Tuya developer portal.
- Using external tools like tuya-cli to extract device identifiers.
- Configure static IP addresses to prevent loss of local connection.
- Mapping specific data points to enable color and brightness control.
I'm sure it's happened to you: you buy a bunch of smart bulbs because they're cheap and work well with Smart Life, but then you realize that relying entirely on the cloud is a real headache. You want to integrate everything into Home Assistant to have true control of your home, but when you start looking at the plugins, you find that almost all of them require you to register on a developer portal. It feels like they're trying to sell you on the idea of "local control" when in reality they're forcing you to go through their servers to even get started.
The reality is that, although it may seem contradictory, this initial step is necessary to obtain the encryption key for each light bulb. Once you have that key, data traffic no longer needs to leave your network, allowing you to manage your lights without a server in China knowing when you turn on the kitchen lights. If you are patient and follow the correct steps, you can make your Calex devices, or any other Tuya-based brand, operate completely autonomously and privately.

Preparing the ground and the tools
Before you begin, you need to have HACS (Home Assistant Community Store) installed , as it's the easiest way to add the LocalTuya plugin. Once HACS is up and running, find and install LocalTuya from its GitHub repository. Don't skip this step, as it's the engine that enables direct communication with the hardware.
To retrieve the security keys, you will need to install [software name] on your computer. Python and NPMWith that done, open the terminal and run the command npm i @tuyapi/cli -g to install the utility tuya-cliThis tool will do the dirty work of extracting the technical information that Home Assistant needs. talking to light bulbs without intermediaries.
The matching and organizing process
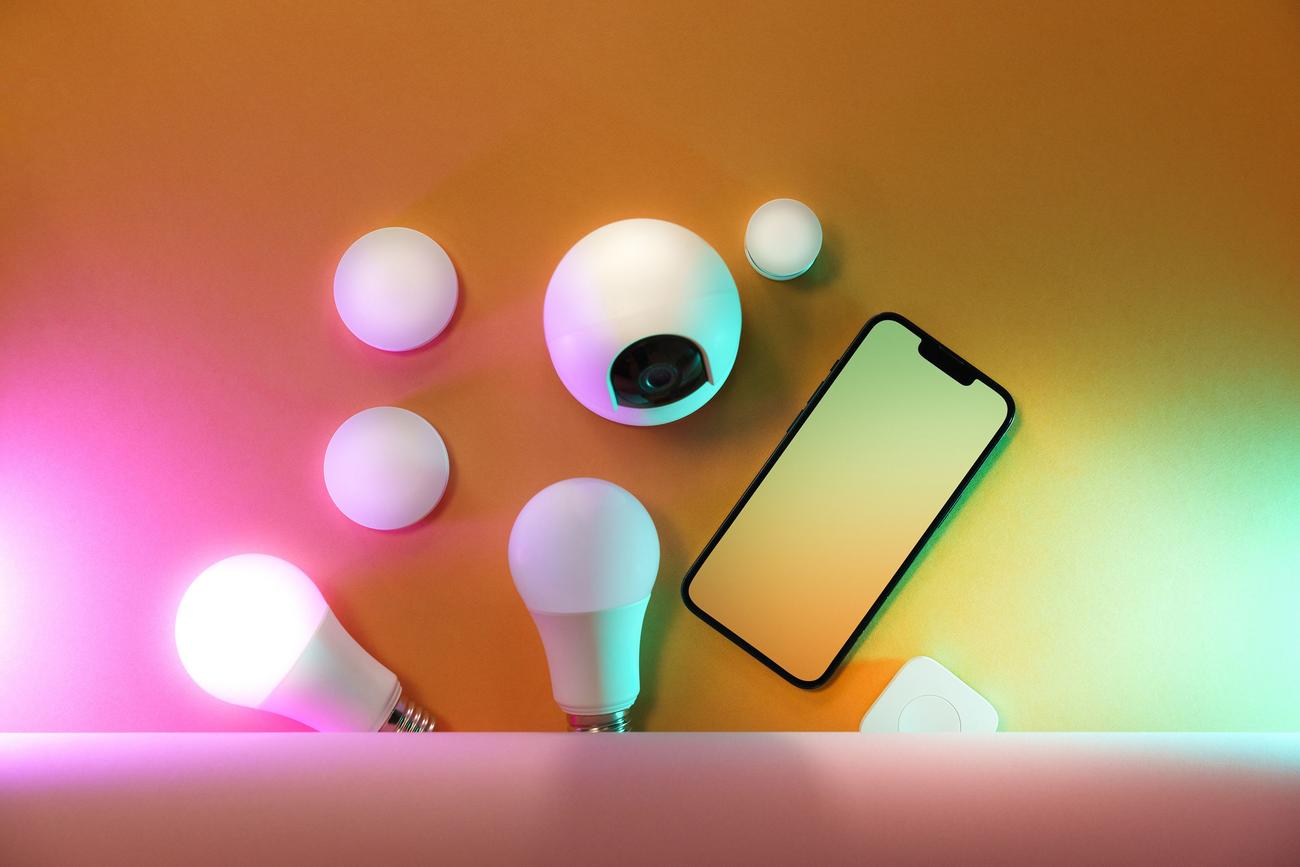
When you start adding light bulbs, I highly recommend using a bit of tape to physically label each one . It's very easy to get confused when you have ten identical lights and you don't know which one is for the living room or the bedroom. Write down the name you give it in the app, its IP address, and the space for the encryption key.

A key trick to prevent your setup from breaking is to access your router and assign static IPs to each device. If you let DHCP change IP addresses, Home Assistant will stop finding the light bulb, and although cloud control will still work, local access will be lost , forcing you to reconfigure everything from scratch.
Extracting the encryption keys
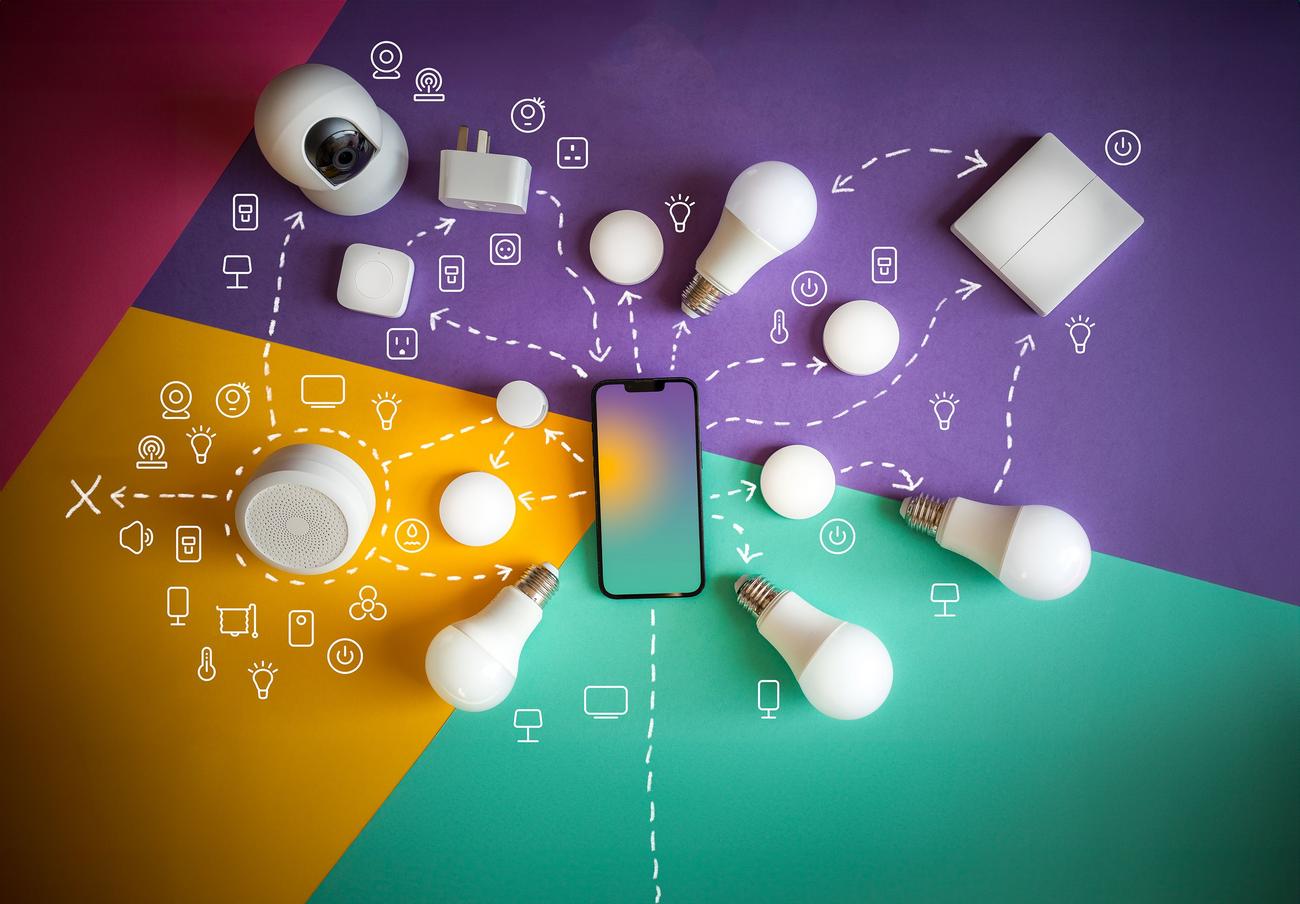
Once the lights are linked to your Tuya account, it's time to use the terminal. Run the command tuya-cli wizardThe first time you do this, the system will ask for your API credentials from the developer portal. Once configured, you only need to enter the ID of one of your devices and the tool will generate a JSON file with names, IDs, and encryption keys of all devices linked to your account.
Detailed settings in Home Assistant
When adding lights to LocalTuya, it's best to do it one by one to maintain system stability. The process is divided into several steps: first, select the light bulb from the list using its IP address; then, enter the friendly name and encryption key you obtained earlier. Make sure that the light bulb is marked with the value "20" in the data form.

In the next step, define the device as a "light ." The most complicated part comes at the end, with the data points (DPs). For color and brightness control to work correctly, you must assign the following values: Brightness at 22 , Color Temperature at 22, Color Mode at 21, and Color at 24. These values may vary depending on the model, but they are generally the standard for achieving full control of the color wheel.
By following this workflow, you'll have transformed cloud-dependent light bulbs into locally managed devices. By combining the use of tuya-cli, assigning static IPs, and correctly mapping data points in LocalTuya, you achieve instant response from the lights and the peace of mind that your home automation will continue to function even if the internet connection drops.
