- It uses local artificial intelligence to differentiate real objects from false positives, eliminating unnecessary alerts.
- It requires a Google Coral TPU accelerator to drastically reduce CPU usage and improve detection speed.
- It integrates with Home Assistant via MQTT, allowing advanced automations based on zones and object types.
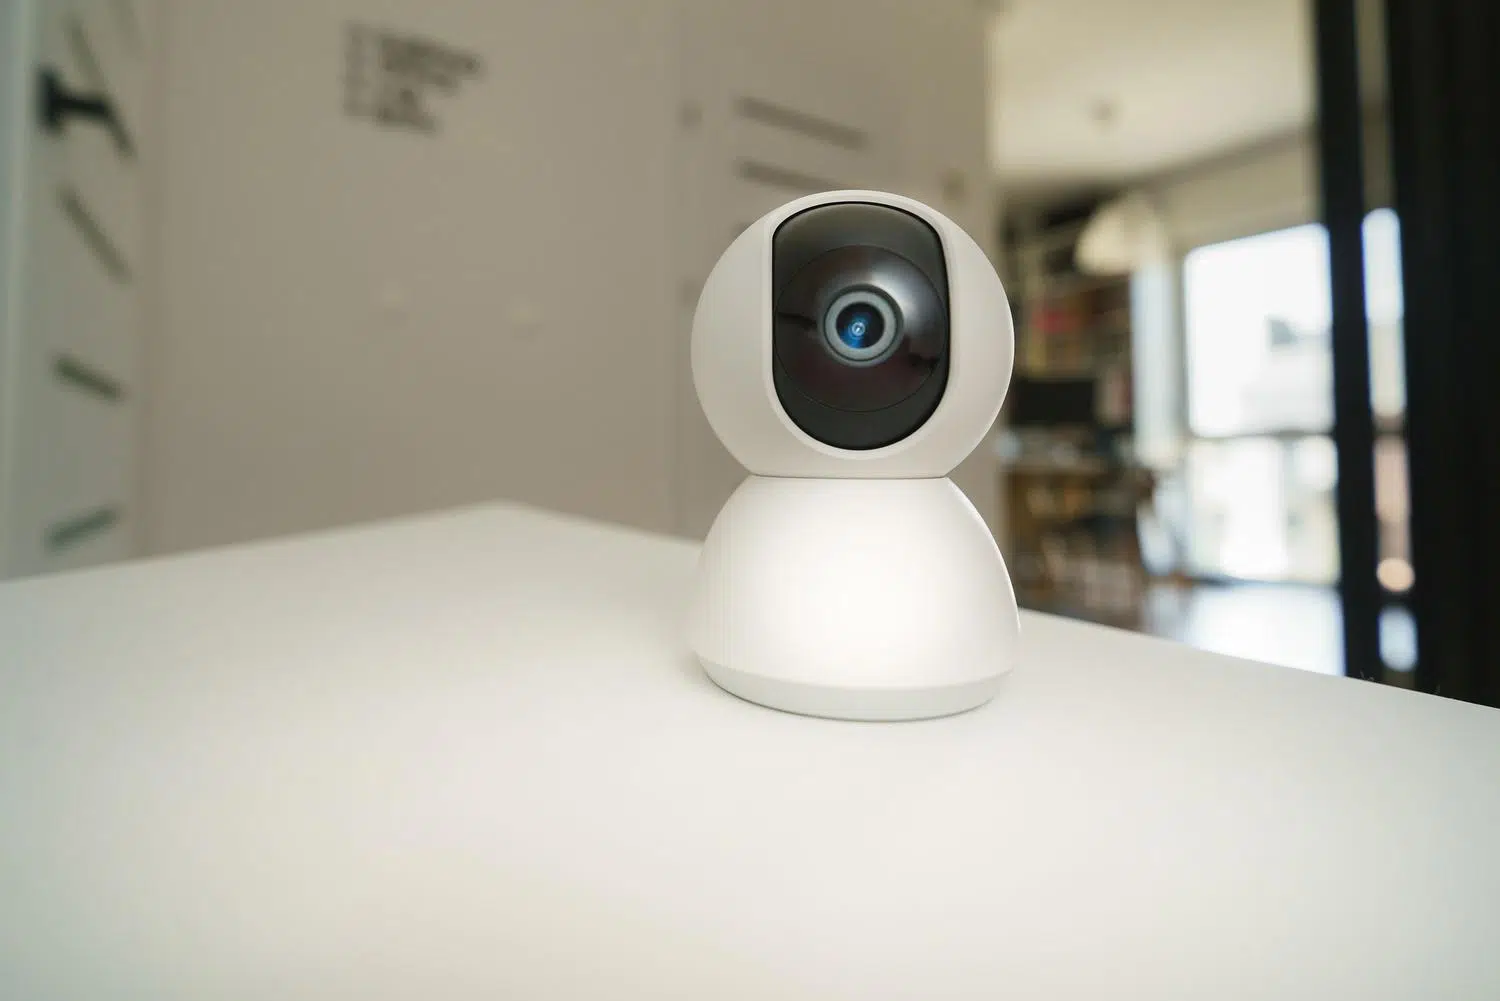
Tired of your phone constantly vibrating because a branch moves in the wind or your neighbor's cat decides to take a stroll in your garden? It's the typical problem with cheap cameras: they detect every pixel change and send you an alert, causing you to ignore notifications precisely when they really matter . To solve this headache, there's Frigate, an open-source network video recording (NVR) system that's a game-changer by processing everything locally and using artificial intelligence.
The magic of this software is that it doesn't just detect movement; it can identify what that object is , whether it's a person, a car, or a dog. By seamlessly integrating with Home Assistant, you can set up a professional security system in your own home without monthly fees or sending your private videos to cloud servers, maintaining complete control over your privacy and response time.

The engine of intelligence: Google Coral TPU
If you want Frigate to perform flawlessly without overloading your server's processor, you need a hardware accelerator. This is where the Google Coral USB Accelerator comes in , a small device that acts like a scientific calculator specializing in AI. While a normal CPU processes information step by step, the TPU chip performs thousands of simultaneous operations, reducing resource consumption from 80% to a ridiculously low 10%.
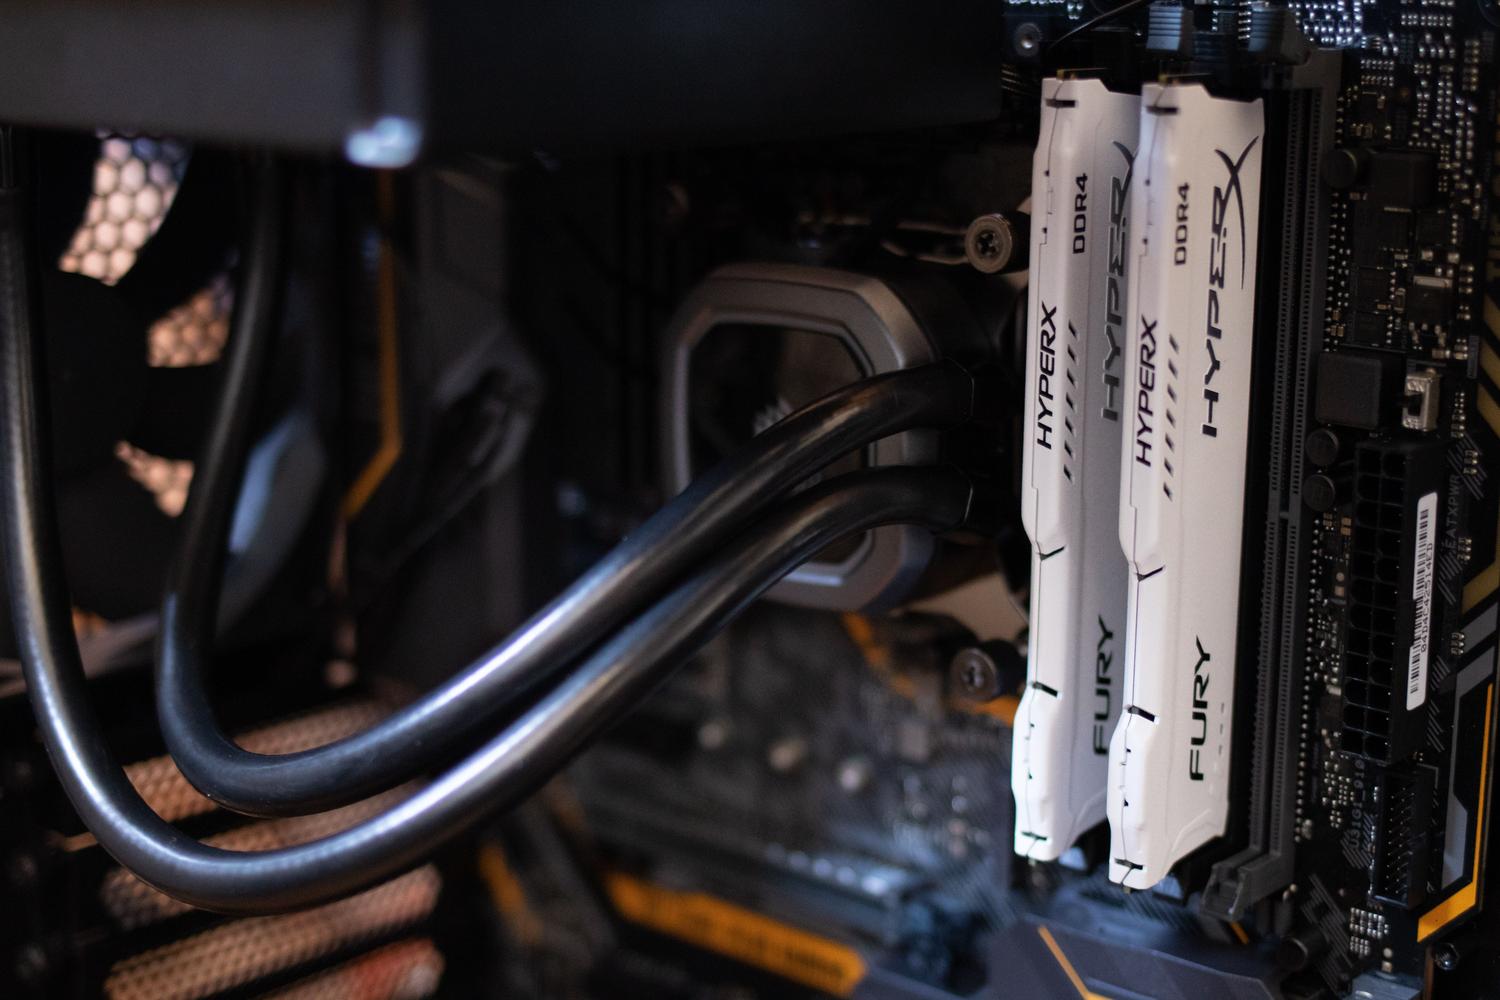
Without this component, any Raspberry Pi or Mini PC will struggle to analyze video in real time. The Coral enables instant object detection , which is crucial if you want, for example, your patio lights to turn on the moment someone steps onto your property, and not five seconds later.

Technical requirements and environment preparation
To get this up and running, you don't need to be a NASA engineer, but you do need to understand some basics. You'll need a server that can run Docker (like a Mini PC, a NAS, or a Raspberry Pi 4/5), hard drives with enough capacity to store the clips, and, of course, security cameras that support the RTSP protocol.
A crucial detail is that your cameras must offer at least two video streams. The sub-stream (low resolution) is the one Frigate constantly analyzes to detect movement without consuming much CPU, while the main-stream (high resolution or 4K) is used exclusively to record the final evidence when the AI confirms there is an object of interest.

Step by step installation guide
The cleanest way to install Frigate is by Docker ComposeFirst, you need to create a folder on your server and a file. docker-compose.yml where you define the container, assigning it the necessary permissions to access the Coral USB and configuring the storage in /media/frigate so that the videos do not fill up the system partition.
The heart of it all is the archive config.ymlIn it you must configure the broker MQTT (like Mosquitto), which is the language Frigate uses to notify Home Assistant that it has detected something. It's also where you define each camera, indicating the RTSP URL (which includes username, password and IP address) and the roles that each flow will have, whether detect for AI or record for the historical archive.
Advanced settings: Masks and Zones
To prevent the system from going haywire with the movement of a tree or the camera's own digital clock, you can use motion masks . These tell Frigate, "Completely ignore anything happening in this frame." It's the perfect tool for cleaning up annoying false positives.
On the other hand, detection zones allow you to be much more specific. You can draw an area called "garage_entrance" and another called "back_fence". Thanks to this, you can program different automations: someone at the fence can send you a silent alert, while someone at the front door activates an alarm or turns on all the lights in the house.

Full integration with Home Assistant
To get the most out of Frigate, you need to install its integration through HACS . Once connected, Home Assistant will automatically create binary sensors and entities for each detected object. This allows you to create powerful logic, such as sending a notification with a photo to your phone only if someone is in the garden between 11 PM and 6 AM.
A helpful tip for beginners is to use a code editor like Code Studio within Home Assistant to easily manage YAML files. Remember that for seamless communication, you must create a dedicated user in Home Assistant for the MQTT agent , ensuring the credentials match exactly on both sides.
Optimization and hardware tips
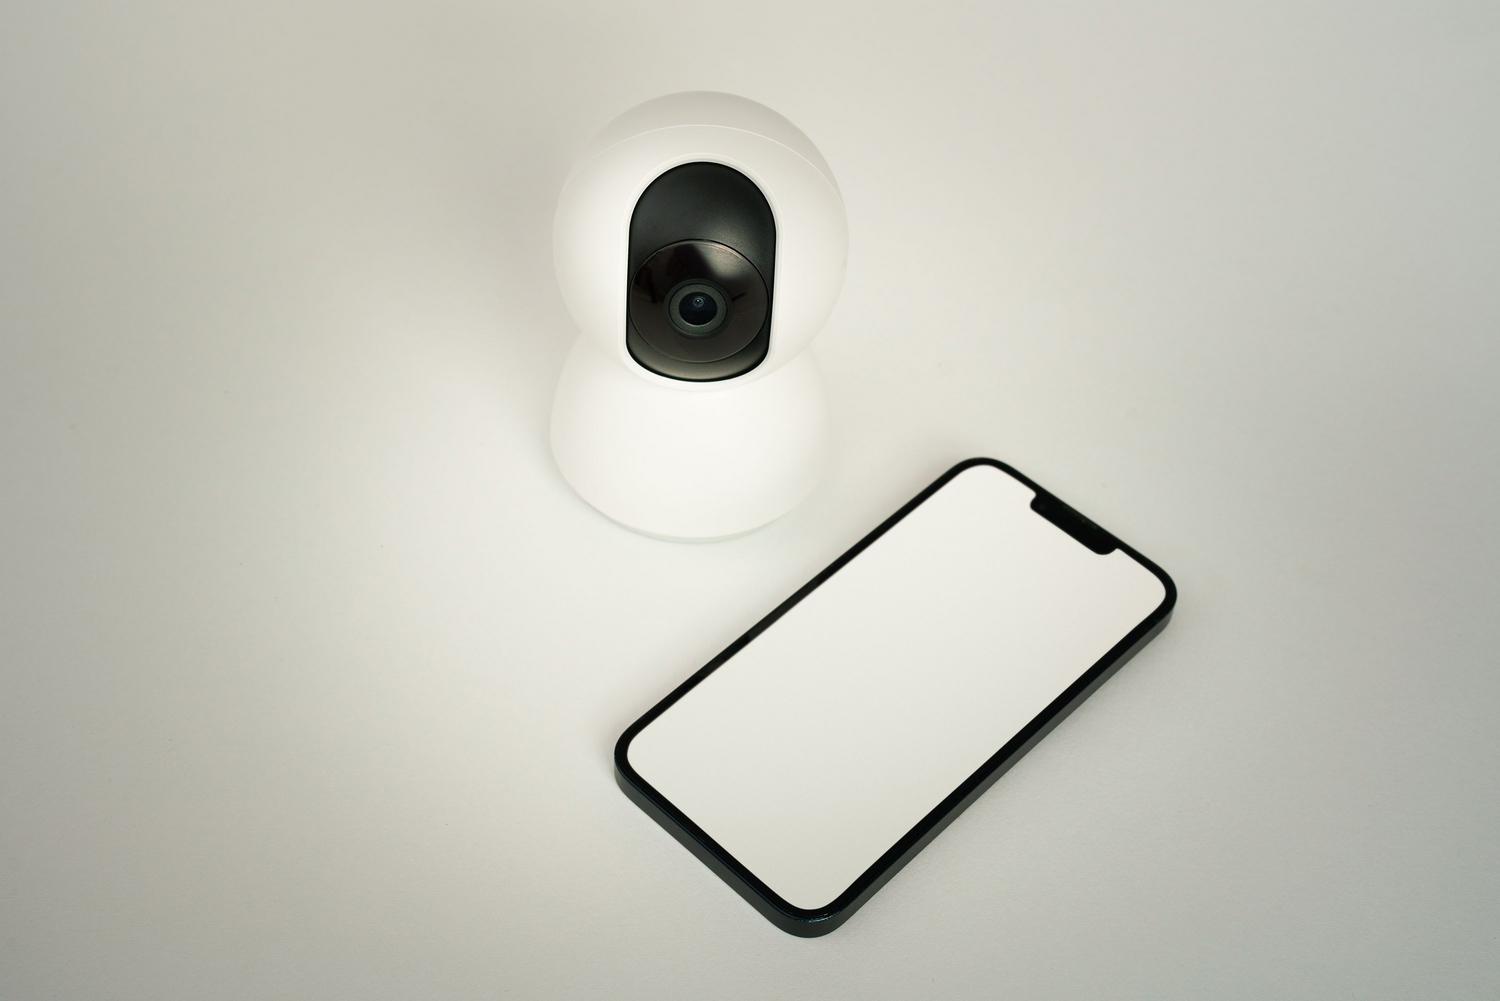
Don't make the mistake of trying to detect intrusion in 4K; it's a waste of resources. Set the detection resolution to something manageable, like 640x480 or 1280x720 , as the AI will resize the image anyway. Also, if you're using outdoor Wi-Fi security cameras , make sure you have a robust network or, preferably, use Ethernet cable to avoid lag or dropped frames that could prevent the AI from detecting the intrusion in time.
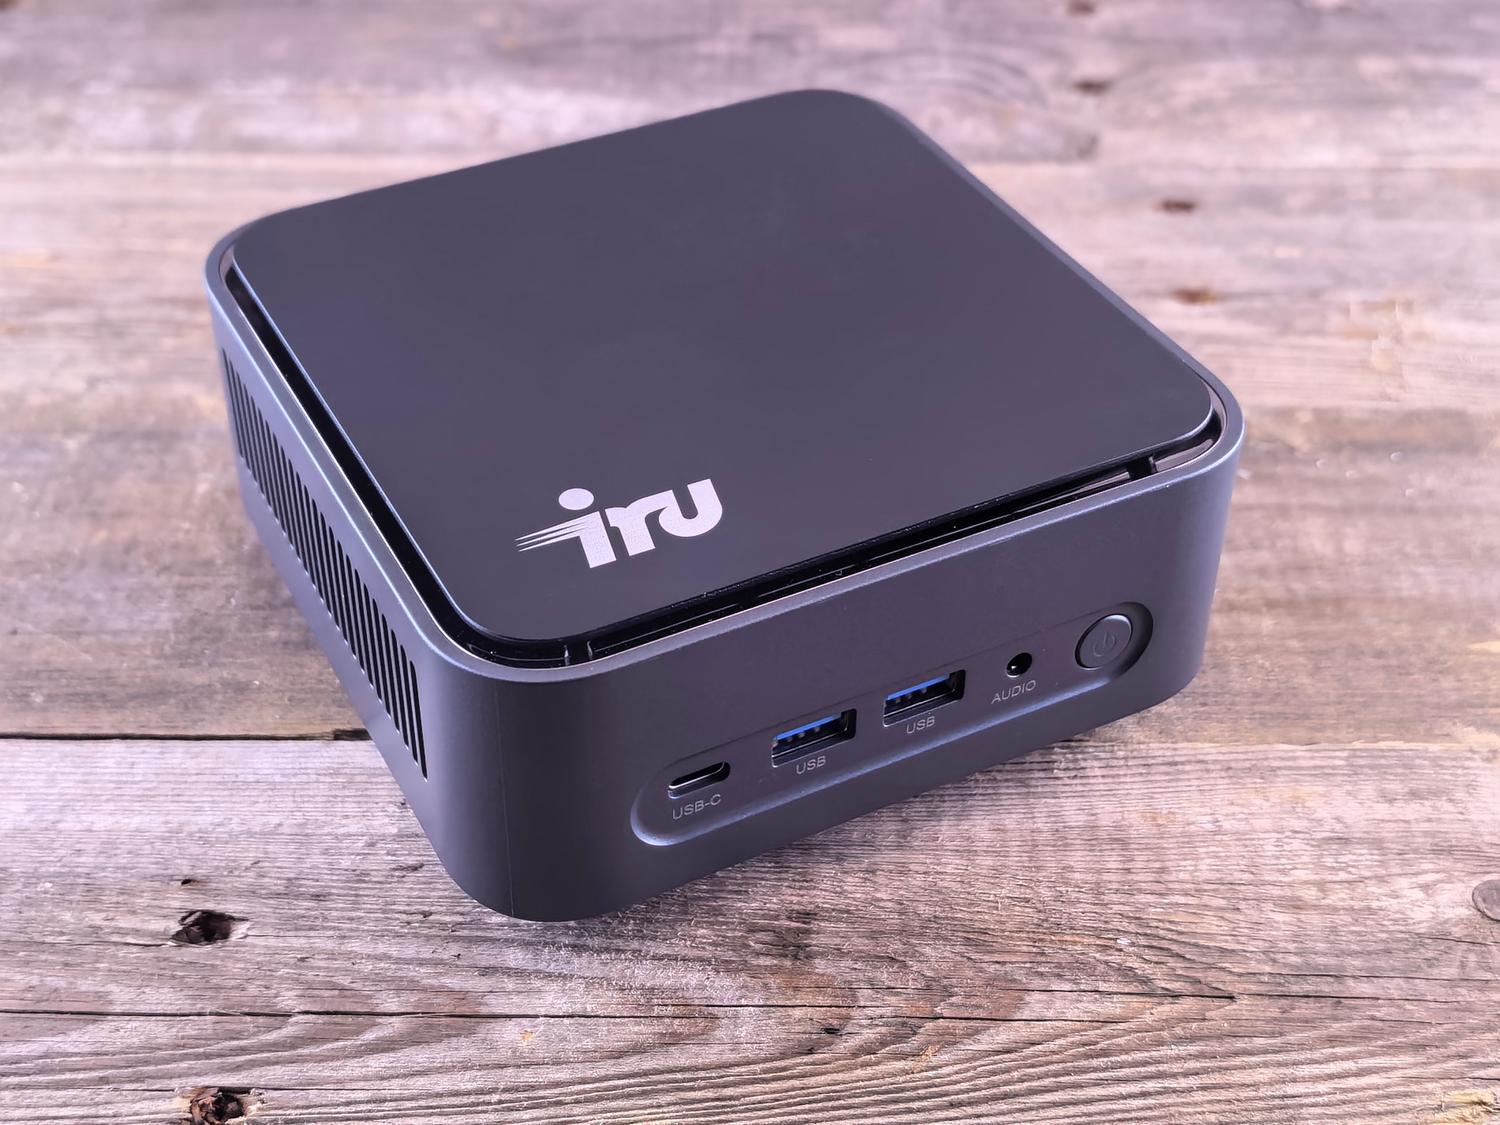
If you have any doubts about the hardware, an Intel NUC with a Coral USB can easily handle between 6 and 10 cameras . If you notice the system is running slowly, check that the shared memory (shm_size) in Docker is correctly adjusted according to the number of cameras you have connected.
Setting up a local surveillance system with Frigate is the best way to regain control over your data while enjoying smart security . By combining the power of Google Coral with the versatility of Home Assistant, you transform simple cameras into a sentinel capable of distinguishing between an animal and an intruder, eliminating false alarms and ensuring your home is monitored by a private, efficient, and free system.