- Discharge residual energy by pressing the power button after unplugging the equipment.
- Identification of specific fans by size and connector type (2+2 pins).
- Use of heat shrink tubing to ensure heat-resistant electrical splices.
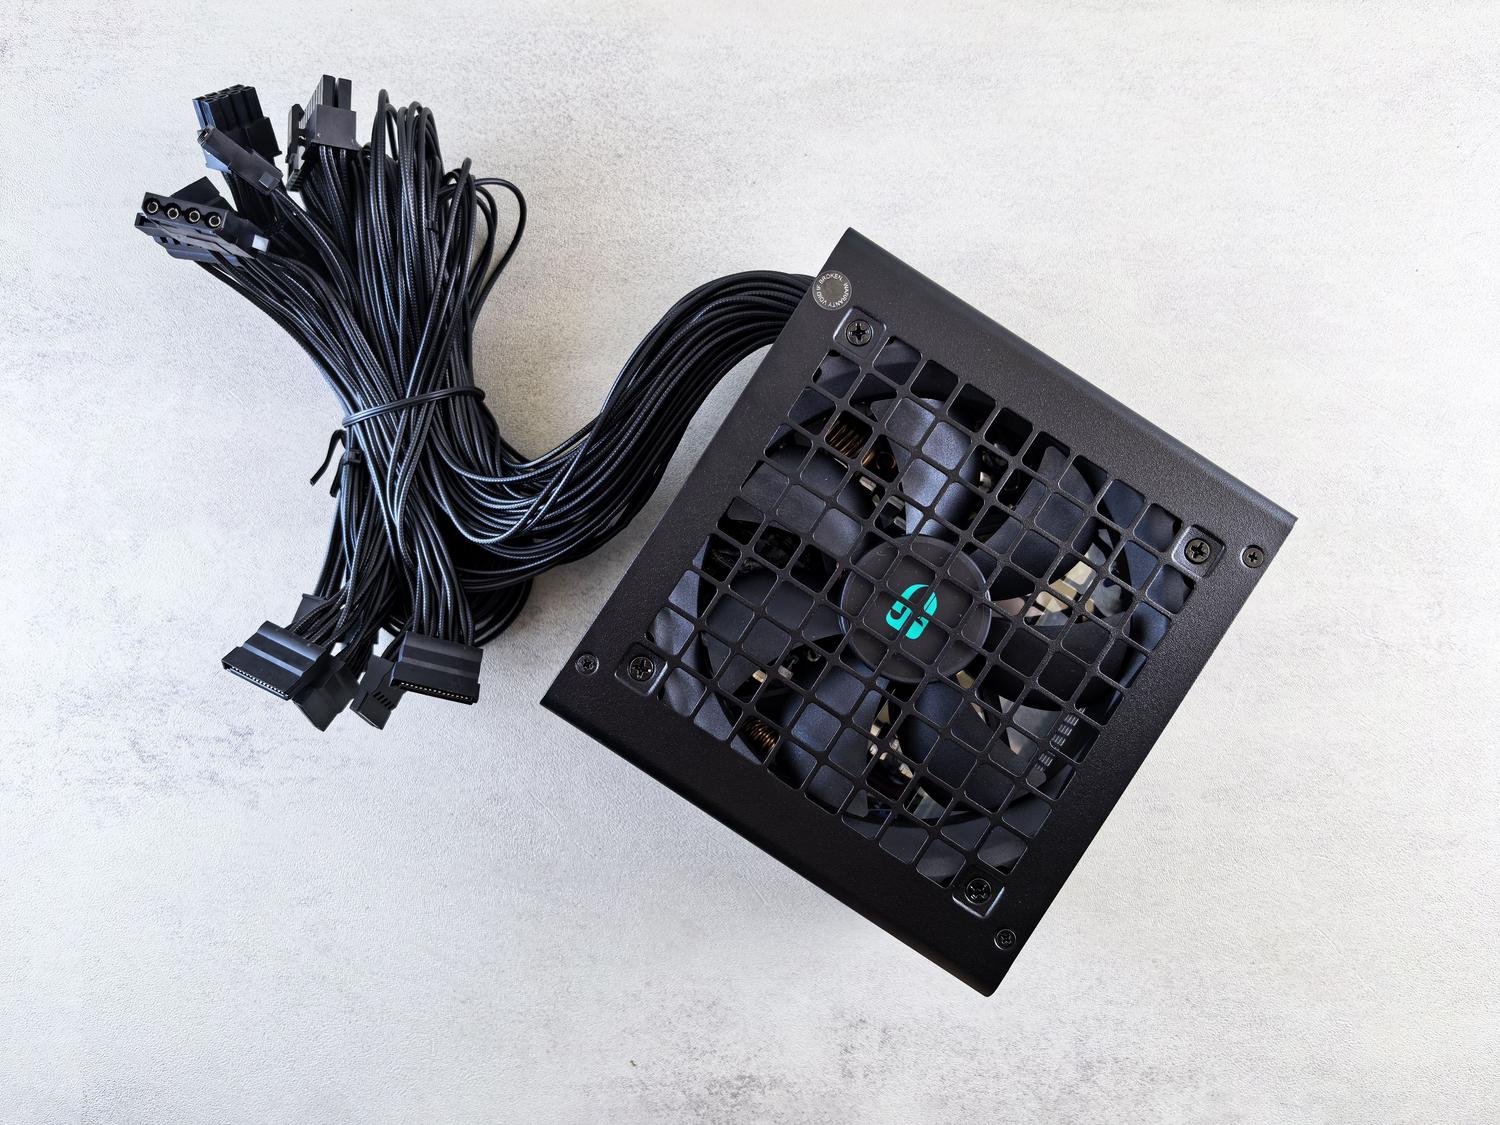
Dealing with a power supply fan that makes strange noises, like a constant rattling, is a nightmare that can last for months. Sometimes, out of sheer laziness or lack of time, we let the problem drag on for years, but there comes a point when the noise becomes unbearable or, worse, the fan finally gives out , putting the entire system at risk due to overheating. If you notice these symptoms, it's crucial to know if your power supply is failing so you can take timely action.
Many people are terrified of opening the power supply box because they know it's dangerous. And with good reason, since capacitors can store a dangerous electrical charge even after the PC has been unplugged. However, if done carefully and with proper precautions, it's possible to replace the capacitor without getting electrocuted.

How to proceed with the safe download of the source
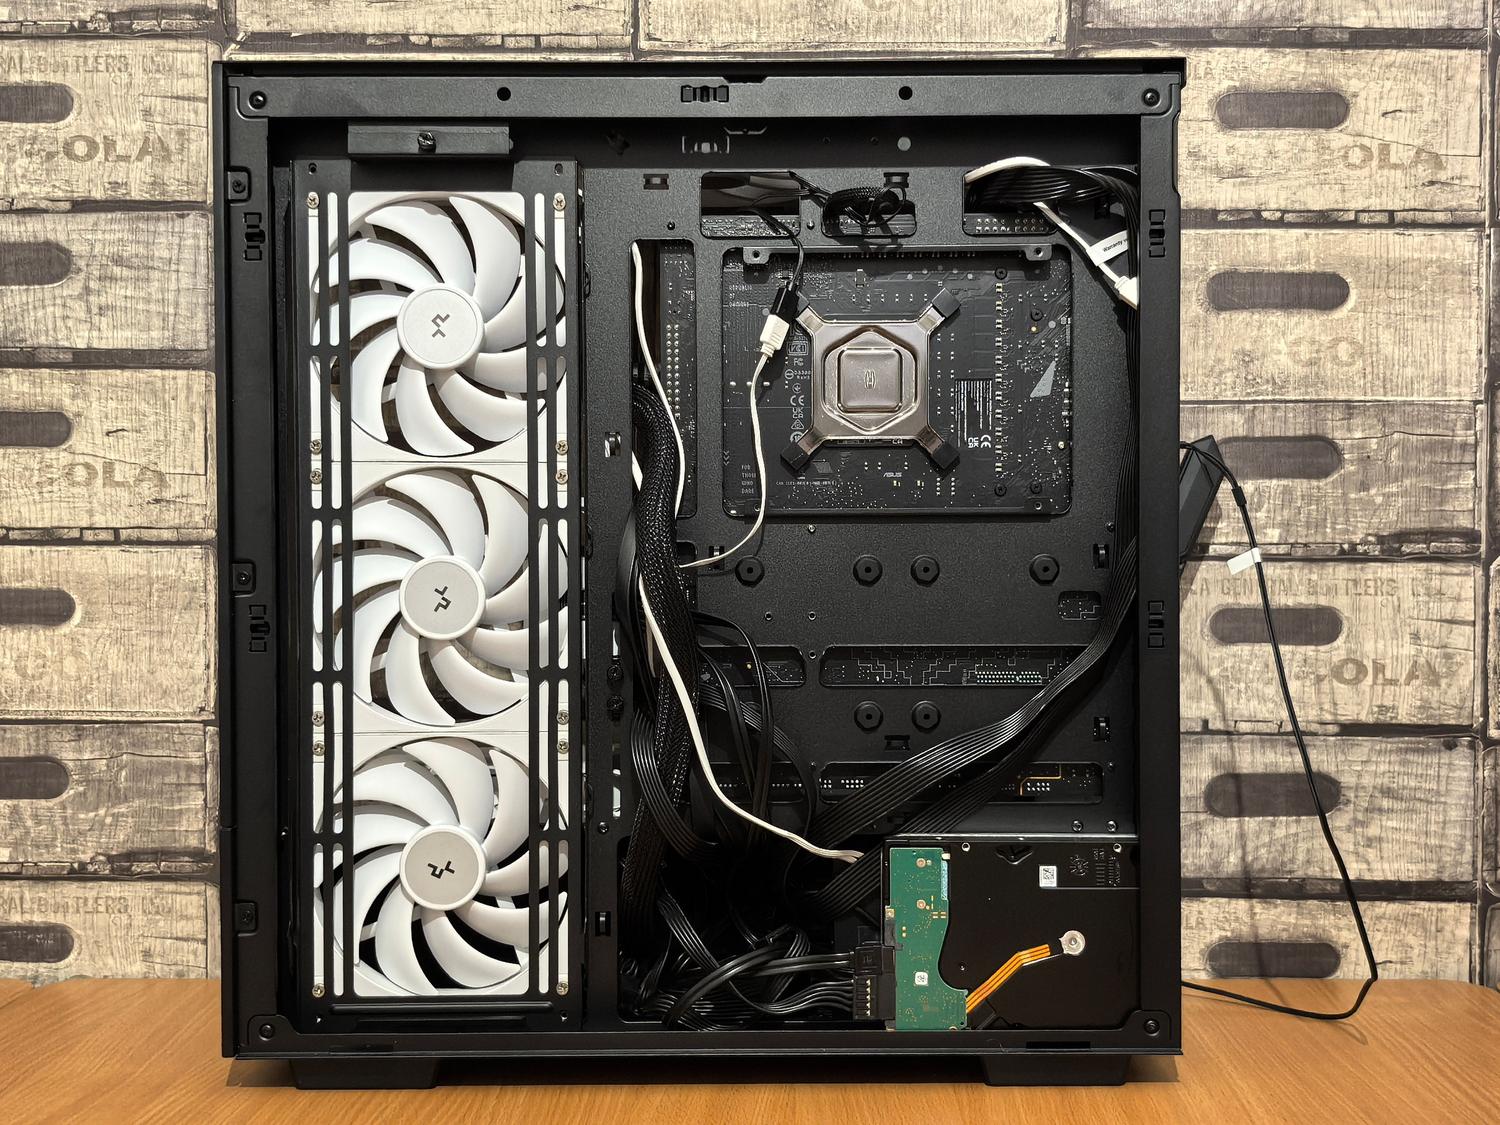
Before inserting the screwdriver, it's crucial to ensure there's no residual energy left. To properly discharge a power supply, the most common method is to unplug it and hold down the computer's power button for about 15 to 30 seconds. This forces the system to use up any remaining energy trapped in the capacitors, making the opening process much safer for the person handling it.
The challenge of finding a replacement fan
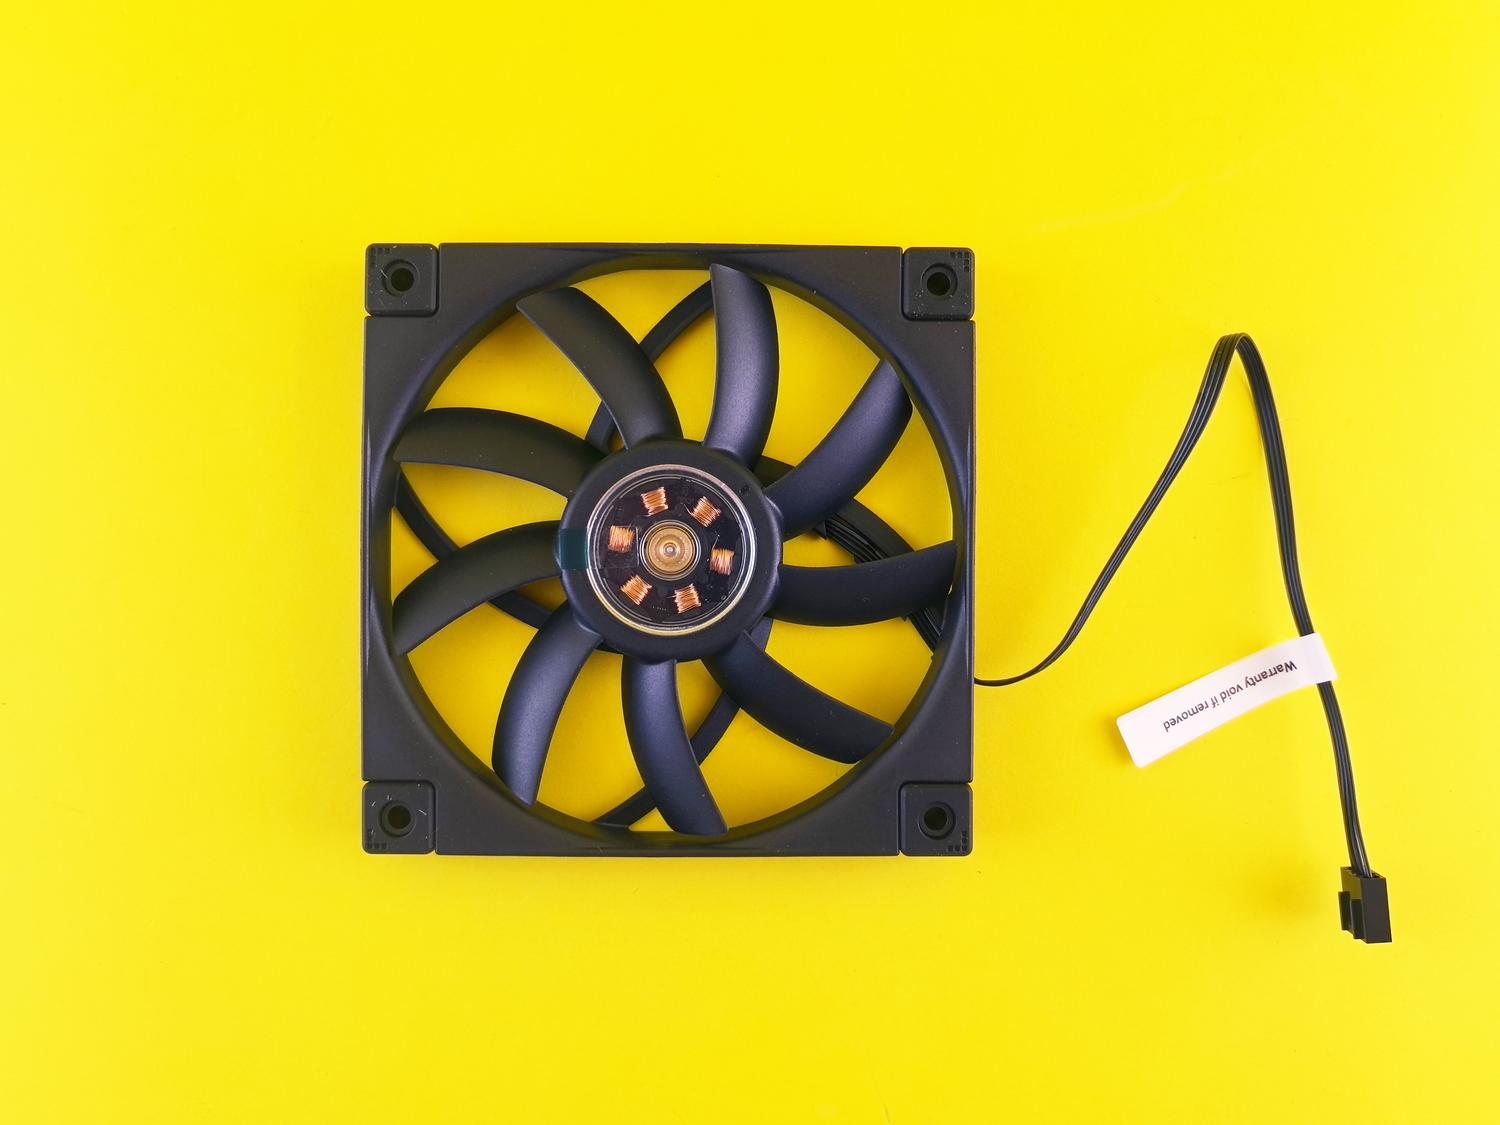

Once the power supply is opened, the problem usually shifts to finding a replacement fan. Not all fans are the same; there are models with specific dimensions, such as 135 mm fans, which are not as common as the standard ones. Furthermore, the lighting can complicate matters, as some have integrated LEDs that require additional cables to function correctly.
Another headache is the connector. While most fans use a standard 2-pin connector, some power supplies use 2+2 pin configurations . In these cases, one pair of wires is likely for powering the motor and the other pair for the LED circuit. If you can't find the exact model, don't despair thinking you have to throw away the whole power supply; there are solutions using adapters or manual modifications.
Tips for making homemade splices and connections
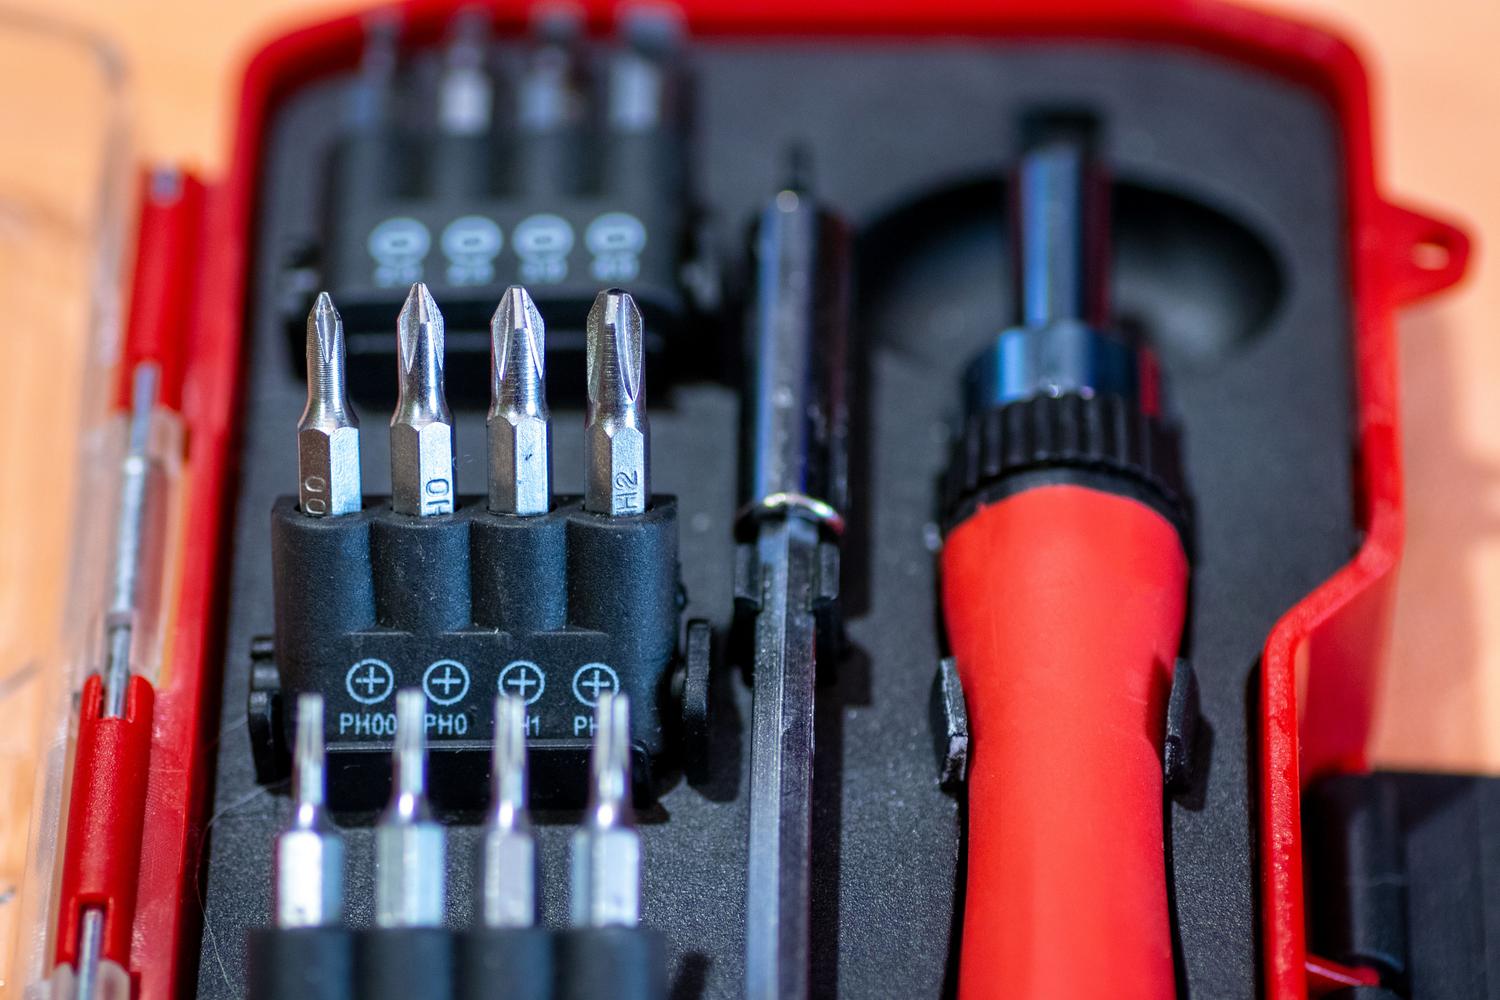
If you've managed to find a compatible fan but the connector doesn't fit, the simplest solution is to splice it manually. The easiest method involves stripping the wire ends, twisting them tightly, and securing the connection. However, this is where many people go wrong when choosing the insulating material. Conventional electrical tape tends to degrade and peel off due to the high temperatures reached inside the power supply, which could cause a short circuit. To avoid common mistakes, remember to review the most common errors when building a PC and their solutions.

- Cellophane can be useful for very basic things, but it's not ideal.
- Adhesive tape is a slightly superior option in terms of resistance.
- It is best to use heat shrink tube (also known as macaroni), which shrinks with heat and seals the connection professionally and securely.
Advanced casing modifications
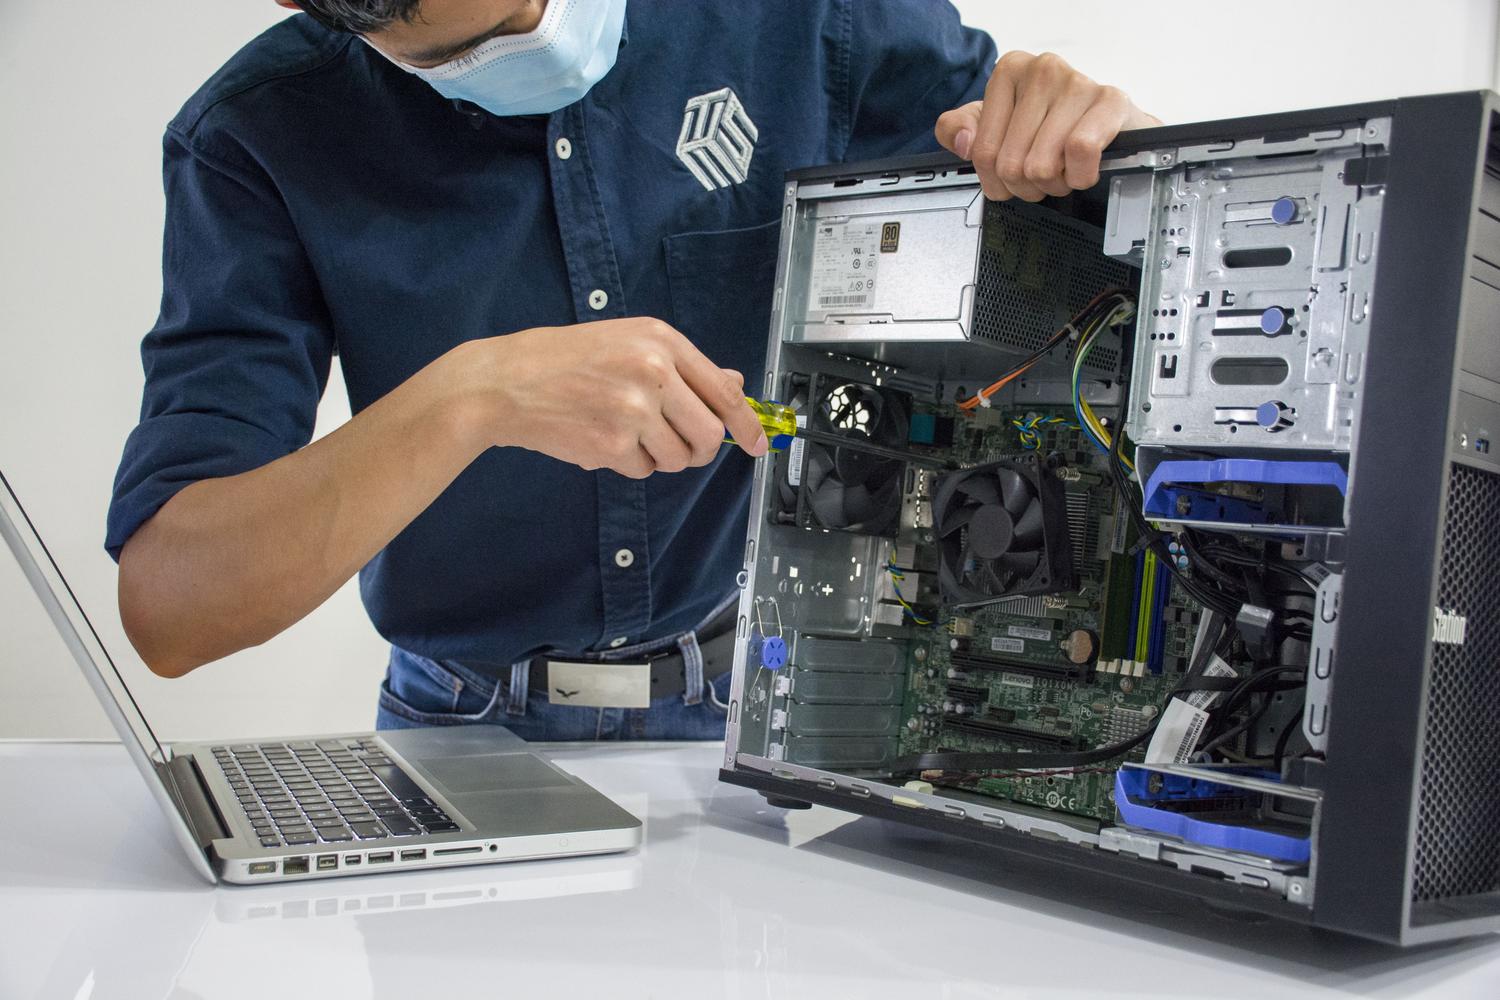
Some users want to go a step further and aren't satisfied with simply replacing the internal fan. They opt to replace the original casing with custom grilles or designs that allow the fan to be mounted on top (for example, a 12cm fan), thus improving airflow. While this is an attractive option to avoid spending money on a new power supply, it requires certain DIY tools and careful planning to avoid compromising the system's structure.
Replacing the power supply fan involves first discharging any residual energy from the device to prevent accidents, then finding a replacement that matches the size and connectors, and finally performing an electrical assembly where heat-shrink tubing is preferable to electrical tape due to the internal heat. It's a viable and economical alternative to buying a new unit, provided care is taken when handling the electrical components.
