- Use of specific chemical adhesives such as cyanoacrylate for PLA or acetone slurry to melt ABS parts.
- Thermal welding techniques using 3D pencils or mechanical friction for high-strength structural joints.
- Implementation of mechanical anchors, thermal inserts and snap-fit designs for detachable and professional parts.
- Post-processing with fillers and progressive sanding to eliminate seams and achieve industrial finishes.
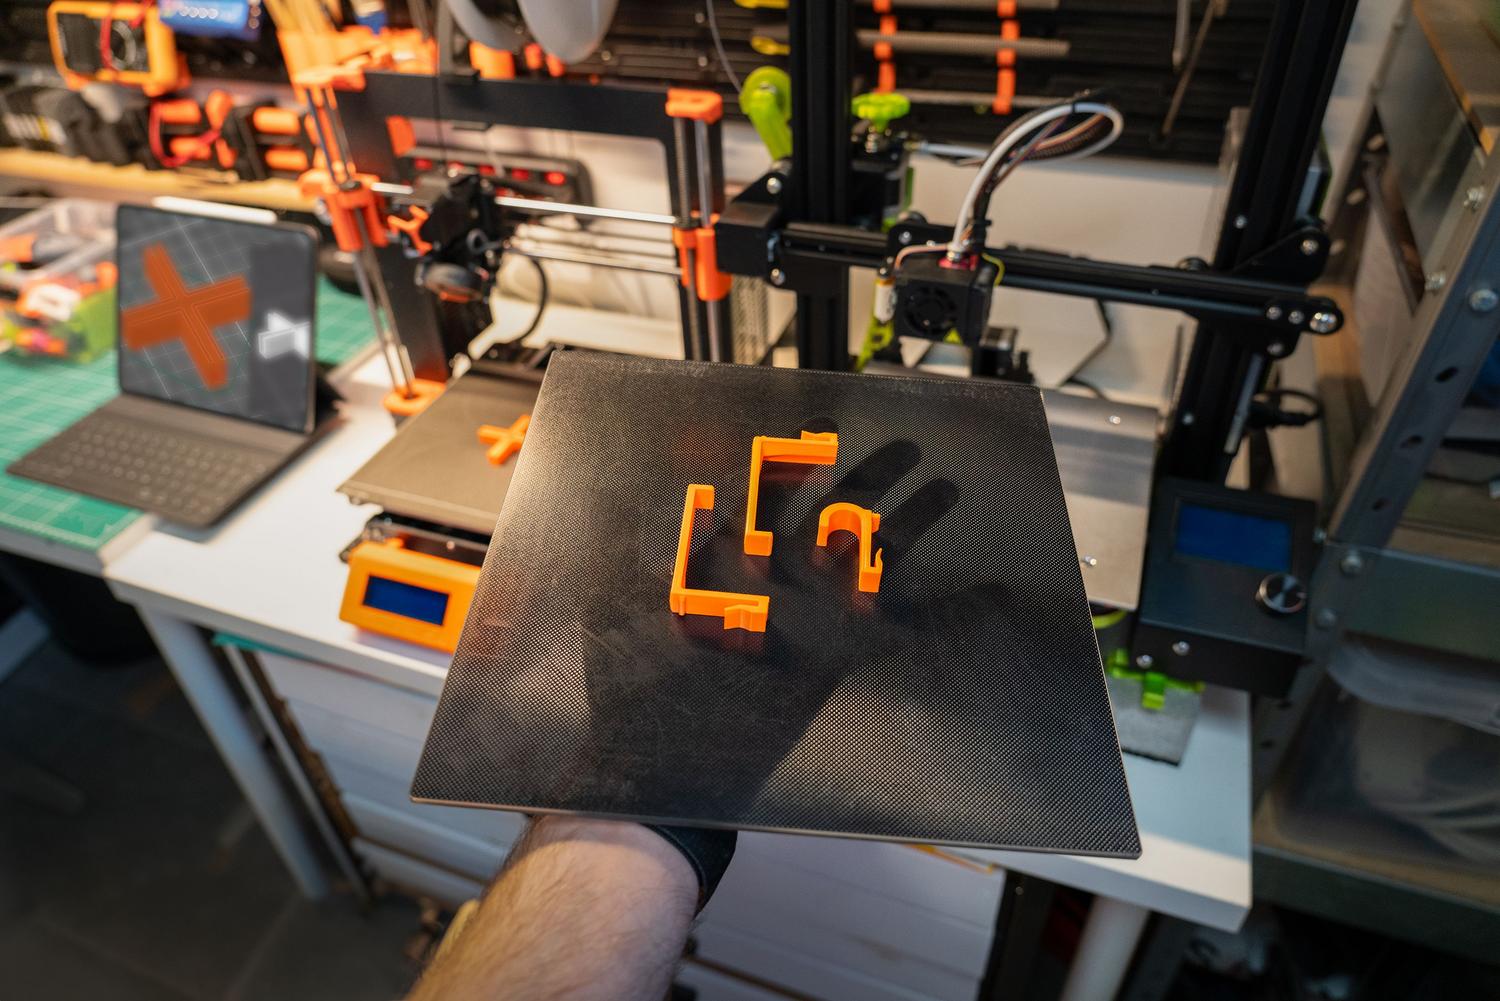
I'm sure it's happened to you: you've spent hours designing an ambitious project, like a superhero helmet or an industrial part, and suddenly you realize your printer's build volume isn't enough. Or worse, after a whole day's work, that darn warping has left a gaping crack right in the middle of your piece. Don't panic, it's not the end of the world and you don't have to throw the material away. Knowing how to join 3D printed components is, basically, the skill that distinguishes someone who just makes a few figures from a true maker.
Many beginners make the mistake of trying to print everything at once, but those with experience know that segmenting is key. By dividing the model, you avoid filling the part with supports that leave unsightly marks, and you also implement a risk management strategy : if something goes wrong, you only reprint the affected part and don't waste all the material or time. Furthermore, dividing allows you to experiment with material mixes, using PETG for the structure and TPU for the flexible areas , resulting in functional objects that would be impossible to produce in a single print run.

The magic of chemistry: Bonding and fusing polymers
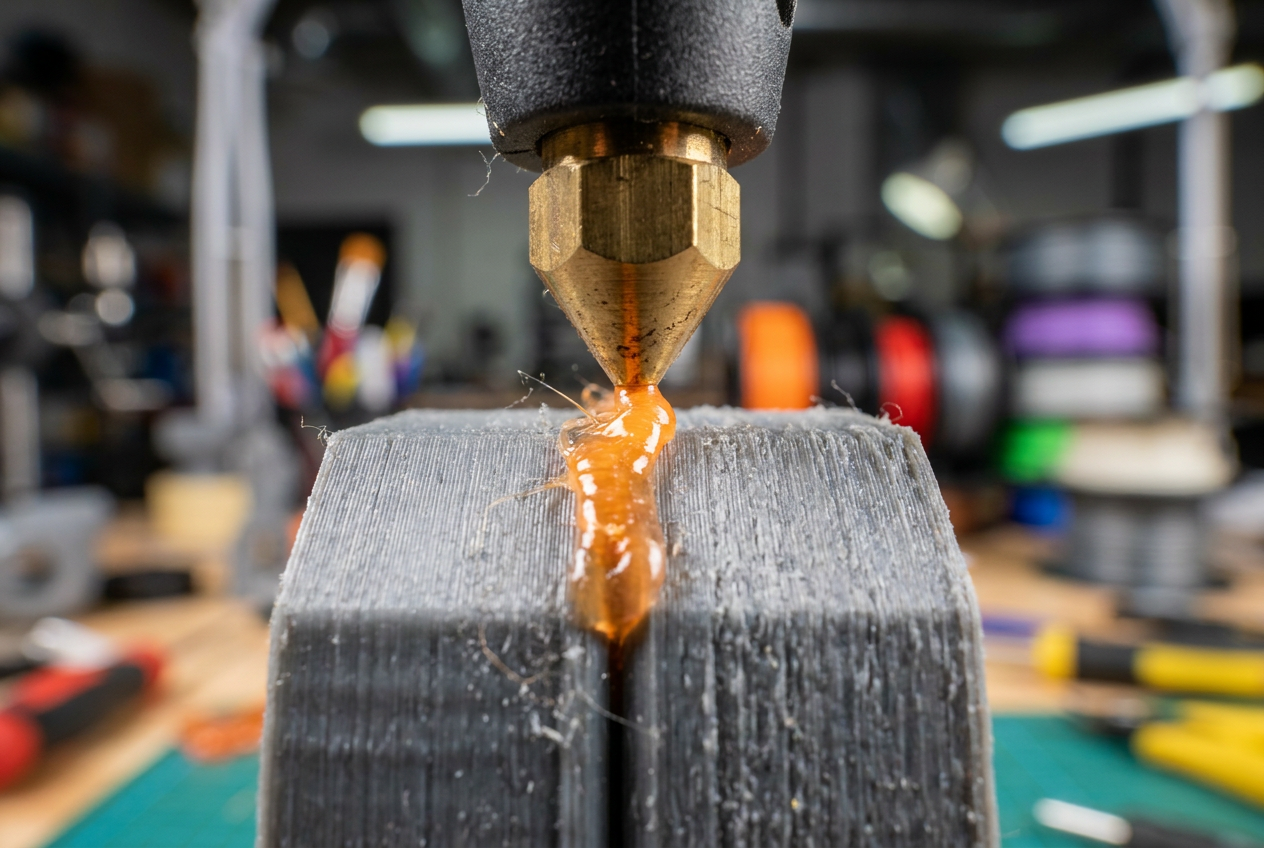
To keep two pieces together, squeezing them tightly won't do; what matters is that the solvent and the plastic bond well at a molecular level. Not all adhesives penetrate the material; some simply remain on the surface and eventually flake off.
- PLA Joints: Cyanoacrylate is king here. It's fast and rigid, ideal for small details. Just be careful of blooming (those unsightly white patches); the solution is to ventilate well or use a spray activator to ensure a strong bond. instant and definitive.
- The ABS trick: This material is amazing because it's soluble in acetone. The best way to make it is to manufacture "ABS Slurry," which involves dissolving filament remnants in pure acetone until a honey-like paste is created. When applied, the pieces literally fuse into a single structure, creating a a bond as strong as the original material.
- The challenge of PETG and technical materials: These plastics have a low surface energy, which causes the glue to "slip." In these cases, it's best to use thermal fusion or mechanical assembly to prevent the part from failing due to this. adhesive fatigue in response to temperature changes.
Thermal welding: When glue is not enough
If your piece is going to be subjected to real mechanical stress or exposed to the elements, it's best to remelt the plastic so the polymer chains crosslink again. This is the safest way to ensure they will never separate.
A key tool is the 3D pen, which acts like a handheld extruder. It's perfect for filling gaps and welding deep cracks using the same material and color as the piece. Once dry, a little sanding and the seam disappears. If you don't have a 3D pen, you can resort to friction welding: place a piece of filament in a Dremel at 20.000 RPM and touch it against the joint. The heat from the friction melts everything instantly; it's a somewhat crude method, but incredibly effective for large panels or furniture.
Mechanical assemblies and intelligent design
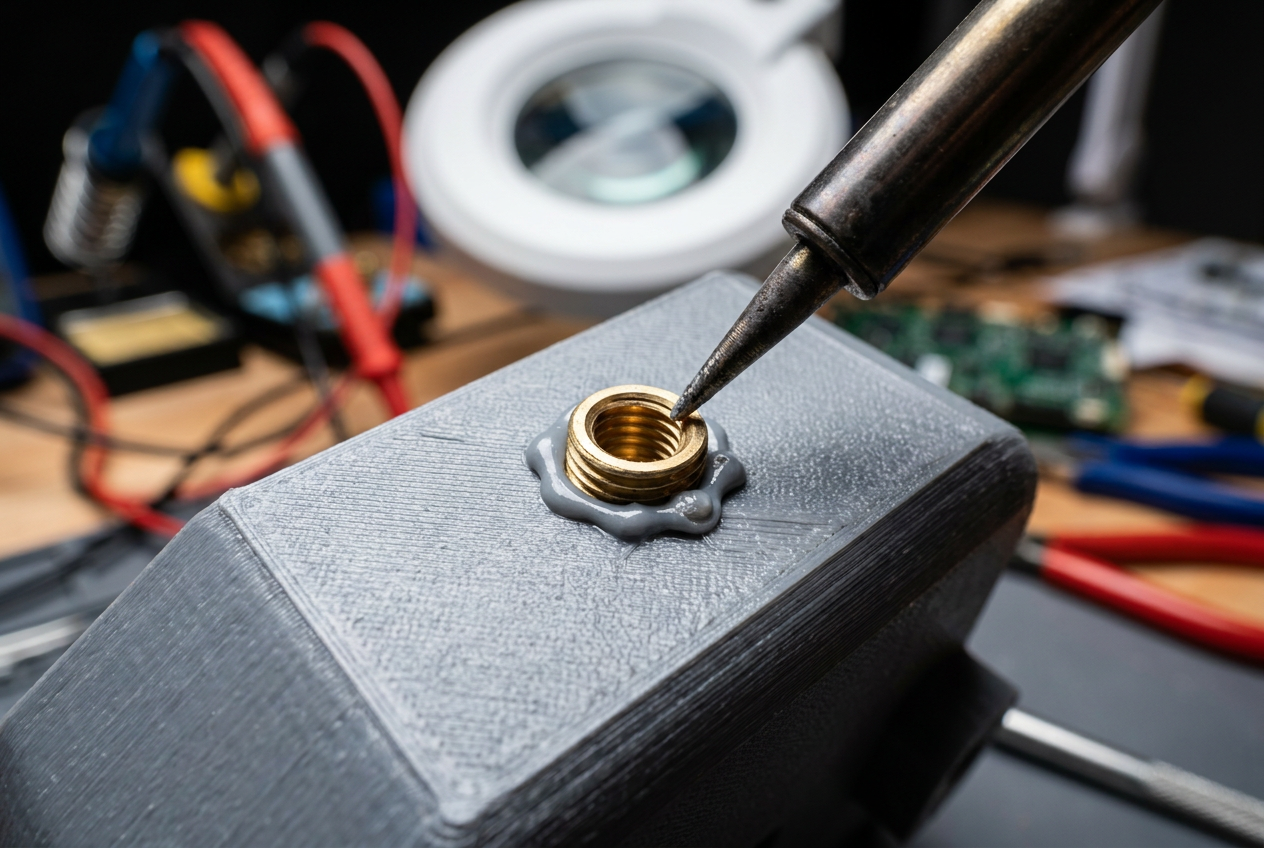
Some projects require maintenance or must withstand strong vibrations, such as a kayak motor. In these cases, the most sensible approach is to design the joint using CAD software to ensure a physical connection rather than relying on a chemical bond.
- Thermal inserts: Forget about screwing directly into plastic; it'll strip at the first swipe. The brass inserts are pressed in with a soldering iron, creating a real metal thread. It's the professional standard for drones and electronic casings.
- Various bras: You can use self-tapping screws for simple things, or bolts with nuts for heavy loads. Rivets are great for thin parts, although you have to be careful not to crush the plastic.
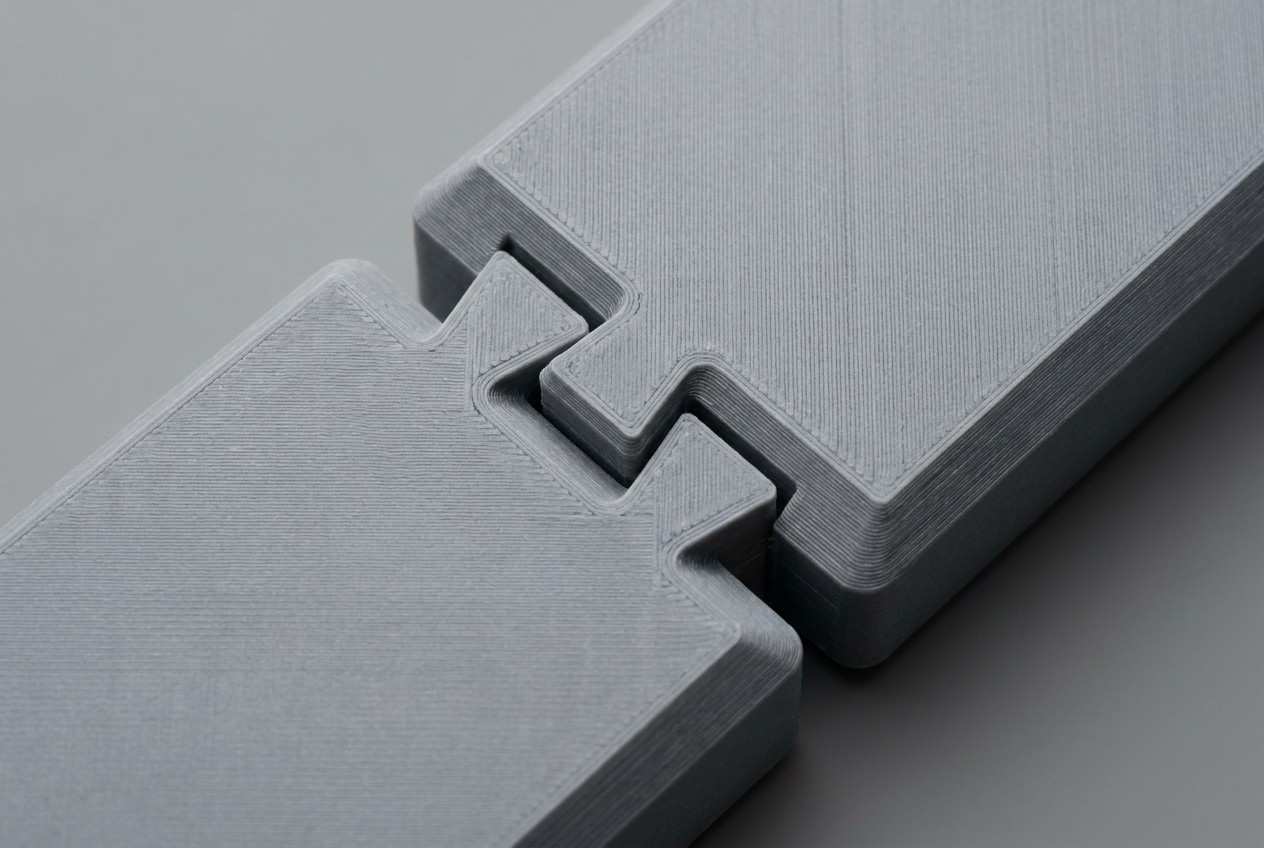
- Snap-fit systems: These are the tabs that "click". They require mastering tolerances (usually leaving about 0.2 mm of clearance), but they are the cleanest and most elegant option.
- Structural joints: For furniture or frames, dovetail joints or mortise and tenon joints are unbeatable, as they offer a superior mechanical stability without the need for external tools.
Material utilization and final finishes
To avoid cluttering your house with half-finished filament spools, you can make a homemade filament welder from a block of aluminum. The secret is to melt the ends and pass them through a PTFE tube while they're hot to maintain the 1.75 mm diameter and prevent the printer from noticing the joint.
If you want your piece to look natural, not like it was 3D printed, post-processing is essential. For unsightly cracks, use coarse-grit sandpaper (80-120 grit) and fill them with polyester putty or a mixture of cyanoacrylate and baking soda for a stone-hardening finish. Then, sand in successive stages (240, 400, and 600 grit wet/dry sandpaper) and apply a filler primer . This will give you a mirror-like finish where the seam lines are completely invisible to the touch and the eye.
Mastering these techniques allows you to move from making simple plastic objects to manufacturing real, durable products. The key is choosing the method according to your needs: cyanoacrylate for rapid prototyping, thermal welding for strength, and mechanical design for professional functionality, always considering polymer compatibility and finishing time.
