- Comprehensive management of applications that run automatically when the computer is turned on.
- Advanced power settings, visual effects, and system configuration for increased speed.
- Preventive maintenance of storage and updating of critical software components.
- Physical hardware improvements such as the transition to SSD drives and RAM expansion.

There's nothing more frustrating than turning on your computer in a hurry and feeling like the system has frozen, loading an endless amount of data. That feeling of helplessness as minutes tick by and the desktop never appears is a pretty common experience, but fortunately, you don't have to resign yourself to it.
To make your computer boot up incredibly fast, you don't need to be a computer expert or get bogged down in complicated procedures. Most of the time, simply reviewing some default Windows settings is enough . With a little tweaking, these settings can make a world of difference to your daily productivity.

Quick adjustments to the boot system
One of the first things we can adjust is the system timeout. By default, Windows reserves about 30 seconds for us to enter recovery menus, but if you only use one operating system, this is wasted time. To reduce it, press Windows+R , type msconfig , and press Enter. In the "Boot" tab, you'll see the "Timeout" section; you can lower it to 15 seconds to speed up the process , and then click Apply and OK.
Another key feature is "Fast Startup." This function works similarly to hibernation, preloading the system kernel and drivers. To enable it, first ensure hibernation is turned on by opening Windows Terminal as an administrator and running the command `powercfg /hibernate on` . Then, go to Control Panel, enter Power Options, and under "Choose what the power buttons do," check the box next to " Turn on fast startup . "
Control of applications and background processes
The number one culprit behind a slow startup is usually the number of programs trying to open all at once. To tidy things up, open Task Manager with Ctrl + Shift + Esc and go to the "Startup applications" section. Here you can see the startup impact of each program; those marked as "High" are the ones consuming the most resources. Right-click on any that aren't essential and select "Disable."

In addition to startup programs, there are applications that run in the background without us noticing. In System Settings, go to Apps, select the three dots next to an app, and then go to "Advanced." There, under Background permissions, choose "Never" to prevent them from loading unnecessarily when you turn on your PC. For more experienced users, tools like Autoruns for Windows allow for much more precise control over each startup parameter.
Performance and appearance optimization
Windows 11 is visually appealing, but all those transparencies and animations consume resources. If you notice your computer struggling, go to the Control Panel, find the system, and enter "Advanced system settings." On the Performance tab, click Settings and select "Adjust for best performance ." This will make the system much lighter, although it will sacrifice some of the visual appeal.
It's also advisable to check the power mode. If you're not concerned about power consumption, go to Settings > System > Power & battery, and in the power mode dropdown, choose "Maximum performance ." This allows the processor to work at full capacity from the very first second. Additionally, if you're not a gamer, you can disable "Game mode" in the Gaming section of the settings, which will make the system prioritize overall performance over specific gaming processes.
Software cleanup and disk maintenance
The infamous "bloatware," or junk software that comes pre-installed, is a real burden. Take some time to uninstall anything you don't use from the list of installed applications. If you want something more thorough, there are tools like Windows 11 Bloatware Removal Tool (using the terminal) that clean your system completely. Don't forget to also run Storage Sense from the system menu to delete temporary files that might be slowing down disk access.
Other details that add seconds to startup are notifications and the lock screen. You can disable the Welcome screen and Windows tips in the System Notifications section. If you have a desktop computer in a secure environment, removing the lock screen and login password can save you manual steps and waiting time before reaching the desktop.
Advanced interventions and hardware
For those who want to go a step further, the Local Group Policy Editor ( gpedit.msc ) is a powerful tool. From here, you can disable resource-intensive services like OneDrive if you don't use them, preventing them from starting with the system. It's also vital to keep your software up to date; go to Windows Update and look not only for general updates but also for optional driver updates , which often improve compatibility and speed.

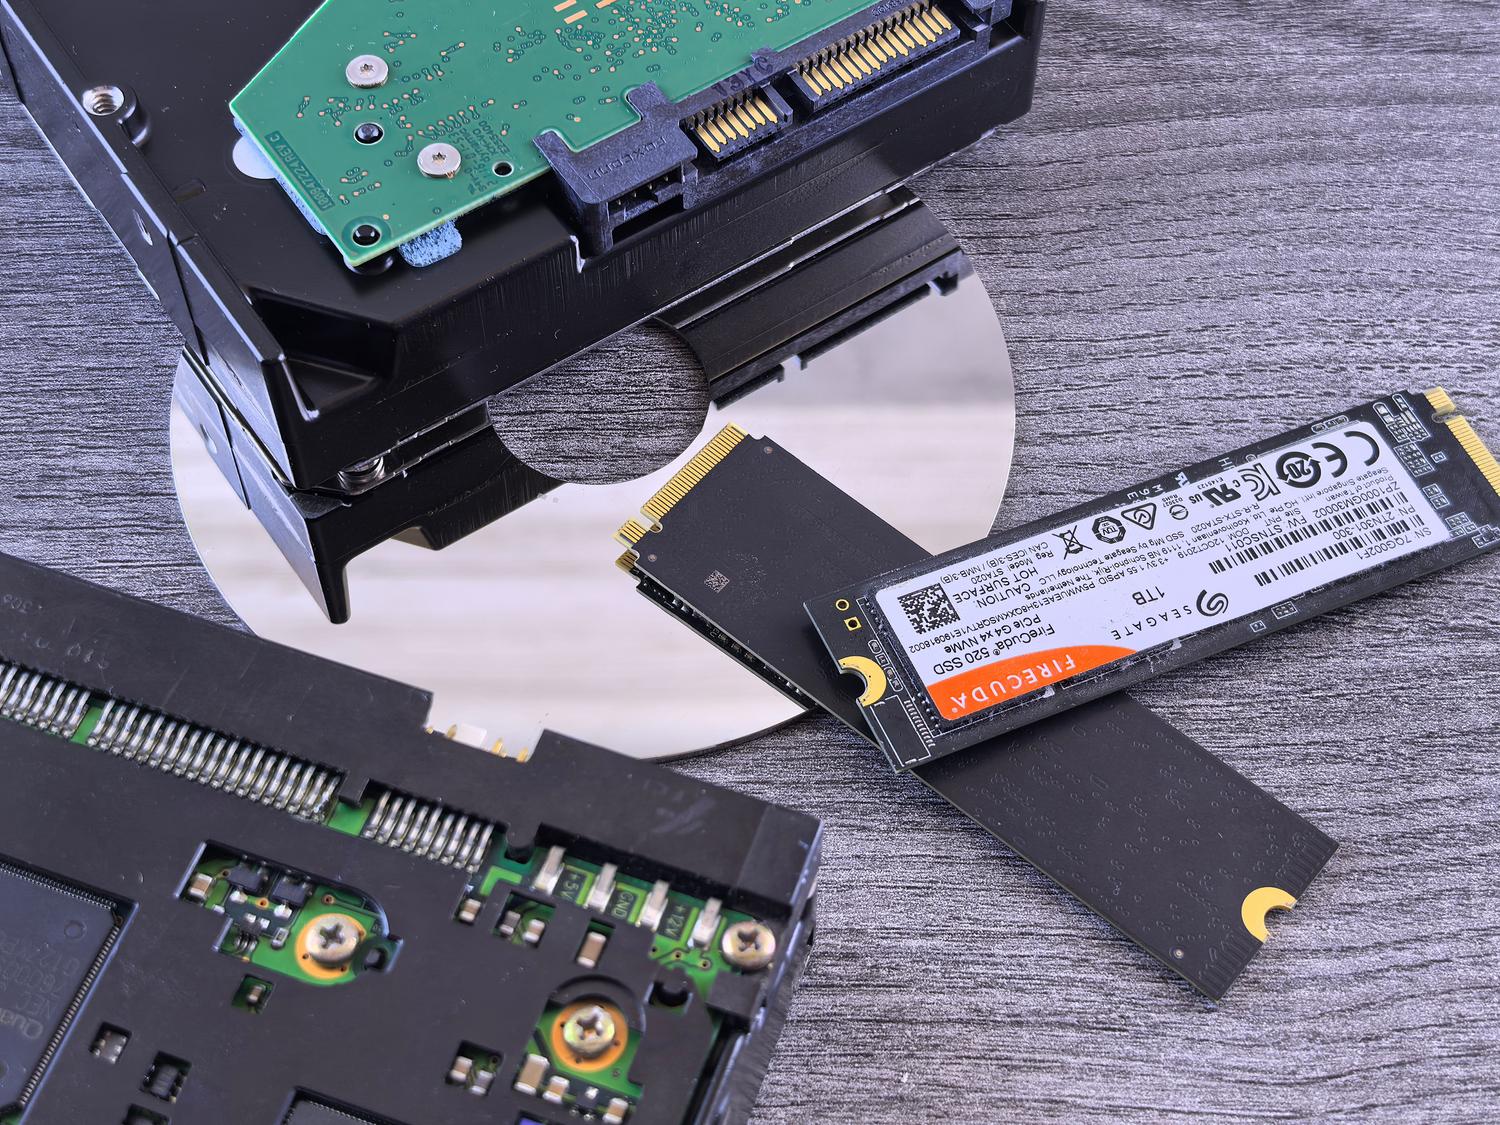
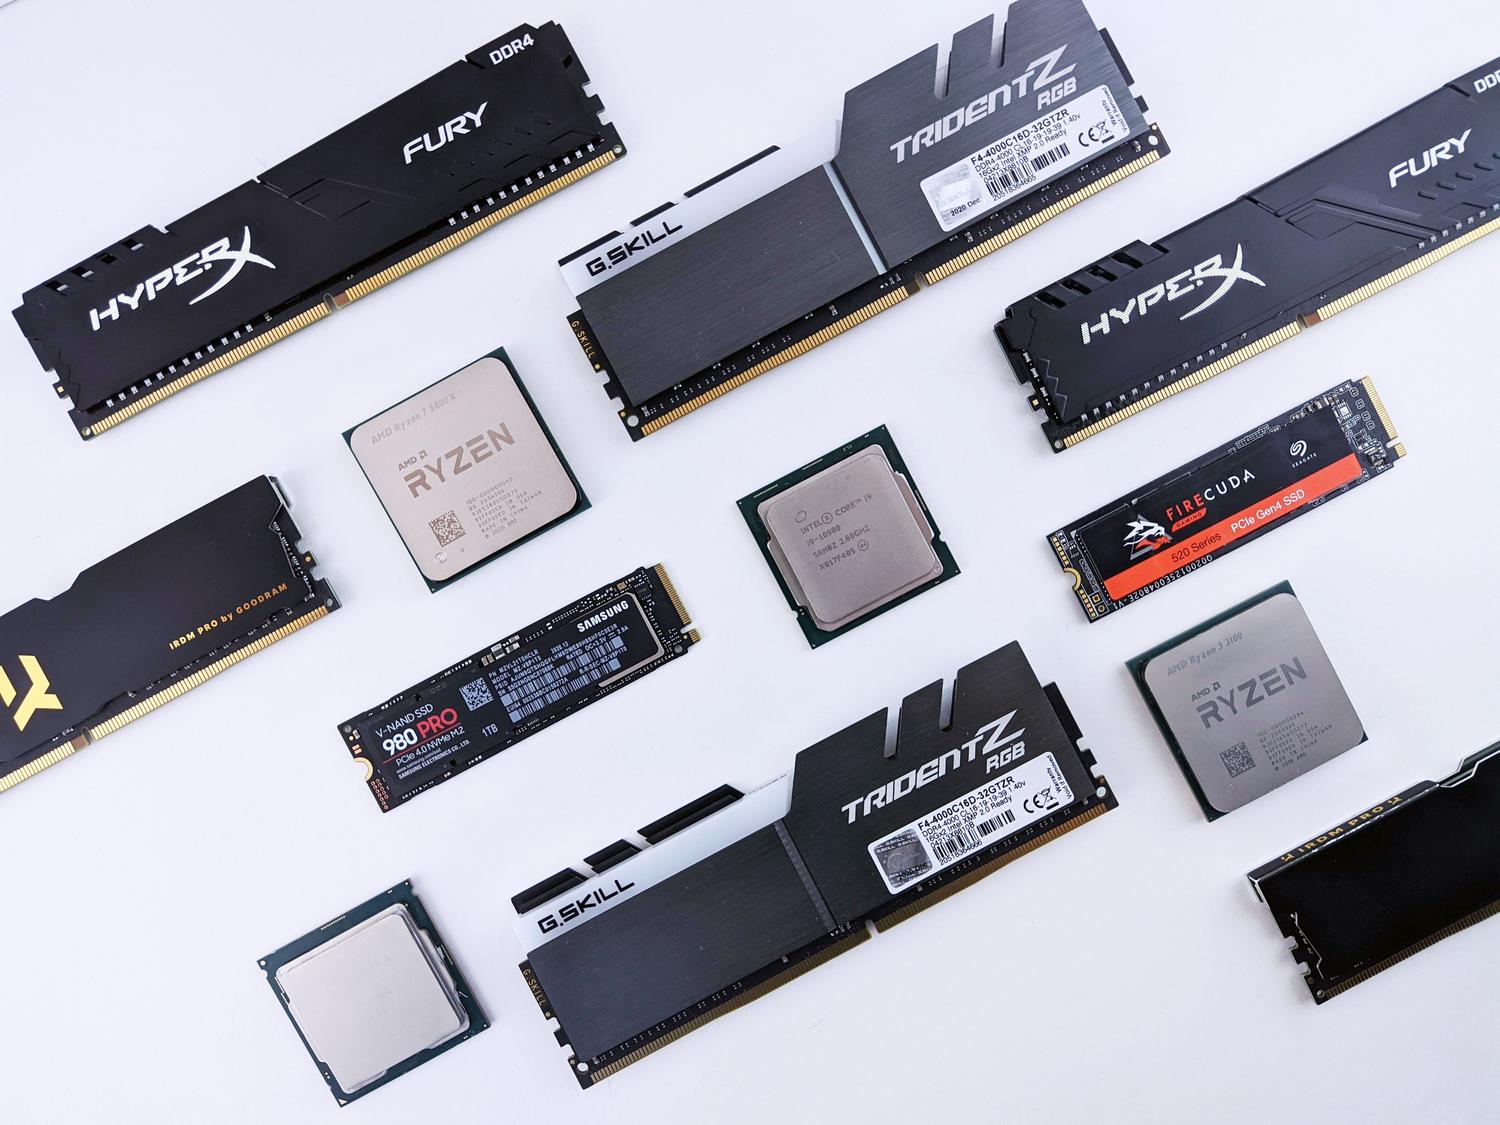
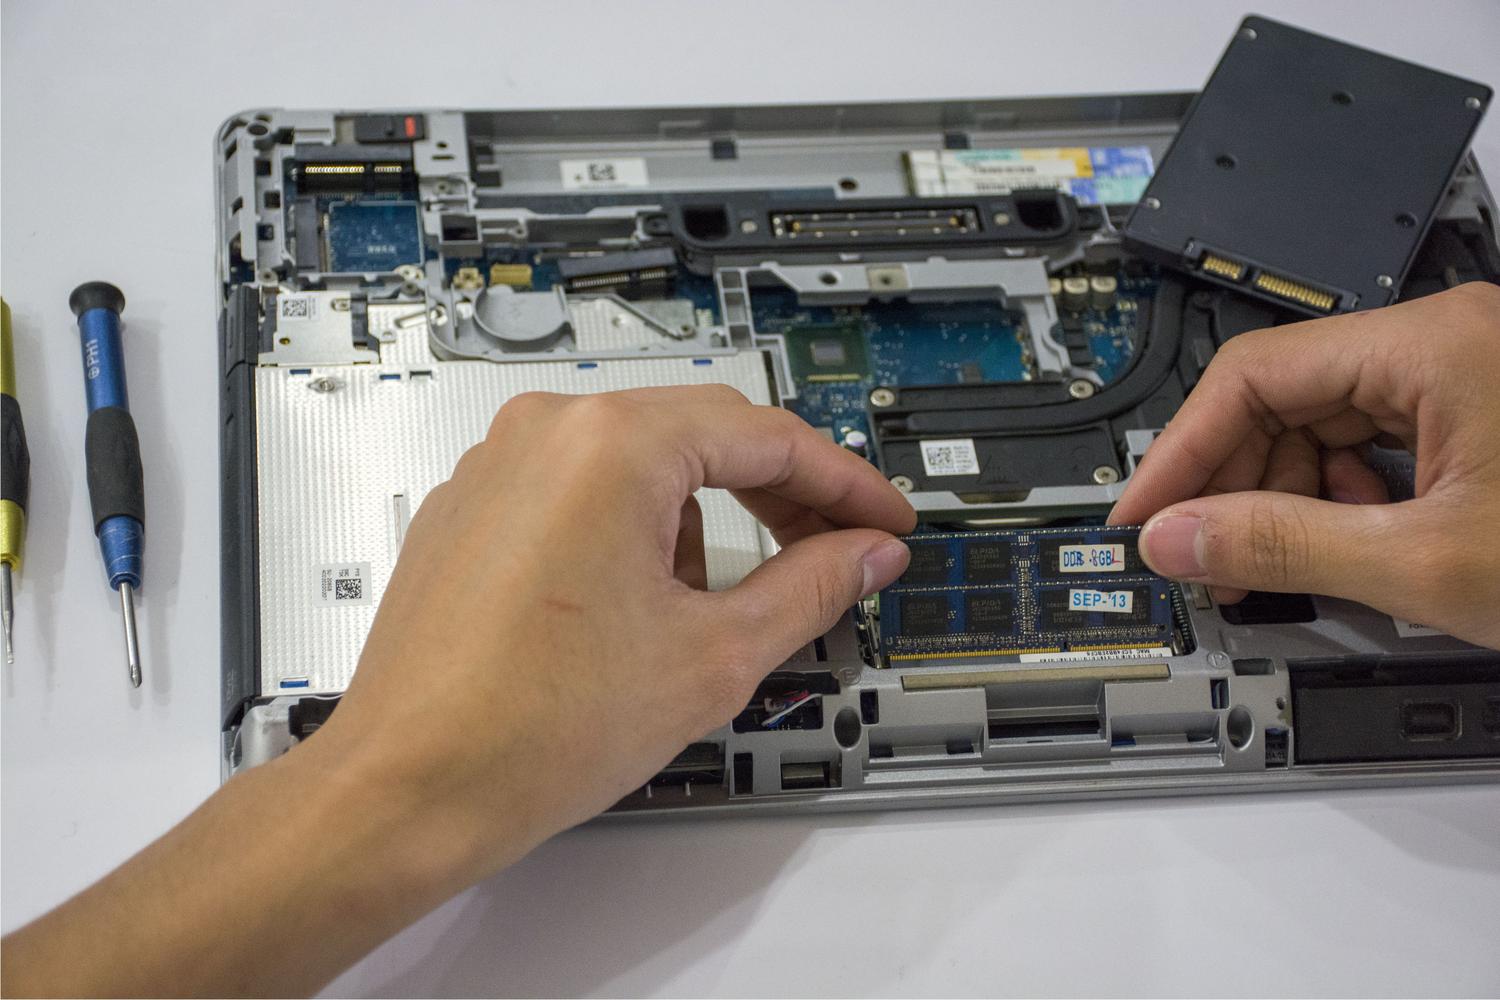
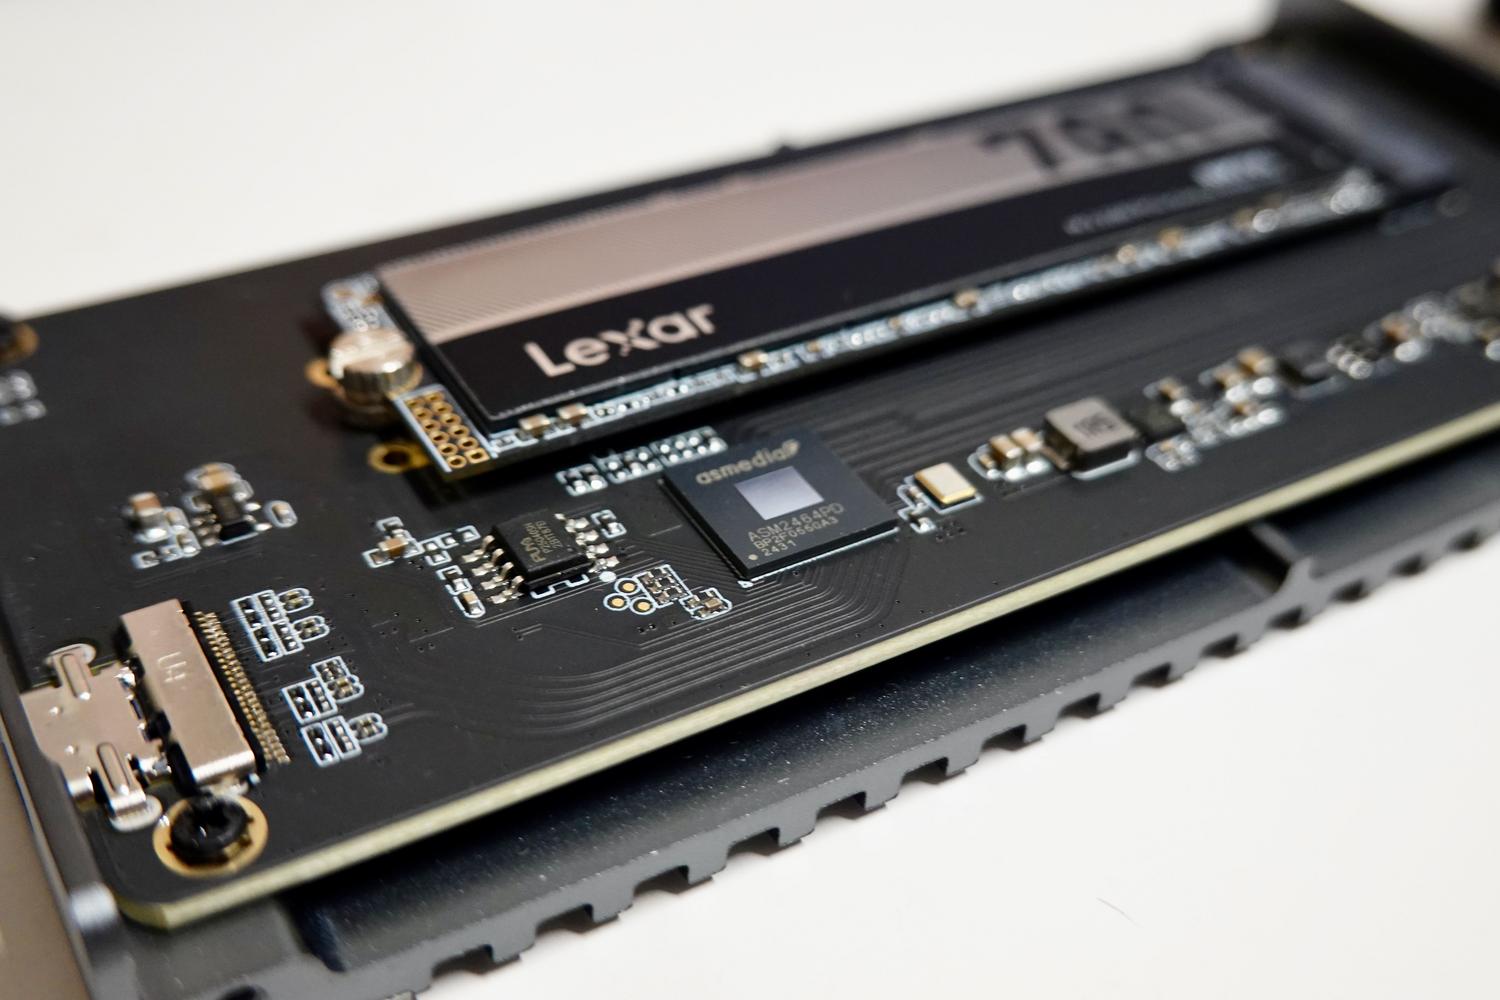
If your PC is still slow after all this, you've probably reached the limits of your hardware. The most drastic and effective change is to replace your mechanical hard drive (HDD) with an SSD (SATA or NVMe) . The difference is night and day: boot time drops from minutes to mere seconds. Complementing this with an increase in RAM will ensure that Windows 11 runs smoothly. Finally, a visit to the BIOS/UEFI to enable "Fast Boot" can eliminate unnecessary initial firmware tests.
To make your computer fly, the ideal approach is to combine cleaning up startup applications, optimizing visual effects, and using Windows Fast Startup. Keeping your storage clean, your system updated, and, if possible, using an SSD, ensures that waiting to turn on your computer is a thing of the past, transforming a frustrating experience into an instant and fluid process.
