- Native integration of the OBS virtual camera on Windows and Mac without the need for external plugins.
- Ability to transmit complex scenes, overlays, and custom backgrounds instead of a simple webcam.
- Need for additional software such as VB-Cable to redirect OBS processed audio to video call applications.
- Optimized resolution and FPS settings to ensure smoothness and clarity on streaming and meeting platforms.
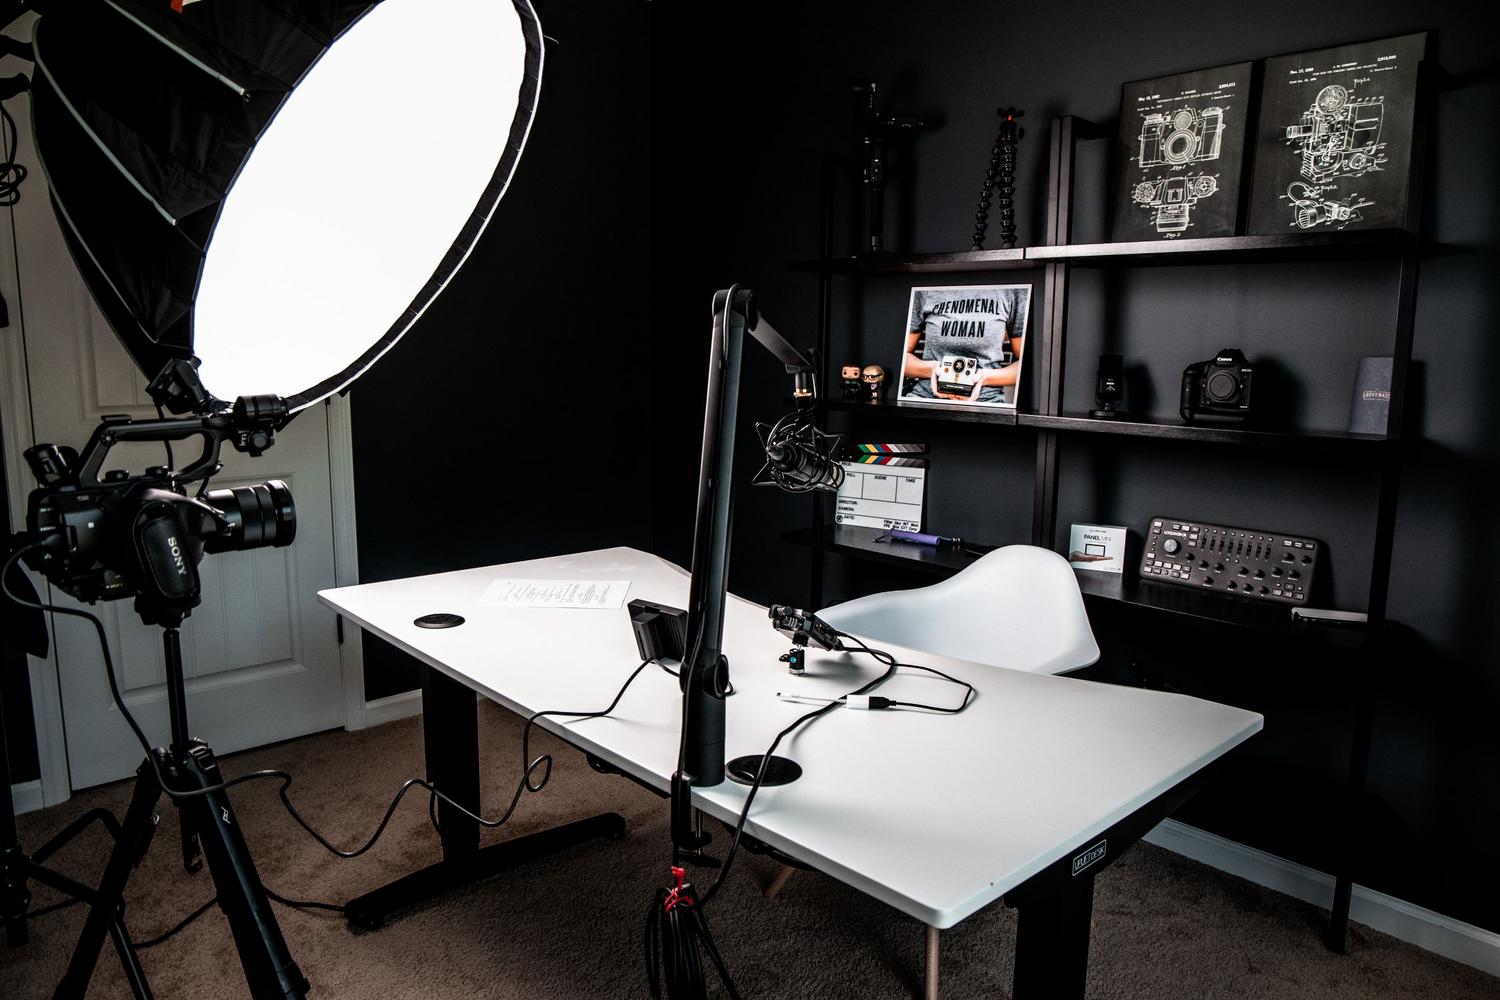
I'm sure it's happened to you: you're in a work meeting or teaching an online class and you feel like your image is a bit bland. Most of us use our webcams as they come, but the reality is that Zoom and Google Meet severely limit control over exposure and white balance, leaving us with video quality that, frankly, leaves much to be desired.
This is where OBS Studio comes in. It's not just for Twitch streamers; it's an amazing tool for professionalizing your video calls . Thanks to its virtual camera feature, you can convert everything you design in the program—from green screens to dynamic presentations—into a video signal that any meeting application will recognize as if it were a regular webcam.
What exactly is the OBS Virtual Camera?
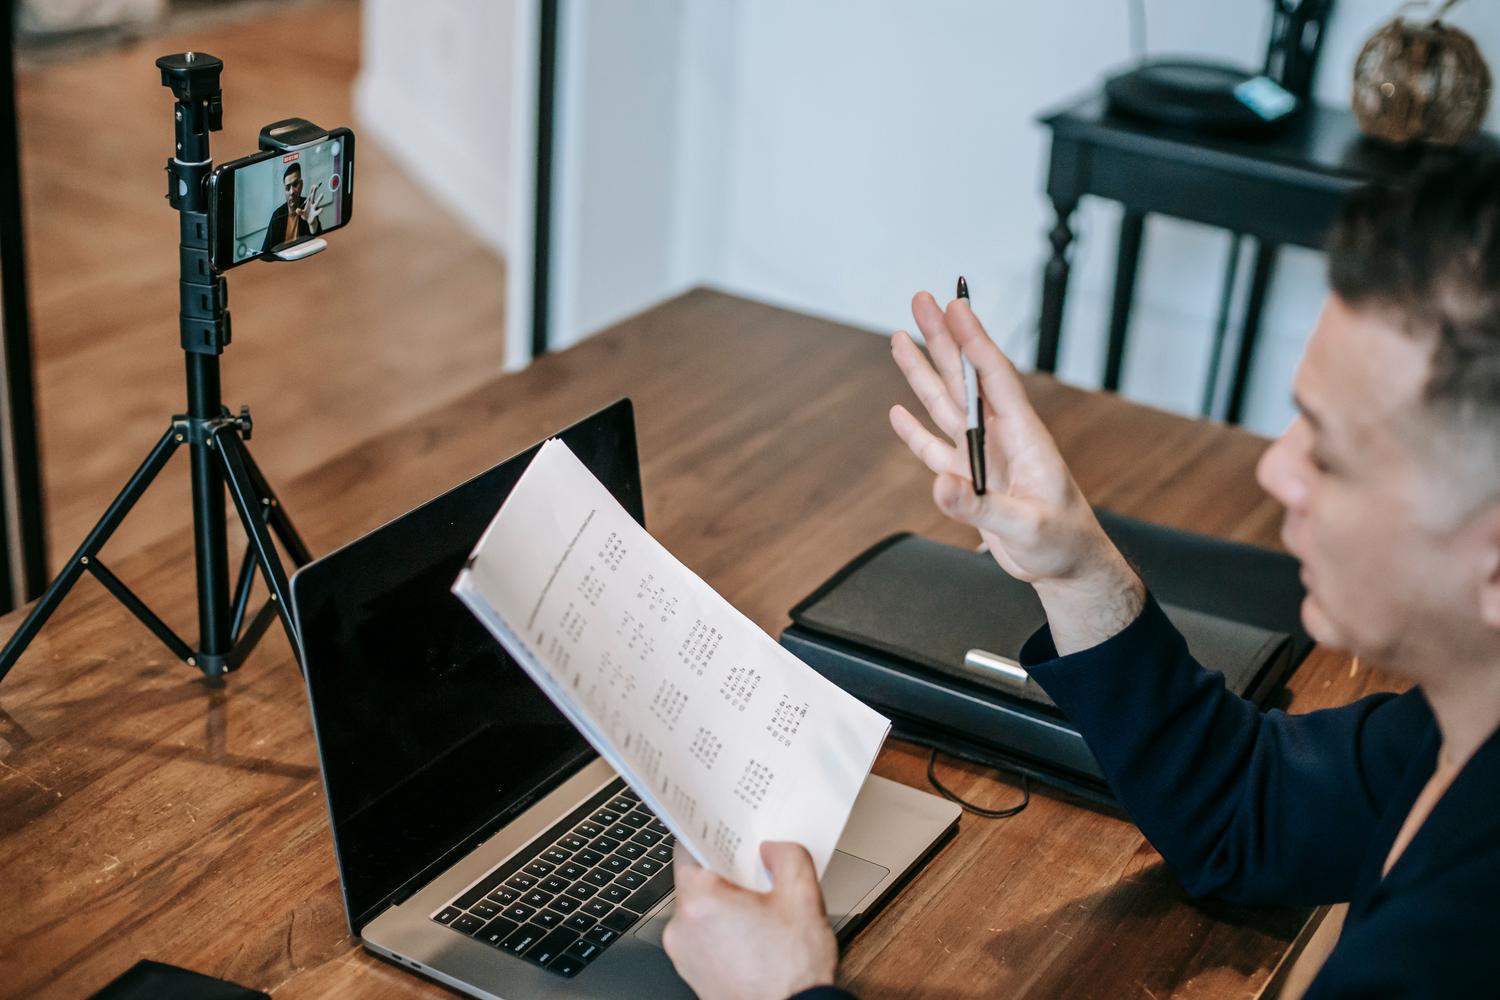
Basically, it's a technical bridge that takes the video output from OBS and injects it into the system as a hardware device. Instead of just sending your face, you can send entire scenes with overlays , logos, real-time text, or even pre-recorded videos. The receiving application, whether it's Teams, Meet, or Zoom, doesn't know there's complex software behind it; it simply sees a source called OBS Virtual Camera.
Step-by-step guide to setting up OBS on Zoom and Google Meet
The best thing about current versions of OBS (from 26.0 on Windows and 26.1 on Mac) is that you no longer need to go crazy installing external plugins, as the function is built-in . Follow these steps to get it up and running:
- Design your scene: Open OBS and add the sources you want (screen capture, your webcam, images, or video files).
- Activate the signal: On the Controls panel, usually located at the bottom right, press the button Start Virtual CameraIf you click on the gear icon, you can choose whether you want to broadcast the entire program, the preview, or a specific scene.
- Link to the meetings app: Open Zoom or Google Meet. Go to video settings and, in the camera selection dropdown, choose OBS Virtual Camera.
If you notice that the image is not appearing, a simple trick is to restart the video call application after activating the virtual camera in OBS so that the system refreshes the list of available devices.
Special considerations depending on your operating system
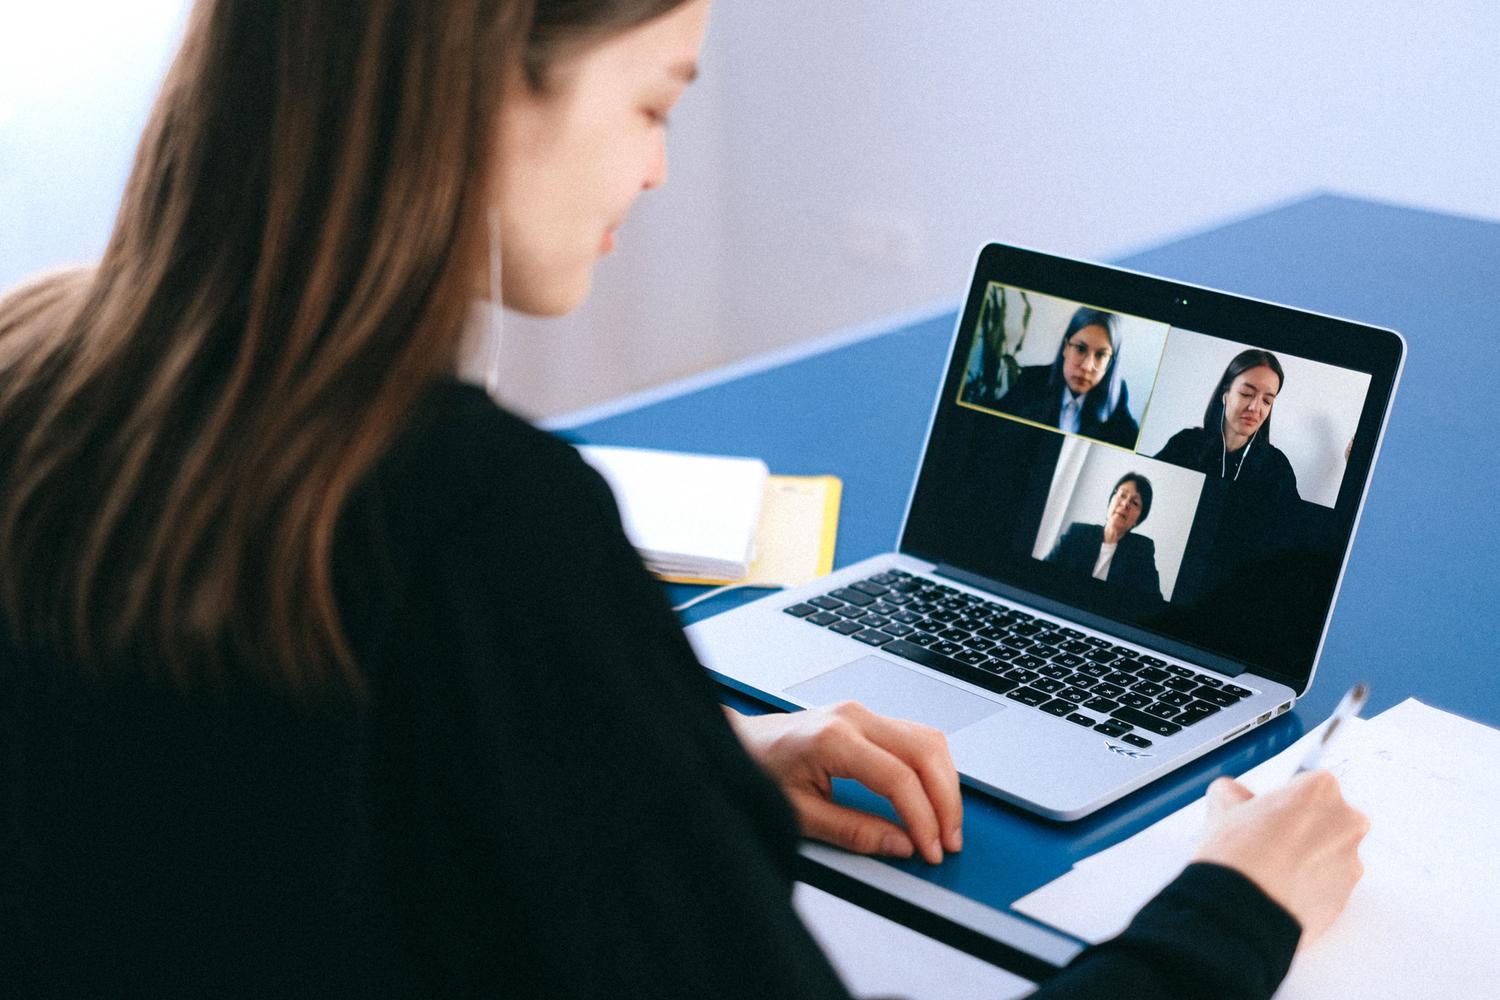
If you're using Windows , the process is practically automatic and very smooth. However, on macOS , things can vary depending on the version. Starting with macOS 13 and OBS 30.0, the system treats the virtual camera as an extension. Therefore, it's essential to check in System Settings > Privacy & Security that the OBS extension has the necessary permissions; otherwise, you'll see a black screen.
How to bring OBS audio to your meetings
There's one important detail: the virtual camera only transmits video . If you want participants to hear the audio processed by OBS (such as background music or effects), you need a virtual cable. A very reliable option is to install VB-Audio Cable . Once installed, you configure OBS's audio output to the virtual cable, and then, in Zoom or Meet, you select that same cable as your microphone input.
Advanced tricks for a professional finish
To prevent your stream from looking pixelated or lagging, it's recommended to adjust the resolution in OBS's Video menu. For most video calls, a resolution of 1280x720 or 1920x1080 at 30 fps is ideal; anything higher is usually a waste of resources that meeting apps will compress anyway.
Additionally, you can use chroma key to remove your real background and replace it with a branded one, or use picture-in-picture (PiP) to have your face appear in a corner while you display a slide. If you're looking for an extra touch of aesthetics, there are external tools like CiCi Cam that can add facial beauty filters before the signal reaches OBS.
Troubleshooting common problems
It's common for some users to see the image reversed or mirrored . Don't worry, it's usually a visual setting of the meeting app itself so that you see yourself as if in a mirror, but the other participants see the text and logos in the correct orientation.
If the camera appears as in use or shows a black screen, make sure no other application is trying to access the physical webcam at the same time. The golden rule is: OBS manages the physical camera , and the meeting application manages the OBS Virtual Camera.
Mastering this integration allows you to transform a simple call into a complete audiovisual experience, allowing you to mix video, audio and graphics sources in real time to capture the audience's attention, all while managing the technical quality from a single centralized control panel.