- The actual webcam quality depends on the OBS and system settings as well as the camera itself.
- Good manual adjustment (focus, exposure, gain) and adequate lighting make more of a difference than the resolution itself.
- The cabling, the USB port, and the recording or streaming bitrate directly influence the sharpness and stability of the image.
- Scene planning and video rescaling are key to ensuring that text and small details are clear in recordings and live broadcasts.
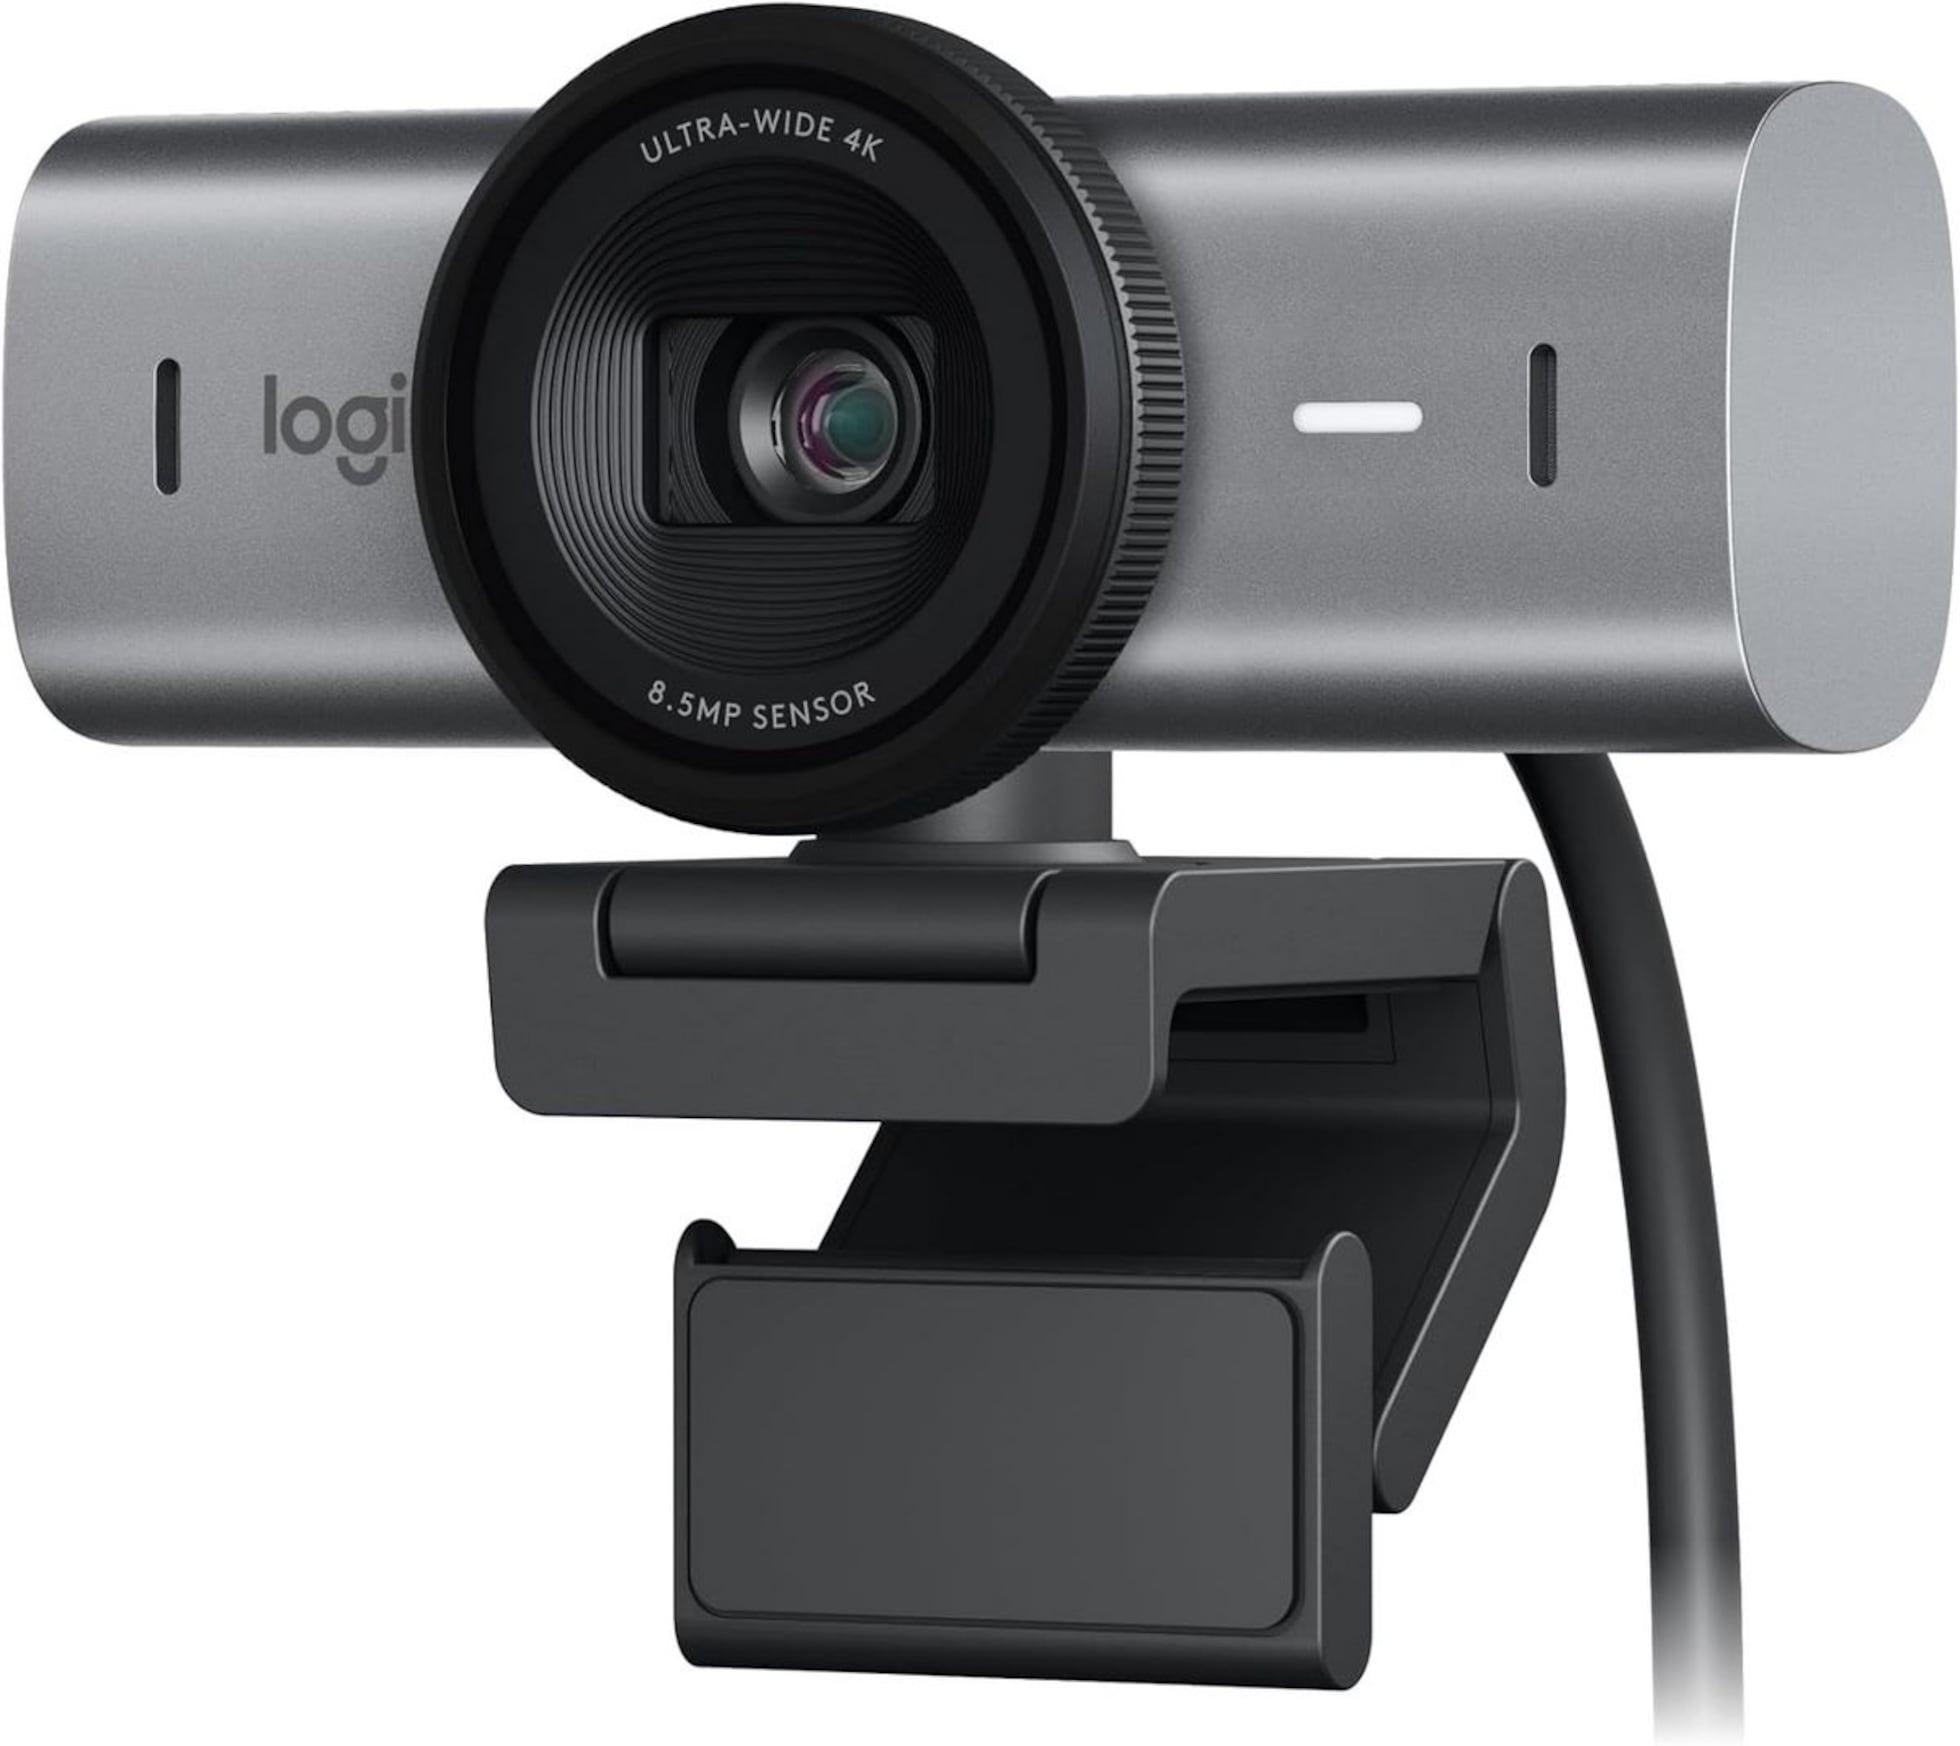
If you have a decent webcam, like a Logitech C920 or a 4K camera, and the image still looks blurry, dull, or simply far from what you expected, it's normal to wonder what's wrong. Often, it's not the camera itself that's the problem, but rather the setup, cabling, lighting, and the software you're using to capture the video, such as OBS (or "OBA" if you typed it quickly), and to troubleshoot PC peripherals.
In typical situations, such as wanting to read text at the bottom of the screen, record a full-screen YouTube video, or stream live while showing what's happening on the monitor, the webcam seems inadequate. However, with a few well-thought-out adjustments, you can significantly improve the apparent quality without changing your camera or spending a fortune on new equipment.
Why your 1080p or 4K webcam doesn't look as good as it should
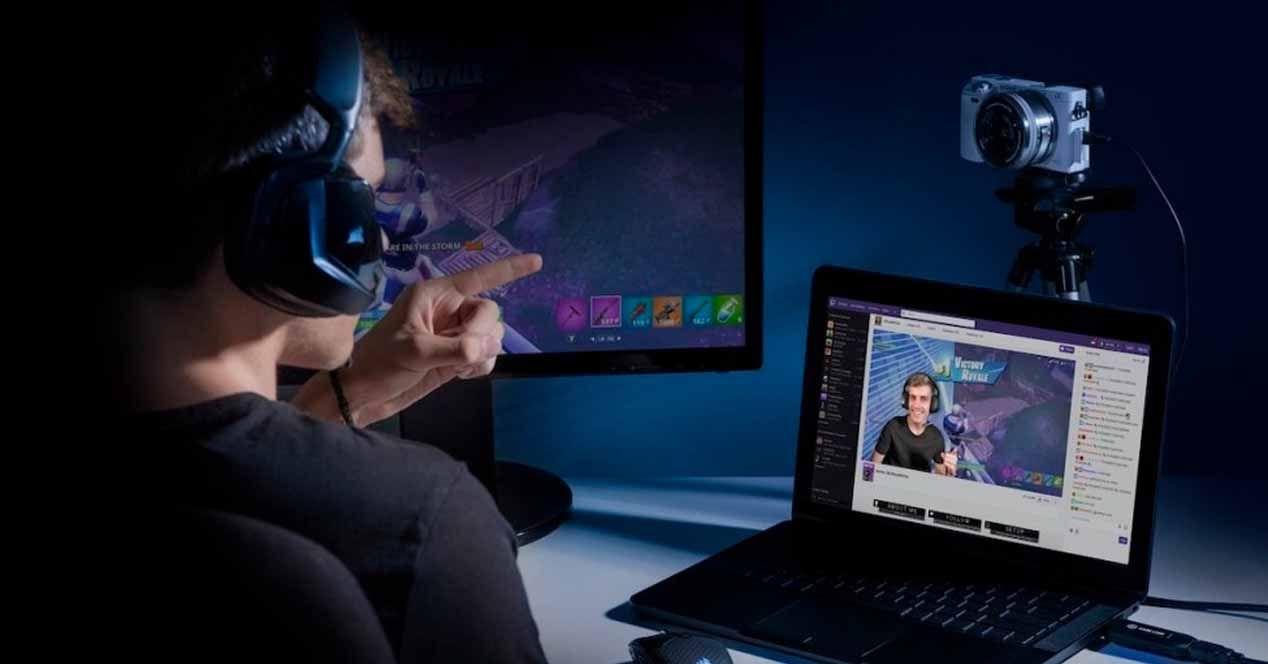
The first thing to understand is that resolution (1080p, 4K, etc.) isn't everything. A Logitech C920 at 1080p, connected with a USB extension cable and running on Windows 10, can offer a very decent image, but if something goes wrong in the chain, the quality drops dramatically. In many cases, the problem lies in the combination of resolution, bitrate, compression, and lighting.
When users complain that the bottom of the video is illegible, or that the text on the screen is indistinguishable, two factors are almost always involved: firstly, the software (such as OBS) is over-scaling or compressing the image, and secondly, the webcam's focus and sharpness are not properly adjusted . Even if the sensor has more than enough resolution, fine detail is lost.
In the specific case of using a high-quality USB extension cable , another potential bottleneck comes into play: the quality of the cable itself. If it's a very long, cheap cable or one without additional power, signal loss is likely. These kinds of problems can cause dropouts, artifacts, automatic reduction in resolution or frame rate , resulting in a poor image.
The type of port and USB version you're using also have a significant impact . If you connect the webcam to a hub with other devices consuming bandwidth, or to a heavily congested USB 2.0 port, the system may force the camera to work with more conservative settings: lower actual resolution, more compression, and less smoothness.
Another often overlooked point is that Windows 10 and applications like OBS share camera settings. It's possible that another program has left automatic parameters incorrectly configured (too high a gain, incorrect exposure, twitchy autofocus, etc.), which can negatively impact the final image quality without you realizing it. If you're unsure, also check for updates on peripherals and accessories that might affect your devices.
OBS resolution and FPS settings to get the most out of your webcam
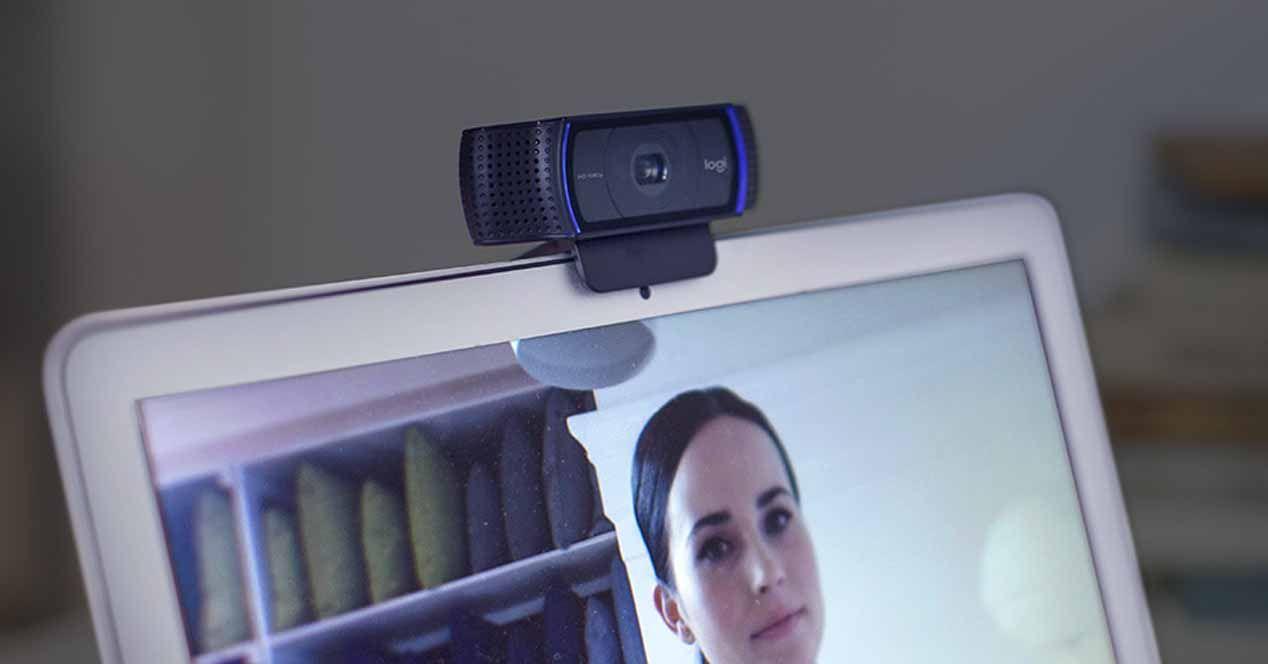
If you installed OBS today and found the webcam quality to be terrible, one of the first things you should check is the video settings within the program itself. By default, OBS might be downscaling your signal or applying aggressive upscaling to save resources; to compare alternatives, check out our capture tool comparison.
In the webcam's video source settings, choose the option to configure the device and make sure you're selecting the maximum resolution your camera natively supports (for example, 1920×1080 in the case of the Logitech C920). If your camera is 4K, verify that the selected mode corresponds to 3840×2160 or 4096×2160, depending on the model; also consider how this affects the type of screen you're capturing from and your choice of monitor for working.
Besides resolution, frames per second (FPS) greatly affect perceived quality. A webcam that operates at a stable 30 FPS usually looks sharper than one that fluctuates between 15 and 25 FPS. In OBS, look for the FPS option for the source and set a value consistent with what your device supports, avoiding automatic modes that change according to lighting conditions.
Also check OBS's general video settings (Settings > Video). There you'll see the base (canvas) and output resolutions. If you're using your camera at 1080p, but the base or output resolution is set to 720p, the program will reduce and resize the image , which can make it difficult to read small text at the bottom of the screen.
Finally, check the upscaling filter. OBS settings offer various options (Bilinear, Bicubic, Lanczos, etc.). To maintain detail when downscaling the image, it's generally recommended to use Lanczos or another high-quality method , which smooths less and better preserves fine edges, ideal for making text legible.
Manual settings for the Logitech C920 (and similar webcams)
The Logitech C920 is a fairly popular webcam that can perform very well, but its automatic settings sometimes do more harm than good. It's common for the autofocus to be constantly correcting, the exposure to be poorly adjusted to the scene, or the gain to be too high, generating noise and a lack of sharpness.
To get the most out of it, it's recommended to disable automatic modes as much as possible, either from the Logitech control panel or through the advanced options in OBS. Manually adjusting parameters like exposure, gain, light compensation, and focus can make a huge difference in perceived clarity, especially if your goal is to be able to read text on the screen.
In many setups, it's best to set the focus to manual if you're not going to change the distance from the camera. This prevents the webcam from constantly "breathing" or searching for focus, which causes those sudden blurrings that ruin the sharpness of the finest details.
Exposure also needs to be carefully considered. Too little exposure results in a very dark image, forcing the camera to use more gain and causing noise. Too much exposure blows out the highlights and makes the compression software work harder, resulting in a loss of detail in areas where you want text to be visible.
If your software allows it, save a profile with these manual settings for your Logitech C920 (or the webcam you use), so that every time you open OBS or the video call program, you can retrieve a stable and optimized configuration and prevent the automatic values from going haywire.
The role of lighting in image quality
Light is the most underestimated factor when it comes to improving webcam quality, even in 4K models. A camera with a good sensor can produce a mediocre image if the scene is poorly lit. To clearly read what appears at the bottom of the screen, the camera needs to receive a uniform and sufficient amount of light.
In dark environments, the system often compensates by increasing the gain. This results in noticeable noise, a grainy texture, and an overall loss of sharpness. The result is that text appears blurrier and fine detail disappears. Therefore, before blaming the resolution, it's worth adding a soft front light source (a ring light, a diffused lamp, etc.) that properly illuminates your face and surroundings; in many cases, the right accessories make all the difference.
Avoid harsh lighting from a single point, especially from above or behind you. This type of lighting creates strong shadows and excessive contrast, making it difficult for the webcam and compression codec to accurately recognize edges. Instead, front lighting, and if possible, some soft side lighting, helps the sensor capture more precise details.
It's also advisable to use the monitor screen as a light source, but not as the primary one. The monitor's brightness can help illuminate the face, but if it's the only light source, the white balance can become erratic, and the camera might adjust the exposure unreliably, causing image variations that ultimately impair readability.
Ultimately, investing even a little in lighting (even with well-designed DIY solutions) usually offers more quality improvement than trying to get the most out of a camera without light. A properly lit 1080p webcam typically looks better than a supposedly 4K camera in a dark room.
Importance of cabling and USB port in quality
When using a USB extension cable, as in the case described, think of the signal as water flowing through a pipe: the longer and worse the cable, the greater the chance that the signal will be degraded or limited . Many webcams, upon detecting communication problems, lower the quality or FPS to avoid interruptions.
If your webcam is far from your PC and you absolutely need an extension cable, make sure it's a good quality cable, preferably an active one (with signal boost). Cables that are too long without amplification can cause the system to limit the resolution, bitrate, or even the stability of the connection , and this will be noticeable in the image.
Also check which port on your computer you're connecting it to. Whenever possible, use a direct USB port on the motherboard (the rear ports on a desktop PC, for example) and avoid hubs shared with other high-power devices, such as external hard drives; also review which basic desktop peripherals you have connected and how they affect bandwidth.
If you're unsure whether the extension cable is causing the problem, try connecting the camera directly, without the extension, and compare the quality in OBS or the camera's app. If you notice an improvement, the cable is likely part of the issue. In that case, either switch to a better cable or relocate your computer or camera to reduce the distance and complexity of the cabling.
Some users also find that the front ports on their computer tower or certain laptop ports don't offer the same performance as others. Don't hesitate to experiment with different connectors on your computer until you find the one where the webcam remains stable and provides good quality.
Optimize desktop and webcam capture simultaneously
When your goal is to record a YouTube video showing what you're doing on the screen while simultaneously appearing on camera with your webcam, several elements come into play. It's not just the webcam quality that matters, but also how you mix the video sources within OBS or whatever software you're using.
If you want to ensure that small information at the bottom of the screen, such as text from a program, website, or game, is legible, you need to be careful with the resolution at which you capture your desktop. If your monitor outputs 1080p and you then reduce the resolution of the final video to save space, you'll be compromising the readability of those small elements . Also, keep in mind the technical differences between connections if you're using external displays.
A good practice is to decide from the outset what resolution you'll use for the final video (for example, 1080p) and ensure that both the screenshot and webcam feed are captured at that native resolution. This way, you avoid unnecessary double scaling that ends up overly smoothing the text.
Additionally, you can adjust the size of the webcam window. If the camera occupies too large an area of the screen, you might be obscuring some of the information you want the viewer to see. If you make it too small, even if the signal is high quality, it will be compressed when integrated into the canvas , significantly reducing the perceived detail.
Plan your scene layout: think about where you'll place your image, which parts of the screen are critical to read, and adjust the dimensions so everything is clear. And, of course, use a sufficiently high recording bitrate (or streaming bitrate, if you're live); if you compress the video too much, YouTube's or other platforms' compression will further ruin the sharpness of small text.
Compression parameters and bitrate when recording or streaming
The codec and bitrate you choose for recording or streaming can transform a clean image into something riddled with artifacts. Even if everything looks perfect on camera, if the bitrate is too low, fine details, like text at the bottom of the video, will appear blurry and blocky.
In OBS, when configuring the output (recording or streaming), be sure to choose a reasonable bitrate for the resolution you're using. For 1080p, it's generally advisable to use a relatively high bitrate if you want text to be easily readable, especially when there's a lot of movement on screen or rapid scene changes.
The encoding type (x264, NVENC, etc.) also matters. Not all encodings perform equally well at low bitrates. If your PC allows it, prioritize quality over extreme file size reduction, at least when maximizing image readability and clarity is your priority.
Don't forget that if you then upload the video to YouTube, the platform will apply its own compression. This means you need the source file you upload to be of the highest reasonable quality possible, so that the final compression doesn't completely ruin the small details. In short, a bitrate that's too low in the source file means double the loss when YouTube recompresses it . For editing and final adjustments, you can look into software options and editors that maintain quality.
Common mistakes that ruin webcam quality
There are a number of very common flaws that, when combined, explain why a camera that is theoretically good, like a Logitech C920, ends up delivering disappointing quality. Identifying them helps avoid frustration and wasting time tweaking settings unnecessarily.
One of the most common mistakes is blindly trusting the webcam's automatic settings. These modes try to adapt to all kinds of environments, but they rarely get it right in specific conditions for YouTube recording, streaming, or desktop capture. After all, the camera doesn't know what's important in your scene or what you need to be sharp.
Another common mistake is failing to check the camera's actual resolution within the application. Sometimes, even if the camera supports 1080p or 4K, the program is using it at 720p or even lower, either due to an incorrect setting or bandwidth limitations. This drastically reduces the ability to read fine details in the video.
The importance of testing different combinations of USB port, cable, and configuration is also often overlooked. Many users stick with the first configuration that works, even if it's just barely adequate, and don't try, for example, connecting the webcam directly to the PC without an extension cable to see if the improvement in quality is noticeable.
Finally, it's easy to forget that every change you make to the scene (adding overlays, animations, filters, etc.) can complicate video compression, both in OBS and later on YouTube or other platforms. The more complex the content, the more the detail suffers. Sometimes, simplifying the scene and prioritizing a clean design with good readability is the best way to improve perceived quality.
When it comes to getting the most out of your 1080p or 4K webcam, it all comes down to understanding how the camera, cabling, USB port, Windows 10, OBS, and lighting interact. Manually adjusting key parameters of the Logitech C920, ensuring proper lighting, using reliable cables and ports, correctly configuring the resolution and FPS in the software, and choosing an appropriate recording bitrate are the steps that truly make the difference. With these elements under control, the quality goes from "terrible" to more than sufficient for recording full-screen YouTube videos, showing what you're doing on your monitor, and, most importantly, ensuring that the information displayed at the bottom of the video is clearly legible without having to switch cameras.
