- Tkinter is the standard Python library for creating graphical interfaces.
- It incorporates a wide variety of widgets and is multiplatform.
- Its ease of use makes it the ideal choice for beginners and experts.
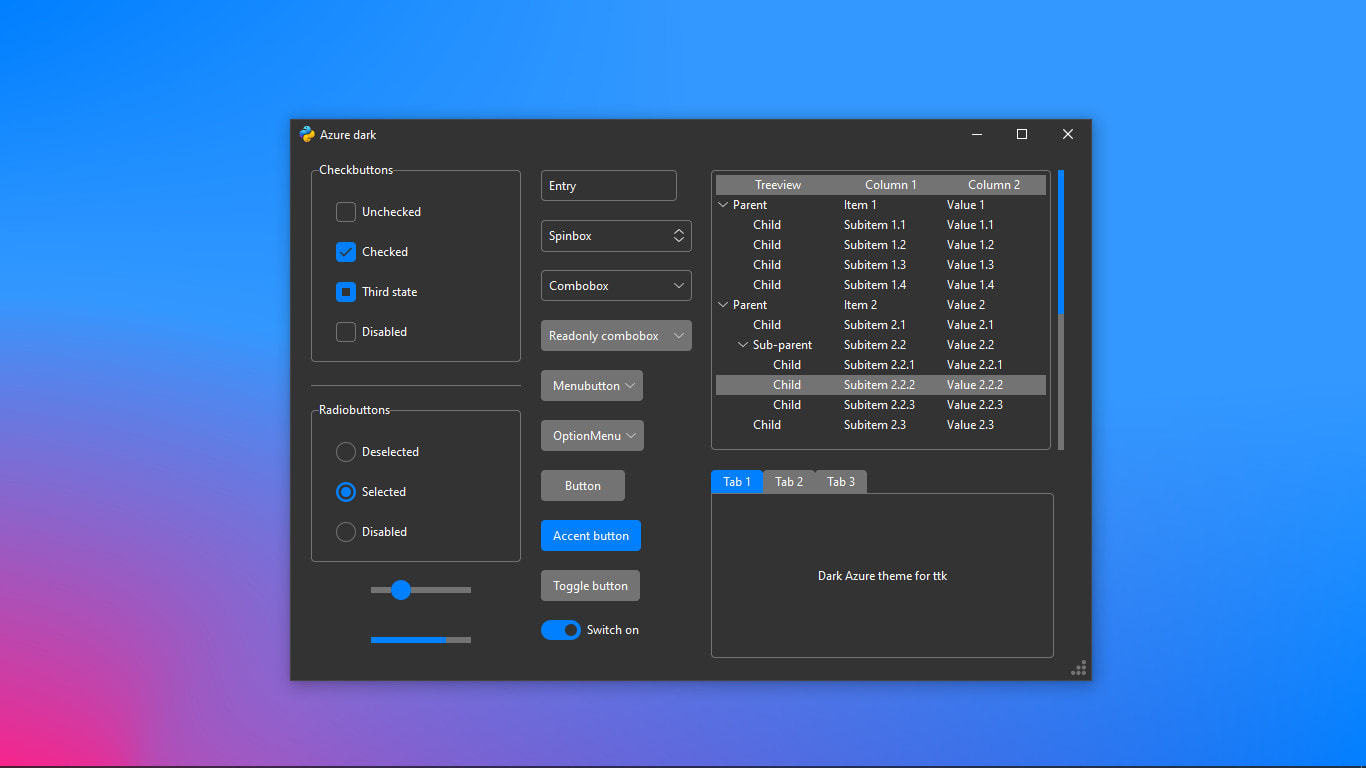
Tkinter has become the leading tool for creating graphical user interfaces (GUIs) in the Python world. If you've ever wanted to bring your programs to life visually beyond the simple console, this is the perfect tool for you. This library is hugely popular among those looking to develop visual, intuitive, and easy-to-use applications for Windows, Linux, and macOS.
Why is Tkinter so popular with programmers of all levels? Basically, it makes incredibly easy what in other languages can be a real headache: building windows, buttons, text boxes, or interactive menus . There's no need to delve into low-level routines or install special components: Python already includes Tkinter as part of its standard package, so you can start working on your GUI right away.
What is Tkinter and what is it used for?
Tkinter is Python's standard library for creating graphical user interfaces (GUIs) . Built on Tcl/Tk technology, it provides a simple, Pythonic layer for constructing windows, buttons, menus, text boxes, and all kinds of visual elements . It has been part of Python since its earliest versions, which contributes to its exceptional stability and cross-platform compatibility.
Tcl/Tk was created in 1988 by John Ousterhout with the goal of quickly and portable GUI design. Tkinter emerged as a specific adaptation for Python and has evolved to become the preferred choice for those looking to develop simple desktop applications or uncomplicated productivity tools.
Main features of Tkinter
- Simplicity and low learning curve: You can start creating windows and adding graphical elements with just a few lines of code. Ideal if you're learning Python or want to develop quick tools without investing heavily in complex frameworks.
- Multi platform: Your app will work equally well on Windows, macOS, and Linux if you have Python installed correctly. Integration with the operating system's native controls ensures a consistent and professional look.
- Light and fast: Because it's built into Python and has minimal dependencies, loading and running Tkinter applications is fast even on modest computers.
- Wide variety of widgets: Buttons, labels, single or multi-line text boxes, drop-down menus, scroll bars, tabs… and with the module research (Themed Tk), you can enjoy modern themed widgets and configure their appearance to your liking.
- Robust event model: It works with a main loop (
mainloop()) that listens to any user action (clicks, keys, etc.) and responds in real time. - Expandable and combinable: You can create your own custom widgets and combine Tkinter with other Python libraries (such as Pillow for images or Matplotlib for graphs) to extend your program's capabilities.
How to use Tkinter? Getting started and basic structure
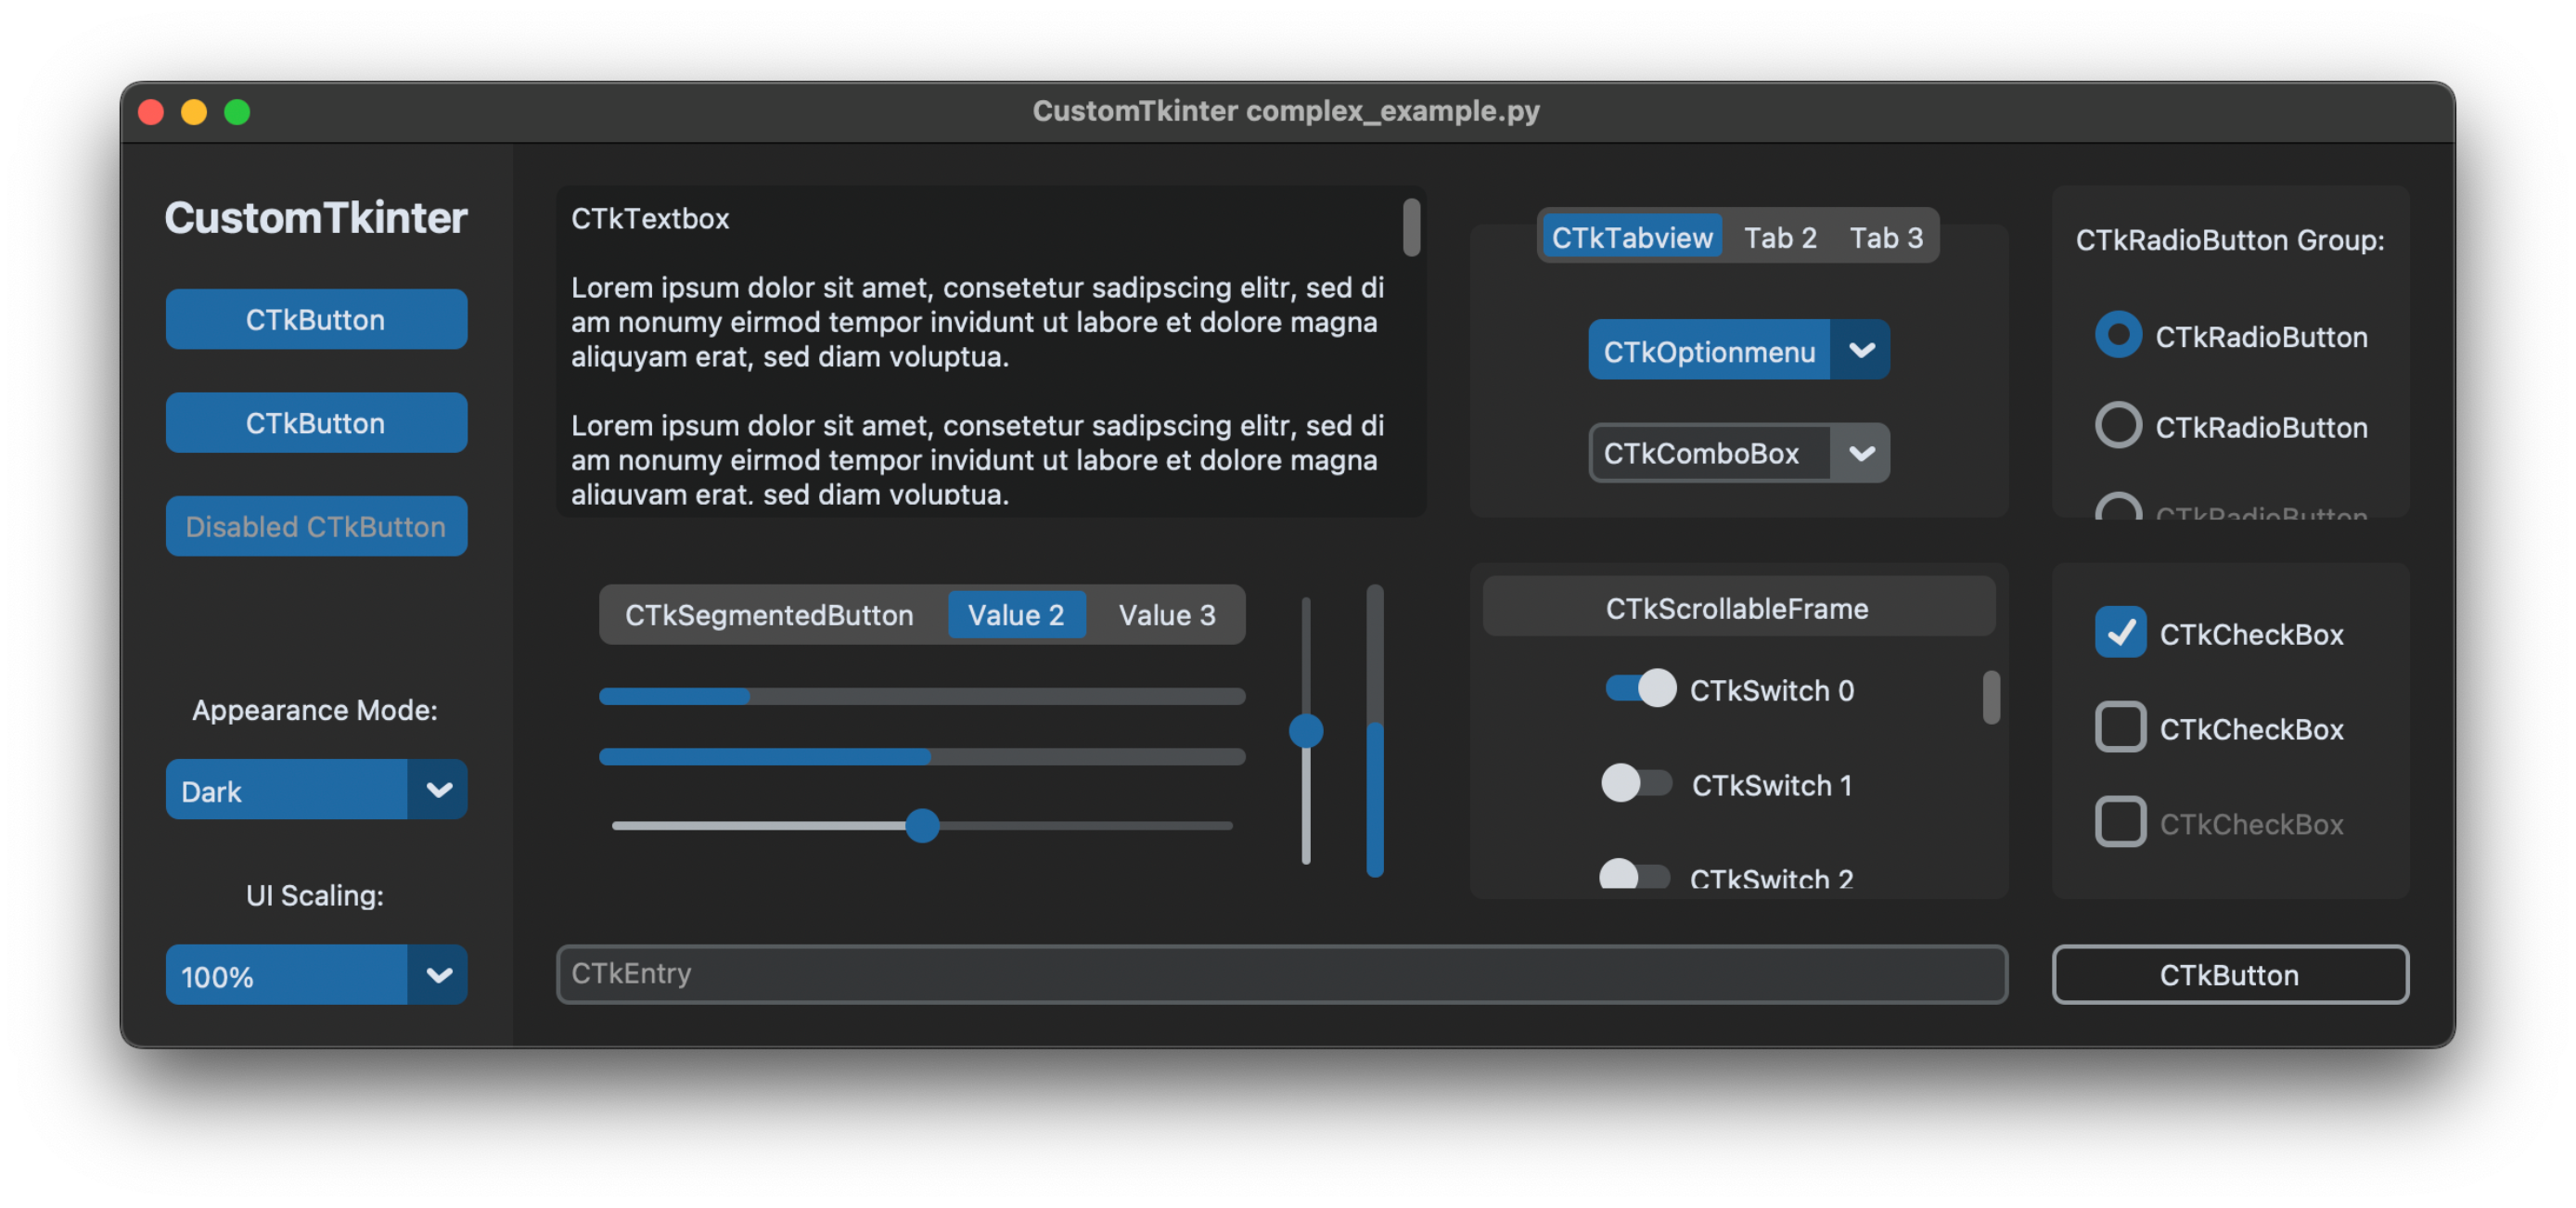
Getting started with Tkinter is as simple as importing the module and creating a main window. Python allows several import methods, the most common being import tkinter as tk, which makes it easy to refer to components with the prefix tk. during the development.
import tkinter as tk

# Crear la ventana principal
ventana = tk.Tk()
ventana.title("Mi primera aplicación con Tkinter")
ventana.geometry("300x200")

# Mostrar la ventana, manteniéndola abierta
ventana.mainloop()
The method mainloop() It is key: It is the main loop that keeps the window open and constantly refreshes it to handle any interaction.
Tkinter Fundamentals: Widgets and Hierarchy
The core of any Tkinter GUI is widgets . A widget is any visual and interactive element: buttons, labels, text boxes, lists, menus, etc.
Widget hierarchy: Tkinter organizes widgets in a tree structure. The main (or root) window is the container that houses the rest of the elements. You can have frames (Frame) that group other widgets, and thus compose your interface in a hierarchical and orderly manner.
Basic example: Label and button
import tkinter as tk

root = tk.Tk()
root.title("Ejemplo de widgets")

etiqueta = tk.Label(root, text="¡Hola, Tkinter!")
etiqueta.pack()

boton = tk.Button(root, text="Cerrar", command=root.destroy)
boton.pack()

root.mainloop()
In this example, the label and the button are added to the main window using the method pack(), One geometry managers from Tkinter (together with grid() y place()).
Geometry managers: pack, grid and place
Widgets don't magically appear when you create them: you need to tell Tkinter how and where to place them. There are three main geometry managers for this:
- package: Places elements sequentially (top-bottom or left-right) based on the order in which they are added. Options:
side,fill,expand... - grid: Organizes widgets into rows and columns, like a table. Very useful for forms or structured layouts.
- place: Allows absolute positions using x and y coordinates. Only recommended for very specific interfaces.
Pack manager options
- anchor: Specifies where to anchor the widget within your space (
n,s,e,w,center, etc.). - expand: Boolean (
0/1) so that the widget occupies the available space. - fill: How to expand (
x,y,both,none). - ipadx/ipady, padx/pady: Inner/outer padding in pixels.
- side: Position relative to the container (
left,right,top,bottom).
How events and callbacks work in Tkinter
Tkinter follows an event-driven model: Widgets can respond to user actions (clicks, keystrokes, etc.) by using functions called callbacks. You can bind specific events to the method bind() and pass the function that will be executed when the event occurs.
Example, to change the background color of a widget on hover:
def cambiar_color(evento):
    etiqueta.config(bg='yellow')

etiqueta.bind('', cambiar_color)
The event object that the function receives has useful information such as the widget that generated the event, mouse position, keys pressed, etc.
Variables associated with widgets: bidirectional control
Some widgets allow you to bind their values to special Tkinter variables, making it easier to synchronize data between the interface and your code logic. These variables (StringVar, IntVar, DoubleVar, BooleanVar) allow any changes to them to be automatically reflected in the widget and vice versa.
texto_usuario = tk.StringVar()
entrada = tk.Entry(root, textvariable=texto_usuario)
Most used widgets and their main options
Label
- Display text or images. Options:text, bg, fg, font, image.
Button
- Trigger an action with the option command. You can also manage status with state (normal/disabled).
Entry (One-line text entry)
- To enter plain text. Options: Show (for passwords), get (), delete ().
Text (Multiline Text Box)
- Allows you to display or capture multiple lines. Methods: insert (), get (), delete ().
- Allows binary selections. They are normally handled with
IntVaroBooleanVar.
Combobox (Drop-down list with ttk)
- Select an option from a list. It is part of the module research.
Advanced Options and Customization in Tkinter
Option settings
The appearance and behavior of widgets can be modified both at the time of their creation and later. You can pass arguments by keyword, treat option names as dictionary indexes, or use the method config()To expand your knowledge of graphical interfaces, you can check out how it works What is a graphical user interface and how does it work?.
boton = tk.Button(root, text="Enviar", fg="white", bg="blue")
boton.config(state="disabled")
See the Tk man pages for standard and widget-specific options. You can also find out what options a widget supports with widget.config() o widget.keys().
Data types for options
Options can be of type color (by name or hexadecimal value), boolean (0/1, yes/no), font ({Arial 12 bold}), distance (10 o 5c for centimeters), and many more. Types vary depending on the widget's functionality and the nature of the option. To better understand related concepts, you can visit command line interface and text control.
Windows and multi-level management
Tkinter makes it easy to create additional (child) windows to display dialogs, child forms, or messages. Use the class Toplevel to create new windows independent of the main one.
def abrir_secundaria():
    secundaria = tk.Toplevel(root)
    secundaria.title("Ventana secundaria")
    tk.Label(secundaria, text="¡Soy una ventana hija!").pack()
Images and multimedia in Tkinter
Image viewing is possible thanks to classes PhotoImage y BitmapImage. You can upload PNG, GIF, PGM, or PPM (PNG only since Tk 8.6). For more in-depth information on the graphical interface, see also What is Wazuh?.
img = tk.PhotoImage(file="ruta/a/imagen.png")
etiqueta = tk.Label(root, image=img)
etiqueta.pack()
Important: You must keep a reference to the image in a Python variable while the label is on screen or it will disappear.
Window administration and management
Use methods such as title(), geometry(), iconphoto() y protocol() to control the appearance, title, icons, and behavior when closing the window. You can also visit How to check CPU temperature in Windows 11 to better understand aspects of your computer's performance when developing graphical applications.
The command wm Tk's is translated into class methods Wm in Tkinter, allowing you to deeply control window properties from your Python script.
Practical options for your developments
If you want to build functional applications from scratch, the basic steps are:
- Import Tkinter
- Create the main window
- Add widgets such as labels, buttons, text inputs…
- Organize widgets with a geometry manager (
pack,grid… - Set events and callbacks as needed
- Customize the appearance and functionality of widgets
- Execute the main loop
Practical example: Basic calculator
import tkinter as tk
from tkinter import messagebox

operacion = ""
def click_boton(valor):
    global operacion
    if valor == "=":
        try:
            resultado = eval(operacion)
            entrada.set(resultado)
            operacion = str(resultado)
        except Exception:
            messagebox.showerror("Error", "Operación inválida")
            operacion = ""
            entrada.set("")
    elif valor == "C":
        operacion = ""
        entrada.set("")
    else:
        operacion += str(valor)
        entrada.set(operacion)

ventana = tk.Tk()
ventana.title("Calculadora")
ventana.geometry("400x400")
ventana.resizable(False, False)
entrada = tk.StringVar()

campo_texto = tk.Entry(ventana, textvariable=entrada, font=("Arial", 20), justify="right", bd=10)
campo_texto.grid(row=0, column=0, columnspan=4, padx=10, pady=10)

botones =
fila = 1
columna = 0
for boton in botones:
    tk.Button(
        ventana,
        text=boton,
        font=("Arial", 18),
        width=5,
        height=2,
        command=lambda b=boton: click_boton(b)
    ).grid(row=fila, column=columna, padx=5, pady=5)
    columna += 1
    if columna > 3:
        columna = 0
        fila += 1

ventana.mainloop()
This example shows how to combine a visual interface with business logic in a compact and functional way. Each button's event is managed, operations are evaluated, and the user is informed of errors.
Threads, subprocesses, and event model in Tkinter
Python and Tcl/Tk have profound differences in how they handle threads. If you're going to use threads in your application, remember that Each Tkinter object is associated with a specific Tcl interpreter, which must be managed by the thread that created it.. Although you can create multiple threads and multiple interpreters, it is common and safest to maintain a single instance of Tk() per application and manage parallel logic carefully to avoid blocking the main loop. For more details, you can read about Wazuh.
If you need to perform long tasks, consider using after() to defer tasks or launch processes in separate threads, sending the results to the interface only with after() to avoid conflicts.
Good practices and useful resources
- Keep business logic separate from the graphical interface for easy maintenance.
- If you have questions about a widget's options, use
widget.config()to check the available configuration. - Please refer to the official Python documentation and the Tk man pages for specific details.
- Consider using the module research for more modern interfaces and theme support.
Tkinter is the perfect tool if you want to create graphical user interfaces in Python quickly and easily. You don't need to install anything additional; the controls it provides are more than sufficient for most projects, and you can always expand its possibilities by combining it with other libraries. Whether you're a beginner or looking to create functional tools for your everyday work, Tkinter lets you move from the console to the visual world in a matter of minutes. Explore, test, and discover how far your imagination can go with this powerful standard Python module.
Table of Contents
- 1 What is Tkinter and what is it used for?
- 2 Main features of Tkinter
- 3 How to use Tkinter? Getting started and basic structure
- 4 Tkinter Fundamentals: Widgets and Hierarchy
- 5 Geometry managers: pack, grid and place
- 6 How events and callbacks work in Tkinter
- 7 Variables associated with widgets: bidirectional control
- 8 Most used widgets and their main options
- 9 Advanced Options and Customization in Tkinter
- 10 Windows and multi-level management
- 11 Images and multimedia in Tkinter
- 12 Window administration and management
- 13 Practical options for your developments
- 14 Practical example: Basic calculator
- 15 Threads, subprocesses, and event model in Tkinter
- 16 Good practices and useful resources