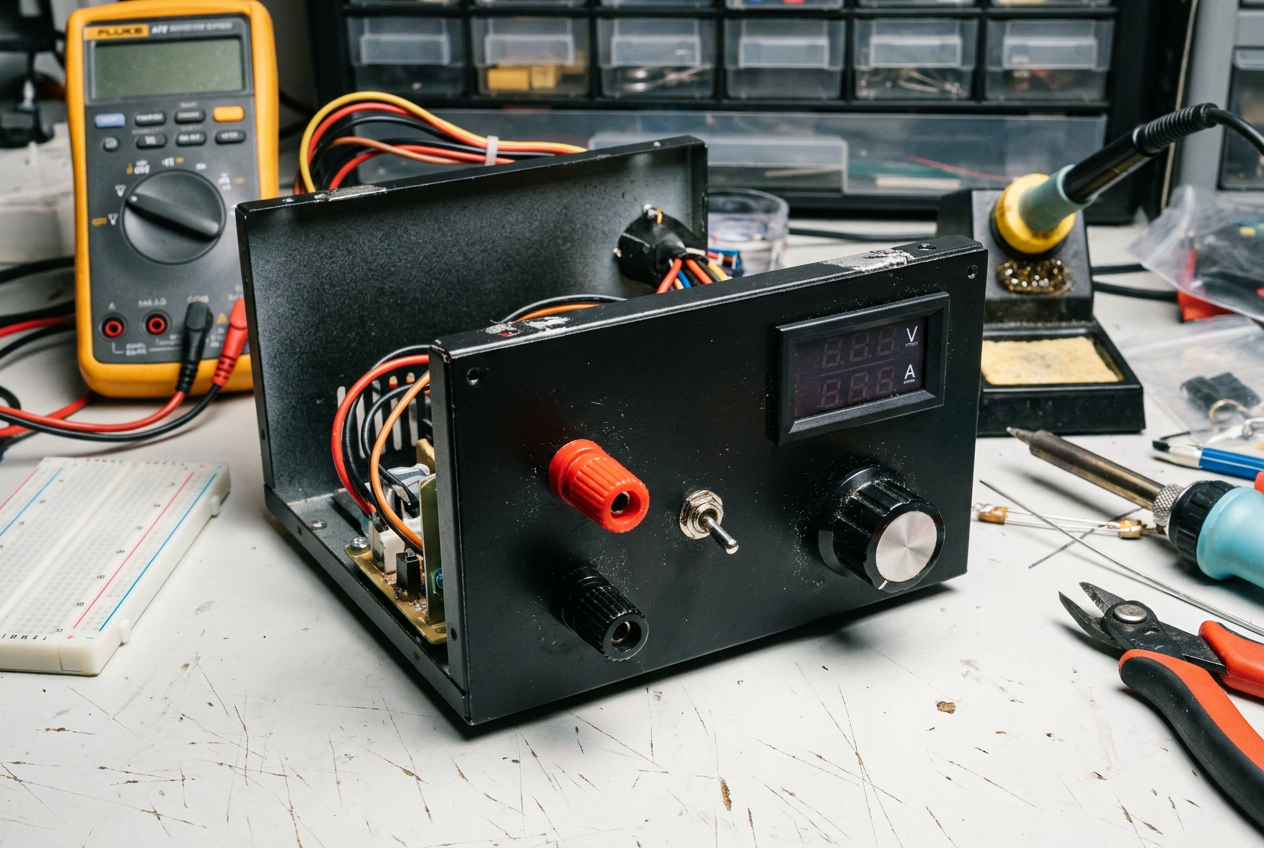
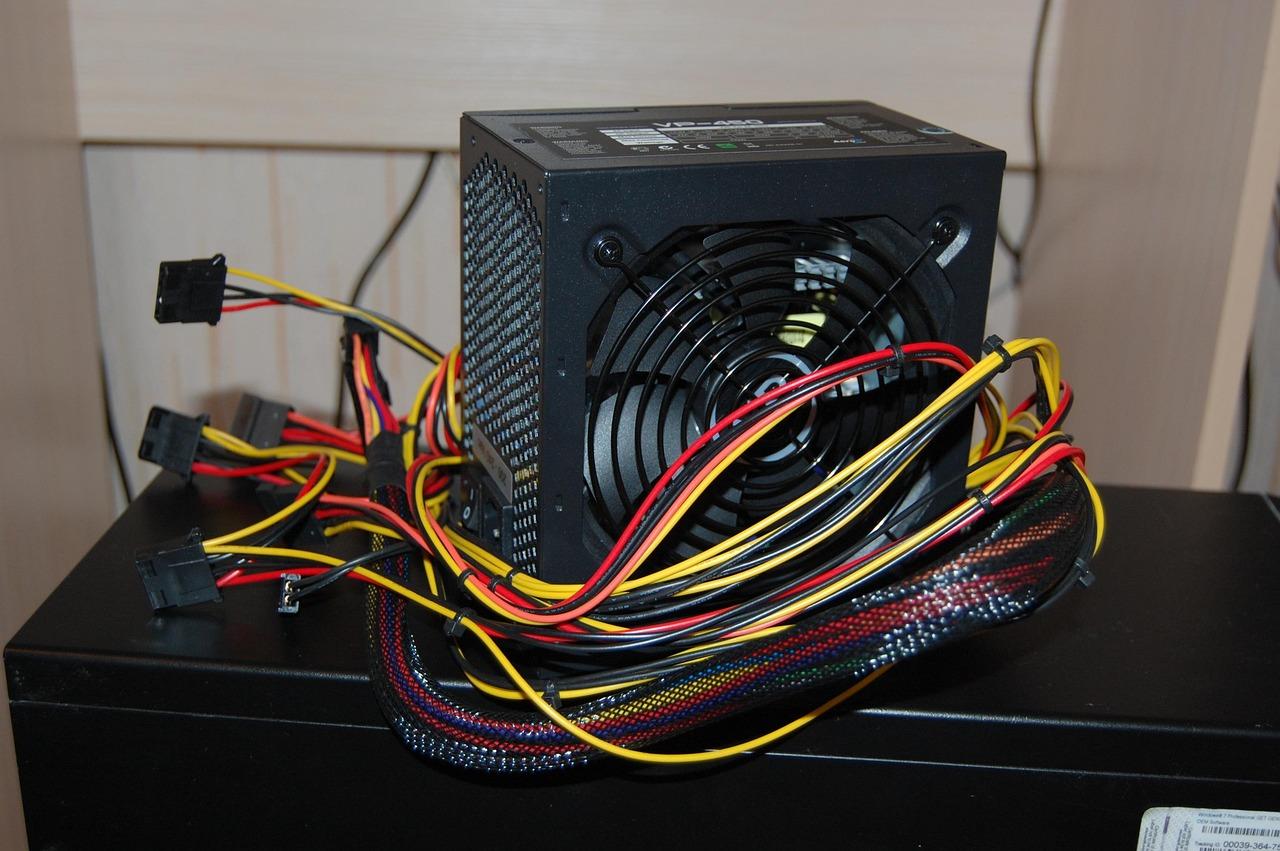
If you have an old PC power supply lying around, don't throw it in the recycling bin just yet. Converting an ATX power supply into a lab power supply is one of those classic electronics projects that can save you a good chunk of money, since commercial options are usually very expensive and of rather mediocre quality.
The idea is to take advantage of the fact that these power supplies are already designed to deliver multiple stable voltages and considerable power, transforming them into a versatile tool for powering prototypes, motors, or any circuit you're building on your workbench. However, it's not just about cutting wires; you need to know what you're doing to avoid damaging anything in the process.

Materials and tools needed
To avoid a school project and ensure the finished product is actually usable, you'll need a basic tool kit: a multimeter, soldering iron, solder , wire cutters, screwdrivers, and a drill with drill bits for drilling the sheet metal. For the finishing touches, some sandpaper, black spray paint, and thinner will come in handy.
Regarding the specific components for assembly, prepare yourself with the following:
- 6 red banana connectors for voltage outputs and 2 black wires for ground (GND).
- A power switch and a 5mm red LED with its respective 330 Ohm resistor to determine if there is current.
- For the part of the variable voltageAn LM317 regulator, a 5K Ohms potentiometer, a 1N4007 diode, and a combination of capacitors (220uF, 100uF, and 10uF at 25V or more) are essential.
- A 120 Ohm resistor and heat shrink tubing (thermofit) to prevent the wires from short-circuiting.

The step-by-step transformation process

The first step is to carefully open the power supply. Be careful here: large capacitors can store charge even when disconnected, so discharge them by shorting the terminals with an insulated screwdriver to avoid any surprises.
Once opened, remove the internal circuitry, the fan, and the original switch. I recommend cleaning all the dust with compressed air and painting the casing to give it a professional look. Before reassembling, drill holes in the top cover to accommodate the potentiometer, the LED, and the banana plugs.
For the power supply to start, there's a crucial trick: the green wire (PS-ON) must be connected to ground (GND). This is where we place the switch to turn the device on and off. For the indicator light, you can solder the LED and its resistor to the gray wire, which usually provides the Power Good signal.

Output configuration and variable voltage

ATX power supplies offer very useful fixed voltage levels. Based on the wire colors, you'll have +3.3V (orange), +5V (red), -5V (white), +12V (yellow), and -12V (blue) . These lines support fairly high currents, ideal for powering motors.
If you want to take it a step further, you can build a circuit with the LM317 using a perforated board. This regulator will allow you to obtain a variable output from 1.2V to almost 12V . Simply power the LM317 from the 12V line of the power supply and connect the potentiometer to the capacitor to adjust the voltage as desired.
Advanced engineering and control considerations

From a more technical perspective, it's important to understand that we're dealing with a switched-mode power supply (SMPS) , not a linear one. This means that regulation is achieved using pulse-width modulation (PWM). A common mistake is to try adding excessive capacitors to the output, thinking it will reduce noise; in reality, this can destabilize the feedback loop and worsen the transient response.
For those seeking professional precision, analyzing the control loop is vital. If you need to limit current to protect your circuits, you can implement a 0.01 Ohm shunt resistor to measure the voltage drop and use an operational amplifier (such as the LM358, which can withstand voltages close to 0V) to feed the feedback pin of the TL494 controller.
Additionally, optimizing the output filter is recommended. To prevent the inductor core from saturating under high currents, you can wind it on two toroidal cores . Furthermore, replacing a large capacitor with several smaller ones in parallel reduces the equivalent series resistance (ESR), lowering the temperature and improving filtering.

Key electrical concepts: Power and Power Factor
It is important not to confuse active power (W) with apparent power (VA). In alternating current, the reactive impedance of inductors and capacitors creates a phase shift between voltage and current. The power factor (cos φ) indicates how efficient the load is; the closer it is to 1, the more resistive the load. Power factor correction (PFC) devices are commonly found in these power supplies to optimize this value and prevent interference with the electrical grid.
Upon completion of the assembly, the result is a powerful tool that combines fixed high-current outputs with an adjustable option, allowing you to work with complete safety as long as you respect the limits of each component and keep the fan running to prevent overheating.
