
If you're fed up with being bombarded with ads while browsing the internet, setting up a filtering server is the ultimate solution. The Raspberry Pi Zero is a gem for this, as it is small, consumes very little and it does the dirty work of cleaning your network without you even noticing.
Pi-hole no es más que un «agujero negro» para los anuncios; básicamente intercepta las peticiones de DNS y blocks malicious domains or ads before they reach your device. It's a super lightweight tool that you can leave running in a corner of your house and almost completely forget about it.
What do you need to start?

The first thing to do is take a look at the hardware. Although the software is very lightweight, you need a machine that can handle it. Pi-hole requires a minimum of 512 MB of RAM and about 2 GB of disk space, although ideally you'd have 4 GB for more flexibility. If you're using a Raspberry Pi Zero 2W, we strongly recommend using a Ethernet HAT to have a stable connection, since WiFi can sometimes skip.
Regarding power, there's a common question about whether it can be powered from the router's USB port. The answer is that, while some routers allow it, It is preferable to use a plug a reliable wall mount to prevent unexpected restarts or system instability.
Supported operating systems
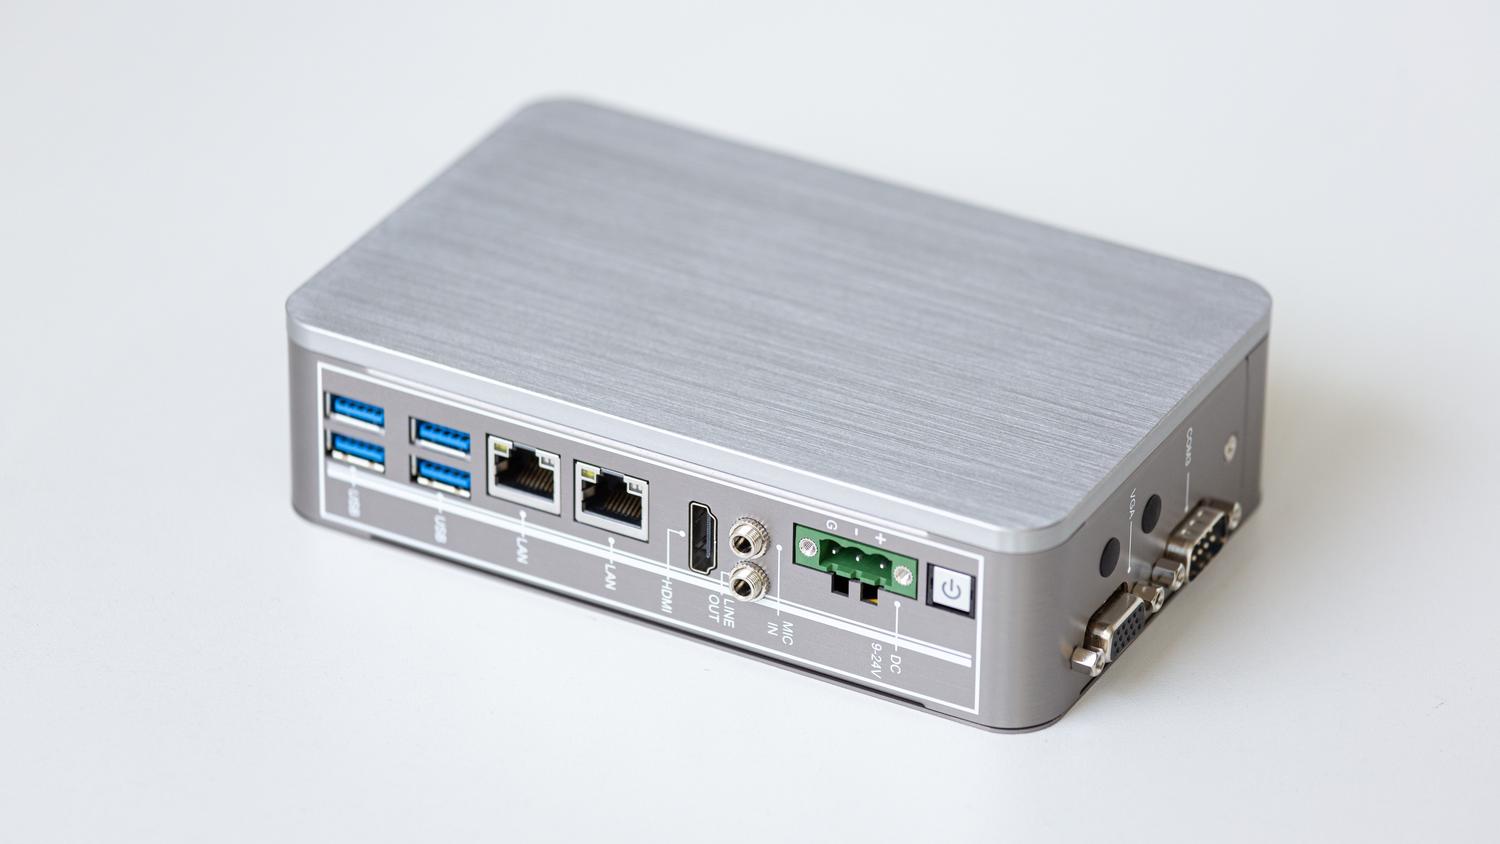
Not just any software version will do. For everything to run smoothly, you need to install a distribution that uses systemd or sysvinitHere are the most reliable options:
- Raspberry PiOS: The Buster and Bullseye versions work perfectly on ARM architecture.
- debbian: Fully compatible with versions 10, 11 and 12.
- Ubuntu: From 20.x to 23.x, both on ARM and x86_64.
- Other options: Armbian OS, Fedora (36-38) and CentOS Stream (8/9).
Be careful with this: if you try to install it on very recent or unsupported versions (such as some Raspbian 12 builds on older models), you might encounter compatibility errors that prevent you from moving forward.
Network and Port Configuration
To prevent your network from going haywire, the Pi-hole server must have a static IP addressIf you don't want to manually configure the IP address on the Raspberry Pi, you can set up a DHCP reservation on your router so that it always receives the same address.
Regarding the ports, we must be vigilant to prevent conflicts. The port 53 (TCP/UDP) is the heart of DNSIf you have another DNS server like BIND, you'll need to turn it off. The port used for web administration is [port number missing in original text]. 80 (HTTP)So, if you already have an Apache server, you'll need to change the lighttpd port. If you're interested in using Pi-hole as a DHCP server, you'll need to open the ports. 67 and 547Finally, the FTL API engine listens on port 4711, but only locally.
Step by Step Installation Guide
The quickest and easiest way is through automated installation. Simply log in via SSH (using PuTTY, for example) and run this command: curl -sSL https://install.pi-hole.net | bash
If you prefer not to run scripts directly from the web, you have more manual alternativesYou can download the executable with wget -O basic-install.sh https://install.pi-hole.net and then run it with sudo bash basic-install.shAnother way is to clone the official GitHub repository using git clone --depth 1 https://github.com/pi-hole/pi-hole.git Pi-hole and enter the automatic installation folder to launch the script.
Deployment using Docker
For those who prefer containers, Docker is a fantastic option. The easiest way is to create a file docker-compose.ymlIn this file you must define the image pihole/pihole:latest and map ports 53, 67, and 80. It is essential to add cap_add: NET_ADMIN If you are going to manage DHCP and configure the volumes so that your blacklists are not deleted when the container restarts.
Once the server is up and running and you have the final screen with your login details, the masterstroke is Configure DNS on your devices or directly on the router. This way, all the traffic in your home will pass through the filter and you'll say goodbye to annoying banners.
Setting up Pi-hole on a Raspberry Pi Zero transforms your browsing experience by removing advertising at the network level, requiring modest hardware, a static IP address, and an installation that can be automated using scripts or Docker containers, ensuring that DNS and HTTP ports are free for optimal performance.