- Installation and optimization of Docker and Docker Compose on SBC boards.
- Advanced network configuration using hotspots and DNS/DHCP management.
- Implementing container orchestration using Docker Swarm.
- Centralized cluster management through the Portainer interface.
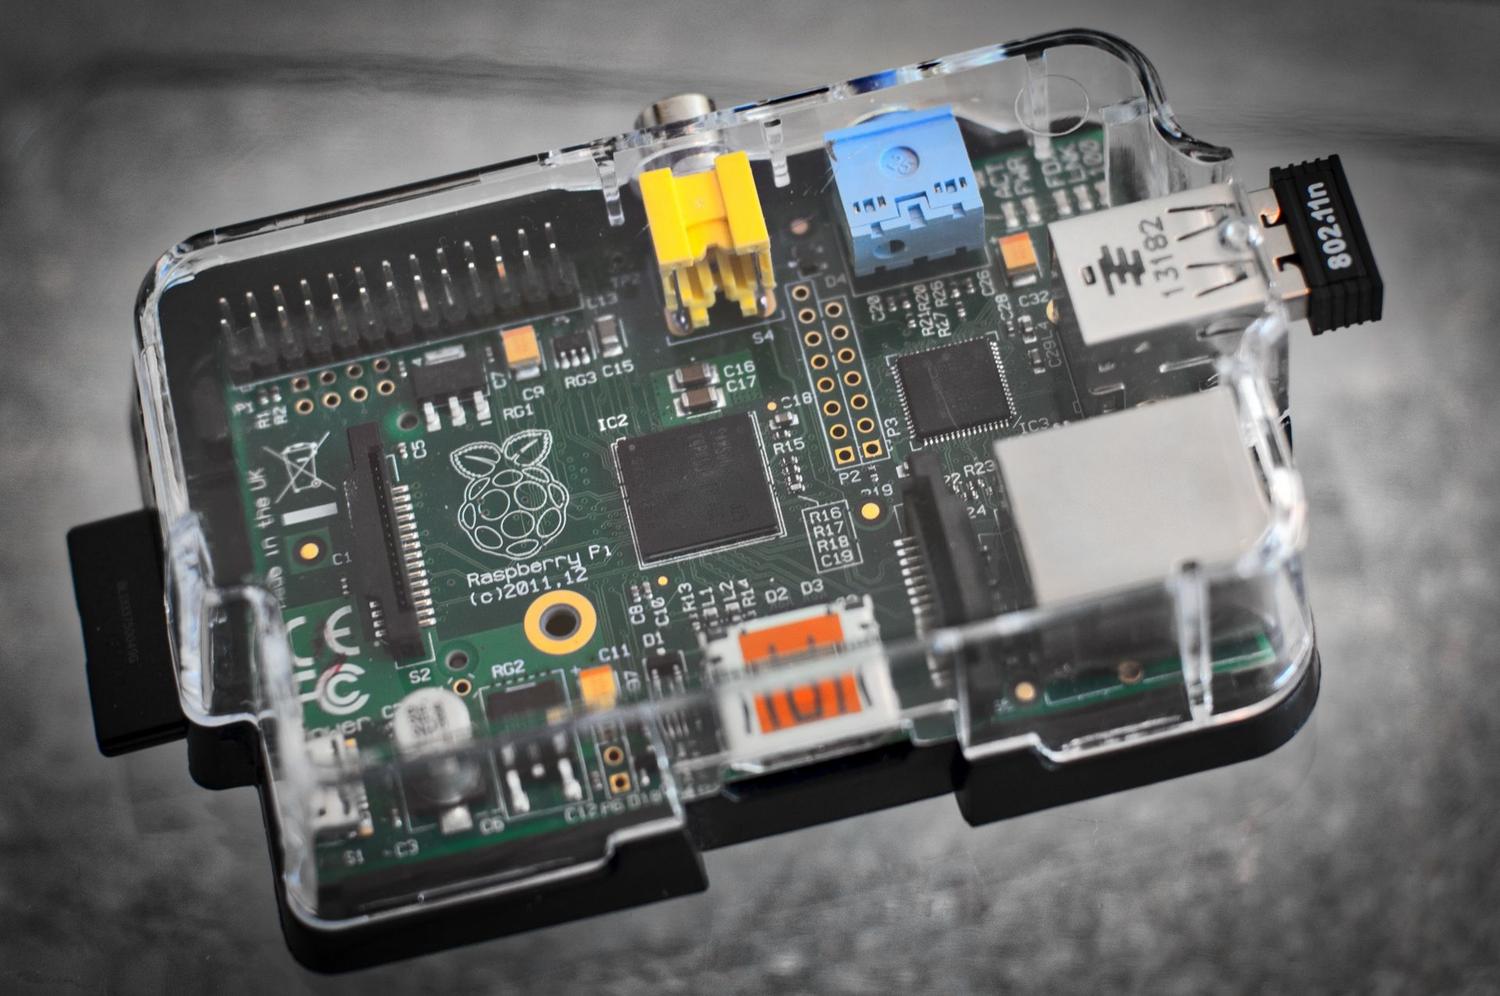
Have you ever considered having your own miniature data center without spending a fortune on professional hardware? Well, setting up a cluster with Raspberry Pi and Docker is the most fun and cheapest way to get into the world of container orchestration and distributed computing, ideal for experimenting at home with projects that would normally require very expensive servers.
The beauty of this setup is that you can use small boards like the Raspberry Pi or even other single-board computers (SBCs) like the Orange Pi or Banana Pi to create an environment where applications share the workload. It's a perfect project for learning about high availability and scalability without fear of breaking anything critical, since everything happens on your own local network.

Preparing the ground and the hardware

To get off to a good start, it's ideal to use lightweight operating system versions, such as Raspbian Lite or Armbian (in the case of the Orange Pi), since we don't need a graphical interface and want to dedicate every megabyte of RAM to processing. A very useful trick is to flash the images using Etcher to avoid write errors on the microSD cards.
If you don't want to be struggling with USB monitors and keyboards for each motherboard, you can use an adapter. USB to Serial connected to the RX and TX pins. Configuring the file config.txt in the boot partition adding enable_uart=1You can manage everything through a serial console using programs like PuTTY on Windows or Minicom on Linux, which is much more comfortable than having to change HDMI cables.
System and network optimization

Before installing Docker, it's advisable to get your system ready. It's essential to update everything with sudo apt update y sudo apt upgrade -yTo save resources, you can limit the memory dedicated to video in the configuration file by setting gpu_mem=16so we let most of the RAM It is used for containers.

Regarding the network, if you want your Raspberry Pi to act as the master node and manage the others, you can replace the manager. dhcpcd by NetworkManagerwhich is much more robust. To create your own network for the cluster, you can install dnsmasq to manage DHCP and DNS, and hostapd to convert Pi into a WiFi access point (hotspot) where the other nodes connect.
Installing Docker and Docker Compose

Installing Docker on a Raspberry Pi 4 is a piece of cake because it has official support. The fastest method is to run the automatic installation script using a command. curl which downloads and configures the entire Docker engine. To avoid having to write sudo in each command, it is recommended add the user to the Docker group, although you have to be careful with security since this gives elevated privileges.
Once the engine is installed, it is essential to add Docker Composewhich allows us to define multi-container applications using a YAML file. It can be easily installed via pip, the Python package manager. To verify that everything is working correctly, simply launch the image of hello-world and verify that the container is running correctly.
Orchestration with Docker Swarm
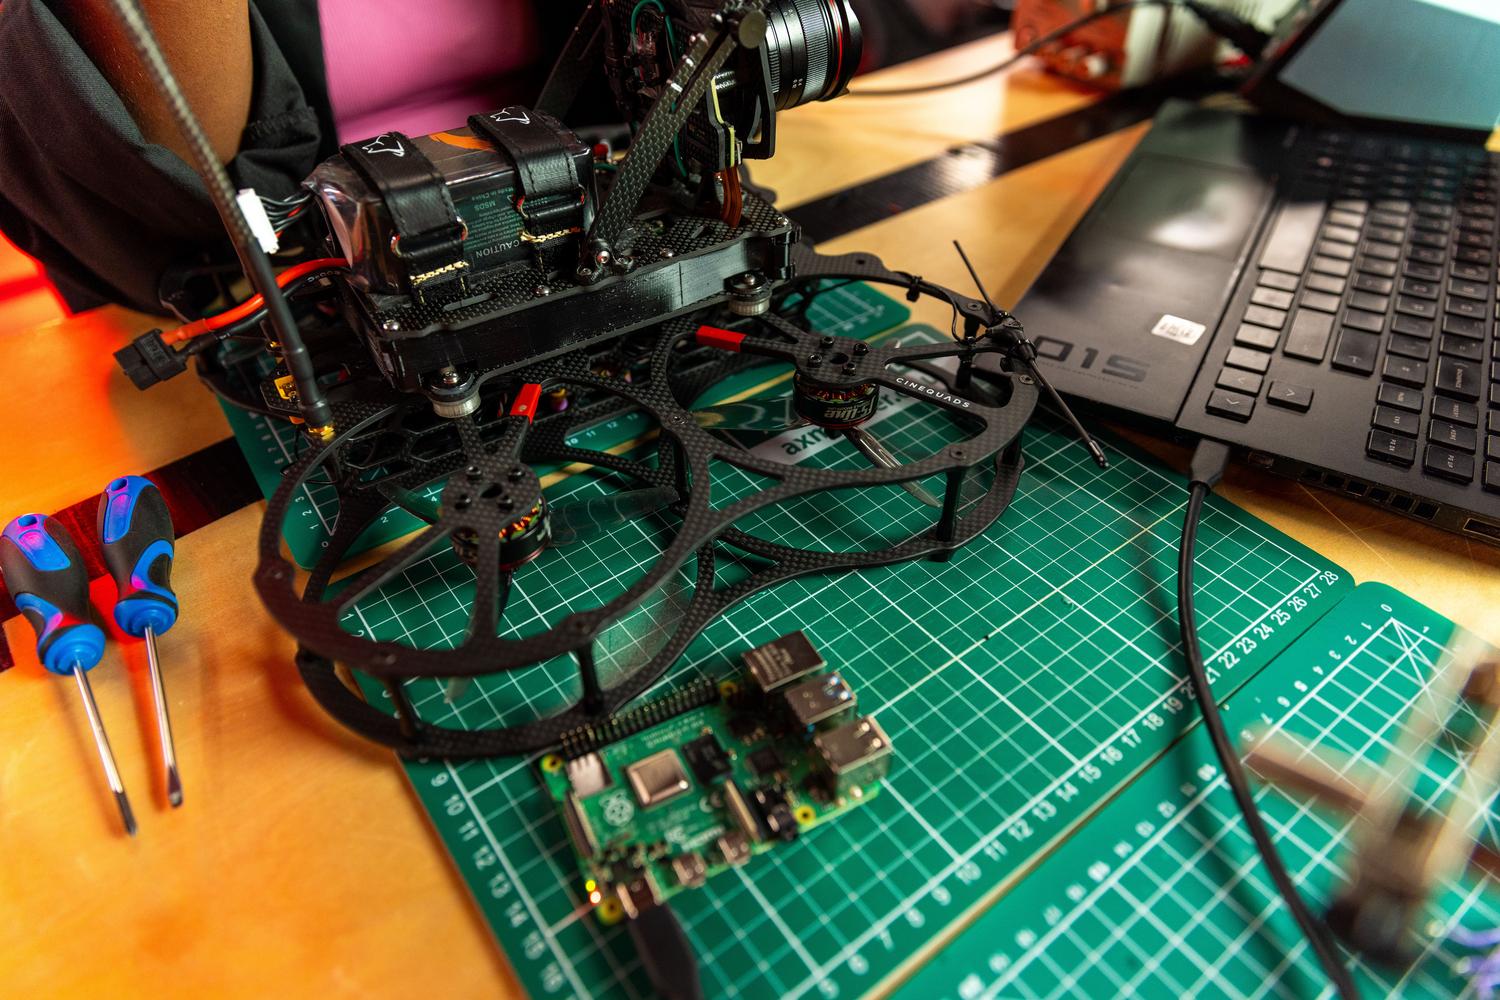
Once you have Docker installed on all your boards, it's time to unite them into a Docker Swarm cluster . Swarm is Docker's native tool for turning a group of nodes into a single virtual resource. You simply need to start Swarm mode on the master node and then join the worker nodes using the provided security token.

To manage this entire deployment visually and without getting bogged down in the terminal, it's highly recommended to install Portainer to manage your Docker containers . This tool offers a web interface where you can view the status of services, active nodes, and manage containers with just a couple of clicks, making cluster administration much more intuitive.
Advanced tricks and connectivity
If you're in an environment with network restrictions or blocks, you can set up an OpenVPN tunnel on the master node. This allows all cluster traffic to reach the internet through the VPN, bypassing proxies and firewalls. To manage traffic between the Swarm networks and your local network, tools like Firehol help create iptables rules in a more user-friendly and straightforward way.
Another critical detail is the system time. Since Raspberry Pis don't have a real-time clock (RTC), they lose the date when they are powered off. Ideally, you should install a physical RTC module (such as the DS3231) or configure an NTP server on the local network so that all nodes are synchronized, which is vital for the logs and security certificates to function correctly.
Setting up an ecosystem of this type allows you to transform a few simple boards into a powerful learning tool where you can deploy everything from web servers to distributed computing systems, integrating network management, tunnel security, and container orchestration in a single controlled environment.
