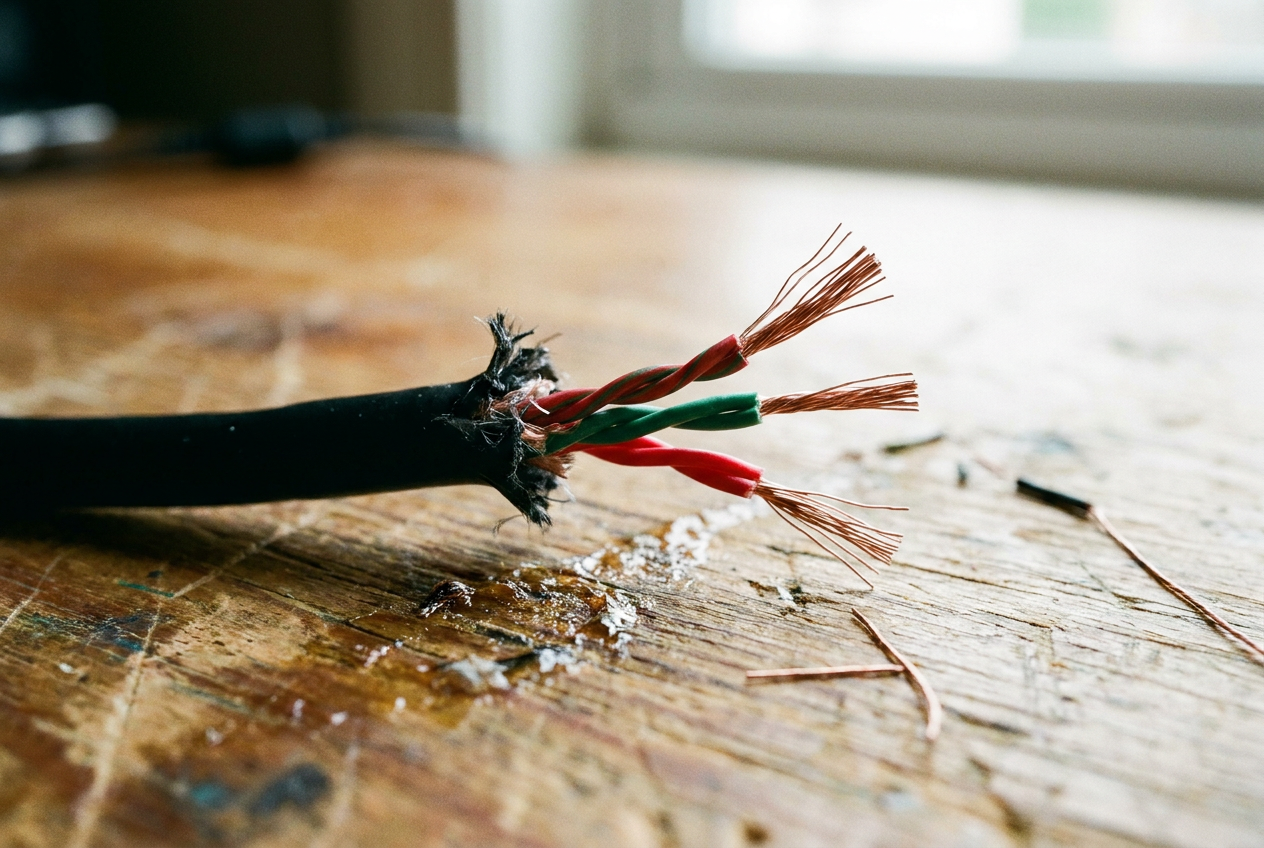
I'm sure it's happened to you: you're listening to your favorite song and suddenly the sound starts to cut out or disappears completely on one side. Most likely, the cable has been cut internally right where it connects to the connector, a common problem due to everyday wear and tear and accidental tugs.
You don't need to throw your headphones away or spend money on new ones if you're a little handy. With a basic soldering iron and a spare connector, you can bring them back to life in no time , saving yourself a good chunk of change and avoiding generating more unnecessary electronic waste—ideal if you're looking for something to do with an old electronic device to avoid polluting.

Materials needed for the repair
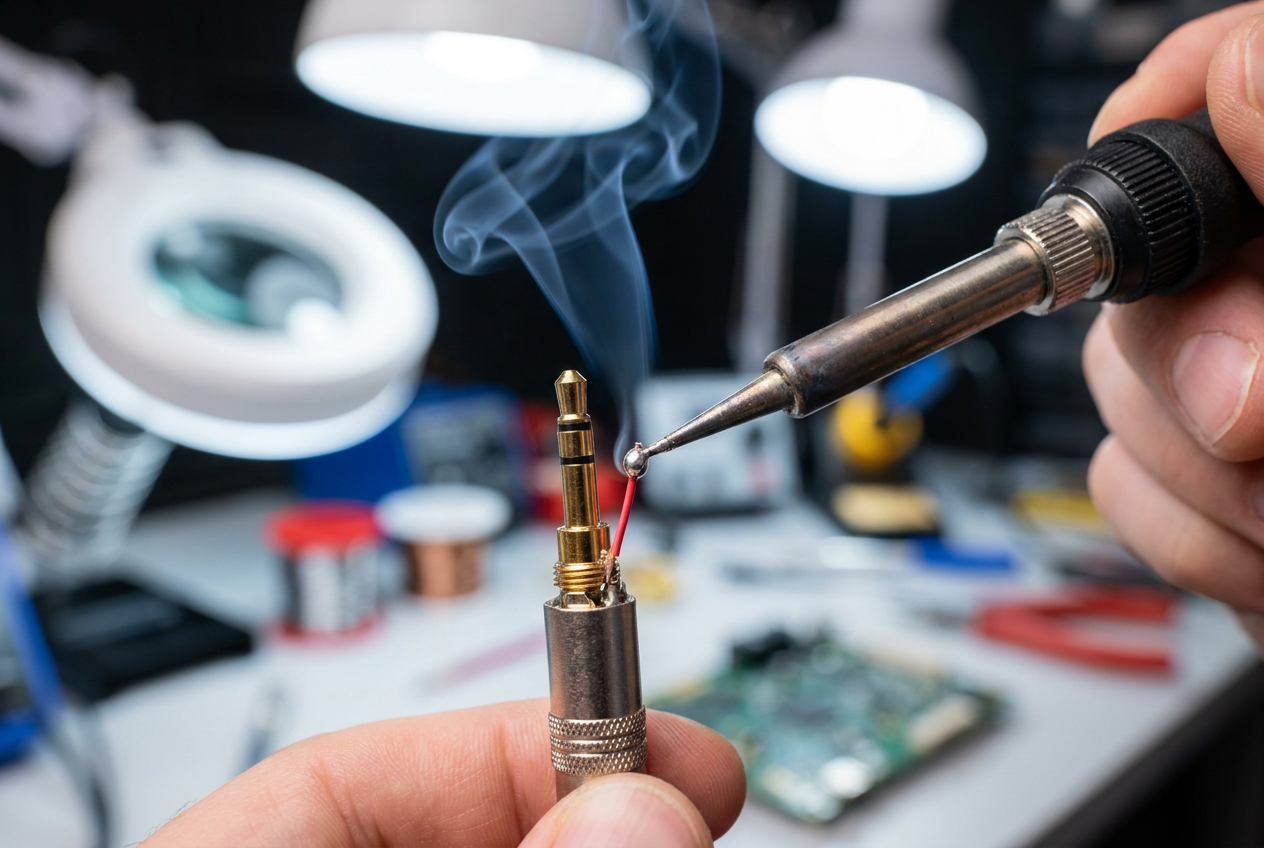
Before you start working on the cable, make sure you have everything you need to avoid interrupting the process. You'll need a fine-tipped soldering iron and good-quality solder, as the jack pins are tiny. It's also essential to have a new 3.5mm jack connector with a protective housing to cover the solder joint.
To clean the cables, a wire stripper or even a utility knife (used carefully) will come in handy. An expert trick is to use a lighter to burn off the insulating varnish that coats the copper wires; if you don't remove that layer, the solder won't adhere and the sound won't pass through.

Thread identification and color scheme
When you strip the cable, you'll find several colored wires. You'll usually see a red one for the right channel, a green or blue one for the left, and a bare copper or gold-plated wire that serves as the ground . It's vital not to confuse them, because if you solder them incorrectly, the audio will sound distorted or simply won't work.
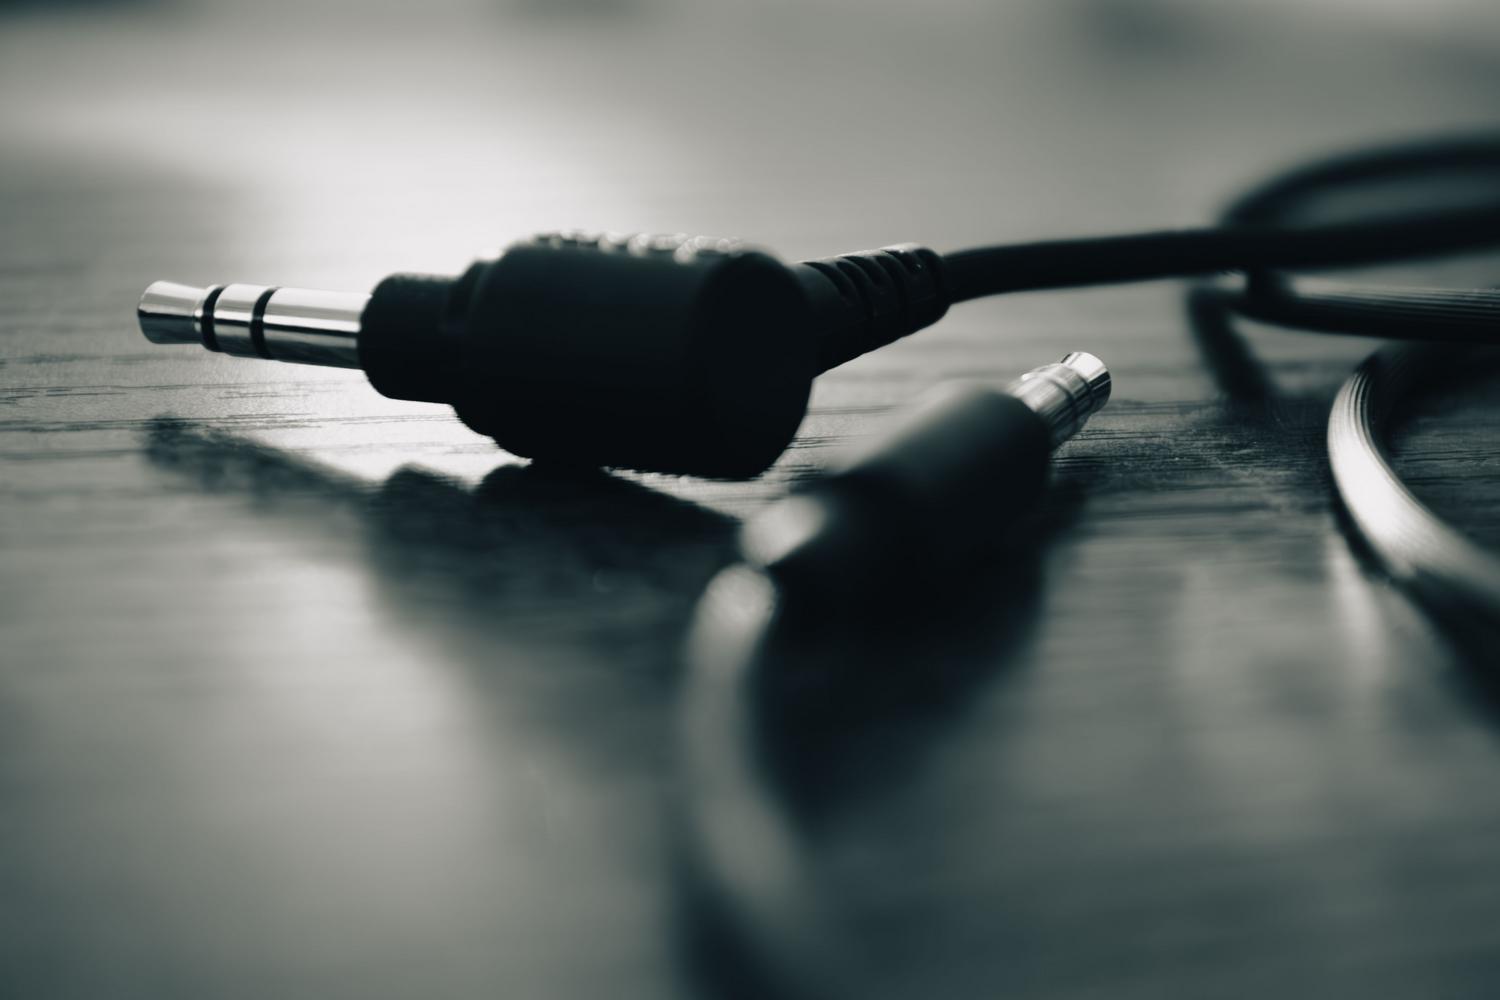
If your headphones have a microphone, you'll see an additional fourth wire. In this case, the jack connector must be a four-pole (TRRS) connector. Remember that each terminal of the connector has a specific function, and you must follow the manufacturer's wiring diagram for the microphone and speakers to operate correctly.
The welding process step by step
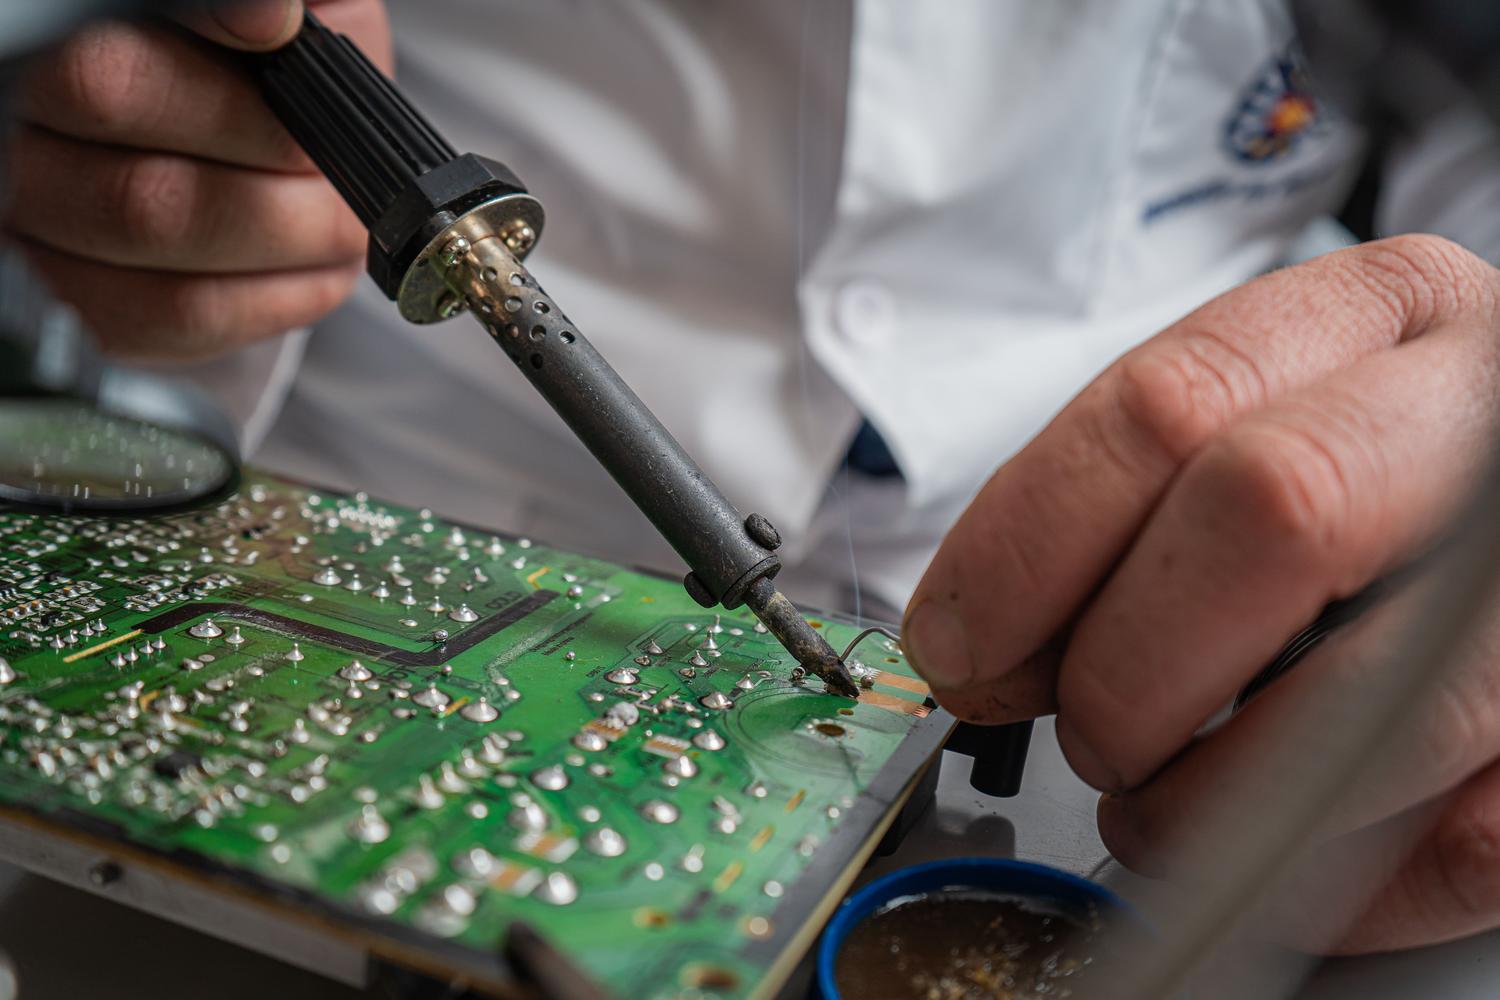
First, insert the housing of the new connector onto the cable before soldering; this is the most common mistake and would force you to desolder everything to put it on. Then, lightly tin both the wire ends and the jack terminals. This is known as pre-tinning and helps ensure an instant and strong connection.
First, solder the ground wire to the longest terminal of the connector, which is the one that usually makes contact with the base. Then, connect the wires for the left and right channels to their respective short pins. Apply heat quickly to prevent the connector's plastic from melting , keeping the soldering iron tip clean at all times.

Final testing and isolation
Before closing the case, connect the headphones to a device and play an audio track. Gently wiggle the cables to check for loose connections or short circuits between the pins. If you hear clear sound on both sides, the operation was successful.
To make the repair more durable, you can apply a small amount of heat-shrink tubing to the base of the cable. This will provide extra structural reinforcement , preventing the cable from breaking again in the same spot due to the mechanical stress of daily use.
Mastering the technique of soldering a jack connector allows you to rescue electronic devices that seem beyond repair, applying basic electronics knowledge and using simple tools to achieve an efficient electrical connection and a professional finish that prolongs the lifespan of audio accessories.