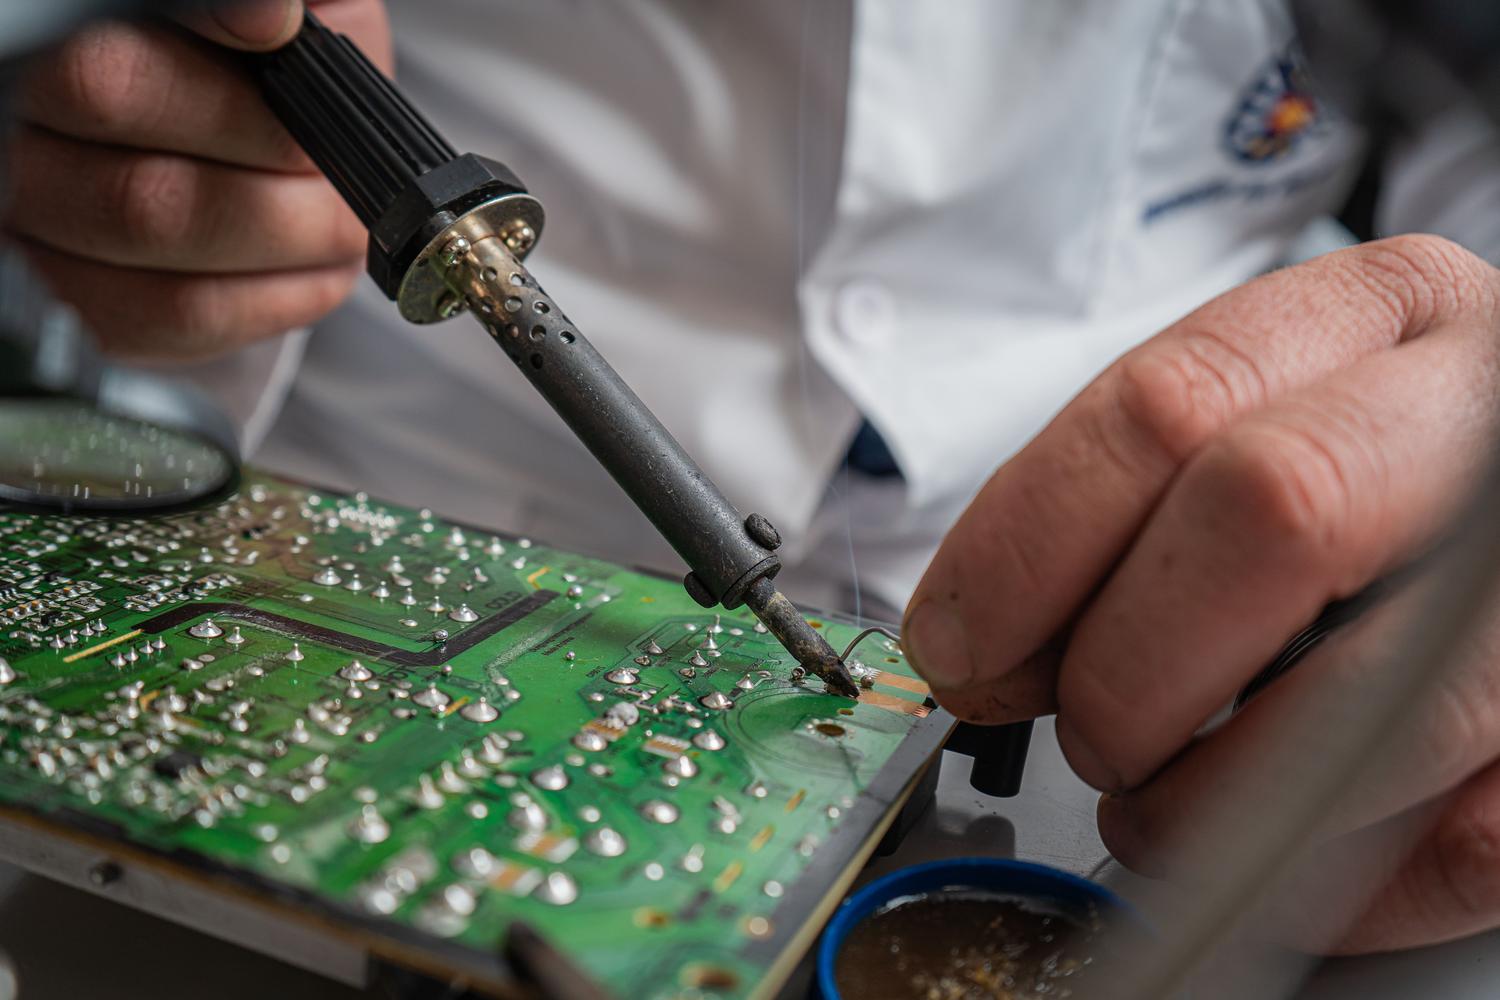
I'm sure it's happened to you: the monitor suddenly stops displaying an image or starts flickering strangely, driving you crazy. Often, the problem isn't the screen itself, but rather the... The power supply has passed away.And usually, the culprit is a very cheap component that has dried out or broken down over time. If you enjoy tinkering and aren't afraid to open things up, repairing these power supplies can be a very rewarding experience and, above all, a way to save yourself a good chunk of money.
However, before you jump in headfirst, let's make one thing very clear: we're dealing with electricity, and in switched-mode power supplies (SMPS), there are tensions that can be lethalThis is no joke. It doesn't matter if the device is unplugged; large capacitors can store enough charge to give you a monumental shock. That's why, in this article, we'll go step by step, from the most basic safety precautions to expert tricks, so you can get your monitor looking like new again without taking unnecessary risks.

Understanding the power supply: Linear or switched-mode?
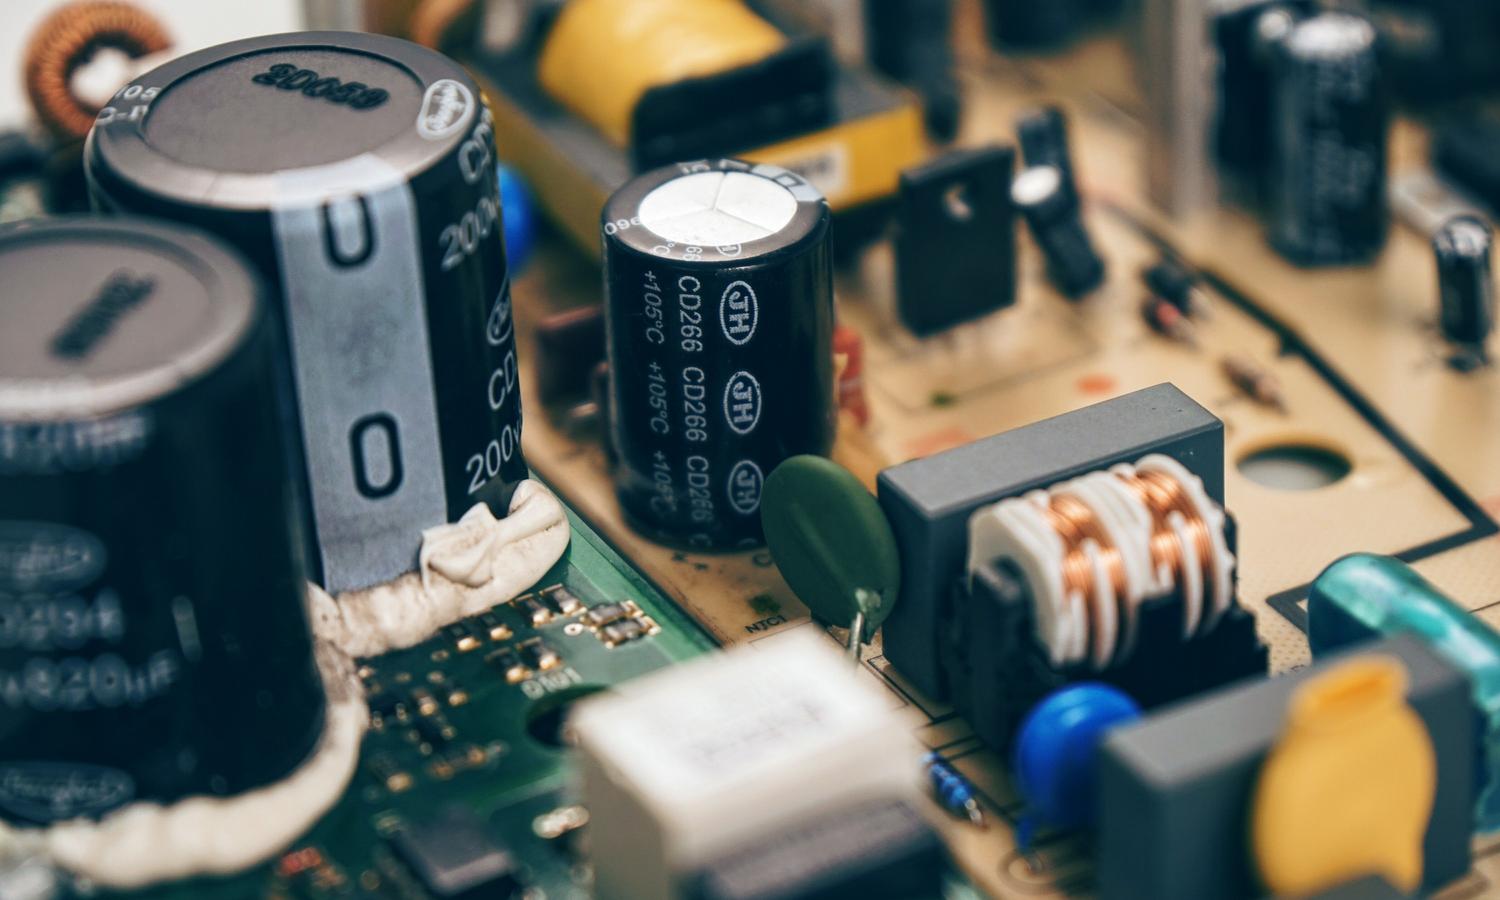
To avoid confusion, we first need to know what we're dealing with. Linear fonts are the traditional ones, those that have a heavy iron transformer It gets quite hot and is inefficient, but very easy to fix. However, modern monitors use switching power supplies. These are much lighter and more efficient because they operate at high frequencies, but their circuitry is a much more complex labyrinth.
A typical SMPS power supply converts AC power from the wall to DC, steps it up, switches it at high speed using a transistor, and then steps it down with a small ferrite transformer to deliver the exact voltage the monitor's electronics need. This complexity can make us feel lost if we don't know where to look, but by following a logical order, anyone with a multimeter can make the diagnosis.
Safety comes first (no exceptions)
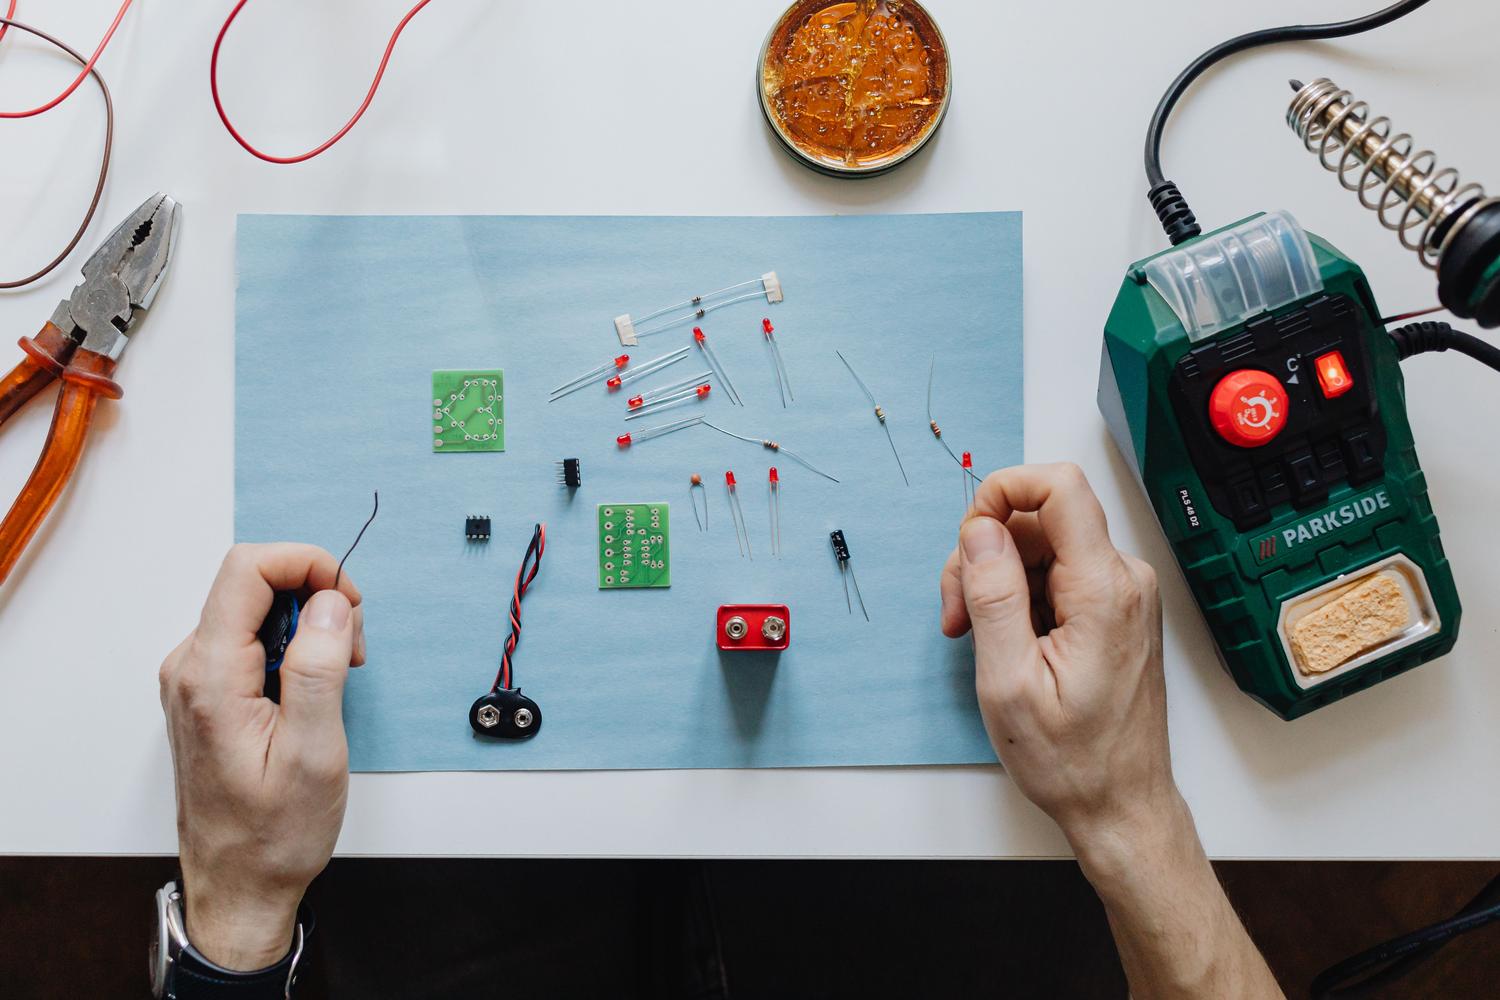
If there's one thing you absolutely cannot skip, it's discharging the capacitors. Never, ever use a screwdriver to create a direct short circuit across the terminals of the main capacitor; the spark could damage the component or scare you enough to drop the tool on another trace. Ideally, use a power resistance (for example, 10kΩ / 5W) for about 15 seconds to discharge the load in a controlled manner.

In addition to discharging the capacitors, I recommend always working on an insulating surface and, if you have to take measurements with the circuit energized (which you should avoid if you're a beginner), use isolated tools And try to use only one hand to prevent the current from passing through your chest. Don't forget to remove any metal rings or bracelets either, as they're basically magnets for short circuits.
Visual inspection: the first big step
Sometimes you don't even need to turn on the multimeter because the problem is right there in front of you. The first thing you should look for are the swollen electrolytic capacitorsIf you see that the top aluminum part is bulging or that there's a kind of brown crust (leaking electrolyte) on the base, you've found the culprit. It's the most common problem with monitor power supplies.
But don't just focus on the capacitors. Take a look at the resistors; if any are blackened or have a pungent smell, it's likely been overloaded. Also check the cold weldsThese are the solder points that appear opaque or have a circular crack around the component's leg, something very common due to the device's heat and cold cycles.

Step-by-step electrical diagnosis
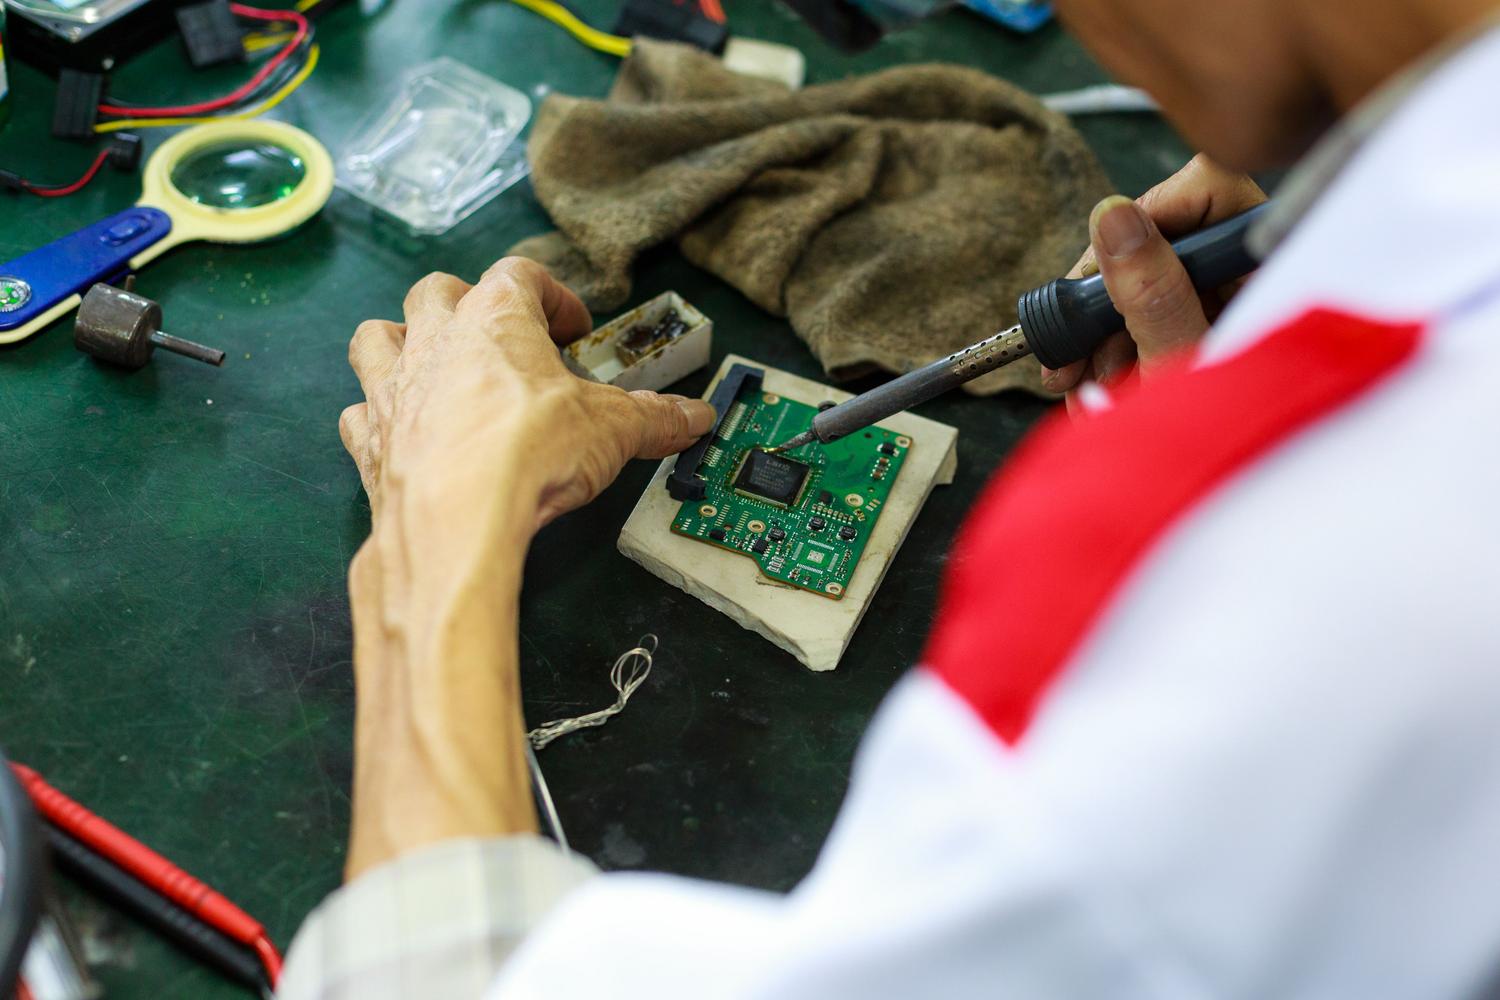
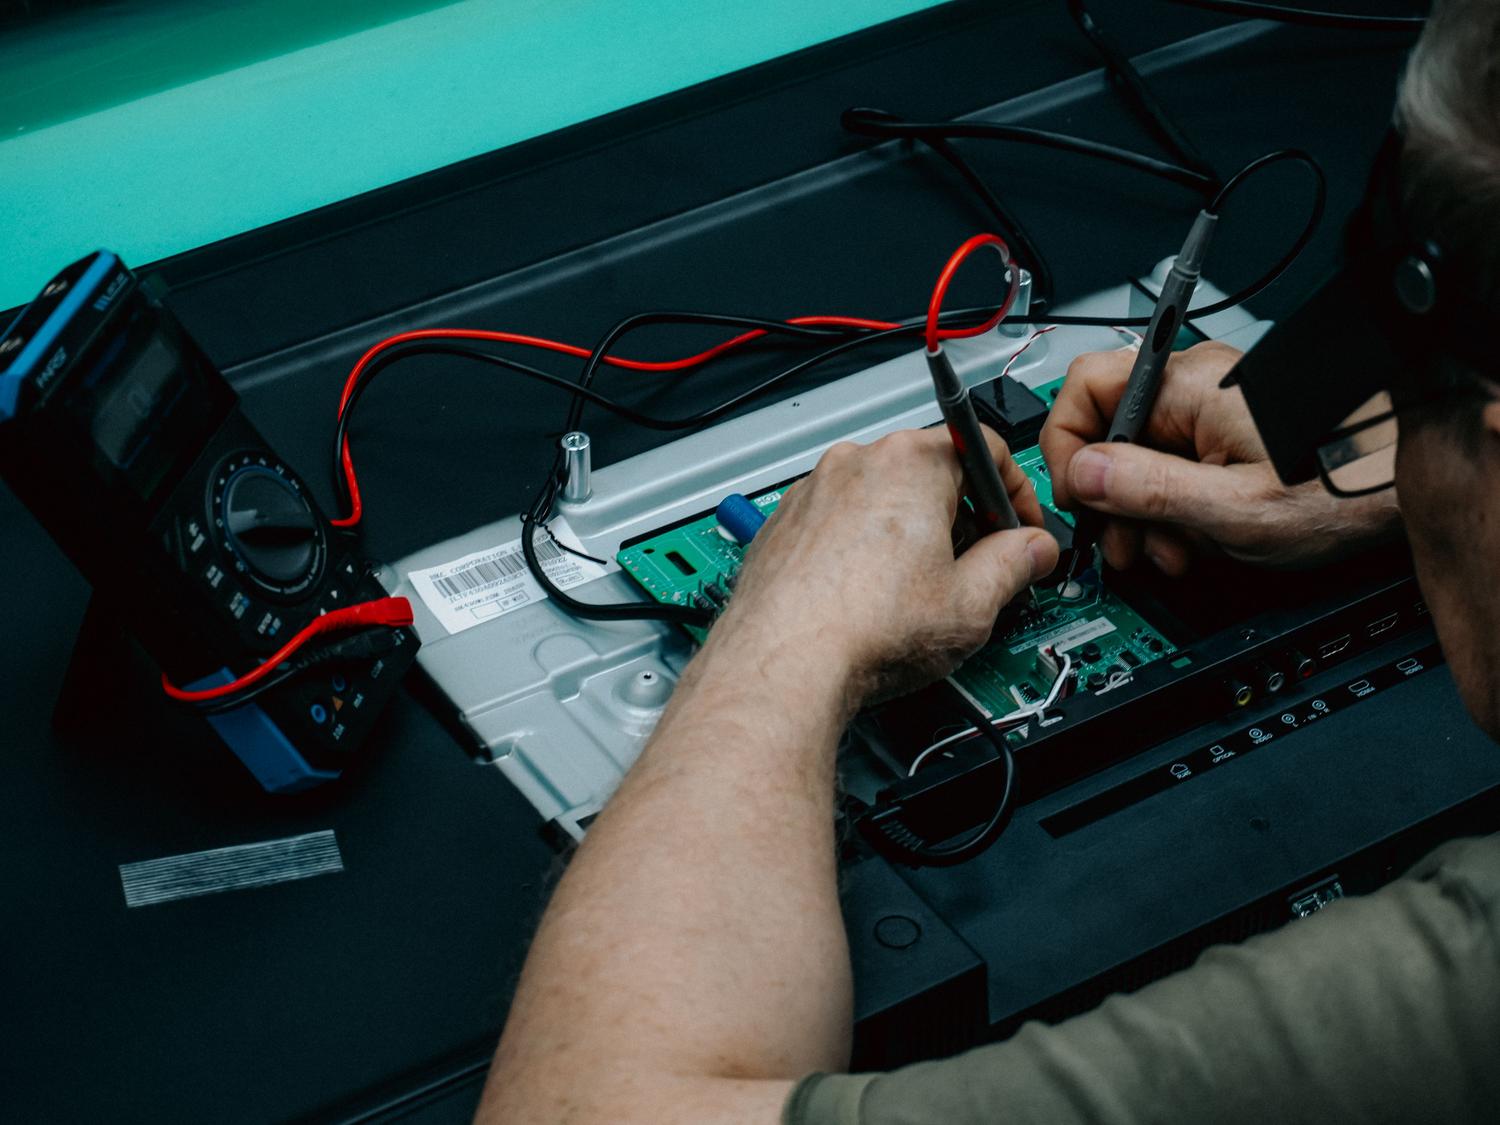
If everything looks fine, it's time to get out the multimeter. We'll start with the fuse. If it's blown, don't just replace it, because fuses don't blow for no reason; it's a sign that there's a problem. severe short circuit somewhere. If the fuse is good but there is no voltage output, the problem may be in the rectifier bridge or the starter circuit.
- The Rectifier Bridge: Check the diodes in diode test mode. If they conduct in both directions, they are shorted and need to be replaced.
- The Main Capacitor: Measure its capacity. If it has a value much lower than the nominal value, even if it's not swollen, it may be dry and not filtering the current properly.
- MOSFET transistors: They're the ones that do the dirty work of switching. If the MOSFET is shorted between Drain and Source, the power supply won't start or will blow the fuse instantly.
- Optocouplers: These small components carry the feedback signal from the secondary to the primary side. If they fail, the output voltage can go haywire or disappear.
The problem of capacitors and ESR
This is where many people go wrong. You can measure the capacitance of a capacitor and the multimeter will tell you it's perfect, but the component may still be faulty. This happens because... Equivalent Series Resistance (ESR)Over time, the internal resistance of the capacitor increases, and although it stores the charge, it is no longer able to deliver it quickly.
To fix this, it's best to use a specialized ESR meter. If you see a high value, replace the capacitor. A golden tip: if one has failed, replace all electrolytic capacitors From the power supply. For just a few cents more, you can ensure your monitor doesn't die again in three months because the capacitor next to it was also nearing the end of its lifespan. Always look for replacements rated for 105°C and with low impedance (Low ESR).

Advanced tricks for safe repair
Once you've soldered the new components and are ready to spark, don't connect the power supply directly to the wall socket. Use the series light bulb trickIt involves placing an incandescent light bulb (an old-fashioned filament type) in series with the power supply. If there's a short circuit you've missed, the bulb will light up brightly, limiting the current and preventing the new components from exploding again.
If the bulb flashes briefly and then goes out or glows very dimly, everything is fine. If it stays lit, disconnect everything immediately! You still have a short circuit. Once you've passed this test, you can measure the output voltage with a multimeter to confirm it's within the correct voltage range. margin of 5% of the nominal value.
Summary of components and substitutions
To avoid confusion with the replacement parts, remember that you can be generous with the voltage: you can put a 400V capacitor where there was a 250V one and nothing bad will happen, but Never use one with a lower voltage. because it will explode. Regarding the capacitance (uF), try to maintain the original value or increase it slightly (maximum 20%), as too much capacitance could affect the stability of the control circuit.
Regarding semiconductors, always check the datasheet for the original component. If you can't find the exact same MOSFET or Schottky diode, look for one that supports it. equal or greater current and voltageDon't forget to apply a good layer of thermal paste and use mica insulators if the component is mounted on a common heatsink, to prevent the metal casing from causing an accidental short circuit.
Restoring a power supply requires a methodical approach that begins with absolute safety and draining any stored energy, progresses to a thorough visual inspection of capacitors and solder joints, and culminates in precise electrical measurements of diodes and transistors. The key to success lies not in randomly replacing parts, but in identifying the root cause of the problem, ideally using tools such as an ESR meter and a series lamp to protect the circuit during final testing, thus ensuring the equipment regains its operational stability without risk.