- WLED is an open-source firmware specifically designed to manage addressable LED strips using ESP32 or ESP8266 microcontrollers.
- Choosing the right power supply and LED chip type (such as the WS2812B) is crucial to avoid hardware damage and voltage drops.
- Integration with Home Assistant allows you to transform a simple strip of lights into an advanced home automation system with automations based on sensors or external data.
You've probably seen those LED light installations that look like they're straight out of a science fiction movie, where the colors flow and react to everything. While there are thousands of tutorials out there, most only scratch the surface or give instructions that sound like they were written by a robot. That's why we want to give you a... a clear and didactic guidewhere you don't just copy and paste, but understand what the heck you're doing with the wires and the code so you can make your own variations without fear of burning anything out.
The idea here isn't just for the lights to shine, but for them to become part of a smart ecosystem. We're going to put it all into Home Assistant...which is the ultimate home automation brain, so your LED strips can not only change color, but also alert you to useful things or create automated environments. Get ready, because we're going to review concepts of electricity, networks, and control so that... you don't have to jump to other websites while you set up your project.

What do we need to buy? The right hardware
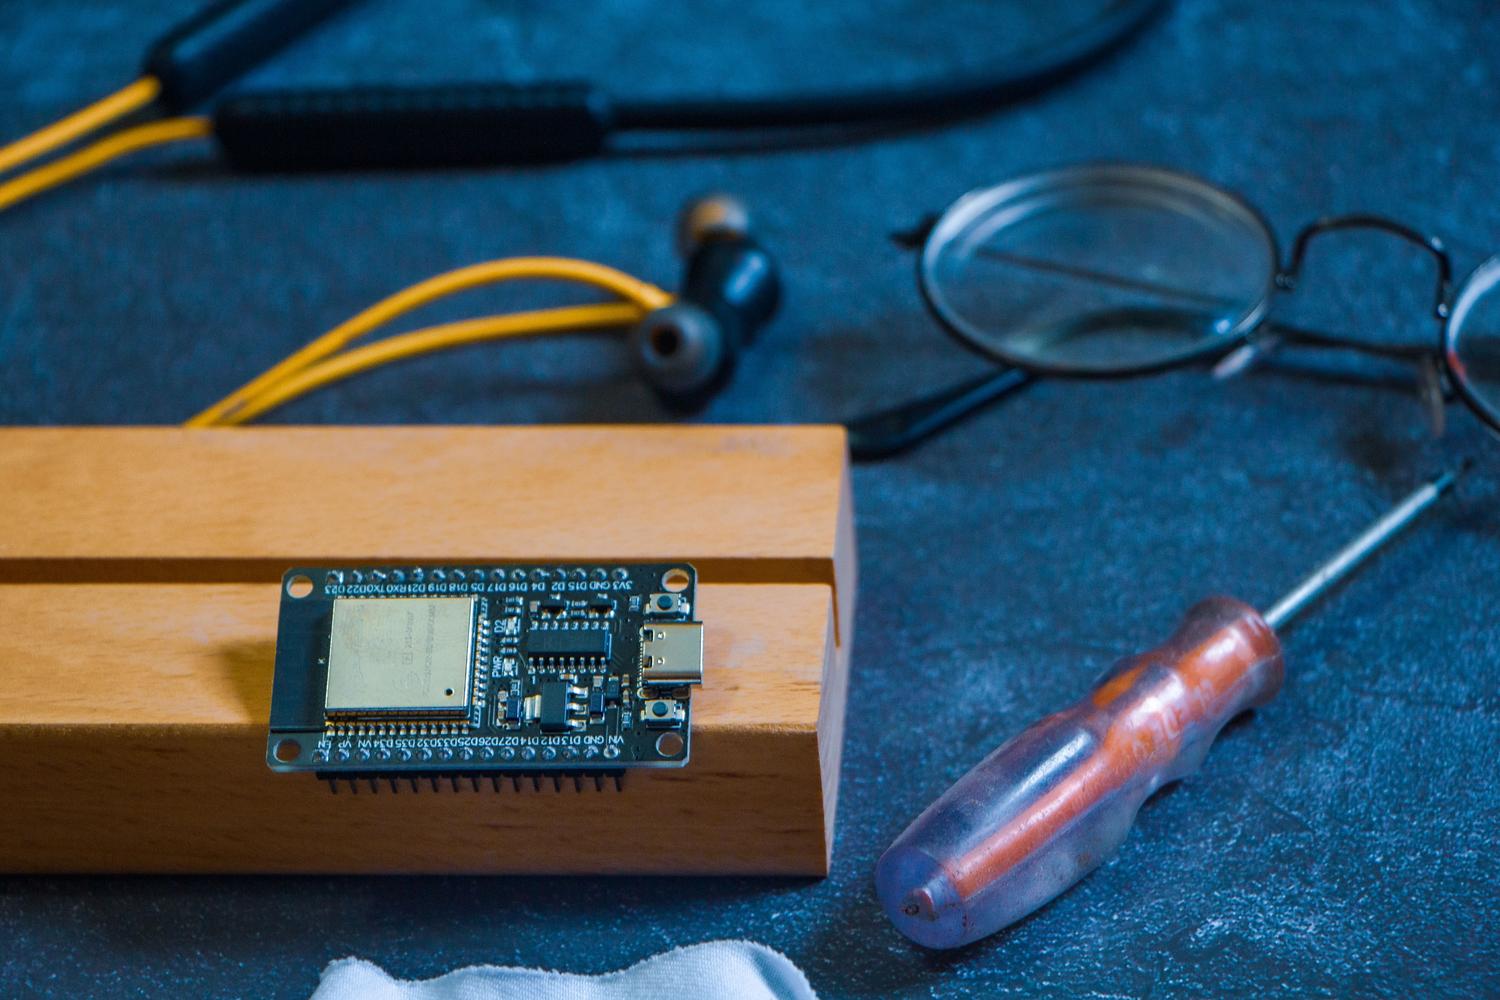
To avoid shooting in the dark, the first thing is to have the right materials on hand. Basically, we need three things: a smart LED strip, an ESP32 microcontroller, and a power supply that won't explode. Don't trust just any internet ad; there are technical details that make the difference between a professional project and one that flickers because it lacks power.
Choosing the perfect LED strip
No todas las tiras son iguales. Las «tontas» solo hacen una cosa: encenderse en un color fijo. Nosotros buscamos addressable LED strips and RGB lightingwhich allow us to control each small light point independently. The most common and economical are the WS2811 and WS2812B. The key difference is that with the WS2811 you control groups of 3 LEDs, while with the WS2812B can drive each LED one by one, which gives an incredible amount of room for animations.
A la hora de elegir, fíjate en la densidad (cuántos LEDs hay por metro). Cuantos más haya, la luz se verá más continua y no como «puntos» separados, aunque esto dispara el consumo eléctrico. También está el tema de la IP protectionIf you're going to put the lights in the living room, an IP30 rating is more than enough, but if you plan to illuminate a terrace or, who knows, a swimming pool, you'll need... IP65 or IP68 protection so that the water doesn't send everything to the cemetery.

The power supply: The electric heart
This is where many people go wrong. The LED strip consumes much more power than the ESP32, so we size the power supply based on the number of LEDs. If we use a 5V strip, we need a 5V power supply. A quick calculation: each LED consumes about 0.2W. If you have 3 meters with 30 LEDs per meter, we're talking about... 18W total powerUsing the formula P = I x V, we know we need at least 3.6 Amps. Ideally, we should buy a power supply that goes excess amperage to prevent it from overheating and to allow for future expansion.
The brain: ESP32 vs ESP8266
Although the ESP8266 (as the NodeMCU) was king for a long time, the ESP32 is the logical evolutionIt's more powerful, has a dual core, and more input/output pins. For WLEDs, it's the winning option because it handles complex effects better and has more stable Wi-Fi connectivity. It's extremely cheap and It integrates perfectly with any smart home system.
WLED firmware installation
Forget about installing complex programming environments like the Arduino IDE if you don't want complications. Currently, there is a official web installer in install.wled.me which does all the dirty work. You just need to connect your ESP32 to the PC using a USB cable (make sure it's a data cable and not just charging cable) and click the install button from Chrome or Edge.

If the browser does not recognize the license plate, you will probably need to install the USB chip drivers (como el CP2102 o CH340). Una vez flasheado, el dispositivo creará su propia red WiFi llamada «WLED-AP». Te conectas a ella con la clave wled1234 And from there you enter your router details. Expert tip: assign it a Static IP address on your local network so that Home Assistant doesn't lose track of the device if the router restarts.
Physical assembly and cabling
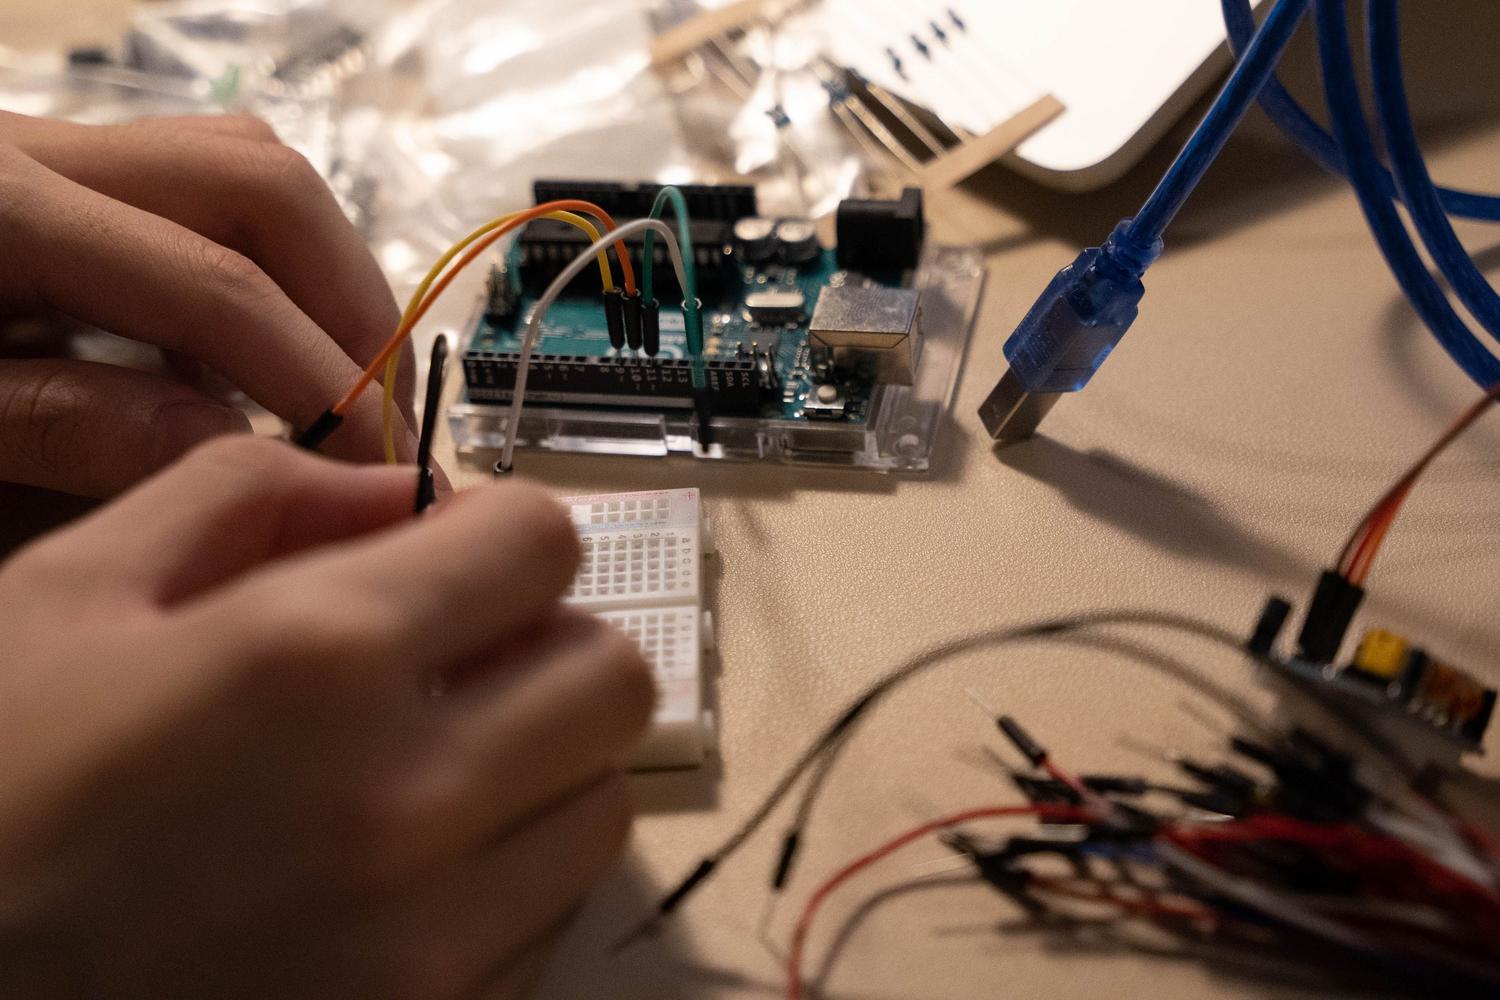
When connecting, remember the golden rule: always work without stressWe connect the 5V from the power supply to both the VIN pin of the ESP32 and the positive pin of the strip. The GND (ground) must be common to all components. The strip's data cable (DIN) usually goes to GPIO 2 or GPIO 16 of the ESP32, depending on the model. It is vital to respect the data direction, indicated by arrows on the LED strip; if you connect it backwards, absolutely nothing will happen.
If you notice that the LEDs at the end of the strip are dimmer or turning yellow, it's due to a voltage drop. The solution is inject current also at the end from the strip or at intermediate points, connecting the power cables directly to the source, always maintaining the same polarity.

Advanced integration with Home Assistant
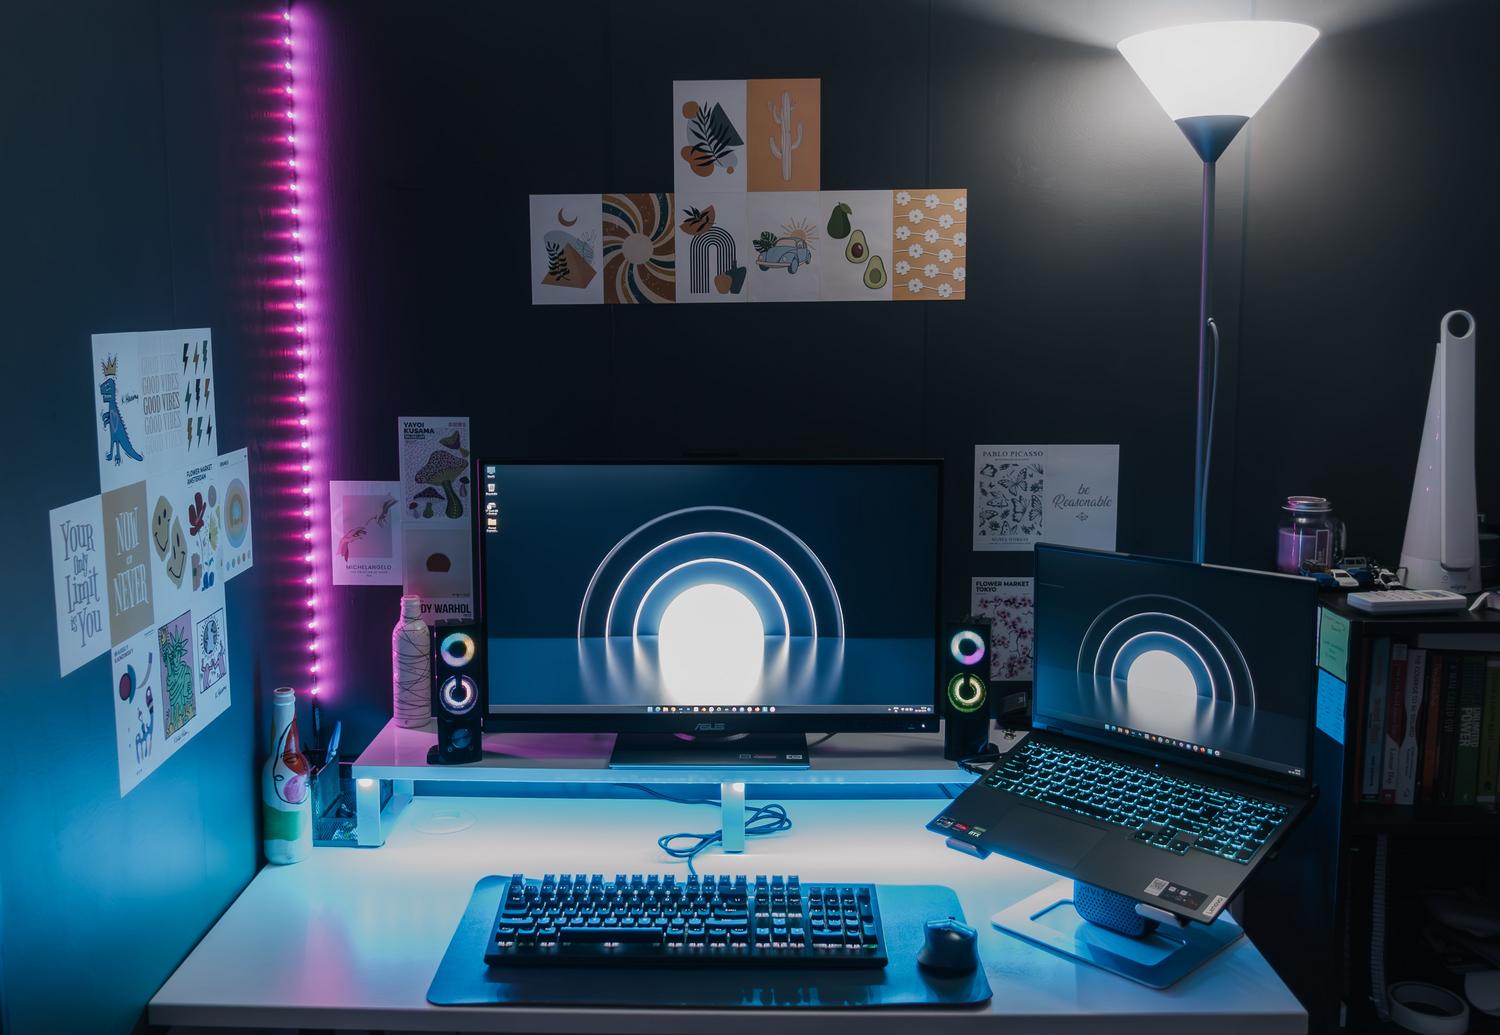
Having a website to change colors is fine, but the real magic happens in Home Assistant. Al estar en la misma red, el sistema detectará el dispositivo WLED automáticamente. Una vez añadido, puedes crear automatizaciones que parecen brujería. Por ejemplo, puedes configurar un «semáforo eléctrico» que cambie el color de la tira según el real-time electricity price (green if it's cheap, red if it's expensive).
You can also link the lights to motion sensors to illuminate your path to the bathroom at night. soft, warm glowor that they flash red if someone opens the front door. In the HA dashboard, you can add a specific WLED card to manage the strip segmentsallowing you to treat a single strip as if it were several independent lamps.
For the most demanding users, a microphone (such as the INMP441) can be added to the ESP32 to make the lights react to the rhythm of the musictransforming your gaming setup or living room into a real nightclub. All of this is managed without writing code, simply by coordinating WLED entities within your home automation server's automations.
Having a lighting system based on ESP32 and WLED allows you to go from a simple decorative strip to a fully automated information and ambiance tool, where the key lies in choosing the right electrical components and taking advantage of the power of Home Assistant to coordinate everything from a single control panel.
