You've probably noticed that the internet is flooded with AI-generated images. Many wonder if it's possible to achieve similar results at home, without paying monthly subscriptions and while maintaining complete privacy of their prompts. The answer is a resounding yes, and the most powerful tool for doing so right now is ComfyUI, an interface that, while initially intimidating, gives you absolute control over visual creation.
Unlike simpler options, ComfyUI works using a graph system where you connect different boxes or nodes. This means you're not limited by a rigid form; you can design your own build pipeline . Whether you have a powerful Linux server or a Windows laptop, setting up this ecosystem will allow you to experiment with the latest models, such as FLUX or Stable Diffusion, without anyone spying on what you're creating.
Hardware Requirements: The World of VRAM
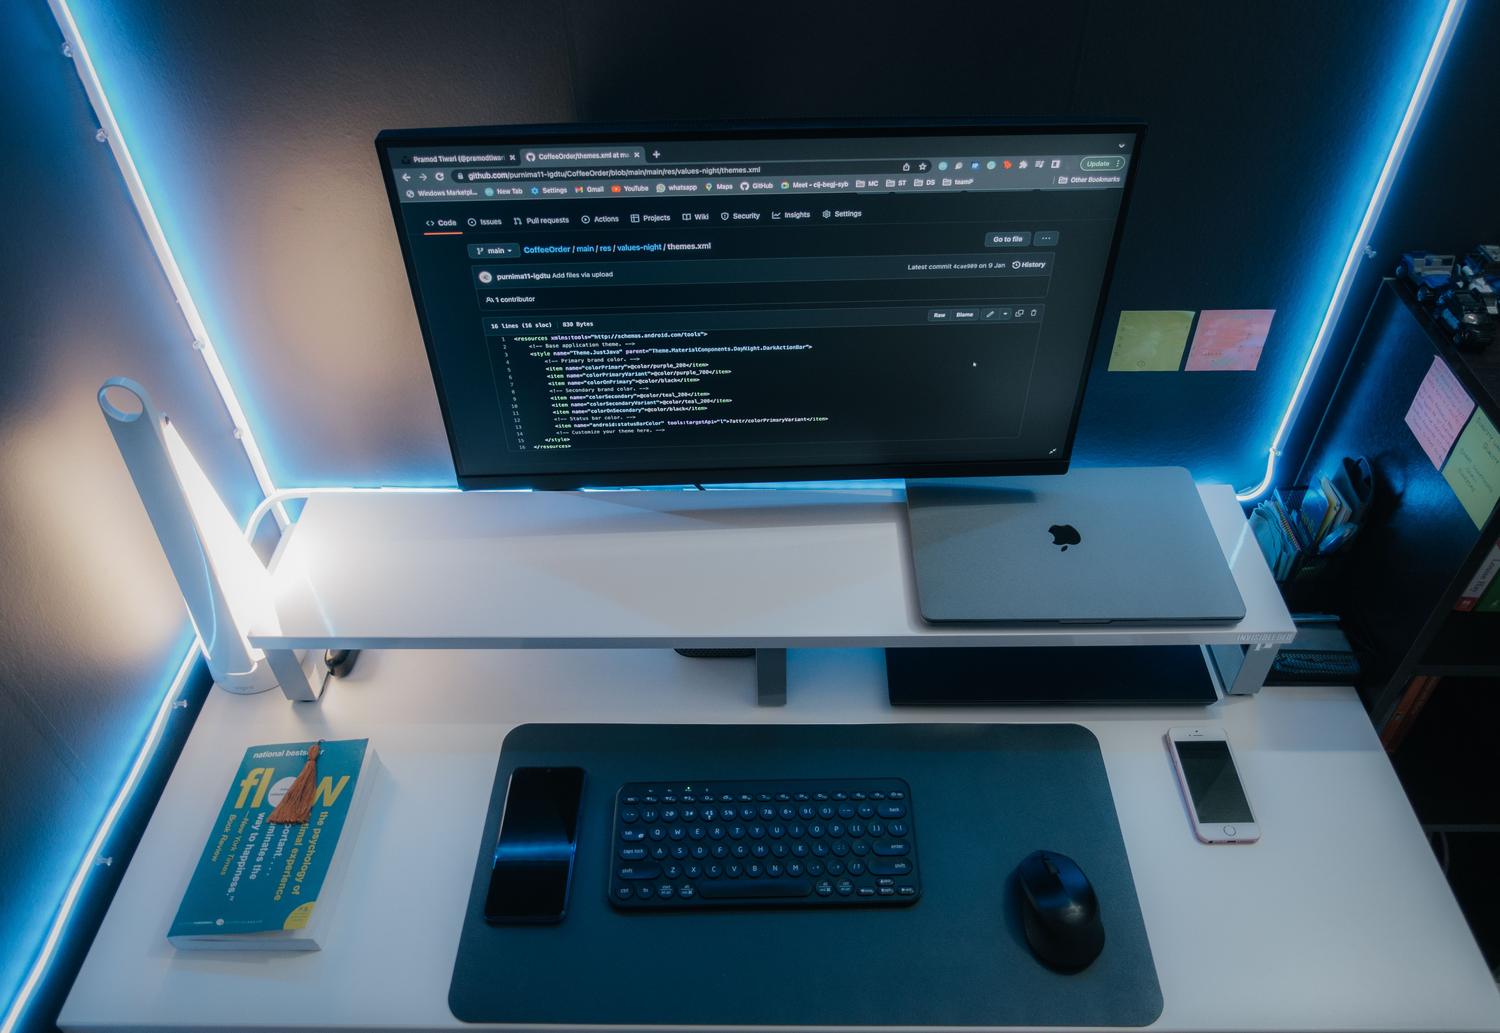
Before you start installing, we need to talk about what really matters: video memory (VRAM). It doesn't matter how powerful your processor is or how much RAM you have; if the graphics card doesn't support the VRAM, your system will run at a snail's pace or simply crash. To check your VRAM requirements in Linux, you can use the command `nvidia-smi` for NVIDIA or `rocm-smi` for AMD.
If you have 4GB of VRAM, be prepared for some sluggish performance and will have to use lower resolutions. With 8GB, you can handle most tasks smoothly, although for demanding models like FLUX.2 you'll need to use GGUF quantization (like Q4_K_M) , which reduces the model's size without sacrificing quality. If you're lucky enough to have 16GB or more, like in an RTX 3090 or 4090, you can load FP8 or even FP16 models without breaking a sweat.
Step-by-Step Installation on Different Systems
Depending on your operating system, the process varies. On Windows, the simplest way is to download the official portable package , extract it, and run the .bat file corresponding to your GPU. This is the quickest route because it already includes Python and the necessary dependencies, avoiding conflicts with environment variables.
If you prefer Linux or macOS, the process is more manual but cleaner. First, you need to clone the repository from GitHub and create a Python virtual environment (venv) . This is essential to avoid breaking operating system libraries. Once the environment is running, install the dependencies listed in the requirements.txt file and the PyTorch math engine. NVIDIA users are advised to use CUDA version 12.1 , while AMD users should opt for ROCm.
Advanced Configuration and Essential Nodes

Once you launch ComfyUI for the first time at http://127.0.0.1:8188, you'll see a dashboard full of cables. To avoid getting overwhelmed, the first thing you should install is the ComfyUI Manager . This plugin is the real gem, as it allows you to search for and install other custom nodes and, most importantly, automatically install any missing nodes when you import someone else's work.
To work with modern models like FLUX, you'll need the ComfyUI-GGUF node . Unlike Stable Diffusion, where everything is usually stored in a checkpoints folder, FLUX requires separating its components: the broadcast model (UNet) goes in models/unet/ , the text encoder (CLIP) in models/clip/, and the VAE in models/vae/. If you put them in the wrong place, the loader won't find them, and you'll end up with a blank screen.
Mastering the Workflow and the API
A basic workflow involves loading the model, writing the prompt, passing through a sampler (where the diffusion magic happens), and decoding the image. A vital trick for FLUX is to keep the CFG at 1.0 and use few steps (between 4 and 8) with the Euler sampler; if you increase the CFG, the images will be overexposed and have unrealistic colors.
For those with hardware on a server who want to work from another computer, ComfyUI allows remote access using the `--listen 0.0.0.0` parameter . This opens an HTTP API that allows you to send workflows in JSON format and receive the processed image. It's the ideal way to turn your PC with a GPU into a private image generation service, automating the creation of hundreds of images for marketing or e-commerce using Python scripts.
Troubleshooting and Optimization
It's common to encounter the CUDA Out of Memory error . If you do, you can restart ComfyUI to clear memory fragmentation or start the program with the `--lowvram` command , which moves data between the GPU and system RAM. For AMD systems, if the card isn't detected, the problem is usually solved by adding the user to the render and video groups or by using the HSA_OVERRIDE_GFX_VERSION environment variable.
If you notice poor performance, check that you're not accidentally using the CPU. Also, consider upgrading your system RAM to 32GB or 64GB, as ComfyUI uses it as a bridge when VRAM is insufficient. For storage, a fast NVMe drive is key, since loading 10GB models every time you switch workflows can take forever on a mechanical hard drive.
Setting up your own local imaging workstation frees you from cloud restrictions and credit-based costs. From VRAM management and virtual environment setup to API automation and the use of GGUF quantized models, you now have all the tools to transform an RTX into a digital art factory, optimizing every step through nodes and ensuring your hardware operates at peak performance.