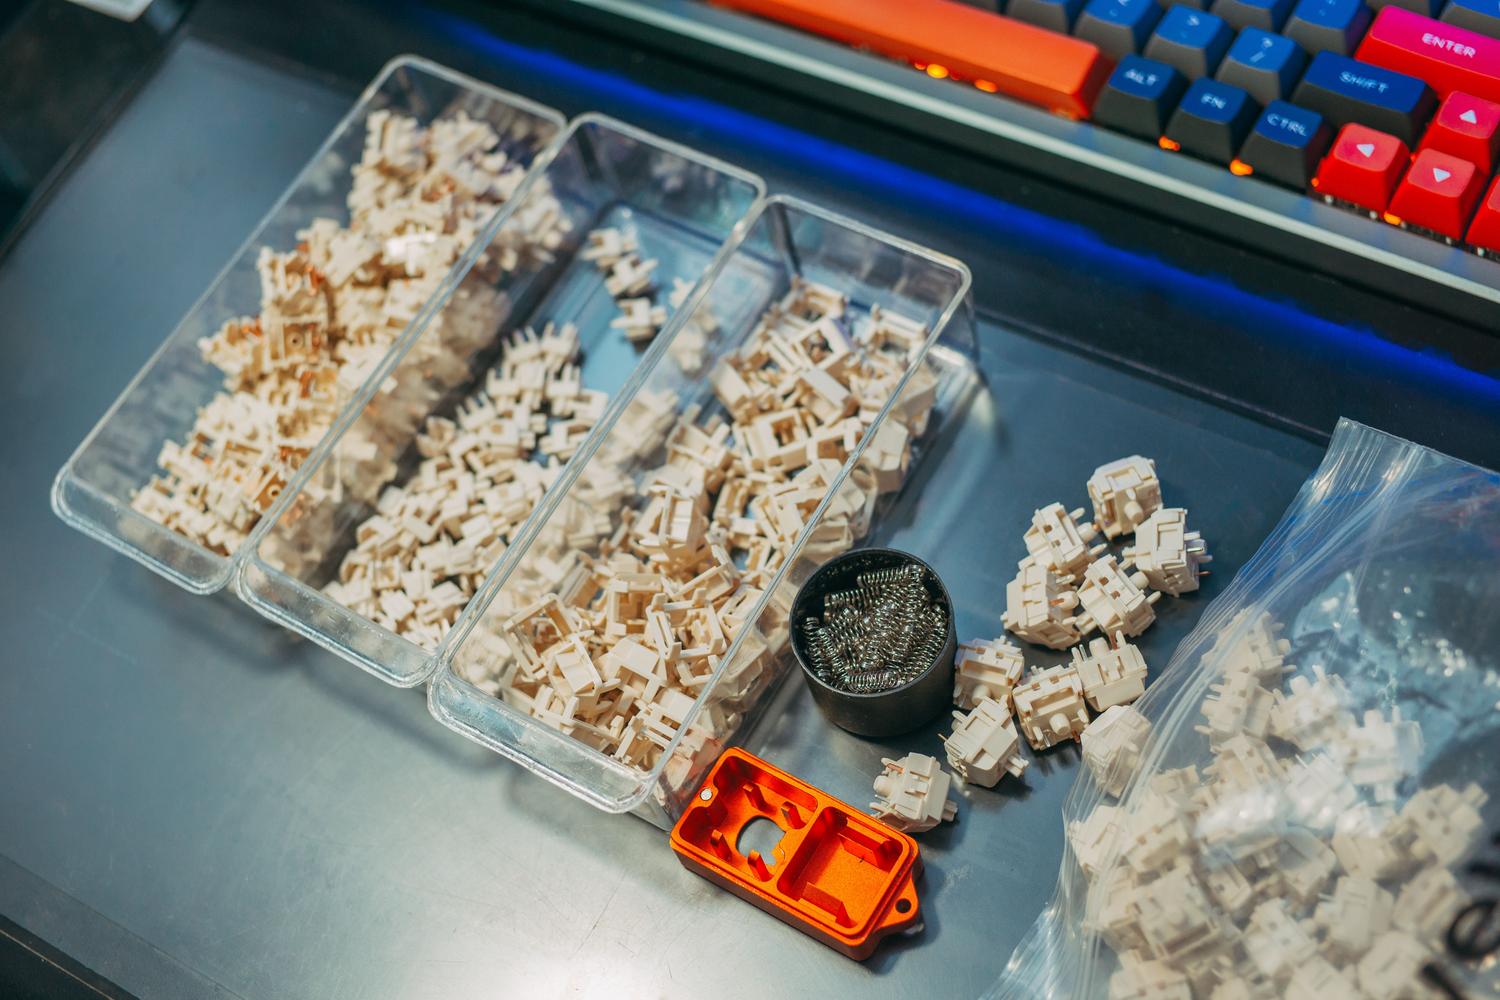
If you're someone who spends hours typing or gaming intensely, you know there's nothing like the feel of a well-adjusted mechanical keyboard. However, many of these peripherals come from the factory with a somewhat scratchy feel or those annoying metallic noises that can drive you crazy. Lubricating the switches is, basically, the best-kept secret of enthusiasts for transforming an ordinary keyboard into a luxury typewriter, eliminating friction and achieving a much cleaner sound.
Although it might seem like you're getting into a complicated process at first, it's actually quite mechanical and relaxing. All you need is patience, organization, and the right tools to avoid common mistakes, like using too much grease. In this article, we'll break down absolutely everything you need to know to get a perfect finish, from choosing the right chemical to the final assembly, leaving no detail overlooked.

Why should you consider lubricating your keyboard?
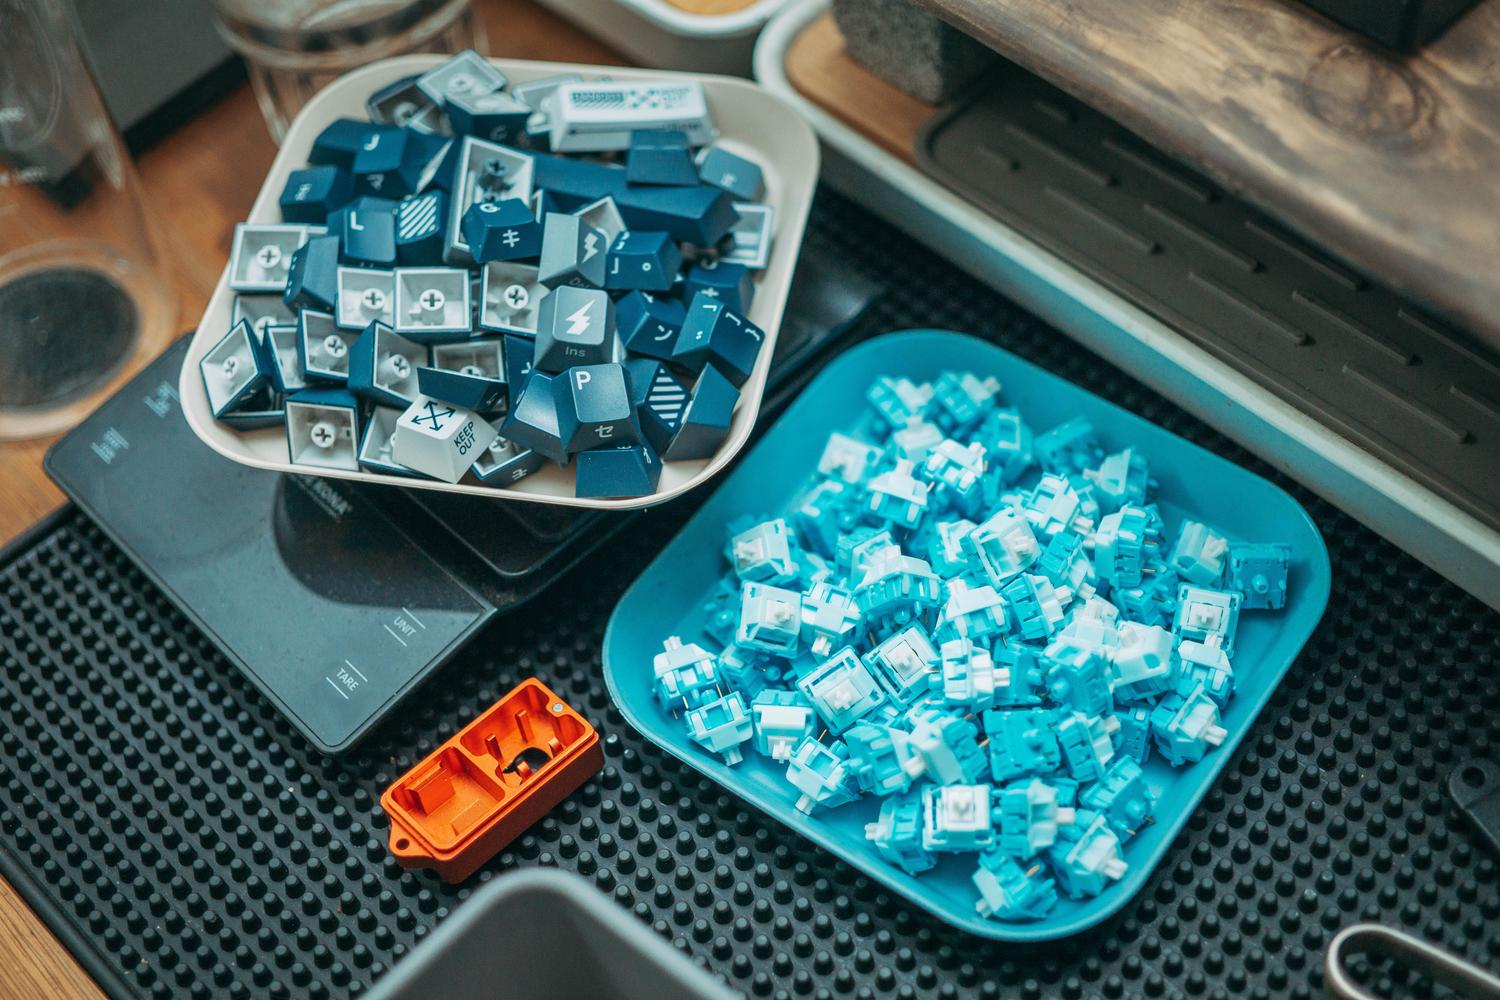
The main reason is to combat the constant friction between the plastic and metal parts that make up the switch. This contact generates vibrations and squeaking, known in the community as rattle or ping , which can be very annoying. By applying a layer of lubricant, we not only silence the device, but we also make the keystroke much smoother and more consistent , eliminating that "gritty" feeling when pressing the key.
Furthermore, there's a very important maintenance factor. Internal components suffer natural wear and tear from friction; by reducing this, we're extending the lifespan of the switches, which can be costly if you replace them individually. Ultimately, it's an improvement that affects both the audio and tactile aspects, making the user experience much more pleasant and professional.

The necessary arsenal: Tools and materials
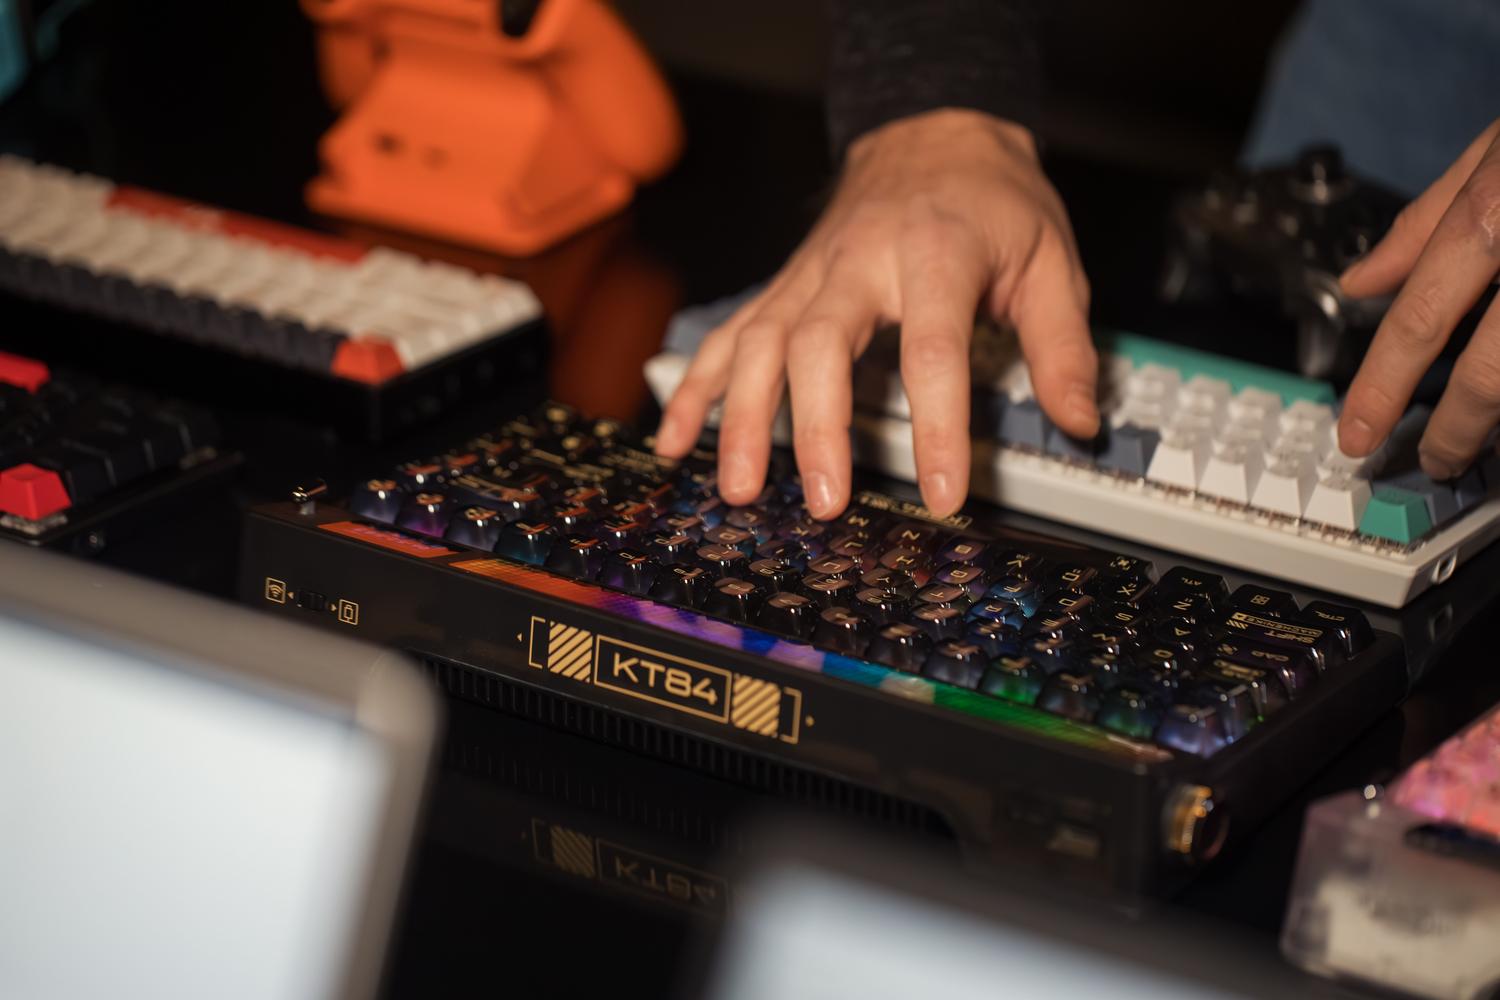
To avoid a botched job, it's vital to have everything organized on a large, clean table. The first thing is the lubricant, but be careful, not just any oil will do. We must use products specifically designed for plastics that are non-volatile and won't degrade the materials. The most popular brands are Krytox and Tribosys , as they are compatible with most materials and last practically forever.
- Switch opener: A key tool to avoid damaging the casing when opening the switch.
- Fine-tipped brushes: Sizes 0 or 00 are recommended for applying the product with surgical precision.
- Keycap and switch extractor: Essential for removing keys and switches without scratching the chassis.
- Tweezers: Very useful for handling springs, which are tiny and treacherous pieces.
- Soldering station: Only if your keyboard is not hot-swap and the switches are soldered to the PCB board.
Understanding lubricants: Which one to choose?
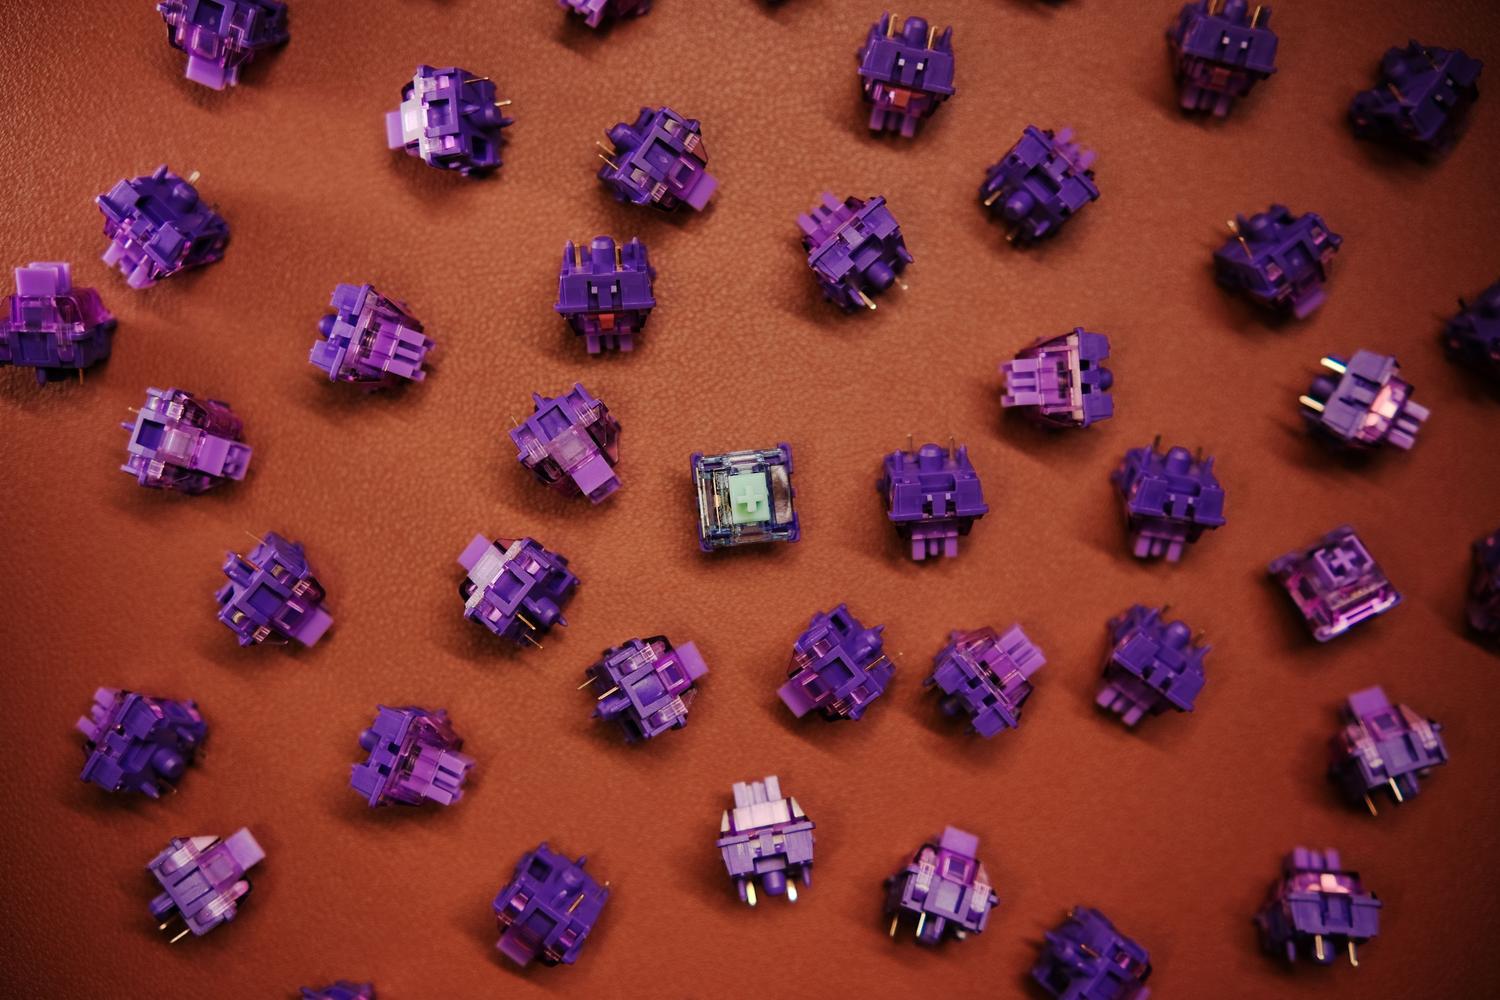
This is where many beginners go wrong. The viscosity of the lubricant determines how the key will feel. A very thick product can make the switch feel sluggish or "sticky," delaying the key's return to its original position. Conversely, a very thin one might not eliminate the noise completely.
For linear switches (like red or black ones), which require a smooth, uninterrupted actuation, thicker greases such as Krytox GPL 205g0 are typically used . For tactile switches (like brown ones), it's best to opt for lower viscosity lubricants, such as Tribosys 3203 , to avoid removing the "bump" or characteristic tactile feedback that defines these types of red, blue, or brown switches.

Krytox Viscosity Quick Guide
- GPL 103: Very fluid, ideal for lightweight linear inks (e.g., Gateron Red).
- GPL 104 / VPF 1514: Medium viscosity, perfect for standard weight linears.
- GPL 105: The perfect balance, suitable for both linear and touch screens.
- GPL 106 / 107: Very dense, reserved almost exclusively for lubricating extremely heavy springs or switches.
- GPL 205: A classic fat, the queen for the stabilizers and linear switches.
Step by step: The lubrication process
The first step is to remove the keycaps and extract the switches. If you have a hot-swap keyboard, it's a breeze; otherwise, you'll have to carefully desolder them. Once you have the switch in your hand, use the opener to separate the top casing from the bottom casing , freeing the spring and stem.
The application process must be meticulous. Start with the spring ; you can lubricate it with the brush at the ends or use the "bag lubing" technique, which involves placing all the springs in a bag with a few drops of oil and shaking well. Next, move on to the shaft , applying a thin layer to the sides and guides, being careful not to saturate it with product.
Don't forget the lower housing . You should lubricate the rails where the stem slides, but be very careful with the metal plate; if you over-lubricate that area on a tactile switch, you could lose the click feel. Finally, lightly tap the rails of the upper housing before closing the assembly, making sure the stem is properly aligned so it clicks into place without force.

Typical mistakes and expert advice
The most common mistake is over-enthusiasm. In this world, less is more . If you use too much grease, the keyboard will feel sluggish and lose responsiveness. If you notice a switch isn't working after assembly, check that the metal pins weren't bent when inserted into the circuit board.
Another important detail is long-term maintenance. While the switches, if properly lubricated, won't need adjustments for years, the stabilizers (the larger keys like the space bar) are more exposed to dust and may require a fresh coat of grease approximately every three years to maintain optimal sound. Always remember that clicky switches should not be lubricated on the click mechanism itself, as this will negate the unique click sound.
This process requires time and organization, but the end result is a fully customized keyboard that offers superior smoothness and reduced noise . By choosing the correct viscosity and applying the product carefully, you optimize mechanical performance and extend the life of your keyboard, transforming every keystroke into a much more satisfying and comfortable experience.