
Having a Raspberry Pi is awesome for setting up home automation projects with Raspberry PiBut there's one detail we sometimes forget until it's too late: heat. Depending on what you're asking of the device, the processor can get quite hot, and if we don't monitor that temperature, the system will do what's known as... thermal throttling, slowing down the clock speed to avoid overheating, which means your machine will run slower than normal.
Although in the early models this wasn't a problem because they didn't have as much power, with the arrival of the Raspberry Pi 5 Things have changed drastically. Now we absolutely need to keep an eye on the temperatures the SoC operates at, since its performance is much higher and, therefore, it generates significantly more heat. In this article, we'll explore all the possible ways to measure and control that temperature, from the most basic to more advanced solutions.

Quick measurements using the terminal
If you want to avoid complications and simply need to know the processor's current status, the terminal is your best friend. There are several ways to obtain this information. One of the most direct is to run the command vcgencmd measure_temp, which gives you the reading in degrees Celsius immediately.
For those who prefer to read the system file directly, they can use cat /sys/class/thermal/thermal_zone0/tempAn important detail here is that the result is shown in millidegrees, so you have to divide the value by 1000 To get the actual temperature. If you want the display to update automatically every few seconds without having to type the command repeatedly, you can use the command watch -n X vcgencmd measure_temp, replacing X with the number of seconds you want between readings.
Automation with custom scripts
If you're one of those people who, like many, forgets long commands or doesn't want to be navigating with the up arrow in the console history, the ideal solution is to create a executable script in BashThis allows you to wrap CPU and GPU instructions in a small .sh file.
To do this, simply use an editor like nano, define variables to store the results of the commands mentioned above, and format them with the `echo` instruction to make them readable. After saving the file, it is essential assign execution permissions using the chmod +x command, allowing you to launch the measurement with a simple short command from any folder on the system.

Visual control and graphical tools
Not everything has to be black text on a white background. If you use the Raspberry Pi OS desktop environment, you can integrate the temperature directly into the top taskbarSimply right-click on the panel, go to the add or remove plugins option, and select the Temperature Monitor or CPU TempThis allows you to take a quick look at the thermal status while you work without interrupting your tasks.
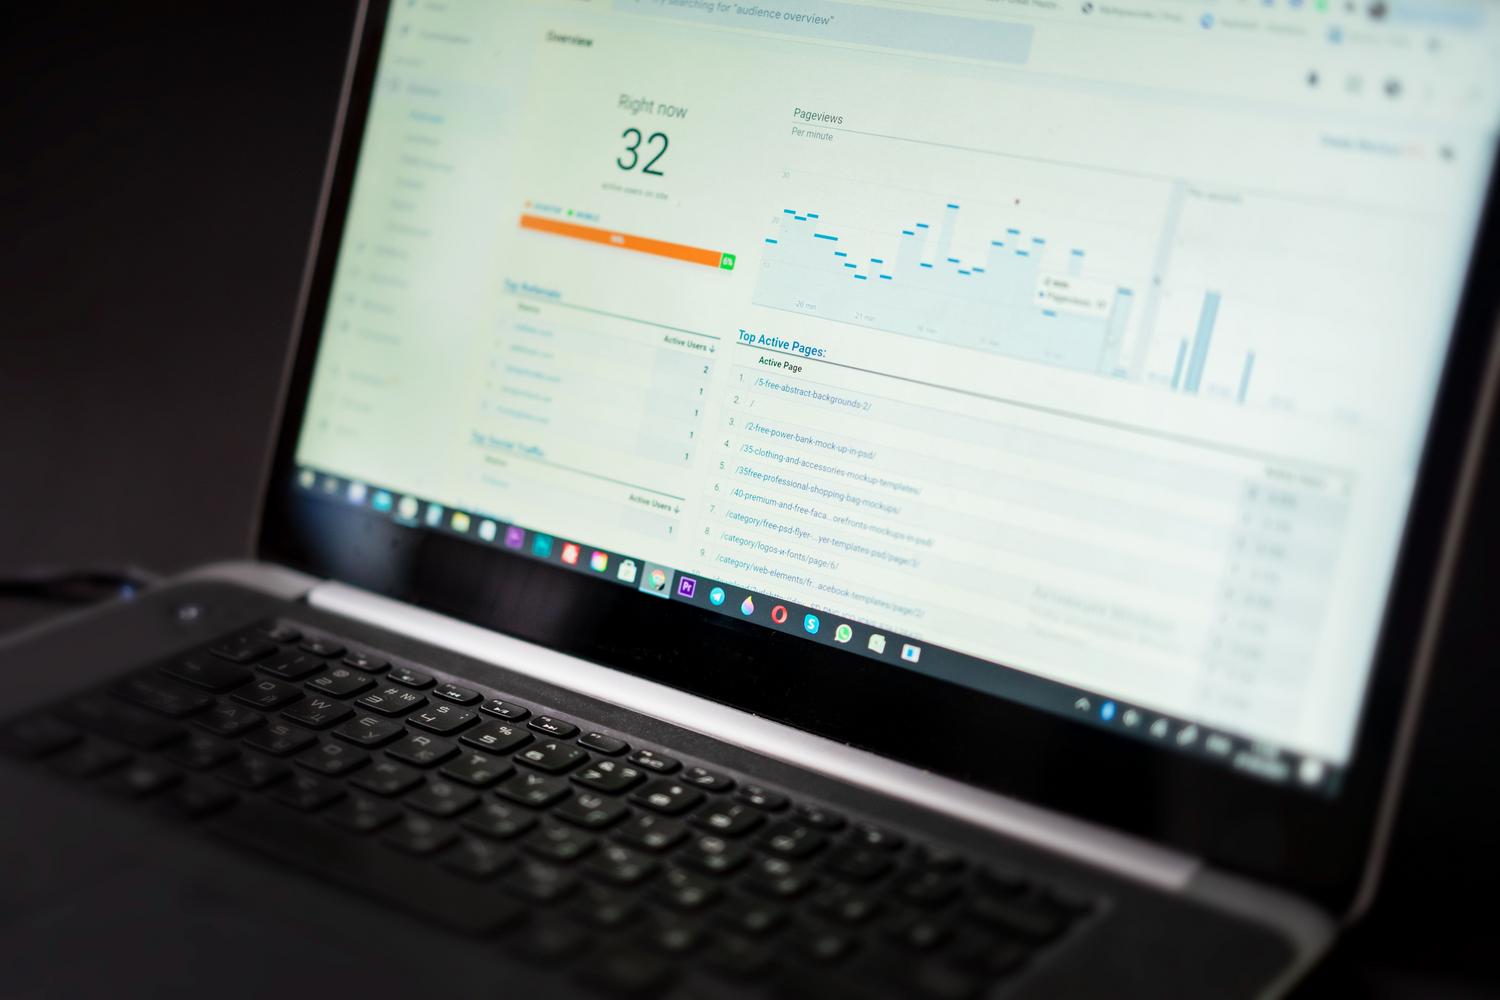
If you're looking for something much more powerful and professional, there's a tool called CockpitIt's a web-based management interface that you install on your board and access from the browser of any device on your local network via port 9090. Cockpit not only shows you the CPU temperature and power consumption It not only provides real-time data with historical graphs, but also allows you to manage services, update software, and monitor RAM and storage without touching a single line of code.
Advanced monitoring and cloud services
For those who take their projects to another level, there are options such as PiCockpitIt offers a module called PiStats to visualize chip performance and heat through detailed graphs. It's a very convenient solution if you have multiple motherboards and want to centralize monitoring from a single location.
There are even more complex implementations that integrate IoT platforms like OKdo CloudIn these cases, the Raspberry Pi sends temperature data to the cloud via TCP/IP protocols, and this data can be viewed on remote displays programmed in Python or mobile applications, allowing for a full remote monitoring from any part of the world.

Critical thresholds and cooling tips
When should we start to worry? Although each model varies, generally the thermal throttling It starts to become a problem when we exceed 60°C in models like the Pi 3+, while in the Raspberry Pi 4 the limit is higher, around 80-85°C. You can check if your board has experienced slowdowns using the command vcgencmd get_throttled.
If you notice that the values are too high, there are several ways to lower the decibel level. The simplest is install heat sinks made of aluminum or anodized aluminum on the SoC. If that's not enough, a active fan This is the ultimate solution, especially necessary for the Raspberry Pi 5. Other useful tactics include placing the board vertically to improve airflow, removing the restrictive plastic casing, or using cases designed for heat dissipation, such as FLIRC-type aluminum cases.
Mastering thermal monitoring, whether through quick commands, web panels like Cockpit, or cloud integration, is essential to ensure hardware performance remains stable and performance is consistent. Combining monitoring software with proper cooling, such as fans or heatsinks, allows the Raspberry Pi to handle heavy workloads without risk of degradation or unexpected speed drops.
