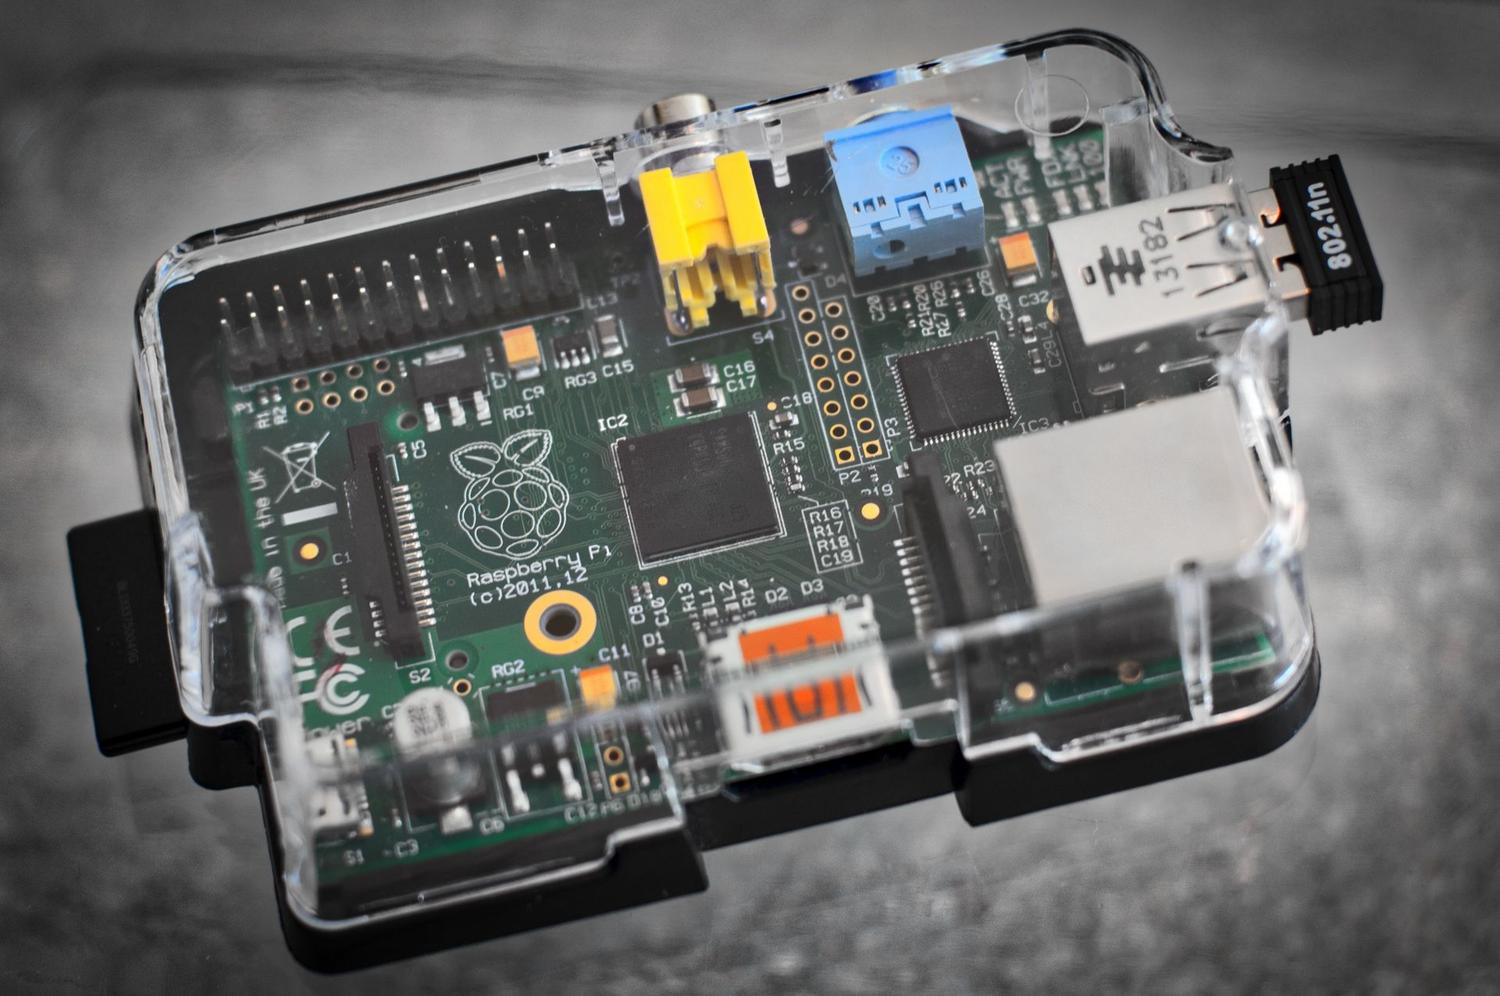
If you've realized your Raspberry Pi is reaching its limits or you simply want to stop having a thousand gadgets running all over your house, setting up a virtualization server is the next logical step. Imagine having a single, small, and silent machine capable of managing everything from your home automation system to a file server, all running in isolation so that if one service crashes, the rest continues operating without a hitch.
To achieve this, Proxmox Virtual Environment has become the go-to tool for home lab enthusiasts. It's not just software; it's a complete Debian-based platform that lets you play at being the administrator of your own home data center without spending a fortune or filling your storage room with noisy, electricity-guzzling towers.
What exactly is Proxmox and why is it so cool?
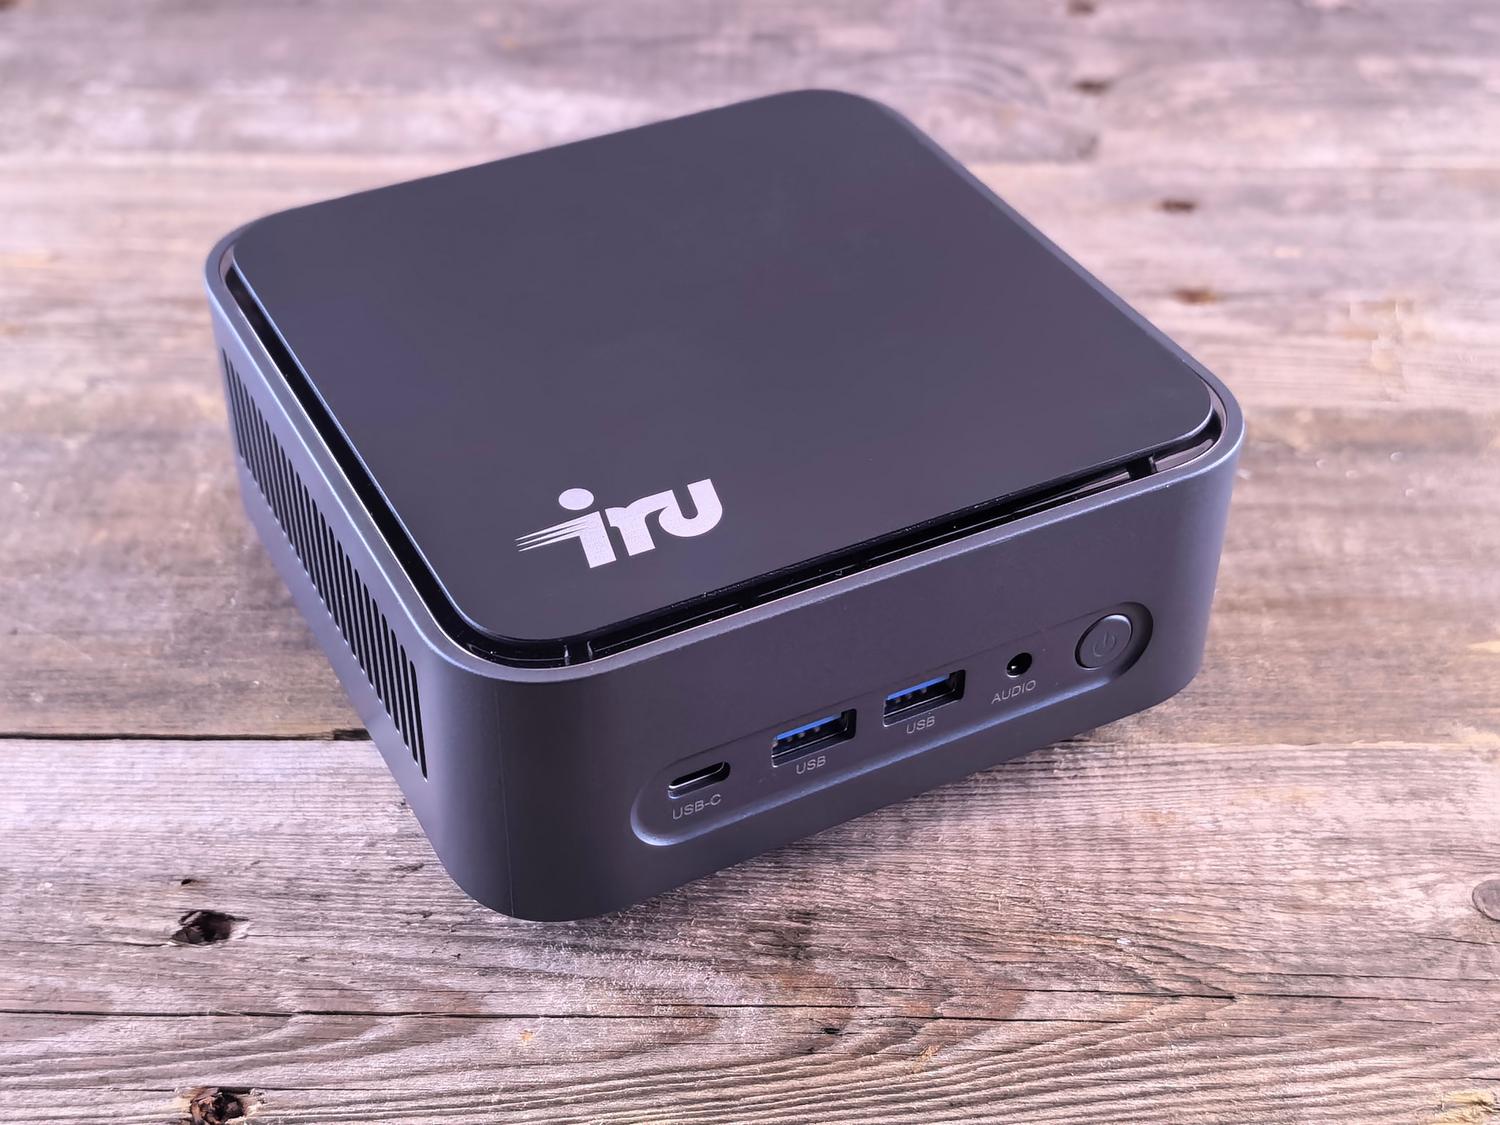
Basically, Proxmox is an open-source hypervisor. Simply put, it's a layer that you install directly on top of your hardware, allowing you to create virtual machines (VMs) and containers (LXC) . The difference is key: while a VM emulates a complete computer with its own operating system (ideal for Windows or Home Assistant OS), LXC containers share the host system's kernel, making them incredibly lightweight and fast—perfect for simple services like Pi-hole or AdGuard Home.
The great advantage of this approach is total isolation . If you decide to test a beta version of some software and break the system, you don't have to format the entire server; you simply restore a snapshot (a kind of instant photo of the machine's state) and you're back online in seconds. Furthermore, you don't have to deal with software dependencies, since each service operates in its own bubble.
The ideal hardware: Why choose a Mini PC?
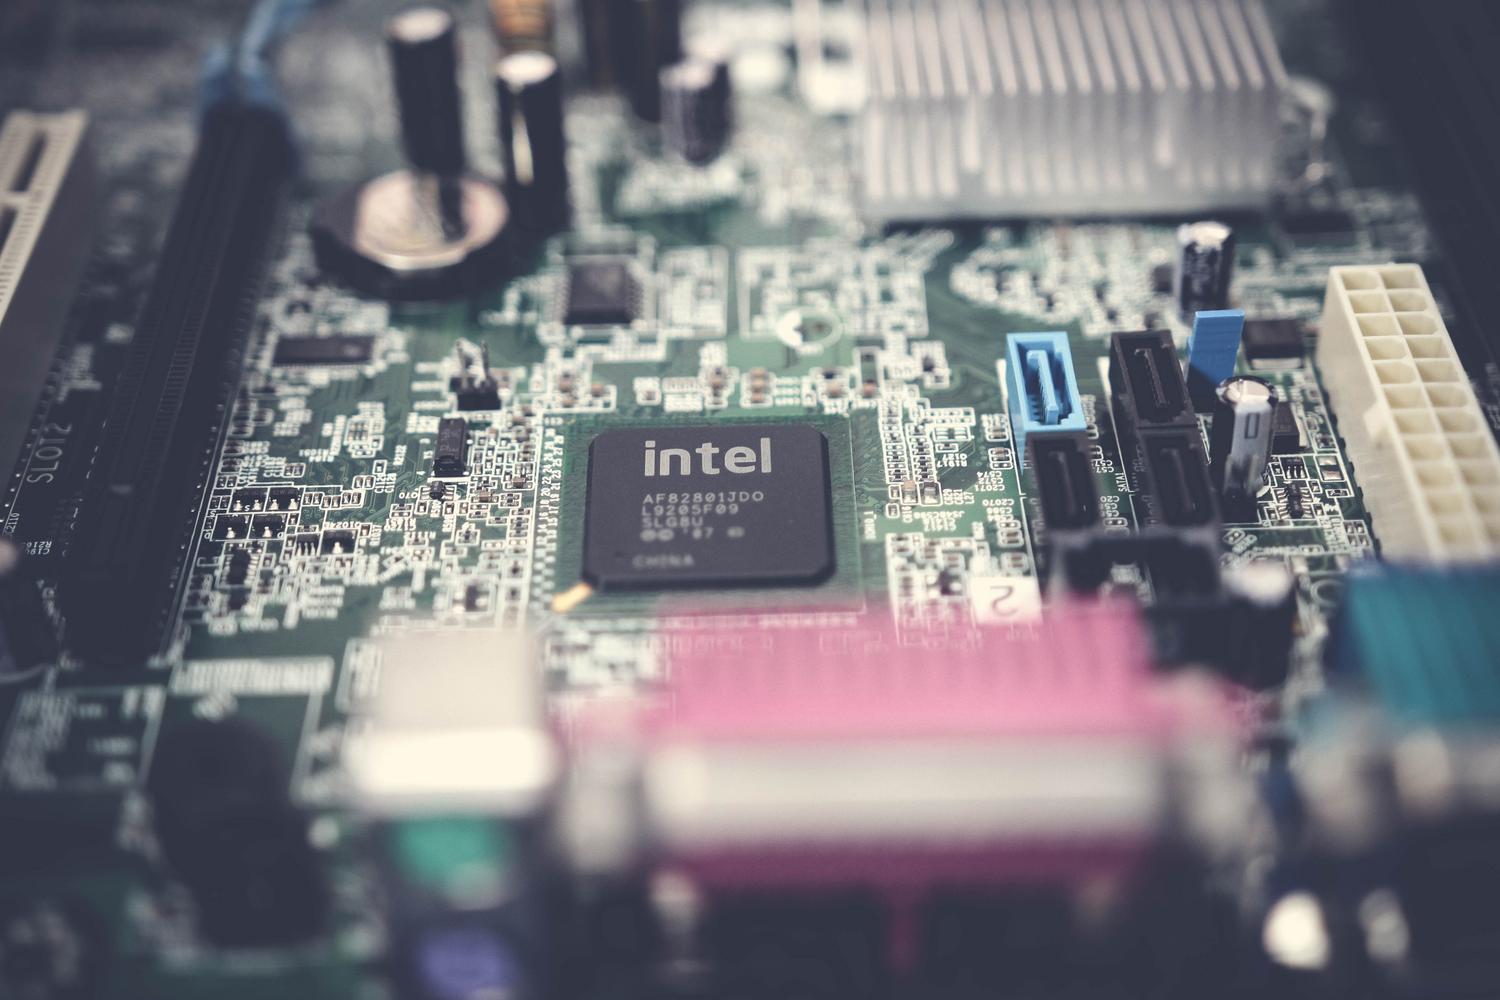
In the past, setting up a server meant buying enterprise-grade rack systems that sounded like a jet engine taking off. Today, Mini PCs from brands like Beelink, Minisforum, and Geekom are the winning choice. They're compact, consume very little power, and have more than enough performance for most home users.
When choosing your computer, don't make the novice mistake of focusing solely on the CPU. In virtualization, RAM is the most critical resource . While 16GB might be enough to get started, the sweet spot for a serious home lab is 32GB of RAM , as each virtual machine you run will gradually reduce your available RAM. As for the processor, look for something with virtualization support (Intel VT-x or AMD-V) and, if possible, one that scores above 7.000 on PassMark to ensure smooth performance.
Storage is another area where you can't skimp. Forget mechanical hard drives for the system; an NVMe SSD is essential to avoid bottlenecks in input/output operations (IOPS). If your Mini PC allows it, having two M.2 slots is ideal for setting up a RAID 1 array and protecting yourself against physical disk failure, although remember that RAID is not a backup.
Preparing the ground for installation
Before pressing the power button, you need to prepare the bootable media. Download the official ISO image from the Proxmox website. To burn it to a USB drive, tools like Rufus or BalenaEtcher are the most reliable. An important tip: if you use Rufus, select DD mode , as many Mini PCs have boot problems if you use the standard ISO mode.
Once you have the USB drive, enter your computer's BIOS. Make sure virtualization is enabled , Secure Boot is disabled, and the boot order prioritizes the USB drive. It's also highly recommended to enable the " Restore AC Power Loss" option so the server will automatically restart if there's a power outage and power is restored.
Step by step: Installing Proxmox VE
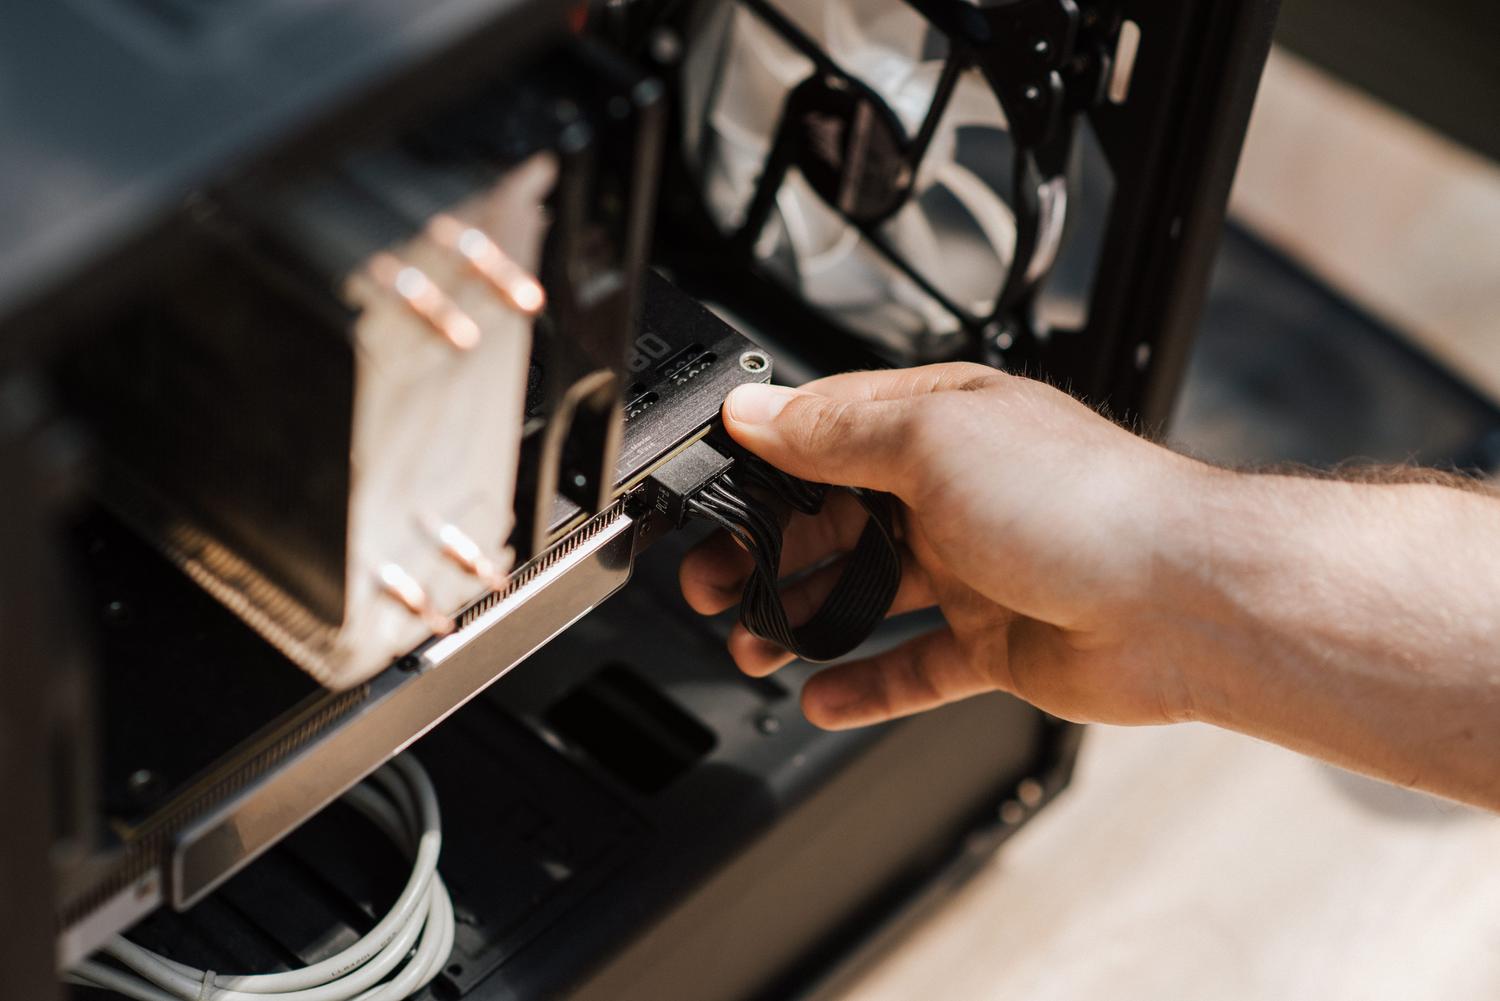
The installation process is quite intuitive. Once you boot from the USB drive, select the graphical installation. The trickiest part is the network configuration . Proxmox requires a static IP address ; don't rely on your router's DHCP server because if the IP address changes, you'll lose access to the control panel. Assign an address outside the dynamic range (for example, 192.168.1.100) and define a hostname like pve.home.lab.
Regarding the file system, for most Mini PC users, LVM-Thin is the best option due to its flexibility and lower resource consumption. If you have a lot of RAM (more than 32GB) and are looking for professional-grade robustness, you can opt for ZFS, although keep in mind that it is much more demanding on memory.
First steps and post-installation optimizations
Once the process is complete and you restart, you can remove the USB drive. You'll access everything through your browser using the URL https://your-ip:8006 . Don't be alarmed by the invalid SSL certificate warning ; it's normal because the certificate is self-signed. Once logged in, the first thing to do is manage the repositories. By default, Proxmox tries to use the enterprise repository, but for home use, you should disable it and enable the 'no-subscription' repository from the shell to receive free updates.
To maximize performance, you can install cpufrequtils and force the 'performance' profile if you don't mind a slight increase in temperature. Additionally, establishing a backup strategy is crucial . Don't confuse snapshots with backups; snapshots are stored on the same disk, while backups should be stored on an external drive or a Proxmox Backup Server for true security.
Deploying your first services: Docker and Home Assistant
This is where things get fun. One golden rule: never install Docker directly on the Proxmox host . Doing so can compromise system stability. The correct approach is to create a virtual machine with Ubuntu or Debian and install Docker within that VM. This way, if Docker malfunctions, your Proxmox server remains intact, and you can back up the entire VM in one go.
For home automation enthusiasts, installing Home Assistant OS in a virtual machine is the best option. It allows you to take a snapshot right before updating the system; if the update breaks any integrations, you can revert to the previous state with a single click. To speed things up, there are Proxmox Helper Scripts , community-developed scripts that automate the creation of LXC containers for services like Jellyfin, Nextcloud, or Pi-hole with a single command.
Comparisons and common mistakes
If you're torn between Proxmox and VMware, for a home lab setup, Proxmox is the better choice because it's free , lighter, and has native LXC support. Compared to OpenMediaVault (OMV), Proxmox is much more powerful for virtualization, although OMV might be simpler if you're just looking for a pure NAS.
To avoid headaches, steer clear of these mistakes: don't prioritize CPU over RAM, don't put everything on a single SSD if you can avoid it, and above all, don't expose port 8006 to the internet . If you need to access your server from outside your home network, use a VPN like WireGuard or Tailscale to keep it secure.
Having a robust virtualization environment on a Mini PC allows you to centralize home automation, storage, and local AI experimentation on a discreet and efficient device. The key to success lies in balancing RAM, choosing fast storage, and maintaining a strict external backup schedule so that any failure is just a minor setback and not a data tragedy.