- Implementation of an encrypted tunnel using WireGuard to ensure the privacy and security of data on public networks.
- Configure static IP and open UDP ports on the router to allow remote connection to the server.
- Use of Dynamic DNS (DDNS) to maintain server accessibility despite changes in the provider's public IP address.
- Optional integration with DNS filtering tools to remove ads on all devices connected via VPN.
Have you ever felt like browsing on Wi-Fi in a coffee shop or hotel is walking through a minefield? The truth is, even if we feel safe, leaving our data exposed on public networks is risky. This is where a VPN, or Virtual Private Network , comes in. It essentially creates an encrypted tunnel between your device and your home network. It's like having a super-long cable connecting you directly to your router, no matter how far away you are in the world, allowing you to browse with complete privacy and security.
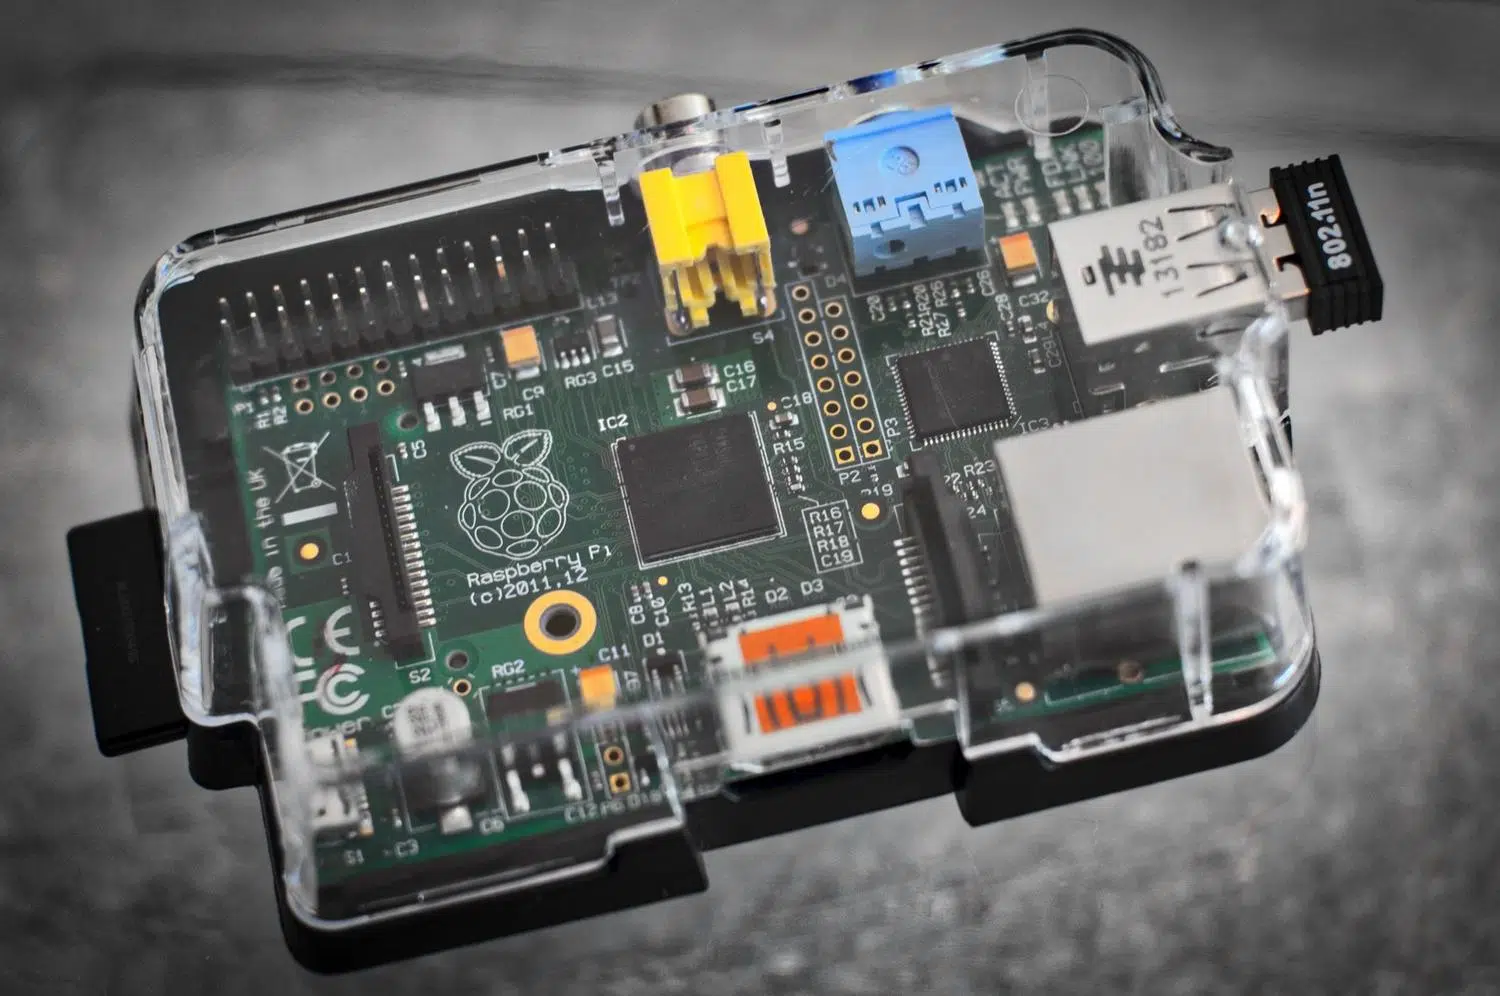
To set up this system, you don't need to spend a fortune on monthly subscriptions; with a Raspberry Pi , that tiny computer that consumes less power than a light bulb, you can create your own server. It not only protects your traffic but also gives you the superpower of accessing files on your local network or bypassing geographical content restrictions as if you were sitting on your living room sofa. Let's see how to get it up and running using WireGuard , which is currently the most modern, lightweight, and fastest option available.

Preparing the ground: Hardware and System

Before we delve into the software, we need to have the equipment ready. Ideally, we'd use a Raspberry Pi 4 due to its processing power and RAM, although any recent model will do the job. We'll need a microSD card of at least 8 GB with Raspberry Pi OS installed. It's essential that the board is connected via Ethernet cable to ensure stability, although Wi-Fi will also work. A key point is to assign a static IP address to the Raspberry Pi in the router's settings so that the server doesn't "disappear" every time the router restarts.
WireGuard Installation: Two Possible Paths

There are two ways to tackle this: the manual way, for those who enjoy writing code, and the automated way, for those of us who want quick results. If you choose the manual way, you'll need to take an automated approach. via manualYou will need to update the system with apt update and install the kernel headers. Since WireGuard is sometimes not in the official Raspbian repositories, it's common to add the Debian repositories and manage the security keys to install the package. wireguard through apt.

For most people, the most sensible thing to do is to use automation scripts like PiVPN or wireguard-installThese scripts do the dirty work for you: they configure the firewall, generate the keys, and adjust the routing. To run PiVPN, simply run a command. curl in the terminal. The wizard will ask if you prefer WireGuard or OpenVPN; Always choose WireGuard for its energy efficiency and speed. During the process, it will ask you for a port (the standard is 51820), which is the one that will then need to be opened on the router.
Key management and server configuration
The heart of WireGuard is the public and private keysThe server generates a pair, and each client (mobile, PC) needs its own to perform the "handshake" or handshakeIf you do it by hand, these keys are stored in /etc/wireguardThe server configuration file (wg0.conf) defines the virtual IP address of the VPN and the rules of iptables (PostUp and PostDown) so that traffic flows correctly through the network interface, whether eth0 o wlan0.
The master trick: IP Forwarding and Local Access

If you just want to browse safely, the above is enough, but if you want access your NAS, IP cameras, or file server From outside the system, you need to enable IP forwarding. This is done by editing the file /etc/sysctl.conf and uncommenting the line net.ipv4.ip_forward=1Without this step, the Raspberry Pi will receive the connection but won't know how. forward the packets to the rest of the devices from your home. It is also recommended to configure the masquerade in the firewall to improve the home network security and IoT so that local devices recognize VPN traffic as if it were internal.

Dynamic DNS: Forget about remembering the IP
The problem with home internet connections is that the public IP address often changes. To avoid being locked out of your own VPN, the best solution is to use a DDNS service like DuckDNS . This assigns you a domain name (for example, myname.duckdns.org ) that always points to your current IP address. You can install an automatic update script on your Raspberry Pi that notifies the DNS service every few minutes if your IP address has changed, ensuring the tunnel is always operational.
Client Configuration and Final Connection
Once the server is fully operational, you need to create the user profiles. With PiVPN, it's as easy as typing pivpn addThe system will generate a file .conf for each device. For mobile devices, the most convenient way is to run pivpn -qr, which projects a QR code on the terminalSimply download the WireGuard app, scan the code, and you're in. For Windows or Mac, just import the downloaded configuration file.
The critical step: Open ports on the router
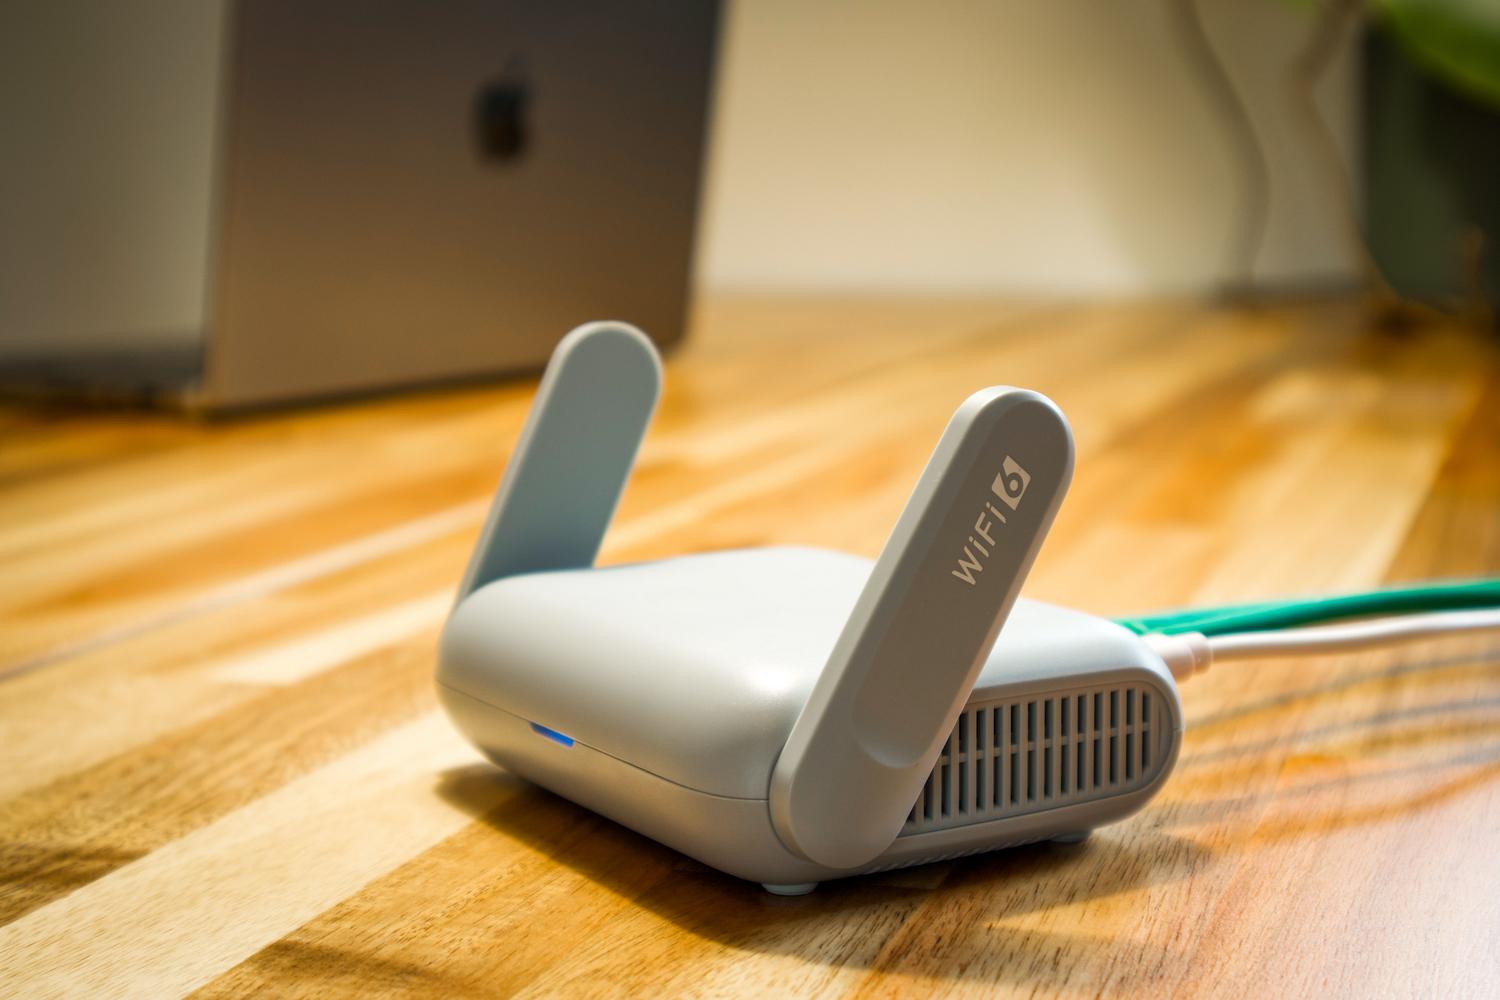
None of the above configurations will work if your router is blocking incoming traffic. You need to access your router's administration panel and create a port forwarding rule . You have to open UDP port 51820 (or whichever port you've chosen) and direct all that traffic to your Raspberry Pi's local IP address . Remember that it must be UDP , as WireGuard doesn't use TCP.

Extras: Pi-hole and Ad Blocking
If you want to take your setup to the next level, you can install Pi-hole alongside the VPN. By integrating both, you can configure the VPN to use Pi-hole's IP address as its DNS server. The result is incredible: when you're out and about using mobile data and activate the VPN, all the ads on websites and apps will disappear , since the DNS traffic will first pass through Pi-hole's filter at home before going online.
Setting up this server gives us complete control over our privacy, eliminating reliance on external companies and taking advantage of the low power consumption of an ARM motherboard. By combining WireGuard with a DDNS and properly opening UDP ports, we transform a small device into a secure and versatile gateway to our home network from anywhere in the world.
