- Fundamental difference between keyboards with Hot-Swap technology and those with switches soldered to the board.
- Need for specific tools such as extractors, temperature-controlled soldering irons, and suction pumps to prevent damage.
- Importance of technical precision during desoldering to avoid tearing off the copper traces of the PCB.
- Benefits of customization in terms of feel, sound, and durability of the peripheral.
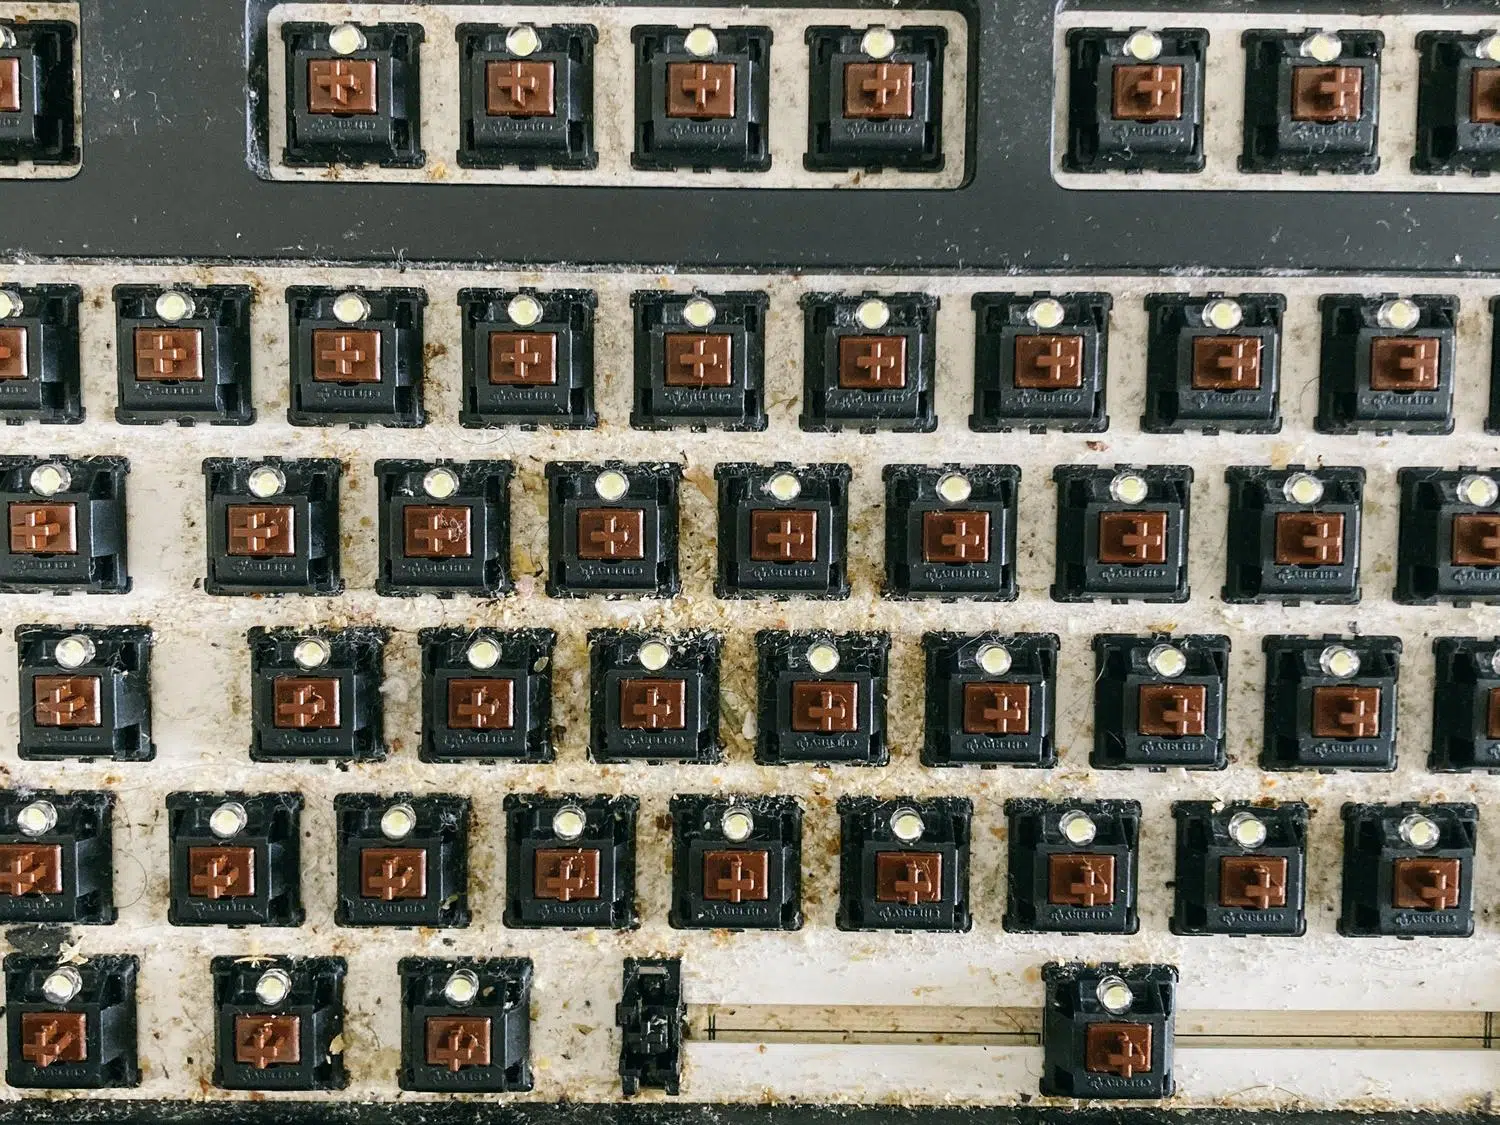
If you've ventured into the world of mechanical keyboards, you know there's nothing like having a setup that perfectly suits your needs, whether it's for intense gaming or typing for hours without fatigue. However, there comes a time when the switches fail, start registering double presses, or you simply realize you prefer a different feel—softer or perhaps louder. Customizing your keyboard isn't just about aesthetics; it's about improving the ergonomics and responsiveness of your work or gaming tool.
For many beginners, the idea of opening the keyboard and working on the circuit board can be a bit daunting, especially when you have to use a soldering iron. But don't worry, although it might seem like rocket science, it's a fairly straightforward process if you have patience and the right equipment. In this guide, we'll break down everything you need to know to replace the switches without damaging the board, clearly differentiating between modern keyboards that allow for quick replacement and classic keyboards that require melting solder.

Identify what type of keyboard you have.
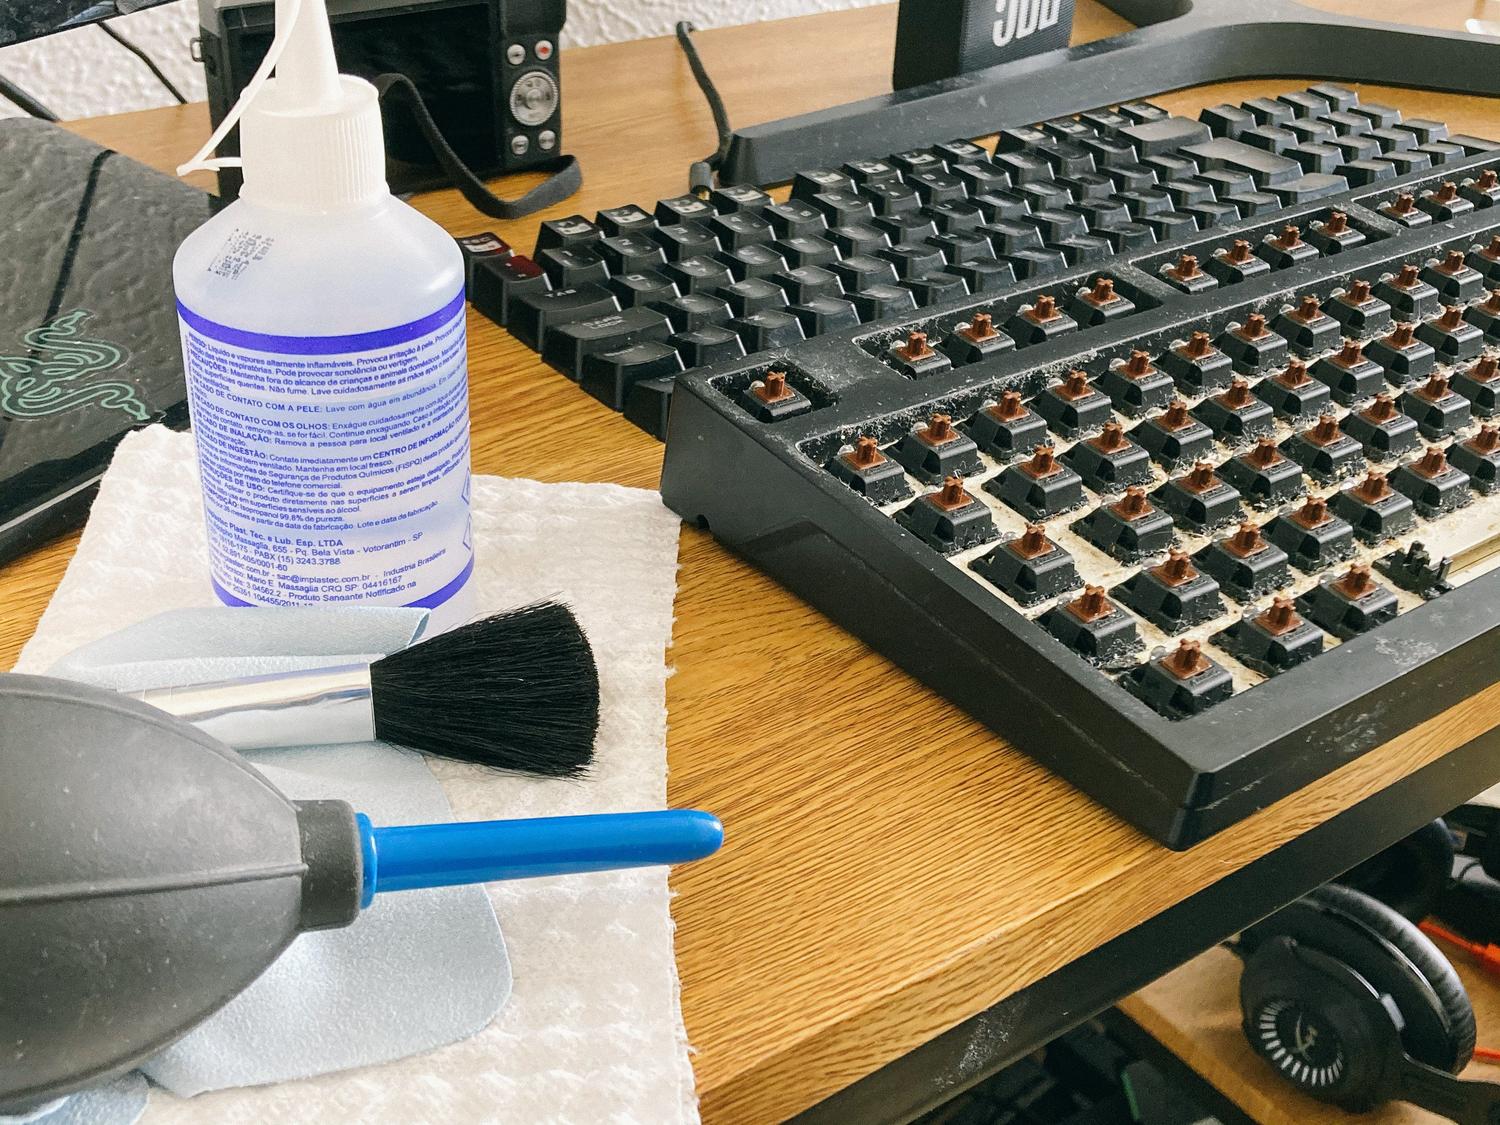
Before you rush out to buy tools, you need to know if your keyboard is hot-swappable or soldered. Hot-swappable models are a godsend for beginners, as they allow you to remove the switch by simply pulling it out with the appropriate tool, without the need for heat. Brands like Keychron and GMMK often offer this type of keyboard.
On the other hand, soldered keyboards are most common in budget models or older high-end models. In these, the switch is attached to the PCB using small metal solder points . If, when trying to move a switch, you find it won't budge even a millimeter and you haven't checked the specifications to see that it's hot-swappable, you'll most likely need to get your soldering iron out of the drawer.
The necessary arsenal for the job
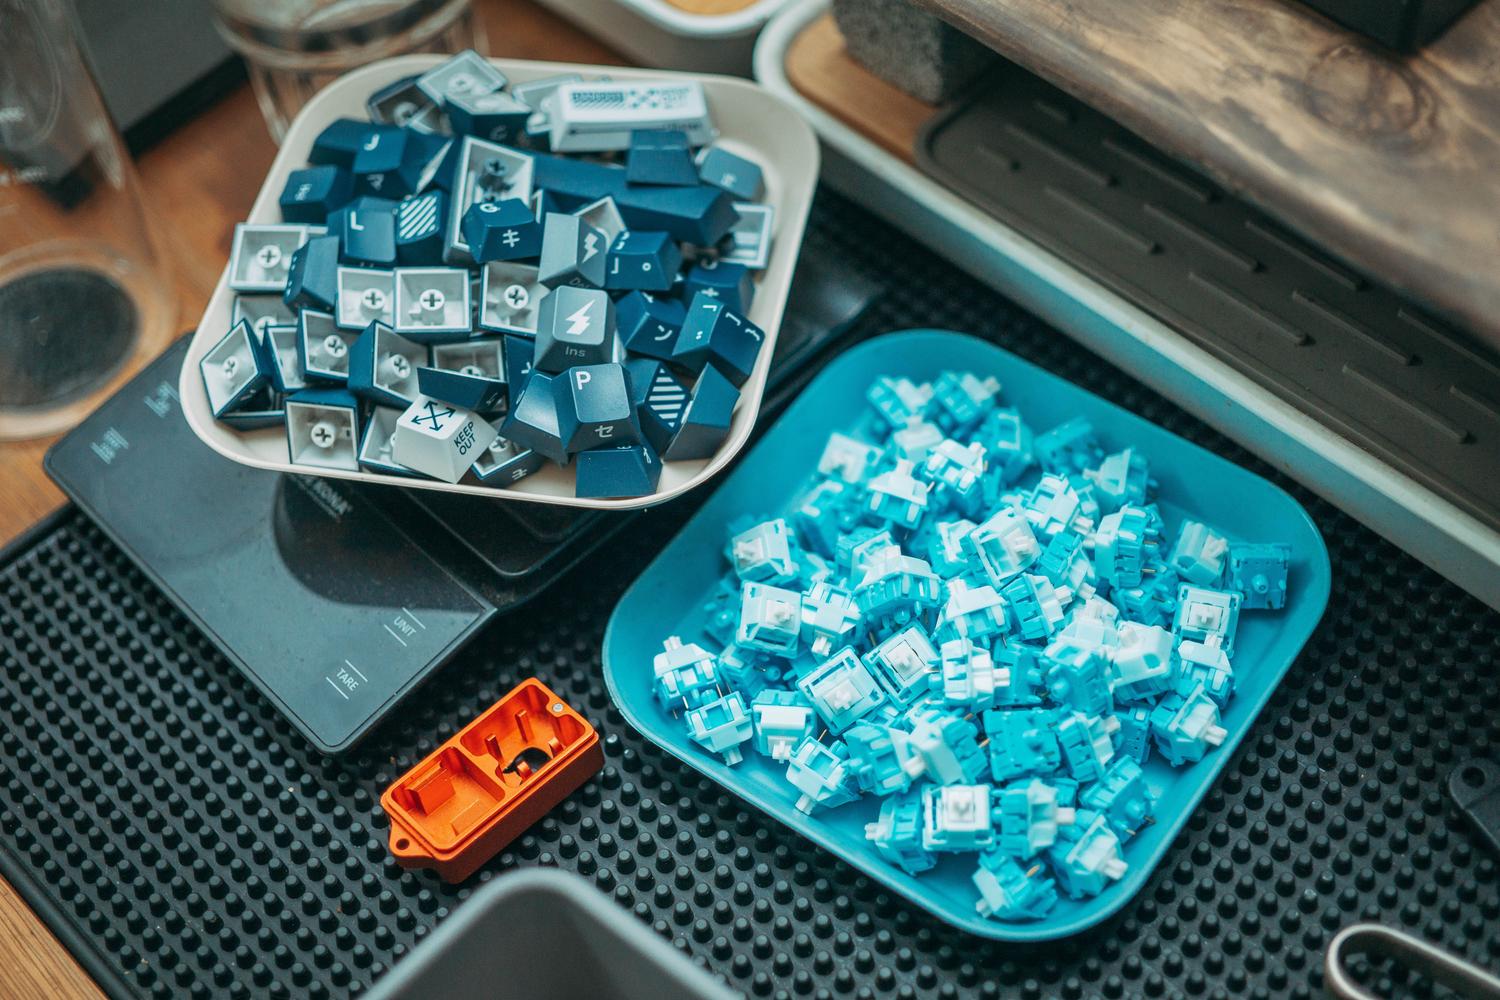
If you're lucky and your keyboard is hot-swappable, you'll only need a keycap puller and a switch puller . But if you have to desolder, things get more serious. You'll need a soldering iron with temperature control (ideally 60W or more and capable of reaching 350°C) to melt the solder quickly without burning the circuit board.
In addition to the soldering iron, a desoldering pump or desoldering braid is essential for removing the molten metal. Don't forget isopropyl alcohol to clean off any flux residue or dirt, fine-tipped tweezers, and, of course, new switches that are compatible with your PCB.

Detailed guide to changing switches on hot-swap keyboards
This is the easy way. First, use a keycap puller to remove the keycaps from the keyboard. Once that's done, place the keycap puller's tweezers in the top and bottom notches of the keycaps and pull straight up firmly but gently. If you feel resistance, wiggle the puller slightly from side to side.
To install the new ones, first make sure the metal pins are straight . If any are bent, carefully straighten them with pliers, because forcing them while inserting could bend them permanently or damage the socket. Simply align them and press until you hear them click into place.
The desoldering and replacement process on soldered boards
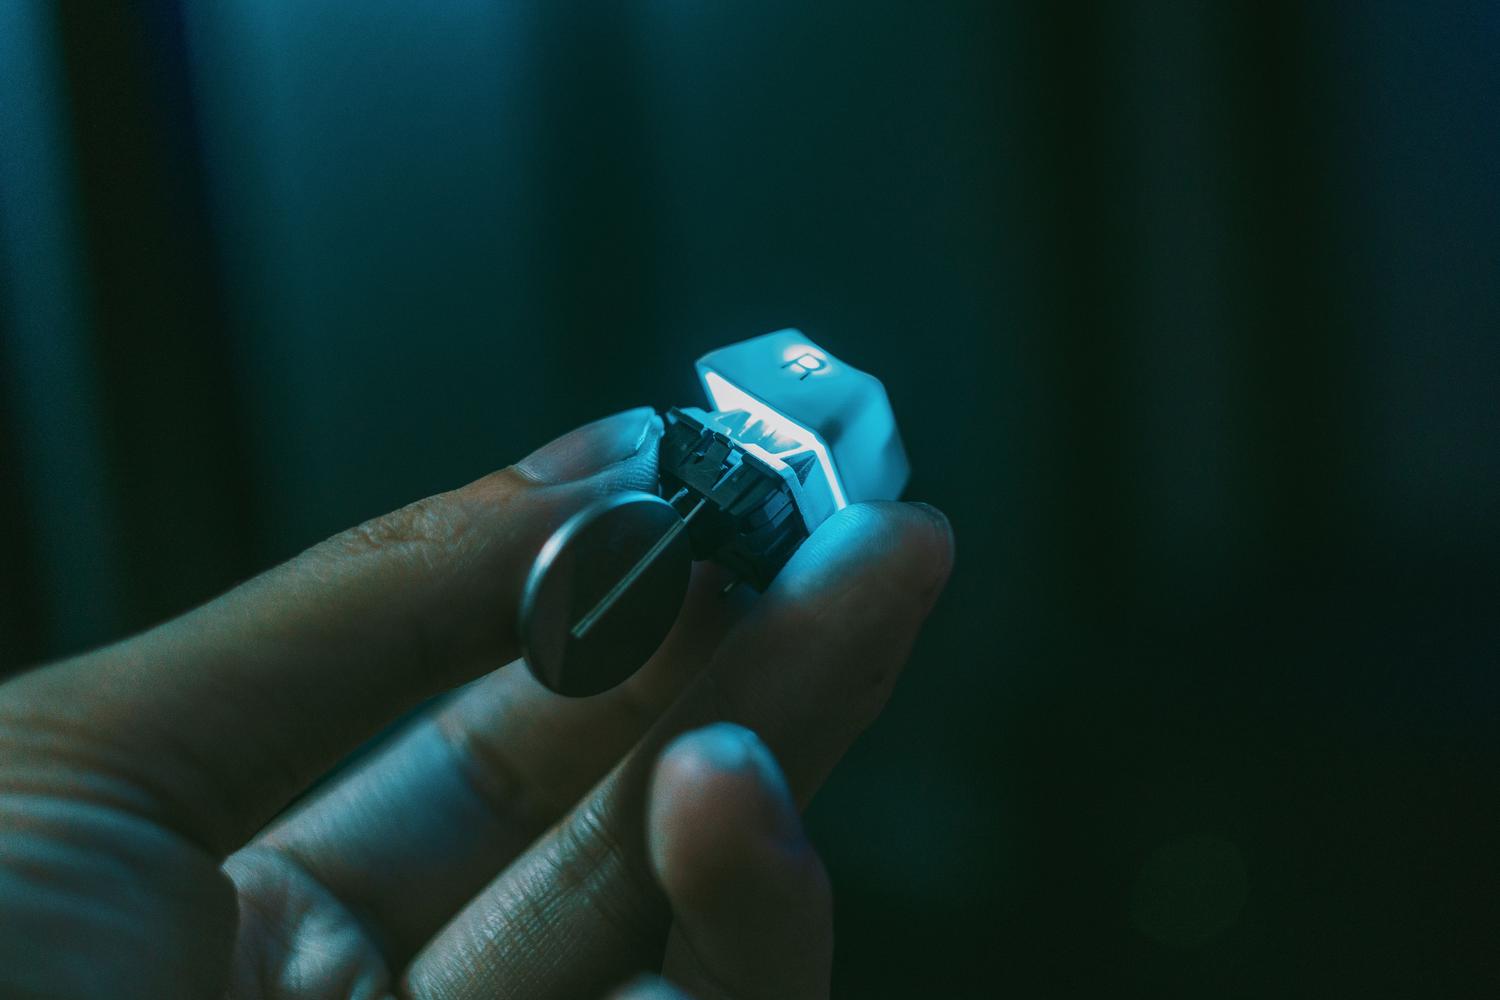
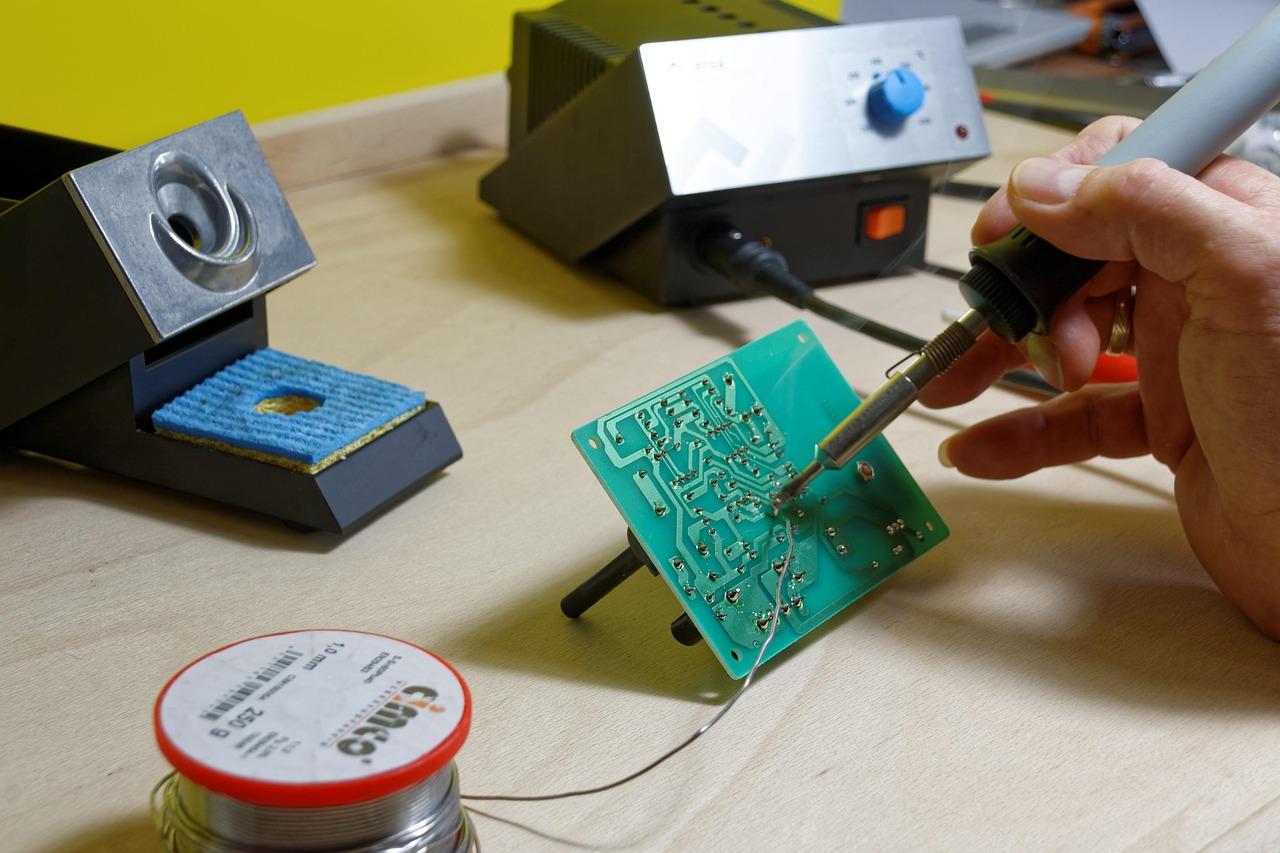
This is where you need to proceed with caution. Start by unplugging the keyboard and turning it upside down. Heat the soldering iron to about 350°C and apply the tip to the solder joint for a couple of seconds. As soon as you see the metal melt, use the suction pump to remove all the solder.
It's vital to repeat this process on both pins of each switch. A very common mistake is trying to remove the switch when you've only desoldered one pin, which can cause you to rip the copper trace off the board, rendering the keyboard unusable. Once both pins are free, gently push the switch in from the top.

To install the new one, insert it into the slot, check that it's properly seated, and apply a drop of fresh solder to each pin. Try to create a cone-shaped joint and clean it , avoiding creating solder bridges that connect one pin to another, as this could cause short circuits or key malfunctions.
Types of switches: Which one to choose for your setup?
Since you're going to make the effort, choose the switch that suits you best. Linear switches (like the red ones) are smooth and consistent, ideal for fast-paced gaming. Tactile switches (like the brown ones) have a slight "hop" that lets you know the key has been pressed, striking the perfect balance between typing and gaming.
If you enjoy the crunch and retro feel, go for clicky switches (like the blue ones), which are very satisfying but can be annoying for others in the room. Brands like Cherry MX, Gateron, and Kailh offer incredible variations that completely change the experience.
Typical mistakes and how to avoid them
The most serious mistake is forcing the part. If a switch won't come out, don't pull with brute force ; reheat the solder or check if there's a plastic clip blocking it. It's also common to forget to remove the stabilizers from the larger keys (space, enter, shift), which prevents the switch from coming out even if it's unsoldered.
Another mistake is using temperatures that are too low. If the soldering iron doesn't reach 300-350°C, the solder won't melt properly and you'll leave residue that blocks the pin . Finally, always remember to work on a stable and well-lit surface to avoid mistakes due to poor visibility.

Extra maintenance for a professional finish
Since you already have the keyboard open, it's the perfect time to give it a thorough cleaning using compressed air and isopropyl alcohol. Many enthusiasts also take this opportunity to lubricate the switches , applying a thin layer of special switch lubricant to the stem and spring. This eliminates the metallic sound and makes the keystrokes much smoother.
If you're going to mix different types of switches, I recommend using labeled containers to avoid confusion about the position of each one. Once everything is assembled, before installing the keycaps, use keyboard testing software to confirm that each keystroke is registered correctly and that there are no dead keys.
Mastering the technique of desoldering and replacing switches allows you to salvage expensive keyboards that seem unusable and fully customize them to your personal preferences. Whether you opt for the simplicity of hot-swapping or venture into soldering, the most important thing is to take your time and treat the PCB with care to extend the lifespan of your device.
