- Regular cleaning of the mechanical keyboard improves hygiene, the feel of the keys, and extends the life of the peripheral.
- Maintenance cleaning combines shaking, gentle vacuuming, and slightly dampened microfiber cloths.
- Deep cleaning requires disassembling the keys, soaking them, and cleaning the base and switches with isopropyl alcohol.
- Avoiding eating over the keyboard and controlling humidity drastically reduces accumulated dirt and spill-related failures.
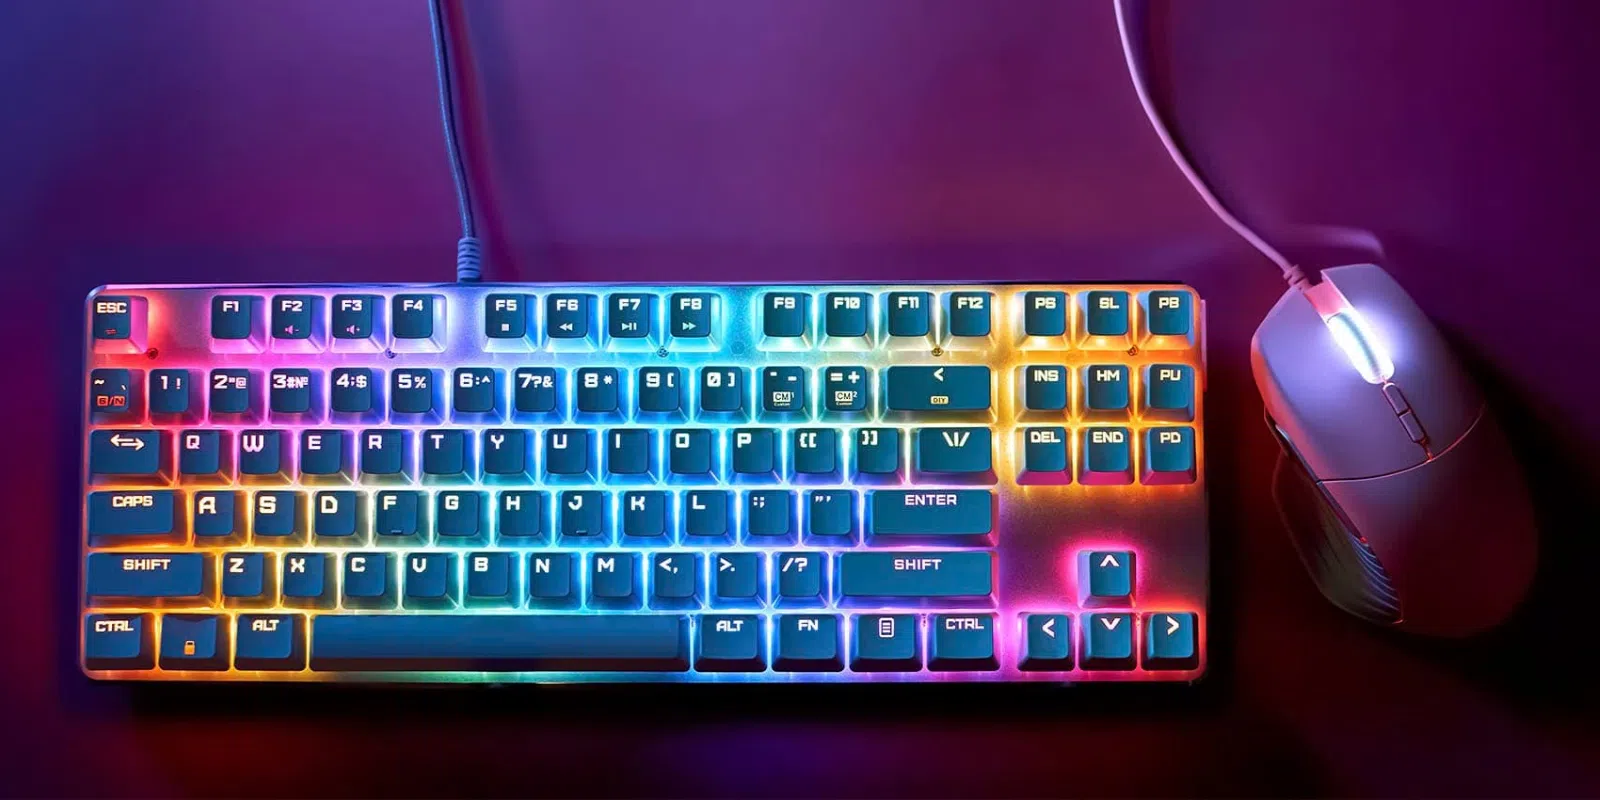
If you've been using the same mechanical keyboard for a while, it's almost certain that it now has dust, crumbs, fingerprints, and even hairs hidden between the keys. It's normal: it's one of the peripherals we touch most throughout the day, and on top of that, many of us eat or drink in front of the computer. The problem is that all of that not only looks a bit gross, but it can also affect the keys' performance.
The good news is that making it look brand new is quite easy if you know how. In this guide, you'll learn how to thoroughly clean a mechanical keyboard, both on a daily basis and in general , which products are truly safe, what mistakes to avoid (goodbye, dishwasher!), and what to do if you spill coffee or soda on it. You'll see methods for both quick cleans without disassembling anything and deep cleans by removing all the keycaps. We'll also review how to clean membrane keyboards and laptops.
Why it's worth cleaning your mechanical keyboard frequently
A dirty keyboard isn't just an aesthetic issue . Bacteria, food debris, dust, lint, and dried liquids accumulate between the keys, potentially sticking switches, causing erratic keystrokes, or even rendering the keyboard unusable after a serious spill.
From a health perspective, the keyboard surface can harbor microbes that you constantly touch with your hands and then transfer to your face or food. And in terms of performance, all that grime ends up interfering with key travel and stabilizers, especially on long keys like the spacebar, Enter, or Shift.
Furthermore, there's an economic factor: a good mechanical keyboard is usually a significant investment . With regular maintenance , you can extend its lifespan for years and avoid having to replace it with something that, with a little care, would have continued to work perfectly.
Finally, the visual aspect is no small matter: a clean keyboard conveys a sense of order and professionalism , whether you work from home, study, program, or play games every day. Your setup looks much better when the keyboard doesn't seem to attract dirt.
Recommended materials and products you should avoid
Before you start cleaning, it's a good idea to know what to use and what not to use . With just a few things, you can achieve a spotless cleaning without risking damage to plastics, keycaps, or internal electronics.
Ideally, you should use isopropyl alcohol (70% or higher) as a base, since it cleans, disinfects, evaporates quickly, leaves no residue, and doesn't usually react with most plastics. It's a much better option than regular rubbing alcohol, which may contain additives and be more aggressive on certain screen-printed materials.
You'll also find one or two soft, lint-free microfiber cloths very useful for wiping the keys and casing. Add a few cotton swabs to the list (baby swabs are best, as they have slightly larger tips), and if you want to take it a step further, an old toothbrush with medium bristles to loosen any stubborn dirt between the switches.
Some people prefer to use compressed air or small handheld vacuums . A vacuum cleaner, with a narrow head and no roller, is a very good option for removing loose dust. Compressed air, on the other hand, should be used sparingly: if applied incorrectly, it only moves the dirt from one place to another, can condense cold liquid, and, in extreme cases, damage components.
For deep cleaning, it's common to soak the keys in warm water with a mild cleaning product . Here are two popular options: a little dish soap or denture cleaning tablets. The latter are particularly useful because they dissolve grease and disinfect without leaving much residue , whereas with soap, you'll need to rinse each key very well.
Maintenance cleaning: how to get your keyboard looking decent in just a few minutes
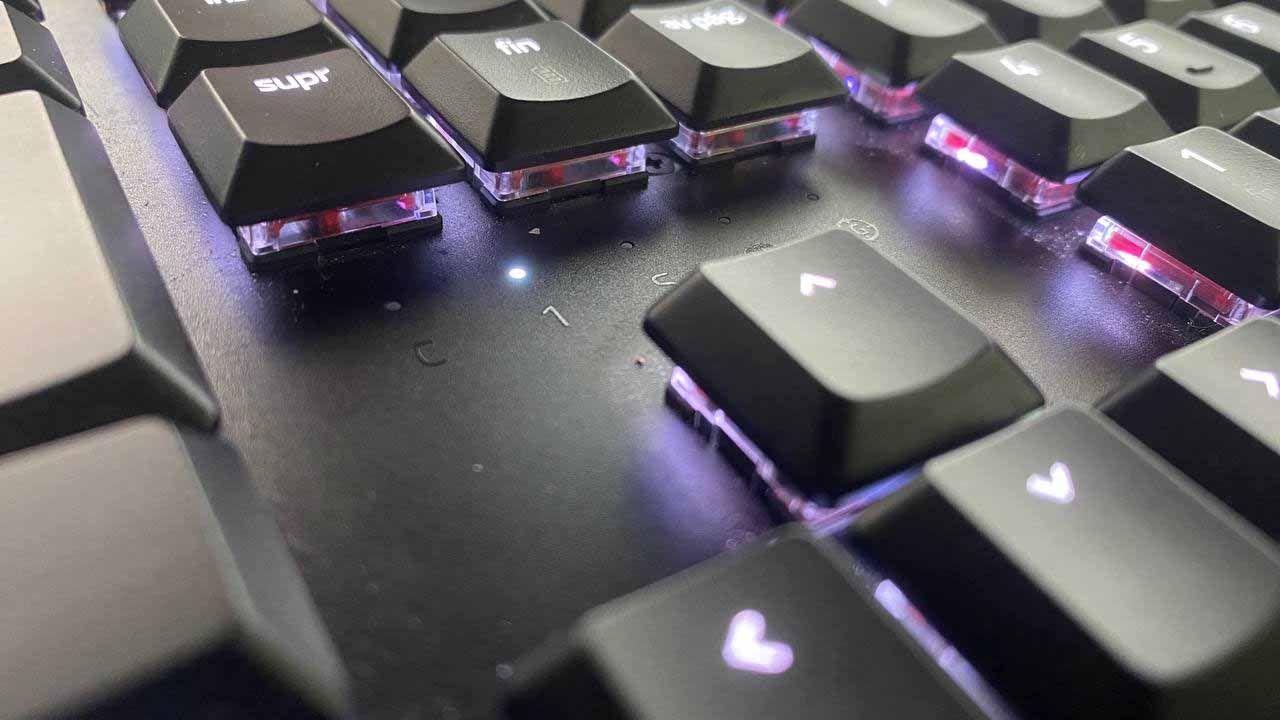
You don't have to wait until your keyboard is a complete mess to get started. It's highly recommended to do small, regular cleanings every so often, especially if you tend to eat at your desk, have pets, or work in dusty environments.
The first step, always, is to disconnect the keyboard from the computer . Even when your PC is turned off, many USB ports continue to supply some power, so it's better to be safe than sorry. For wireless keyboards, remove the batteries or turn off the power switch.
With the keyboard unplugged, turn it upside down, holding it firmly, and gently shake it upside down over a wastebasket or an old cloth. You can give it a few light taps on the back, but don't use too much force: the idea is to loosen crumbs and dust, not damage the electronics.
After that initial shake, you can use a handheld vacuum with a crevice tool to clean the surface. Gently press the keys while vacuuming; as they press down, they create gaps through which the dust can escape. If you're patient and press all the keys, you'll get most of the visible particles into the vacuum.
Next, it's time to tackle the grease and visible marks. Lightly dampen a microfiber cloth with water or a very mild mixture of water and isopropyl alcohol, and wipe the entire surface of the keyboard , paying particular attention to the tops of the keys and the frame. The cloth should be damp, never dripping wet, so the liquid doesn't seep inside.
Once you've finished that initial wipe, use another completely dry microfiber cloth to remove any remaining moisture . Avoid using paper towels, as they leave loose fibers and can scratch surfaces with glossy or very delicate finishes.
At this stage, many people resort to compressed air sprays . They can be useful for removing lint from between the keys, but they have two drawbacks: they can condense cold liquid and, moreover, they often only stir up the dirt instead of removing it. If you decide to use them, do so in short bursts, holding the can upright, at a distance, and aiming at an angle, not straight on. Even so, for normal maintenance, vacuuming is usually more practical and safer than blowing.
Deep cleaning: Disassemble keys and leave the keyboard like new
No matter how consistent you are with surface cleaning, you'll need to give your mechanical keyboard a thorough cleaning every now and then . The frequency depends on your habits: if you eat over the keyboard or use it for many hours a day, perhaps every month or two; if you only use it for typing and take good care of it, every six months may be enough.
The first step, as always, is to completely disconnect the keyboard . From here, you'll need a keycap puller. Many gaming keyboards include one in the box; if yours doesn't, you can buy a very inexpensive one, and it will make your life much easier.
Remove the keys one by one. It's easiest to start with the smaller keys and leave the larger ones (spacebar, Enter, Shift, Backspace, etc.) for last, as they often have metal stabilizers or wires that require a bit more skill. Remove the smaller keys to create some space around them, and then proceed more carefully with the larger ones to avoid bending or damaging anything.
Before taking anything apart, it's a great idea to take a picture of the entire keyboard with your phone. Even if you know the layout well, this visual reference will save you trouble when it's time to put everything back together, especially with less obvious keys like Insert, Delete, Page Up, etc.
Once you have all the keycaps off, place them in a large container (such as a bowl or a large Tupperware) and cover them with warm water . Add one or two denture cleaning tablets or, if unavailable, a squirt of dish soap. Let the keys soak for 4-6 hours to allow the mixture to dissolve fingerprints and other grime.
While the keys are soaking, focus on the base of the keyboard. Start by using a handheld vacuum or compressed air, and then use a stiff-bristled brush, like a toothbrush , to gently scrub around each switch. The goal is to remove lint, dust, and any debris stuck to the circuit board.
Once you've loosened the dirt, vacuum the entire interior again , paying particular attention to areas with more grime. Be careful not to push anything further into the switch mechanism; the goal is to loosen it, not push it in.
If there are any particularly dirty areas, you can use a cloth or cotton swabs lightly dampened with isopropyl alcohol. The key here is not to use too much moisture : it's best to go little by little, with gentle movements, and letting the alcohol evaporate completely before continuing.
Once you've finished cleaning the base, place the keyboard face down on a table or clean surface. This prevents dust from falling back inside while the keys complete their cleaning process. Take this opportunity to also clean the outer casing with a slightly damp microfiber cloth, followed by a dry one.
After soaking, thoroughly rinse all the keycaps under running water to remove any traces of the cleaning product. Place them on a towel or paper towel, hollow side down, and let them air dry completely . Keep in mind that the inner cross-shaped area may retain some water, so it's best to leave them for a few hours or even overnight before reassembling them.
Before you start installing the keycaps, make sure the base is completely dry and clean. Then, using the photo you took at the beginning as a guide, gently fit each keycap into its slot . You don't need to use excessive force: when you align the keycap's cross with the switch stem, it will usually click into place. Save the larger keycaps for last, making sure to properly insert the stabilizers or wires into their slots.
If you're an advanced user and suspect dirt has seeped inside the keyboard casing, many models allow you to unscrew the back cover and access the circuit board . However, doing so almost always voids the warranty, and any impact or extra moisture in that area could be fatal. If you're unsure what you're doing, it's best not to open it more than necessary.
How to clean a mechanical keyboard without disassembling the keys
There are situations where removing all the keys isn't appealing or worthwhile: lack of time, laziness, or keyboards with such tightly sealed casings that removing the keycaps won't significantly improve the internal dust. Even so, you can still perform a fairly thorough cleaning without removing anything.
In this case, again, disconnect the keyboard. Lightly dampen a microfiber cloth with isopropyl alcohol and wipe the rows of keys with some pressure , pressing each key as you clean. Ideally, fold the cloth so one side is slightly damp and the other dry, allowing you to alternate between different areas.
The idea is to slide the cloth from top to bottom, pressing with one or two fingers, to clean the top of each key and, when activated, the sides of the adjacent keys . When you finish cleaning the keyboard vertically, repeat the process horizontally (from left to right or vice versa) to touch up any areas that may have been missed.
After this initial cleaning, some dirt often remains between the keys. That's where cotton swabs come in. Lightly dampen one end with isopropyl alcohol and carefully run it through the gaps between the keys , along the edges, and in corners where the cloth can't reach. Don't press too hard to avoid the cotton snagging and fraying.
When the swab is visibly dirty, replace it or use the other end. Finish the cleaning session by giving the sides, bottom, and entire outer casing of the keyboard a final wipe with a slightly damp microfiber cloth, followed by another wipe with a dry cloth.
This method won't remove all the dirt and grime under the keys, but in just five or ten minutes your keyboard will be very clean and disinfected —enough to notice a radical change in feel and appearance. For perfect hygiene, though, you'll occasionally need to remove the keycaps for cleaning.
What to do if liquid is spilled on the keyboard
One of the worst scenarios for any mechanical keyboard is a good splash of coffee, soda, or beer on it . Water alone can be problematic, but sugary liquids and those containing milk, for example, are much worse because they dry sticky and corrode contacts and solder joints.
If the spill is water, the most important thing is to immediately disconnect the keyboard from the computer and, if it's wireless, also remove the batteries or turn it off. Then, turn it upside down to allow as much water as possible to drain and let it dry for several hours, ideally a couple of days, in a well-ventilated area. As long as you don't reconnect it while it's still wet, the chances of it surviving are quite high.
With liquids like soda, coffee, tea, juice, or energy drinks, things get more complicated. As soon as the spill happens, unplug the keyboard and begin a thorough cleaning like the one we saw earlier, removing all the keys and cleaning the circuit board with isopropyl alcohol to dissolve the sugar and sticky residue. If you need specific instructions for spills on laptops, see what to do when cleaning up spilled water on your laptop.
In extreme cases, some people resort to minor emergency measures, such as using a straw or syringe to apply hot water in a very localized way to areas where the spilled liquid has completely stuck together. These kinds of solutions can sometimes save the keyboard, but they also carry considerable risk: if water gets where it shouldn't, you can consider it a lost cause.
If, after thoroughly drying and cleaning, you notice that some switches are stuck, jammed, or not registering , the only technical solution is to disassemble them. On keyboards with hot-swap switches, this is relatively simple: remove the switch, clean it or replace it with a new one, and you're done. On keyboards with switches soldered to the circuit board, you have to desolder, replace parts, and resolder, which requires tools, time, and the understanding that you'll void your warranty.
Care and cleaning of membrane and laptop keyboards
Although we focus on mechanical keyboards here, many users combine several devices and need to know how to clean membrane keyboards or keyboards integrated into laptops , where the keys cannot be removed so easily.
On desktop membrane keyboards, the procedure is quite similar to that of a laptop. Start by turning everything off and unplugging it. Then, you can blow compressed air in short bursts at an angle to remove crumbs and dust from between the keys, or use a small vacuum cleaner. Always avoid directing the airflow straight at the keyboard and continuously.
Next, wipe the tops of the keys and the frame with a slightly damp microfiber cloth . Since you won't be removing the keycaps, it's a good idea to supplement the cloth with cotton swabs. Apply a few drops of isopropyl alcohol to the tip and use it for gaps between keys, sticky areas, or stubborn stains.
Laptops require even more care, as the keyboard is often located directly above delicate components . Unplug the charger, completely power off the device, and, if possible, let it cool down. Use compressed air in short bursts with the laptop slightly tilted, and then clean the surface with a barely damp microfiber cloth. For more specific laptop tips, check out Laptop Keyboards: Care and Secrets.
For stubborn dirt between keys, use cotton swabs with a very small amount of isopropyl alcohol. Gently wipe the area without soaking it. Always finish by drying with a clean cloth, making sure no liquid residue remains. You can also use a slime-type cleaning gel : press it onto the keyboard, it will get into the crevices, and when you remove it, it will take some of the dirt with it. However, don't use too much to avoid leaving any residue.
If you use silicone or rubber keyboard covers, remember to remove them occasionally and wash them with warm, soapy water . Let them air dry completely before putting them back on, and take the opportunity to clean the keyboard underneath with a microfiber cloth.
Maintenance tips and habits to keep your keyboard less dirty
Besides cleaning, it's very helpful to adopt some simple habits that reduce the amount of dirt that gets on your keyboard. The less dirt it gets, the less often you'll have to take it apart or do aggressive cleaning.
The most basic thing is to try not to eat directly over the keyboard . Crumbs, chips, cookies, or snacks get trapped between the keys incredibly easily. If you have no other option, at least move the keyboard slightly away from your eating area or cover it with something while you eat.
Another simple but effective trick is to wash your hands or wipe them with a cloth before you start typing, especially if you've been cooking, using lotion, or handling any oily product. Skin oils are one of the main culprits behind keys that look shiny and sticky over time.
Using dust covers or keyboard covers when you're not using it also helps a lot, especially if you live in dusty places, have pets that shed hair, or live in humid environments where dirt sticks more easily.
In very humid climates, it's a good idea to keep your equipment in a well-ventilated room and, if possible, use dehumidifiers or desiccant packets near your setup. This reduces the risk of corrosion and problems with electronic components , not only on the keyboard but also on the rest of your PC or laptop.
Finally, establish a sort of routine: a quick cleaning every week or two (just a dusting, a wipe, and little else) and a more thorough cleaning every few months, including removing the keys if your model allows it. Making it a habit will prevent your keyboard from ever reaching a critical state.
Caring for a mechanical keyboard isn't complicated and doesn't require any special tools, but it does require a little consistency and common sense. With a few basic materials, avoiding excessive liquids, and maintaining certain habits, you can keep your keyboard clean, pleasant to the touch, and with all its keys working like new for years.
