- FAT32 offers the greatest compatibility between devices, with a limit of 4 GB per file.
- Windows restricts FAT32 formatting to 32 GB in its wizard, but there are alternatives.
- Rufus, PowerShell and partition managers allow FAT32 on large USB drives.
- If there are errors or protection, repair, delete partitions, and remove the lock first.
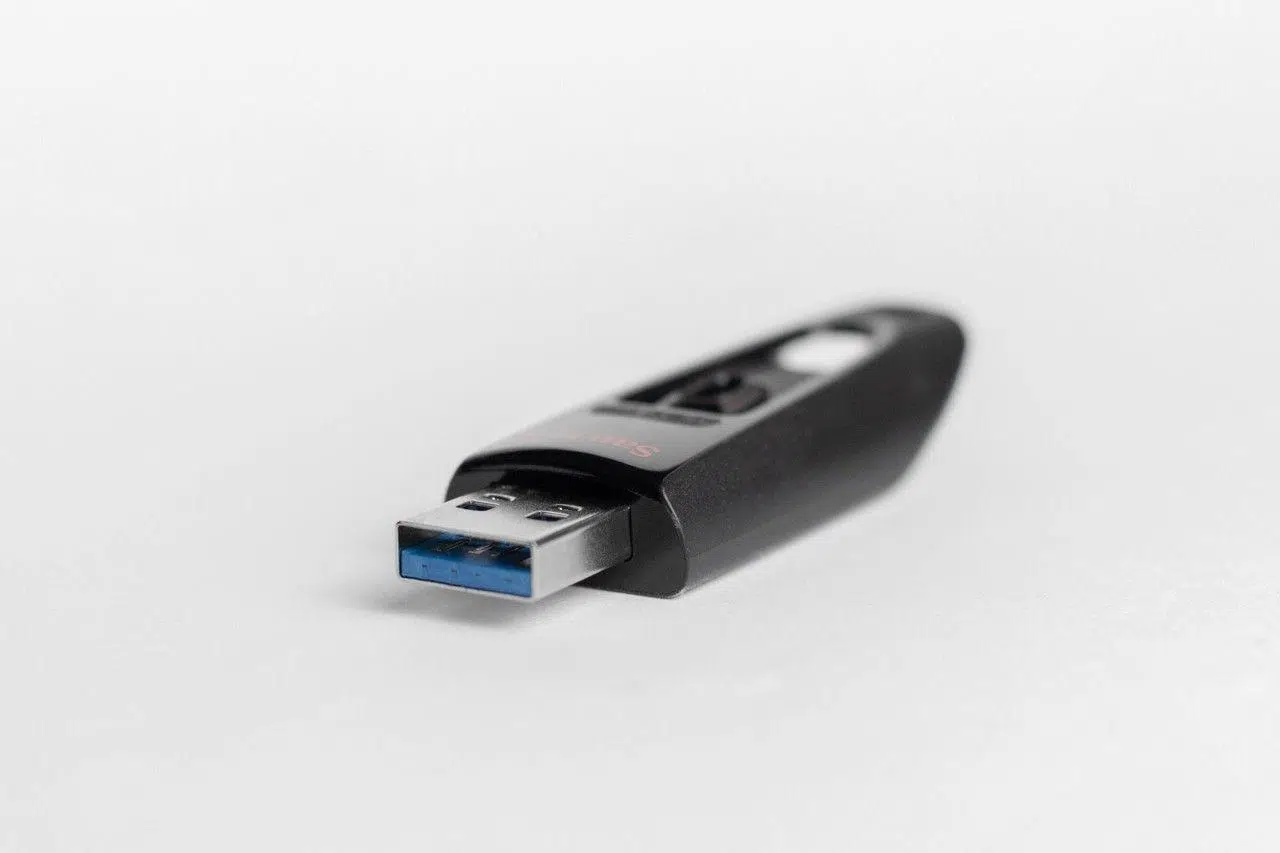
If your car, TV, camera, or game console isn't recognizing your USB drive, it most likely needs the correct file system. On many devices, FAT32 remains the most compatible format for USB drives and SD cards. Here's a detailed and straightforward explanation of how to format a USB drive to FAT32 in Windows, its limitations and specific characteristics, and how to resolve common issues.
Before we get down to business, there's a key point: Windows is a bit finicky with FAT32 on large drives. You'll see in its graphical formatter that it doesn't offer FAT32 when the drive exceeds 32 GB . That doesn't mean FAT32 won't work with larger capacities; in fact, other systems can create FAT32 volumes of tens of terabytes. I'll show you shortcuts and utilities to achieve this without any hassle.
What is a file system and why does FAT32 still matter?
A file system defines how data is stored, organized, and located on a storage device. In simpler terms, it's the "file list" that tells the system where everything is. Several file systems coexist in the Windows ecosystem: FAT32, NTFS, and exFAT are the most common on USB drives and external hard drives.
FAT32 is the veteran of the industry. Its main advantage is that almost everything understands it: Windows, macOS, Linux, and a multitude of devices can read and write it without any installation. However, it does have clear limitations, such as the 4GB maximum file size . If you record 4K video or move large ISOs, this can be a real bottleneck.
NTFS is the "native" format of modern Windows: it supports advanced permissions, compression, encryption, and very large files, but on macOS it's read-only unless you install additional software. exFAT , on the other hand, is designed for flash drives , doesn't have the 4GB file size limit, and is easily read and written by Windows, macOS, and Linux (on most current distributions).
To find each format, refer to this summarized list of capacities and compatibility. Note an important distinction: the 32 GB limit for formatting in FAT32 is a restriction of the Windows tool , not of FAT32 as a standard.
| File System | Maximum practical volume size | Maximum file size | Windows | MacOS | Linux |
|---|---|---|---|---|---|
| FAT32 | 32 GB (limit when formatting in Windows); in other OSs it can reach ~16 TB | 4 GB | Reading writing | Reading writing | Reading writing |
| NTFS | Virtually enormous (on a petabyte scale) | Up to exabytes | Reading writing | Read-only by default | Reading writing |
| exFAT | Scale to massive sizes (hundreds of PB) | Up to exabytes | Reading writing | Reading writing | Reading writing |
With all this in mind, the reason for choosing FAT32 today is usually compatibility with older equipment and players , or with devices that only accept it (car radios, cameras, etc.). If that's your case, go for it.
Before you begin: warnings, backups, and real limits
Formatting erases everything. There's no way around it: when you format, the contents of the drive disappear. My advice is to back up your important files (ideally two copies, and one to the cloud) before doing anything.
Regarding FAT32, remember that an individual file cannot exceed 4 GB . If you work with long videos, virtual machines, or large backups, consider exFAT or NTFS. However, if you only need music, documents, or photos for an older device, FAT32 will work perfectly.
Windows 10/11 doesn't offer FAT32 as a formatting option for USB drives larger than 32 GB. This isn't a bug; it's a Microsoft design choice. However, there are reliable alternatives: third-party tools (like Rufus or partition managers) , the command line, and even classic conversion utilities on older systems.
If you are converting volumes on older machines (legacy scenario), keep in mind historical warnings from Microsoft: after converting to FAT32 with their converter, there is no way to revert to the original FAT using the same process; furthermore, the procedure will fail if there are bad sectors, and it is recommended to uninstall tools that protect the MBR or partition table (for example, Bootlock utilities from older suites) before starting the conversion.
Reliable methods to format a USB drive to FAT32 in Windows
I'll suggest several safe routes, from the simplest for small drives to options for 64GB, 128GB, or larger storage capacities. This way, you can choose the path that best suits your needs and the time you have available.
Method 1: File Explorer (fast and easy, up to 32 GB)
This is the classic method and works perfectly on "modest" sized USB drives. If your drive is 16 or 32 GB, you'll see the option without any problems. If it's larger than 32 GB, the file system selector won't show FAT32 , and you'll have to use another method.
- Connect the memory to the PC and open Explorer (Win + E).
- In “This PC”, right-click on the USB drive and choose “Format…”.
- In “File system”, select “FAT32” and, if you wish, change the volume name.
- Leave the rest as default (you can select “Quick Format”) and press “Start”.
- When finished, check in Properties that the file system is FAT32.
If you were in a hurry and your USB drive is no larger than 32 GB, this method is perfect: it's the most direct and only takes a few seconds on most computers, keeping everything under the Windows interface.
Method 2: Rufus (ideal for large USB drives, lightweight and portable)
For USB drives of 64GB, 128GB, or larger, Rufus is a lifesaver. It's a very lightweight utility, requires no installation, and lets you choose the file system without the artificial limitations of Windows. Plus, you can leave it on another drive and use it on any PC on the go.
- Download and open Rufus (portable .exe file).
- Select your device from the “Device” dropdown menu.
- In “Boot selection” choose “Non bootable”, unless you need to create a bootable USB drive.
- In “File system”, select “FAT32”.
- Optional: Change the “Volume Label” (unit name) to your liking and press “Start”.
In just a few seconds, you'll have your drive formatted as FAT32, even if it's large, avoiding the Windows wizard's blocking feature. Rufus is one of the most convenient and reliable options for this task.
Method 3: PowerShell or Command Prompt (works at any size, but can be slow)
If you don't want to use third-party tools, you can use the command line. This method works for large drives, although it's worth noting that formatting can take a while (up to an hour for 32 GB depending on your computer). It's the non-dependent option, useful in a pinch, and uses the standard Windows formatting command with the /FS:FAT32 parameter.
- Search for “PowerShell” in the Start menu, right-click and select “Run as administrator” (if you need help, see how to open the command prompt).
- Note the letter of your USB drive (for example, D:). You can see it in File Explorer.
- Run the command:
format /FS:FAT32 X:replacing X with the actual letter. - Press Enter, confirm, and wait for the process to finish. formatting.
When finished, the drive will be formatted as FAT32. Alternatively, you can run the same command from Command Prompt (Admin). The key is to use the correct drive letter and be patient if the process takes longer than expected, as this is normal with some hardware combinations.
Method 4: Disk Management (Granular Partition Control)
Another built-in option is Windows Disk Management, which also lets you delete partitions, create new ones, and assign drive letters. If your USB drive is large, you'll see that it doesn't allow you to format it to FAT32 in one go, but you can recreate partitions and format it when applicable.
- Right-click on the Start button > “Disk Management”.
- Locate your USB drive, right-click on the partition and select "Format…".
- If FAT32 does not appear, you can "Delete volume" and then "New simple volume…".
- In the wizard, choose size, assign font, and select. FAT32 if applicable.
- The wizard finishes and wait for the unit to be installed.
This tool is also very useful for "resetting" a troublesome USB drive. Erasing everything and creating a simple volume usually resolves mounting errors or conflicting drive letters with network drives.
Method 5: Third-party partition manager (EaseUS Partition Master)
If you prefer a more feature-rich graphical environment, a partition manager makes formatting to FAT32 easy, even on large drives, and also offers extra utilities for checking and repairing the file system. EaseUS Partition Master is a well-known example with a Spanish interface.
- Install and open the partition manager.
- Right-click on your USB drive and choose "Format". Select FAT32 and confirm.
- If the program detects file system errors, use "Check file system" and enable the "Attempt to correct errors found" option before formatting, then press “Start” and “Finish” upon completion.
The advantage of a partition manager is that it is not limited by the 32 GB limit when creating FAT32 and, in addition, it offers options such as resizing partitions, moving them or even cloning disks.
If Windows won't let you: practical solutions to force FAT32
There are scenarios where "formatting to FAT32 is not possible." Common causes include very large drives (over 32 GB), file system errors, or write-protected storage . Here are direct solutions for each case.
Remove all partitions and create a new one in FAT32
On "problematic" USB drives, starting from scratch works very well. Using Disk Management, delete all possible partitions (primary and logical) until the drive is "unallocated." Then create a " New Simple Volume ," assign a drive letter, and select FAT32 if the wizard allows it. On modern computers, if FAT32 isn't listed, you can create several smaller partitions (less than 32 GB) and format them individually as FAT32, or use Rufus or a partition manager.
- Delete the primary partition (Accept to confirm).
- Delete the logical partition if it exists (there will be "free space").
- Convert that space to "unassigned" if appropriate and create a "New Simple Volume…".
- Select FAT32, define the label, and finish the wizard so that Windows mount the unit.
Once this is done, many people don't have any further problems. If your Windows version doesn't support multiple USB partitions (some older versions do), consider using a single partition or third-party software that properly manages the device.
Use NTFS or divide into smaller partitions if you need large files
If you want a single "large" drive to store files larger than 4 GB, FAT32 isn't a viable option. In that case, format it as NTFS or exFAT. Another alternative is to divide the USB drive into several partitions of less than 32 GB and format them as FAT32 if your device supports it, although not all devices will recognize multiple partitions on the same drive.
As a rule of thumb: if the goal is universal compatibility, FAT32; if the goal is huge files and simplicity, NTFS or exFAT will save you headaches.
Remove write protection before formatting
When Windows indicates that the media is write-protected, formatting will not work. Check that there isn't a physical switch on the adapter (some SD cards have one). If the write protection is logical, you can use graphical utilities that remove it with a single click, such as " Write Protection " tools included in maintenance suites.
- Open the utility, go to the Optimization or Write Protection section.
- Select your USB drive and press “Disable” or “Remove protection”.
- Once unlocked, apply any of the above methods to format to FAT32.
If you're comfortable using the command line, you can also check attributes with diskpart, but graphical tools make it much easier and save you from typing delicate commands that could affect other drives if you select the wrong disk.
A typical case: a 64GB USB drive for the car that only accepts FAT32.
Many people come to this article for the same reason: a 64GB USB drive with music for the car, formatted in exFAT, and the car stereo won't play it. You check in Windows and, when you try to format, you don't see FAT32 in the list . Nothing unusual: it's a limitation of the graphical wizard.
Quick solution: Use Rufus, the console method with format /FS:FAT32 or a partition manager. In a matter of minutes, you'll have the USB formatted as FAT32, and the car will start reading it as if nothing happened. Just remember that no file can exceed [size limit]. 4 GBSo if you were uploading huge podcasts or long FLAC files, keep an eye on the size.
Classic method of converting to FAT32 on older equipment
On older systems, there was a graphical "Drive Converter (FAT32)" to convert a FAT/FAT16 volume to FAT32 without deleting it. The path was something like Start > Programs > Accessories > System Tools > Drive Converter (FAT32). Then you would click "Next" repeatedly, selecting the destination drive , and the wizard would do the rest.
You could also use the command line with a command like this: cvt X: /cvt32 (replacing X with the drive letter). That converter required the drive to have at least 512 MB and wouldn't work if there were bad sectors. Furthermore, Microsoft made it clear that It could not be reversed The original FAT system can only be converted using the conversion tool. On computers of that era, it was recommended to uninstall utilities that protected the MBR or partition table before converting to avoid conflicts during the process.
Nowadays, unless you're restoring a very old PC or a "museum" laptop, the normal thing to do is to opt for direct formatting with the techniques I've shown you (Explorer, Rufus, PowerShell or a partition manager), which are the ones that work in modern Windows.
Quick guide: all the ways Windows offers to format FAT32
In Windows versions 7 through 11, you can format drives as FAT32 in four ways: a third-party tool, File Explorer with quick format (if the drive is small), Disk Management, and the command prompt. For average users, the third-party tool saves time . For advanced users, the command prompt is a lifesaver when other methods fail.
- Free USB formatting utility (e.g., Rufus or partition manager).
- Quick format from Explorer (up to 32 GB).
- "Format" option in Disk Management.
- Windows command:
format /FS:FAT32in console with permissions.
If you prefer watching to reading, you can easily find a video guide with these four methods. But with the information above, you should have enough to get your USB drive looking brand new.
USB health checks and common errors
If formatting fails, the drive might have logical errors. In that case, running a file system check can make all the difference. In Windows, under Properties > Tools > Error checking, you can " Scan and repair " the drive. Some third-party utilities include a similar "Check file system" button with an option to automatically repair.
Typical problems when FAT32 doesn't appear or the process is interrupted: the USB drive is larger than 32 GB and you're using the Explorer formatter, the drive is write-protected, or there's corruption in the partition table. The solution involves using Rufus or the command line to unlock the drive and/or delete all partitions to create a new one from scratch.
FAQ
How do I format a microSD card to FAT32? You can do it with File Explorer (right-click > Format…) or Disk Management (right-click > Format). Choose FAT32, assign a label, and select “Quick Format” if you want to speed things up. Both options are easy and safe for capacities between 2 and 32 GB.
How do I format an entire hard drive? The easiest way is using a partition manager: select the drive, choose "Format," confirm, and you're done. In Windows, you can also format from Disk Management. Note: Formatting an entire hard drive erases everything, so back up your data and double-check that you're not selecting the wrong drive.
Why can't I format my USB drive to FAT32? Common reasons: write protection, drive errors, conflicting partitions, or exceeding 32 GB of storage and using the graphical wizard. To break the loop, unlock the drive, delete partitions, use Rufus, or format /FS:FAT32and check the file system if you suspect corruption.
Models and product references cited
In some corporate or specific hardware environments, the use of FAT32 with specific equipment is documented. For informational reference, a list of models and series is included here, mentioning the procedure or support for this and other configurations, with their names as is: ELMGR7093DX4, ELMGR7093DX6, ELMGR709HXX4, ELMGR709HXX6, GR70, MINIPC PB50, MINIPC PB60V, MINIPC PB61V, MINIPC PB62, MINIPC PN52, MINIPC PN80, PA90, PB40, PB40-B, PB50, PB50-B, PB60, PB60-B, PB60G, PB60S, PB60S-B, PB60V, PB61S, PB61V, PB61V-B, PB61V-H, PB62, PB62-B, PB63, PB63-B, PB63V, PB64, PB64-B, PL63, PL63-A, PL63-B, PL64, PL64-B, PL64-D1, PL64-D1-B, PN30, PN40, PN40Q, PN41, PN41-A, PN41-B, PN41-S1, PN41-S1-B, PN41-S1-M, PN41-S1-MI, PN42, PN42-B, PN42-E1, PN42-E1-B, PN42-M, PN42-S, PN42-SB, PN43, PN43-B, PN43-S, PN43-SB, PN50, PN50-B, PN50-E1, PN50-E1-B, PN50-F, PN50F2, PN50-S1, PN51, PN51-B, PN51-E1, PN51E1-B, PN51-S1, PN51-S1-B, PN52, PN52-B, PN53, PN53-B, PN53-S1, PN53-S1-B, PN54, PN54-B, PN54-S1, PN54-S1-B, PN60, PN60-B, PN60-R, PN61, PN61-B, PN61S, PN61T, PN62, PN62-B, PN62S, PN63, PN63-B, PN63-S1, PN63-S1-B, PN64, PN64-B, PN64-E1, PN64-E1-B, PN64-M, PN65, PN65-B, PN80, PN865.
Keep this practical tip in mind: if you need maximum device compatibility, go for FAT32; if you're going to be moving large files, opt for exFAT or NTFS. Windows makes it difficult to format large drives to FAT32, but with Rufus, the command line, or a partition manager, you can solve this in no time. And remember, before making any changes, back up your data ; that way, if something goes wrong, you won't have anything to regret. If you found this helpful, share the method that worked best for you; it will save other users time and serve as a reminder for you next time.
