- Deskreen turns any browser-enabled device into a second screen for Linux using local Wi-Fi, without installing software on the client.
- To truly extend the desktop, it is key to create virtual monitors or use "dummy" HDMI adapters that the system detects as additional screens.
- There are alternatives such as VNC, TeamViewer or Chrome Remote Desktop to share or control the desktop in mixed environments, teleworking and education.
- Screen streaming performance and quality depend heavily on local network configuration, Wi-Fi, and applied security measures.
This is where Deskreen and a few other tools come into play, allowing Mirroring and casting the screen in Linux Using only the local network, wirelessly, and in many cases without installing anything on the remote device. From turning an Android phone into a monitor, to setting up a homemade teleprompter or extending the desktop using virtual screens and "fake" HDMI adapters.
What is Deskreen and why is it so interesting in Linux?
Deskreen is a cross-platform desktop app (Linux, Windows, and macOS) that turns any device with a web browser into a secondary screen connected via Wi-Fi or a local network. It requires no installation on the remote device: simply open a modern browser and access the URL provided by Deskreen or scan a QR code.
The tool is developed with Electron.js and WebRTCThis allows you to stream your desktop with end-to-end encryption. This means that communication between your computer and the remote device is protected, which is important if you work on shared networks or want to prevent anyone from snooping on your screen.
One of its great strengths is that you can share the full screen or just a specific windowThis is perfect for presentations, training, video conferences, or when you want to show something without displaying notifications, emails, or private documents that you have open on the rest of your desktop.
Deskreen also works perfectly in Offline mode over a simple local Wi-Fi networkNo internet connection is required: the host computer and the remote device simply need to be connected to the same router or access point, which is very useful in classrooms, meeting rooms, or events where internet access is limited or non-existent.
Another key feature is its mode of “Flip Screen” or horizontal rotating screenDesigned for those who need a home teleprompter, Deskreen essentially flips the shared screen image so it's correctly reflected behind a glass panel in front of the camera, using a tablet or smartphone as a stand.
Second screen, teleprompter and more: practical uses of Deskreen
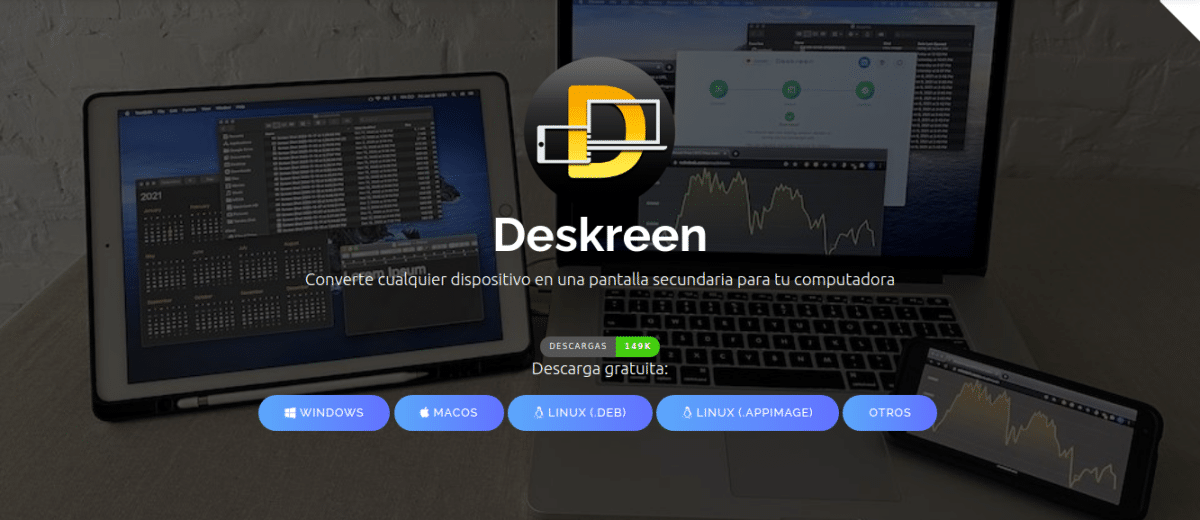
Deskreen is designed, above all, so that any device with a web browser can act as secondary or support screenThat includes Android tablets, iPads, mobile phones, other computers, televisions with built-in browsers, or even some Smart TV with systems like webOS.
For a truly extended desktop experience, Deskreen works especially well with virtual display adaptersThese adapters can be physical (small HDMI or DisplayPort dongles that "trick" the system into thinking a monitor is connected) or configured via software in Linux using virtual displays. In this way, the system detects a second, real screen, which never actually reaches a physical monitor; instead, Deskreen captures this virtual desktop and sends it to the remote device.
Beyond the extended desktop, Deskreen allows you to use a tablet or mobile device as a improvised teleprompterThanks to the rotating screen mode, you can horizontally mirror your desktop image (for example, script text) on the remote device's browser. By placing the tablet in front of the camera, behind a glass panel, you'll have a functional teleprompter without investing in professional hardware.
Another strong point is the possibility of connect multiple devices at onceDeskreen can send your screen to multiple clients simultaneously, so every connected tablet, laptop, or mobile device will see the same thing as you. This is perfect for small presentations, classes, or demonstrations without the need to set up a complex video conferencing system.
In addition, while you're sharing, Deskreen lets you control the video image qualityYou can lower the resolution or bitrate to adapt to congested Wi-Fi networks, or let the app automatically manage the quality according to the available bandwidth, which is very convenient if you are in environments with many people connected.
Install Deskreen on Linux: AppImage, DEB and other formats
Installing Deskreen on Linux is quite simple and adapts to different preferences and distributions. The developers offer a AppImage package which can be downloaded from its releases page on GitHub and run directly without traditional installation or additional dependencies.
To use the AppImage, simply download the file, grant it execute permissions, and launch it. On many desktops, the easiest way is to right-click and open the menu. "Properties" and select the option to allow running the file as a programIf you prefer the terminal, you can use a command like this:
chmod +x Deskreen-x.y.z.AppImage
and then run it directly with:
./Deskreen-x.y.z.AppImage
Some distributions, such as Debian or Ubuntu, also offer a DEB packageIt can be installed using standard tools (dpkg, apt, software center, etc.). On Arch Linux, the application is available through the AUR, so you can integrate it into your system just like any other user package.
The first time you open Deskreen, the application will ask you to choose a language. Although the interface starts in English, It has a Spanish translation. and other languages. From the settings gear icon, you can change the language, activate dark mode, and adjust some visual details.
Getting started with Deskreen: connection and usage modes
When you start Deskreen on your Linux machine, you will see a screen QR code accompanied by a URLThat URL points to the local server that runs the application itself and will be the entry point for the devices you want to use as a screen.
The typical process is very straightforward: if your remote device (mobile phone, tablet, another PC) has a camera, you scan the QR code and the browser will open to the Deskreen address. If it doesn't have a camera, you simply type the URL manually into that device's browser, always connecting it to the same local network as your Linux machine.
On the host computer, Deskreen will display a notice for accept or reject the new connectionUntil you press "Allow," the remote device won't see anything. This manual confirmation helps you maintain a minimum of control over who can see your screen at any given time.
Once the connection is accepted, the application will ask you to choose whether you want to share the full screen or just a specific windowIf you choose window, you'll need to select the application you want to display from those currently open. After choosing screen or window, simply confirm, and the content will begin appearing in the remote device's browser.
Within the browser, it is usually recommended to enable the full screen mode To make the most of the screen space on your monitor, tablet, or mobile device. It will behave almost like a "normal" screen, although latency and quality may vary depending on your network.
Create a virtual screen in Linux to use Deskreen as an extended desktop
If what you're looking for is not just to duplicate the screen, but extend your desktop and have a real second monitorYou need Linux to recognize an additional video output, even if there isn't a physical monitor connected. This is where virtual monitors come in.
One option is to use scripts like virtual-display-linux, available on GitHub. This project provides a BASH script that configures an extra virtual screen using Xorg. The typical procedure involves cloning the repository, giving execute permissions to the main script (for example, vdl-monitor), edit the configuration file to adjust the resolution and, finally, run the script to create that “ghost” screen.
In the configuration file (vdl-monitor.confThere are sections like screen1This is where you define the resolution of the virtual monitor. It's recommended that this matches the resolution of the device you'll be using as a second screen to avoid strange scaling or black bars. Edit it with a text editor like nano, save the changes, and you're done.
Once the script has been launched and the session restarted if necessary, you can go to the system's display settings and verify that your Linux now detects more than one monitor availableAt that point, Deskreen will be able to offer you that virtual screen as the source, so that on the tablet, mobile or TV only that extended desktop will be shown, not the main one.
It's worth noting that many of these scripts are configured by default to work with Intel graphics (for example, loading configurations like 20-intel.confIf your machine uses a different GPU (AMD or NVIDIA), you will likely need to adapt the configuration file or create a specific variant for your hardware.
Use a physical virtual display adapter
If you don't want to get bogged down with Xorg scripts and configurations, another practical solution is to buy a HDMI or DisplayPort “dummy” adapterThey are small connectors that plug into the video output of your computer and tell the system that a monitor is connected, even if there is no screen actually connected.
These adapters are usually very inexpensive and allow the graphical environment to recognize a second monitor immediately. Then you just have to configure screen layout (to the right, left, above, or below the main screen) and tell Deskreen to share that extended desktop. It's as simple as "put it on or take it off," without having to deal with commands or drivers.
The advantage of the physical adapter is that it works independently of the operating system and requires minimal maintenance. Anything connected to that virtual output (extended desktop, full-screen apps, etc.) will be captured and sent to your remote devices by Deskreen.
Classic Linux alternatives for sharing or extending the screen
Although Deskreen is very convenient for using any device as an additional monitor via a browser, in the Linux world there are other veteran solutions to share your desktop, duplicate your screen, or even remotely access your machine.
One of the best known is the VNC ecosystem, with tools such as x11vncThis VNC server allows you to share the current X11 graphical session, so that any VNC client (for example, on Android, Windows or another Linux) can see and manipulate the desktop as if it were in front of the computer.
Installing x11vnc is usually as simple as a sudo apt install x11vnc in Debian or Ubuntu-based distributions. After that, it's a good idea set a password with x11vnc -storepasswd to prevent uncontrolled access, although it should be remembered that the traditional VNC protocol does not encrypt traffic, so real security is limited if it is not accompanied by an SSH tunnel or a VPN.
A convenient way to use x11vnc is to create a small script in ~/.local/bin launch the server with the appropriate parameters, including the X screen to be shared (-display :0), that it remains operational (-forever), which allows multiple simultaneous clients (-shared) and use the saved password (-rfbauth ~/.vnc/passwd).
If you want to further refine the settings, you can use xrandr to limit the area of the screen that is sharedFor example, if you have two physical monitors connected, you can tell x11vnc to only send the content from one of them using the option -clip with the appropriate coordinates and resolution. This way you can also simulate an extension of the desktop or dedicate a virtual monitor solely to remote use.
Mirror your screen from Windows to Linux and other platforms
In mixed environments it is common to want Mirroring the screen of a Windows laptop on a Linux computer connected to a large TV or projector. Windows 10 and later include support for wireless screen streaming (Miracast, for example), but making Linux act as a native receiver for those technologies isn't always so straightforward.
There are projects like Miraclecast that attempt to offer Miracast support on Linux, but they often require stop the network manager to take complete control of the Wi-Fi interface, which breaks the device's own internet connection. In many cases, this is unacceptable, especially when the Linux system needs to remain connected to the network via cable or Wi-Fi while receiving the projection.
Alternatively, it is often more practical to resort to solutions that do not rely strictly on MiracastInstead, use intermediary applications: VNC clients, tools like Deskreen on the Linux side, and web browsers or remote apps on the Windows side, provided your environment's policy allows you to install additional software.
When you can't access anything on the Windows machine, but you can configure the Linux device, the most realistic approach is usually to Set up a VNC server or similar on Linux and access from Windows using an already permitted tool (for example, a browser + WebRTC, or IT-authorized clients). In other cases, if the restrictions are very strict, it may be necessary to forgo standard wireless mirroring and opt for wired connections (HDMI, for example) when possible.
Other popular solutions for screen sharing between computers
Beyond Deskreen and VNC, the ecosystem of applications for screen sharing and remote desktop It is enormous and covers virtually any scenario: technical support, real-time collaboration, teleworking, education, etc.
Tools like TeamViewer o AnyDesk They have become benchmarks for both professional and home use. They are cross-platform, working on Windows, macOS, Linux, Android, and iOS, and allow users to remotely control computers, send files, chat, and, of course, share their screens with high quality. TeamViewer, for example, boasts a very high percentage of Fortune 500 companies in its use and holds certifications such as ISO 9001.
There are also lighter options such as ScreenLeap, Ammyy Admin, VNC Connect, ThinVNC, MingleView or Iperius RemoteMany of them offer free versions with time or participant limitations and are well suited to small businesses or users who need occasional sessions without setting up complex systems.
On Google's side, Chrome Remote Desktop It allows you to control computers through the Chrome browser itself. Its setup is usually very simple: install the corresponding extension, enable remote access, create a PIN, and then you can control your PC from another device. It requires an internet connection, but in return, it integrates easily into environments where Chrome is already commonly used.
There are also specialized solutions such as Apple Remote DesktopThese tools are designed to manage fleets of macOS computers, or they may use Windows Remote Desktop, which is widely used in corporate environments. Each of these tools is based on different protocols (RDP, VNC, WebRTC, etc.), with varying levels of security, compression, and performance.
Screen sharing in educational and teleworking environments
The possibility of screen sharing and desktop duplication It has become essential in both education and remote work. In classrooms, combining in-person classes with remote projection allows teachers to reach students who cannot attend physically and facilitates the display of content, presentations, exercises, or software demonstrations in real time.
Video conferencing tools like Zoom, Google Meet, or Microsoft Teams integrate features of screen sharing and specific windowsThis makes it very easy to teach materials or correct exercises live. In this context, solutions like Deskreen can perfectly complement the physical classroom, allowing any extra tablet or laptop to act as an additional monitor without the need for extensive technical setup.
In the context of remote work, screen sharing is a central element for meetings, technical support, and team collaborationIt is common practice to create separate accounts for work on operating systems, use dedicated browsers for meetings, and check which applications are open before sharing the desktop, avoiding accidentally displaying sensitive or personal information.
The performance of these tools depends heavily on network quality. To ensure a smooth experience, it's important to pay attention to aspects such as... router location, frequency band used (2,4 GHz vs. 5 GHz), Wi-Fi channel, and interference levelIn demanding environments, it may be preferable to use wired connections or well-configured Wi-Fi Mesh networks to avoid dropouts or excessive latency.
While the convenience of Wi-Fi is undeniable, it's always advisable to maintain the Update router firmware, use strong passwords and to protect network security, especially when sharing screens with professional information or confidential data.
By combining tools like Deskreen, VNC, TeamViewer, or Chrome Remote Desktop with good network and security practices, it's possible to turn any device into an extra screen, remote monitor, or collaboration window, whether it's running Linux, Windows, or macOS. Leveraging forgotten tablets, old mobile phones, or secondary laptops as a second screen becomes a very economical and flexible way to improve productivity without having to buy more physical monitors.
This whole ecosystem of apps and tricks for Mirroring and casting the screen in Linux It demonstrates that, with a little setup, you can work almost anywhere with a large desktop, share what you do with others in seconds, and adapt your workflow to every situation, from a simple presentation to a complex teleworking environment or a hybrid class with students connected from home.
