- Managing Windows 11 updates helps prevent crashes, unexpected restarts, and unwanted changes.
- Windows offers official methods for pausing or delaying patches, and advanced options using services, policies, and the registry.
- Disabling updates improves stability, but increases security risks if patches are not installed manually.
- It is possible to revert problematic updates and return to previous versions if backups are available.
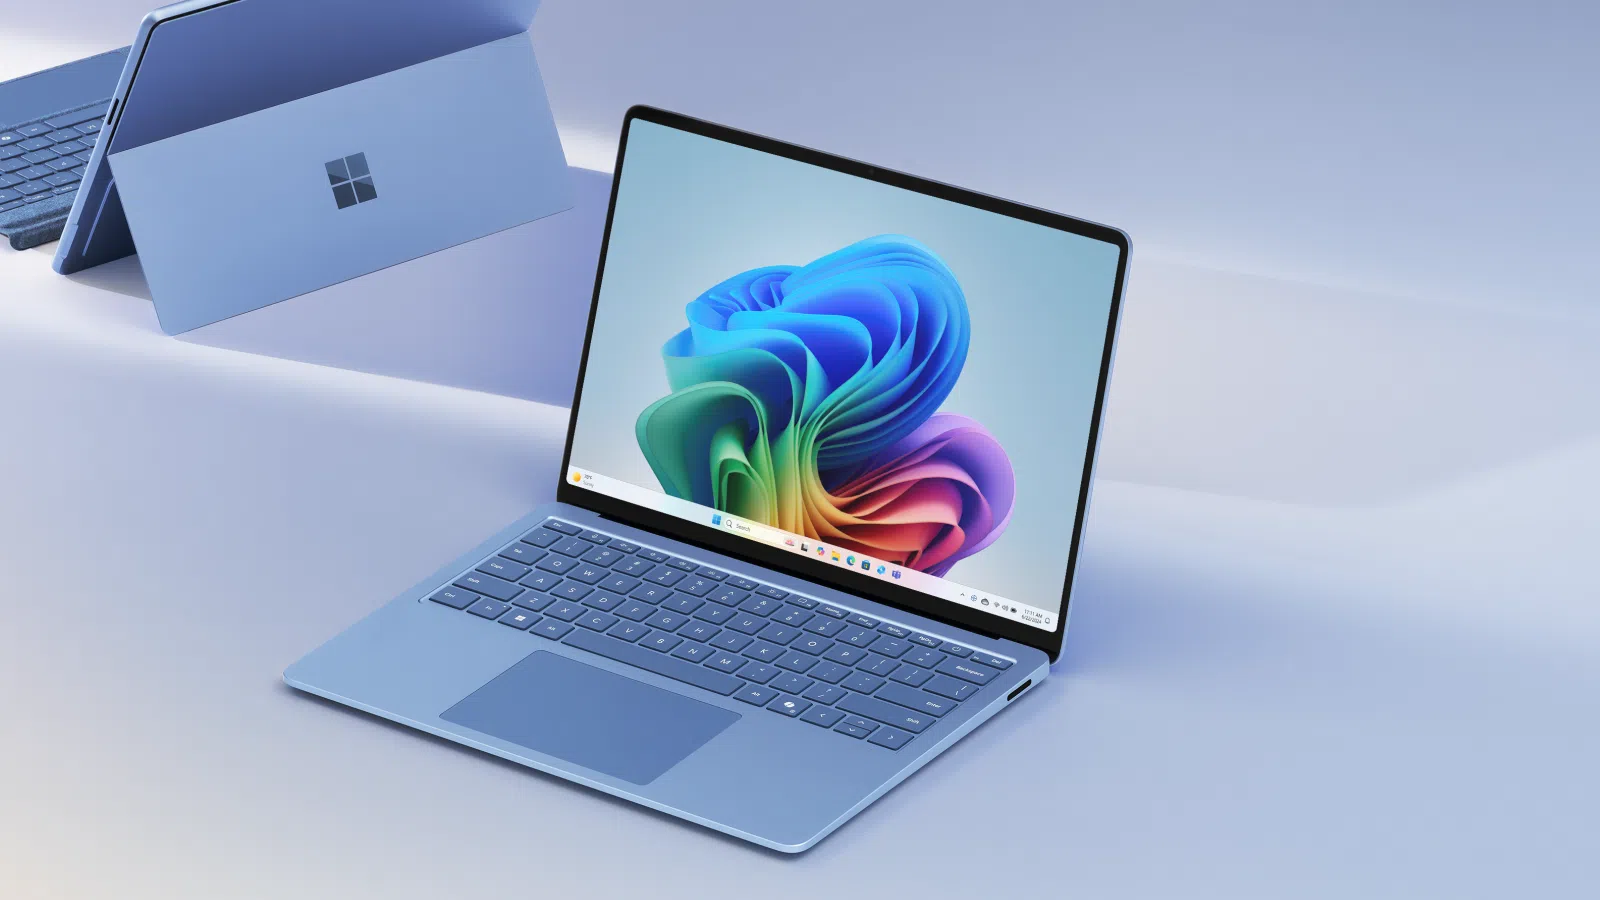
Managing updates in Windows 11 has become almost a necessity for many users. Between unexpected restarts, patches that sometimes cause problems, and changes that don't always offer clear improvements, it's understandable that you might want to pause or disable automatic updates and decide for yourself when to install each patch.
Although Microsoft insists that keeping your system up to date is ideal, Windows 11 allows you to pause updates temporarily or even block them almost entirely using services, group policies, the registry, and even third-party tools. This guide will walk you through all the available options step by step, clearly explaining each one so you can choose the best fit for your needs.
Why do so many people want to pause or disable updates in Windows 11?
Before we get into the steps, it's worth understanding why more and more users are choosing to pause Windows 11 updates . It's not just a "hate" for change, but rather quite practical reasons that affect daily life.
Many users have noticed that after installing a major update, their computer loses performance or becomes slower . This is especially common in older laptops or PCs that were already struggling with Windows 10 and which, with Windows 11 and its patches, end up at their limit.
There are also computers that don't fully meet the official Windows 11 requirements (TPM, compatible processor, etc.). In these cases, updates may fail partially, produce strange errors, or cause crashes that didn't occur before.
Another key point is that Windows 10 will continue to receive support until October 2025. For many users and businesses, this means they are in no hurry to upgrade to Windows 11, as Windows 10 is perceived as a more mature, tested, and stable system with fewer surprises.
Furthermore, some changes in Windows 11 involve losing previously very useful features or adapting to a new interface that hasn't quite won everyone over. Add to that recent cases where a security update has caused vulnerabilities in Windows Security and Microsoft Defender, and it's easy to understand why many users want complete control over when to update.
Difference between pausing, disabling, and blocking updates
In Windows 11 , pausing updates for a few weeks is not the same as disabling the Windows Update service or completely blocking the installation of new system versions. Each method has its pros and cons, and it's important to be aware of them.
When you select the "Pause updates" option in Settings, you're temporarily delaying both feature updates and quality updates (security patches). This pause has an official limit of 35 days, after which Windows automatically resumes the update cycle.
If you disable the Windows Update service from the Services console instead, the system will stop searching for, downloading, and installing automatic updates . This is a more drastic approach that can last for quite some time, but it also leaves you without critical security patches if you don't install them manually afterward.
In more advanced environments, it is possible to use the Group Policy Editor and the Windows Registry to set which version of Windows you want to keep (for example, a specific build) and to trick the system by effectively extending the pause time, even for several years.
Finally, there are third-party tools designed for users who prefer a one-click solution , without manually accessing services or the registry. These tools typically allow you to enable or disable Windows Update whenever you want, but always with the same risk: if you forget, you'll go months without security patches.
How to pause updates from Windows 11 settings
The simplest and most accessible way for any user is to use the Windows Update screen itself in the system settings. It doesn't require advanced privileges or changing any sensitive settings.
To begin, click the Start button and open the Settings app . You can also type "Settings" directly into the Start menu search bar and select it when it appears in the results, identified by the gear icon.
Within the Settings window, look at the left sidebar and scroll down to find the Windows Update section . There you'll see the current status of your system, any pending patches, and options to pause, resume, and schedule restarts.
At the top of the Windows Update screen, you'll find the button to check for updates , and just below it, the option to Pause updates with a small drop-down menu where you can choose how many weeks you want to pause them. Windows 11 allows you to pause updates for up to 5 weeks (35 days) by default.
Once you select the pause, you'll see the date until which updates will be paused clearly displayed at the top . If needed, while the pause is active, you can extend it by more weeks using the same option, always respecting the maximum limit allowed by the system.
If you'd prefer to resume receiving updates before the deadline, simply click Resume updates . Windows will then unpause, check for new patches, and resume the normal update cycle.
Schedule a restart after an update in Windows 11
Another common annoyance is Windows wanting to restart right when you're working . To prevent this, the Windows Update section itself lets you schedule the exact time the necessary restart will occur after updates.
Again, go to Start > Settings > Windows Update . When there are downloaded patches that require a restart, the system will display a notification at the top of this section indicating that a restart is necessary to complete the installation.
In that notification, you'll see a link or button similar to " Schedule restart ." Clicking it opens a screen where you can choose a convenient time slot, so your computer doesn't restart unexpectedly while you're using an important program.
Setting up this schedule is especially useful if you usually leave your PC on overnight or during off-peak hours , as you can make it restart automatically without interrupting your work or gaming sessions.
Disable the Windows Update service to stop updates
If you're looking for a more drastic solution, you can use the Windows Services console to disable the Windows Update service . While it remains disabled, the system will not check for or download updates automatically.
To open the Services window, press the Windows key + R to display the Run dialog box. In the text field, type services.msc and confirm with the Enter key or the OK button. This will open a list of all services available on the system.
In the alphabetical list, scroll down until you find the entry called Windows Update (on some computers it may appear as "Windows Update" in English). Double-click on it to open the service properties.
Within the properties window, on the General tab, look at the Startup type field . Expand the menu and choose the Disabled option . Before applying the changes, if the service status appears as "Running," click the Stop button to stop it immediately.
By accepting the changes, Windows will stop managing updates automatically. If you ever want to revert this behavior, simply return to this same window, change the startup type back to the previous value (for example, Automatic), and restart the service.
If you're comfortable with PowerShellYou can also use commands to achieve the same thing. For example, you can run the following with administrator privileges:
Stop-Service -Name wuauserv -Force
Set-Service -Name wuauserv -StartupType Disabled
This stops Windows Update and marks its startup as disabled.
Configure Windows 11 to ask for confirmation before installing patches
For those who don't want to completely stop updates but do want to decide when they are downloaded and installed , it's possible to adjust Windows Update's behavior so that it requests confirmation instead of doing everything automatically.
The first step is, again, to open the Run dialog box by pressing Windows + R and typing services.msc . Locate the Windows Update service , double-click on it, and in the Startup type field, select Manual or Automatic (Delayed Start) , as you prefer.
With this setting, the system will still accept updates, but it won't constantly check for them or aggressively attempt to restart. Then, in the Windows Update settings, you can configure it to notify you when updates are available and let you decide when to download and install them.
The goal of this intermediate configuration is to find a balance: you keep your system relatively up-to-date and don't close the door to important security patches, but you prevent them from being installed without your permission at the worst possible time.
Block Windows 11 versions using the Group Policy Editor
In the Pro and Enterprise editions of Windows 11 (and in some advanced configurations), you have the Local Group Policy Editor , a very powerful tool for controlling the behavior of Windows Update, including the system version you want to keep.
To open it, press Win + R , type gpedit.msc , and confirm. A window will open with a tree of options on the left. Navigate through the following paths: Local Computer Policy > Computer Configuration > Administrative Templates > Windows Components > Windows Update > Windows Update for Business.
In the right panel, locate the policy called " Select the update version of the target feature " or something similar. Double-click it to edit it. In the window that appears, select the "Enabled " or "Activated" option.
In the policy settings, you can specify the Windows 11 version you want to use as the target, for example, a specific build identified as 21H1 or another as appropriate. This tells the system not to migrate to newer versions as long as it maintains that configuration.
Once the changes are applied and the Group Policy Editor is closed, Windows will continue to receive security patches for the version you specified, but will not attempt to force a feature update to a more recent revision of the system.
How to pause Windows 11 updates every week on an ongoing basis
Some users opt for a more manual strategy: gradually extending the pause week by week from the Windows Update interface. It's not as drastic as disabling services, but it does allow you to keep updates at bay for quite some time.
The procedure is simple. Go to Settings > Windows Update and click on the Pause updates option . Choose the initial duration (for example, 7 days). The system will mark that date as the pause end date.
Before the pause period expires, you can return to this same screen and add more weeks using the drop-down menu, as long as you do not exceed the maximum of 35 days that Microsoft sets as the official limit.
While this technique doesn't allow for an indefinite pause on its own, it does give you leeway to manually manage update windows and decide when you want the team to check again for available patches.
Stop Windows 11 updates from the system registry
For those who need to go a step further and expand the scope offered by Windows Update, there is the option of directly modifying the Windows Registry . It's a delicate method, but very effective if done carefully.
Before touching anything, it's crucial to create a system restore point . Type "Restore" in the Windows search bar and select "Create a restore point." From there, create a new restore point. If something goes wrong while modifying the registry, you'll be able to revert to the previous state without compromising system stability.
Once you have that security measure in place, open the Settings window with Win + I , go to Windows Update , and enable the option to pause updates for 5 weeks. This step is important because it causes Windows to create the registry keys that you will later modify.
Now, press Win + R, writes regedit.exe and confirm to open the Registry Editor. One of the key paths that is often modified is:
HKEY_LOCAL_MACHINE \ SOFTWARE \ Policies \ Microsoft \ Windows \ Windows Update
In this location you can create or adjust DWORD (32-bit) values to control the behavior of Windows Update.
For example, you can ensure that the TargetReleaseVersion value is enabled (with a value of 1) and set TargetReleaseVersionInfo to the Windows version you want to keep (such as 21H1 or another version depending on your needs). This tells the system to remain locked to a specific build and not automatically upgrade to later versions.
Furthermore, there's an advanced "trick" that involves editing certain keys where Windows stores the pause status and limit, changing the maximum of 35 days to a value equivalent to several years (up to approximately 3.650 days, or about 10 years). This is done by working with paths such as:
HKEY_LOCAL_MACHINE\SOFTWARE\Microsoft\WindowsUpdate\UpdatePolicySettings
y
HKEY_LOCAL_MACHINE \ SOFTWARE \ Microsoft \ WindowsUpdate \ UX \ Settings, adjusting values such as FlightSettingsMaxPauseDays and the start and end dates of the break.
The idea behind this method is to "trick" Windows: the system believes it's still within a permitted pause period, when in reality the set expiration date is much further off. This way, you can turn off updates for practically a decade . Even so, it's important to remember that you'll still be responsible for manually applying security patches when you deem it necessary.
Disable updates using third-party tools
If you don't feel like dealing with services or the registry, you always have the option of using specialized software to manage Windows Update . One of the best-known utilities in this area is EaseUS CleanGenius, among other similar tools.
These types of programs usually offer a simple panel with a switch to enable or disable automatic Windows 11 updates. In the case of EaseUS CleanGenius, after installation, you can go to the Optimization section, where it detects the current status of the Windows Update service and allows you to stop or start it with a single click.
Under the hood, the tool does the same thing you would do manually in the Services console: stop the Windows Update service and change its startup type . The advantage is that you don't need to navigate complicated menus or remember commands, and you can check at any time whether the service is still stopped.
In addition, utilities like this often include system maintenance , such as disk repair, write protection management, and cleaning temporary files . However, it's best to use only what you actually need to avoid making unnecessary changes to your computer's configuration.
Risks and benefits of disabling updates in Windows 11
Before you rush to block or indefinitely pause any patch, it's important to weigh the advantages and risks of halting updates . It's not all bad, but it's not a trivial decision either.
On the positive side, delaying or stopping updates can prevent a faulty patch from breaking key system functions, as has happened with some recent updates affecting Windows Security and Microsoft Defender antivirus, leaving many users without active protection.
It also allows for maintaining a stable and tested configuration for longer , which is essential in critical environments such as banks, hospitals, industrial systems, or companies that depend on very specific applications certified for a particular version of Windows.
On the other hand, if you aggressively block updates and don't manually install important patches, your computer will be exposed to known vulnerabilities that cybercriminals can exploit. Quality updates precisely address these kinds of security holes.
Furthermore, interrupting an update that is already in progress, or turning off the computer in the middle of the installation, can cause serious errors: data loss, boot failures , and even the need to restore or reinstall the entire system.
If an update causes you problems at any point, remember that Windows 11 often allows you to uninstall specific patches from Settings or the Control Panel, and that it's also possible to revert to a previous build for a limited time after a major update.
How to revert to a previous version of Windows 11 or go back to Windows 10
If a major Windows 11 update has left your system unstable, a common solution is to revert to a previous build . This can get you out of trouble while Microsoft fixes the bug with a later update.
To do this, press Windows + I and open Settings. Then, go to the Update & Security section (or the one that corresponds to your build) and look for the Recovery section . There you should see the "Roll back to a previous build" option if it's still available.
Selecting this option will launch a wizard that guides you through the restoration process. It's important to have recent backups of your files , because even though the system tries to preserve your data, there's always some risk of loss during the process.
Regarding the possibility of reverting to Windows 10 after upgrading to Windows 11, the system offers a window of about 10 days to revert the upgrade relatively easily. After that time, the only way to return to Windows 10 is to perform a clean installation and reconfigure your programs and data.
Whichever option you choose, always keep in mind that control over updates also implies the responsibility of keeping your computer protected and with a minimum of maintenance, whether by manually applying patches every so often or by setting reasonable pauses without locking the system for years.
Mastering all these options to pause, delay, or disable Windows 11 updates allows you to adapt the system to your pace and your real needs, from the home user who wants to avoid untimely restarts to the company that prioritizes absolute stability over the latest features, always knowing what is gained and what is risked in each case.

Table of Contents
- 1 Why do so many people want to pause or disable updates in Windows 11?
- 2 Difference between pausing, disabling, and blocking updates
- 3 How to pause updates from Windows 11 settings
- 4 Schedule a restart after an update in Windows 11
- 5 Disable the Windows Update service to stop updates
- 6 Configure Windows 11 to ask for confirmation before installing patches
- 7 Block Windows 11 versions using the Group Policy Editor
- 8 How to pause Windows 11 updates every week on an ongoing basis
- 9 Stop Windows 11 updates from the system registry
- 10 Disable updates using third-party tools
- 11 Risks and benefits of disabling updates in Windows 11
- 12 How to revert to a previous version of Windows 11 or go back to Windows 10