- The key to getting Windows 11 to fully utilize a 4TB disk is to initialize it as GPT instead of MBR, bypassing the 2TB limit.
- To boot Windows 11 from a 4TB GPT disk, it is essential that the motherboard uses UEFI mode and not just legacy BIOS.
- If the disk already contains data, it is possible to convert it from MBR to GPT without formatting using specialized software and reducing the risk of data loss.
- Updating BIOS/UEFI and storage drivers, as well as checking for disk errors, helps Windows 11 to properly detect and utilize high-capacity drives.
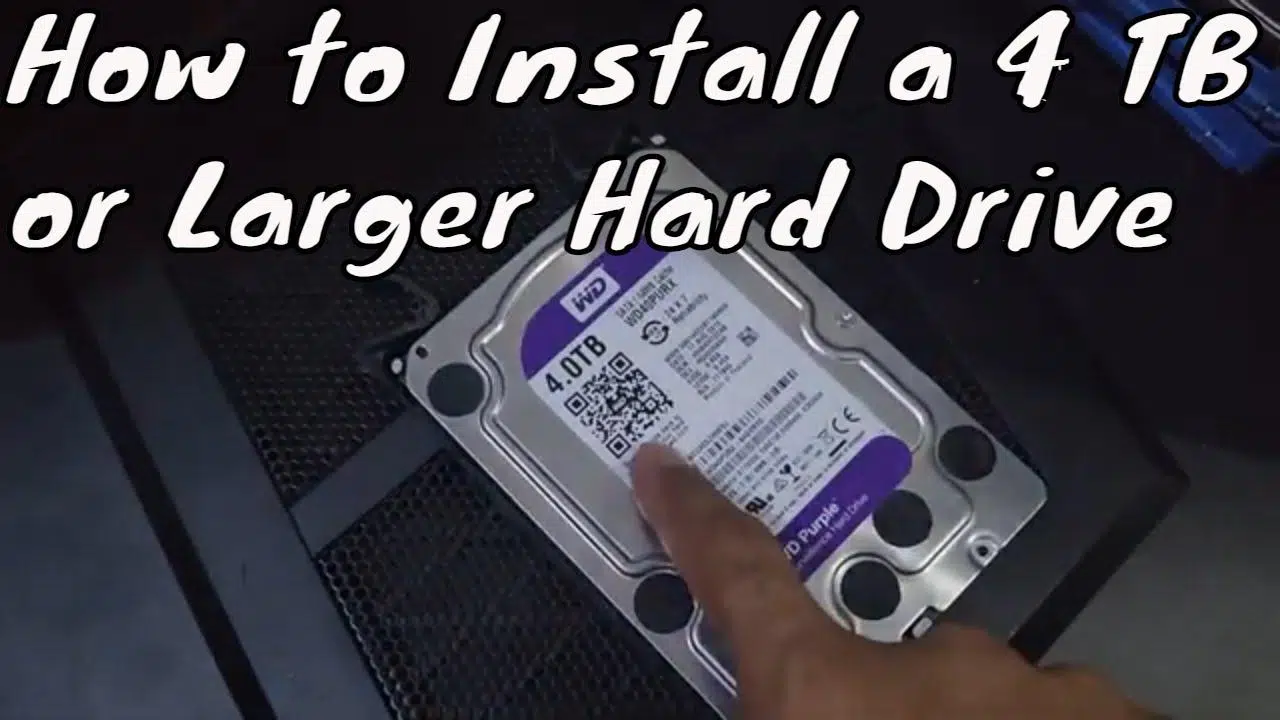
If you've just installed a 4TB hard drive in your Windows 11 PC and only see 2TB, it appears as "Unallocated," or the system doesn't recognize it at all, don't worry: you're not alone. This is very common behavior when the drive is using the wrong partition scheme or there's some BIOS, UEFI, or driver issue that's been overlooked.
In this comprehensive guide, you'll learn how to properly configure a 4TB hard drive in Windows 11 , the relationship between MBR and GPT, why the 2TB limit exists, how to initialize a new drive, how to convert a 4TB drive from MBR to GPT (with and without data loss), what to do if you want to install Windows 11 on that 4TB drive, and how to resolve the most common errors users encounter.
Is Windows 11 compatible with 4TB hard drives?
Compatibility depends less on "Windows 10/11" itself and more on the type of partition table the disk uses . Windows 11 can handle very large disks without issue, but with one clear condition: to exceed 2TB of usable capacity, the disk must be initialized as GPT (GUID Partition Table) and not as MBR (Master Boot Record).
When a 4TB disk is formatted as MBR, Windows can only address up to approximately 2,2TB . The remainder appears as unallocated space, preventing the creation of new simple volumes or even showing up in File Explorer. However, if the disk is initialized as GPT, Windows 11 can use the full disk capacity without issue.
Furthermore, if you want to boot Windows 11 from a 4TB drive, another requirement comes into play: the motherboard must boot in UEFI mode . Classic BIOS firmware can only boot from MBR drives. For a GPT system drive larger than 2TB, you need a combination of UEFI and GPT.
In summary, Windows 11 can indeed take full advantage of a 4TB disk, but you have to meet two key requirements : use GPT and, if it's a boot disk, enable UEFI in the BIOS/firmware.
Why does a 4TB disk only show 2TB in Windows 11?
The typical case of " my 4TB disk only shows 1,63TB or 2TB " is due to a mathematical limitation of the MBR scheme. MBR uses 32 bits to address logical sectors (LBA). With 512-byte sectors, those 32 bits allow for up to 4.294.967.295 sectors, which translates to approximately 2,199TB, what we usually see as ~2,2TB in disk management tools.
All the space above that limit cannot be addressed by MBR . Windows displays it as "unallocated space" on the right side of Disk Management, or simply prevents you from creating partitions there. Therefore, on a 4TB MBR disk, you'll see a usable portion and another area that is locked.
With GPT, the approach changes: this scheme reserves up to 64 bits for logical block addresses . The theoretical limit jumps to zettabytes (ZB), far exceeding any current consumer hard drive. This is why GPT is the modern standard for large drives, especially those exceeding 2TB.
In practice, if you see that the 4TB disk appears reduced to 2TB, the problem is almost certainly that it's initialized as an MBR disk instead of a GPT disk . The real and stable solution is to convert it to GPT.
Check if the 4TB disk is formatted as MBR or GPT
Before changing anything, it's a good idea to check what partition style the disk has. In Windows 11 you can do this in several ways, but the easiest is using the Disk Management tool that comes built into the system.
To do this, right-click the Start icon and choose “Disk Management” . Locate your 4TB disk at the bottom (Disk 0, Disk 1, etc.), right-click the disk label (where it says “Disk 1”, not the partitions) and select “Properties” . On the “Volumes” tab, you will see a line indicating “Partition style: Master Boot Record (MBR)” or “GUID Partition Table (GPT)”.
If MBR is displayed and the disk is larger than 2TB, you already have your diagnosis: the 2TB limit stems from this . For new 4TB disks with no data, the ideal solution is to initialize them directly as GPT. For disks already in use, you'll need to assess whether you can erase everything or if it's better to use software that converts from MBR to GPT without data loss.
Steps to initialize a new 4TB disk in Windows 11
When you install a new disk in your computer, it doesn't appear directly in File Explorer . First, you have to initialize it and create at least one volume with its file system and drive letter. Windows 11 makes this process much easier through the Disk Management console.
The standard procedure for a brand new 4TB hard drive would be something like this:
- Open Disk ManagementRight-click the Start button and choose "Disk Management", or search for "Create and format hard disk partitions" in the Start menu and run it as administrator.
- Check disk statusIn the list of disks, locate the new 4TB disk. If it appears as "Offline", right-click and choose "Online".
- Initialize the diskWindows should display a "Initialize disk" pop-up window. Select the correct disk, then select “GUID Partition Table (GPT)” and accept.
- Create a simple volumeIn the "Unallocated" space of the disk, right-click → "New Simple Volume", follow the wizard, choose the size (usually the entire disk), assign a drive letter and select the file system (NTFS is usually the best option in Windows 11).
Once the wizard is completed, the volume status will change to "Successful (Primary Partition)" and the drive will appear in Explorer ready to use, with full capacity (around 3,6TB usable, because Windows uses binary notation to display size).
Convert a 4TB disk from MBR to GPT using Windows tools
If your 4TB drive is already formatted in MBR and contains partitions, you can convert it to GPT using the tools included in Windows, but with one important caveat: you must delete all partitions first . Both Disk Management and Diskpart only allow you to convert empty disks to GPT.
Using Disk Management, the steps would be as follows: first, back up everything important; then, delete all volumes; and finally, select "Convert to GPT disk." This operation is irreversible without specialized tools and will result in the loss of all disk content if you haven't made a backup beforehand.
If you prefer using the command line, you can use Diskpart . Open the Run dialog box with Win + R, type “diskpart”, and confirm. In the console, enter the following commands in this order: “list disk” to view the disks, “select disk n” (replacing n with the number of your 4TB disk), “clean” to clear all partitions, and “convert gpt” to convert the disk to GPT. When you exit Diskpart, the disk will be formatted as GPT, and you can create partitions from Disk Management.
This approach is useful when the 4TB disk is new or its contents don't matter, but if you can't afford to lose the data , it's better to opt for third-party solutions that perform the hot conversion without deleting partitions.
Convert a 4TB hard drive to GPT without losing data
If your 4TB hard drive is full of data that you can't delete, but you need Windows 11 to recognize all the space, you have the option of converting the drive from MBR to GPT with specialized software that doesn't require formatting.
Tools like AOMEI Partition Assistant Professional or EaseUS Partition Master allow you to change the disk partitioning style while preserving both partitions and files. The typical process involves selecting the MBR disk, choosing the "Convert to GPT" option, confirming the operation, and applying the changes. The program handles the conversion while maintaining the data structure.
Although these utilities are designed to minimize risks, it's highly recommended to have an up-to-date backup before performing this type of operation. If it's a system disk from which Windows boots, in addition to converting it to GPT, you'll need to ensure that the motherboard supports and uses UEFI mode, or the computer might not boot afterward.
The advantage is clear: once finished, the 4TB drive will appear as GPT, Windows 11 will be able to address its entire capacity, and you won't have had to delete or recreate partitions . From then on, you can expand volumes using the space that previously appeared as unallocated.
Install Windows 11 on a 4TB hard drive
Another common situation is wanting to use the 4TB disk as a system drive to install Windows 11. Here, in addition to the MBR/GPT issue, BIOS and UEFI boot limitations come into play.
If you try to install Windows 11 on a 4TB disk initialized as MBR on a computer that boots in UEFI mode, the installer may display messages like: “Windows cannot be installed on this disk. The selected disk has an MBR partition table. On EFI systems, Windows can only be installed on GPT disks.” In practice, what it's telling you is that you need to convert that disk to GPT to continue.
During the Windows installation wizard, you can open a command prompt window by pressing Shift + F10. From there, you can use Diskpart to clean the disk and convert it to GPT using the same commands as in the already installed system: “list disk”, “select disk n”, “clean”, and “convert gpt”. After closing the console and refreshing, the installer will display the disk as GPT, and you can create system partitions without the 2TB limit.
For Windows 11 to boot correctly after installing on a 4TB GPT drive, the motherboard must be configured in UEFI mode instead of Legacy BIOS/CSM. If you change a system drive from MBR to GPT in a computer that previously booted in Legacy mode, you will need to enter the BIOS and change the boot mode to UEFI for the system to start properly.
What to do when Windows 11 does not recognize the 4TB hard drive
Sometimes the problem isn't the visible capacity; Windows 11 simply doesn't detect the 4TB drive , or it doesn't appear in either File Explorer or the Disk Management list. In these cases, it's advisable to check several basic points before assuming the drive is faulty.
The first thing to do is make sure the drive is properly connected : SATA and power cables securely plugged in, motherboard ports working, or, in the case of an external drive, try a different USB port or even a different cable or enclosure. Sometimes the problem lies with the USB-to-SATA adapter or the external enclosure, not the drive itself.
It's also very important to have your BIOS or UEFI updated to the latest version available for your motherboard. Some older versions had trouble correctly detecting large-capacity hard drives. If you see the drive in the BIOS but not in Windows, the next step is to open Device Manager and check the "Disk drives" section to see if it appears with an error icon.
From there, you can try updating the drive driver: right-click on the drive → “Update driver” → “Search automatically for updated driver software.” If that doesn't work, you should go to the official website of the motherboard or storage chipset manufacturer and download the latest SATA/RAID controller drivers.
If the disk appears in Disk Management but without a drive letter, simply right-click on the partition and select "Change Drive Letter and Paths" to assign a new letter. Without a letter, the volume will not appear in File Explorer even if it is correctly formatted.
Repair errors, bad sectors, and incorrect capacity
The problem isn't always the partition scheme. Sometimes a 4TB drive shows unusual capacity, access errors, or volume creation failures due to bad sectors or file system corruption . In these cases, it's advisable to perform a disk integrity check.
From Windows, you can use the classic " chkdsk " or third-party tools like EaseUS Partition Master, which offer "Check File System" and "Surface Test" options to locate bad sectors. The file system check scans for logical errors and attempts to repair them, while the surface test marks physical bad sectors so the system stops trying to write to them.
If the surface test indicates many bad sectors, the disk may be starting to fail physically. At that point, the wisest course of action is to back up important data immediately and consider replacing the disk with a new one, especially if it's used for backups or critical data.
It's also worth noting that malware attacks, abrupt shutdowns, or outdated drivers can corrupt partition tables or file systems, sometimes leading to inaccurate capacity reports . Keeping Windows and storage drivers up to date significantly reduces the risk of these problems.
MBR vs GPT: Partition Styles and Practical Boundaries
To fully understand what's happening with 4TB drives in Windows 11, it's worth quickly reviewing the key differences between MBR and GPT partition styles , because they are the basis of almost all capacity errors.
MBR is the classic partitioning scheme that PCs have used for decades. It supports up to four primary partitions (or three primary partitions and one extended partition with logical drives inside) and, as already mentioned, cannot address more than about 2,2TB with 512-byte sectors. It is still useful for compatibility with very old systems or computers that only boot into a traditional BIOS.
GPT, on the other hand, is designed for modern hardware and works seamlessly with UEFI . It allows you to create up to 128 primary partitions in Windows without the need for extended partitions and, in practical terms, eliminates the capacity limit for current home and professional use. That's why Microsoft and manufacturers recommend GPT for any disk larger than 2TB.
In Windows 11, the system typically initializes new disks automatically as GPT, especially on computers that already boot in UEFI mode. MBR is retained more for backward compatibility or for certain removable devices. On large disks, such as a 4TB drive, choosing GPT from the start avoids headaches with "lost" capacity.
Properly partition and format a 4TB hard drive
Once the 4TB drive is formatted as GPT and Windows 11 recognizes its full capacity, you need to decide how to partition it and which file system to use . This is where your preferred workflow comes into play, but there are some general recommendations.
For a data drive, many users prefer to create a single partition that occupies the entire disk, formatted as NTFS, to simplify management. Others divide the space into several partitions: for example, one for backups, another for work projects, and another for multimedia. GPT allows you to create up to 128 primary partitions, giving you plenty of room to organize without unusual restrictions.
If you plan to share the drive with other operating systems, such as macOS or some Linux distributions, you might consider the exFAT format , which offers good cross-platform compatibility without the limitations of FAT32. However, in a pure Windows environment, NTFS remains the safest choice due to features like permissions, compression, encryption, and support for very large files.
Disk Management's New Simple Volume wizard guides you through these steps: choosing the size, selecting a drive letter, and choosing the file system. You can shrink or extend partitions at any time from the same tool or using advanced partition managers if you need more flexibility.
Understanding how GPT, UEFI, and the limitations of MBR work allows you to get the most out of a 4TB drive in Windows 11 , avoiding situations where you only see half the capacity, the system fails to boot after a conversion, or the drive simply disappears from File Explorer. With the right firmware settings, up-to-date drivers, and the correct partitioning scheme, a 4TB HDD or SSD will perform as intended: a significant increase in storage space for your computer without any tricks or unexpected reductions.