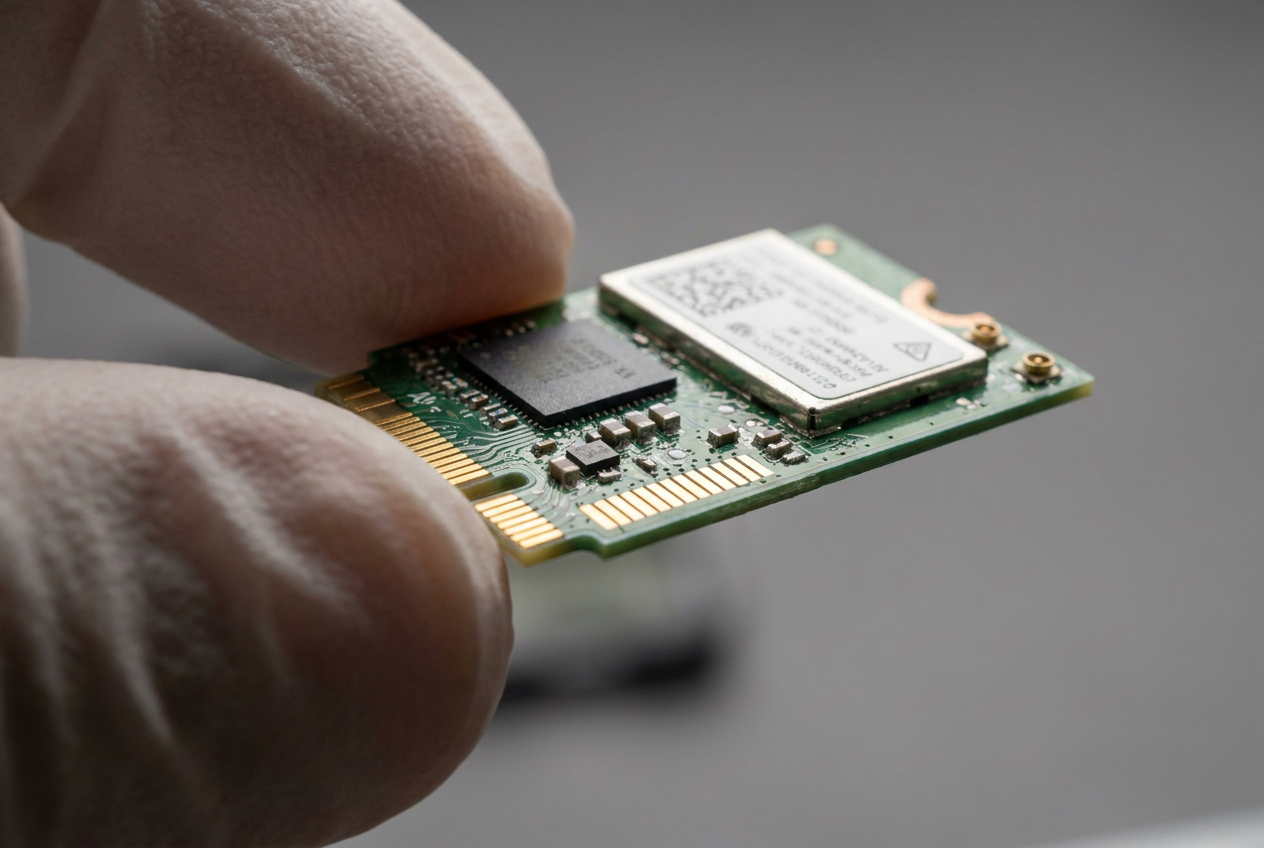
You probably have a laptop lying around that's a few years old and, while it still works for basic tasks, its wireless connection falls short when it comes to browsing the web . The original card might be failing and disconnecting on its own, or it might simply be so old that it can't take advantage of your fiber optic speed. Many people think the only solution is to buy a new computer, but the truth is that giving your old one a second life is much cheaper and easier than it seems.
Unlike other components that are soldered to the motherboard, the network card is usually a removable module . This means that, with a little care and the right tools, you can upgrade from an older standard to a modern one like Wi-Fi 6 or Wi-Fi 7. Not only will you gain transfer speeds, but current cards are much more energy efficient , which could give you a few extra minutes of battery life—something that's always welcome.

Things you should look at before buying the replacement part
Don't rush to buy the first thing you see on Amazon without checking the details, because you could end up wasting your money. The first thing to consider is band support . Routers typically broadcast on 2,4 GHz (greater range, lower speed) and 5 GHz (greater speed, shorter range). If your device only detects the 2,4 GHz network, upgrading to a dual-band model or even one that supports 6 GHz will make a huge difference. Depending on your operating system, you can opt for Wi-Fi 6E in Windows 10 or even jump to Wi-Fi 7 if you're using the new features of Windows 11 , although remember that Windows 10 will reach its end of life in October 2025.
Another critical point is hardware compatibility . Some brands are very restrictive and only allow certain card models. Furthermore, some Intel or AMD chipsets are designed to communicate using specific standards, so even if the card physically fits, it might not activate all its functions. You should also consider the module size ; most are half-height, but some very old laptops use full-height cards. If the space is measured down to the millimeter, a larger card won't fit.
Finally, don't forget the internal antennas . Check how many cables your current graphics card has. If your laptop only has one antenna and you buy a card that requires two to perform optimally, you'll have to juggle installing an extra cable in a very small space, which can become a truly frustrating puzzle.

Differences between Wi-Fi standards

- Wi-Fi 5 (802.11ac): Launched in 2013, it introduced the 5 GHz band and basic MU-MIMO technology. Its maximum speed is around 3.5 Gbps.
- Wi-Fi 6 (802.11ax): It arrived in 2019, increasing bandwidth to 9.6 Gbps. It improves MU-MIMO in both directions and includes TWT (Target Wake Time)which helps the laptop battery last longer.
- WiFi 7: The most advanced standard, designed for theoretical speeds of up to 46 Gbps. It uses the 2,4, 5, and 6 GHz bands simultaneously and employs 4096-QAM to fit more data into each transmission.
How to find out which card you have right now
Before opening the computer, you can find out the model using software. In Windows, the quickest way is to go to Device Manager , expand the Network Adapters section, and look for names like Intel Wireless or Realtek. For something more technical, you can run the command msinfo32 in the system search bar. For those who prefer a visual and detailed approach, free programs like HWiNFO break down every component of the PC without you having to lift a finger.

Step-by-step guide to making the change
Before touching anything, electrical safety is paramount. Remove the laptop battery and, to discharge any residual energy from the capacitors, press and hold the power button for a few seconds. If the battery is integrated, try disconnecting the cable that connects it to the motherboard to prevent any accidental short circuits.
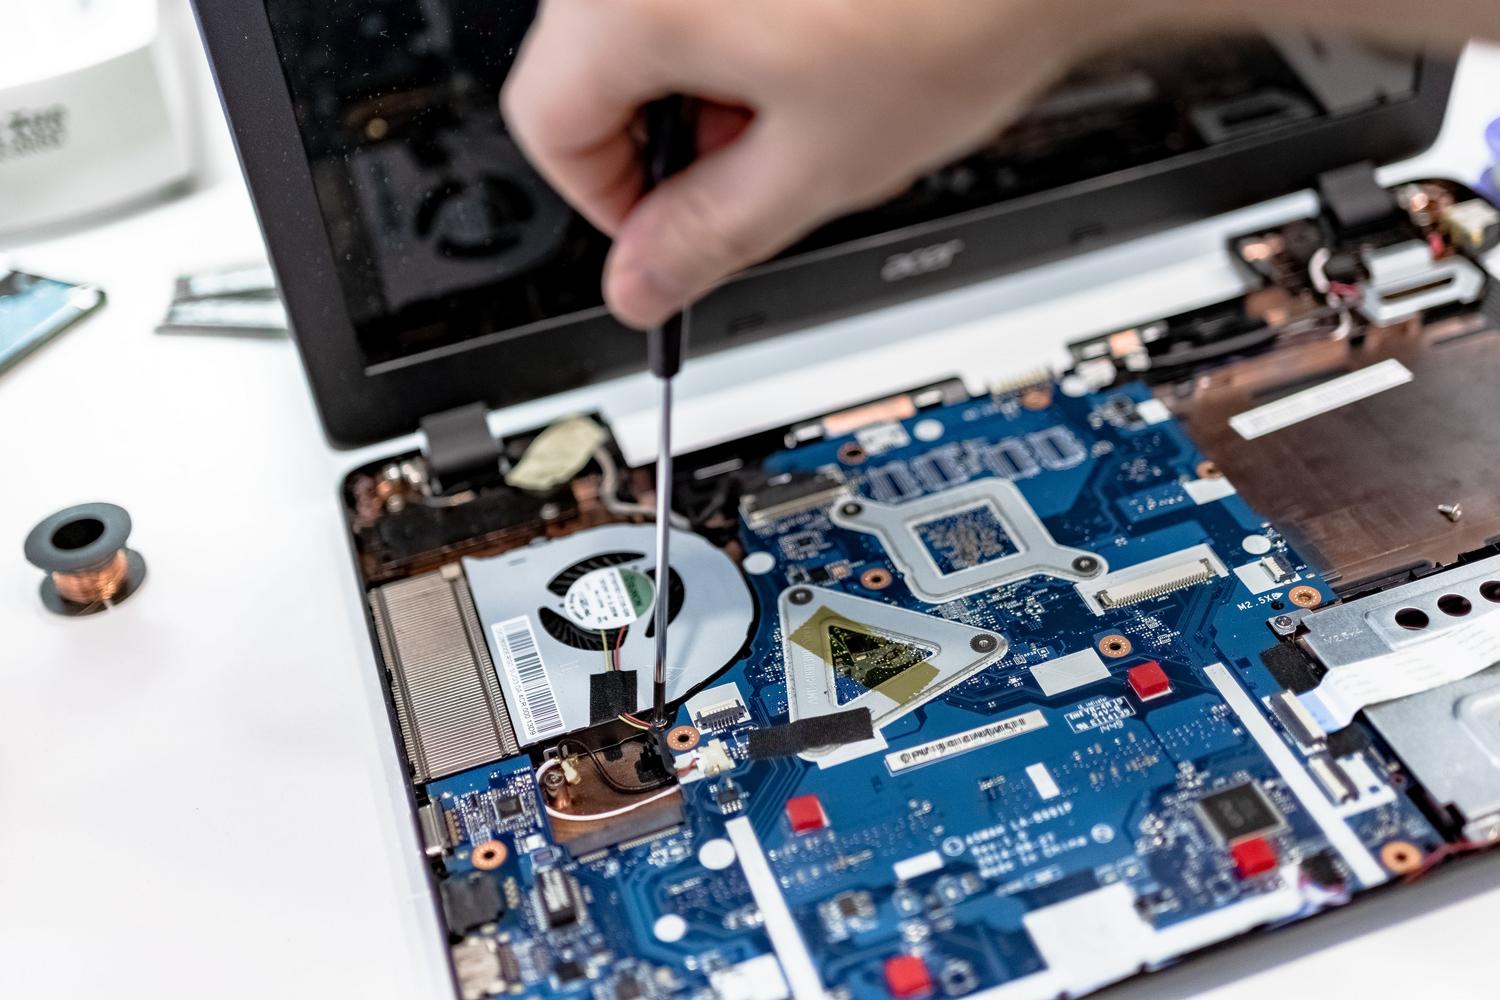
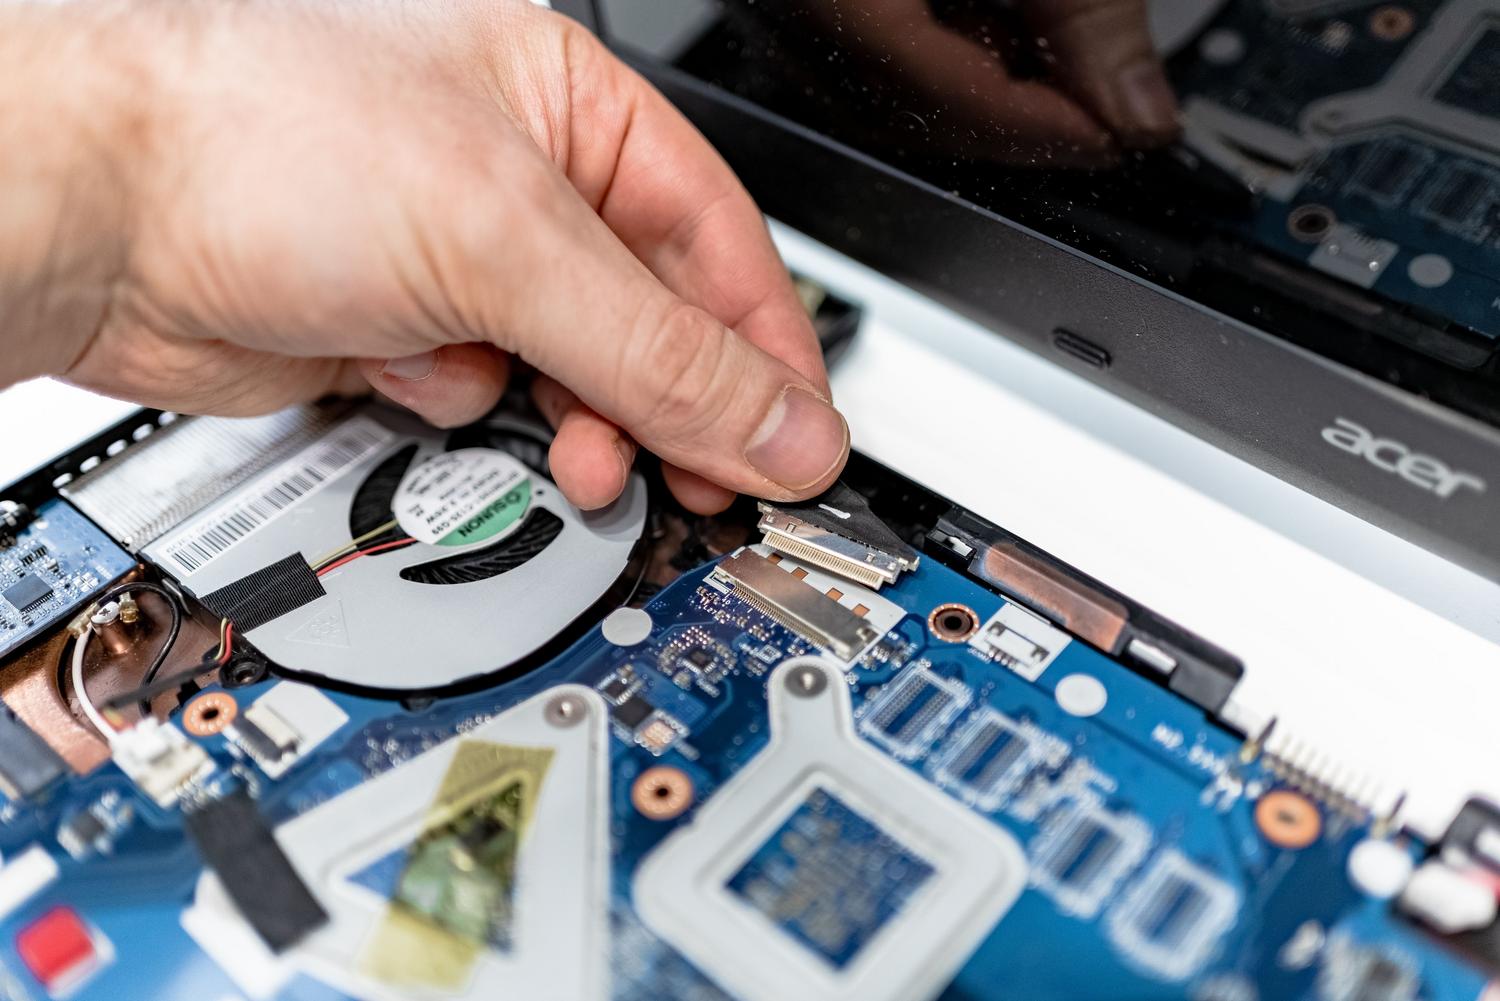
Now it's time to locate the module. Depending on the model, it might be under a small cover accessible with a screw , or you might have to remove the entire bottom casing. Once you've located the card, take a picture of the antenna positions to avoid confusion later. Disconnect the antenna cables very carefully, using a gentle prying motion, as the connectors are extremely fragile and any deformation will result in a very poor signal.
Remove the retaining screw and the card will lift slightly (about 30º), allowing you to remove it from the M.2 slot. To install the new one, reverse the process: insert the card, screw it in, and connect the Main and Aux cables to their respective ports. Close the computer and turn it on. Windows will most likely install the drivers automatically, but it's best to download the latest version from the manufacturer's official website to ensure maximum stability.
Alternatives if you cannot replace the internal card
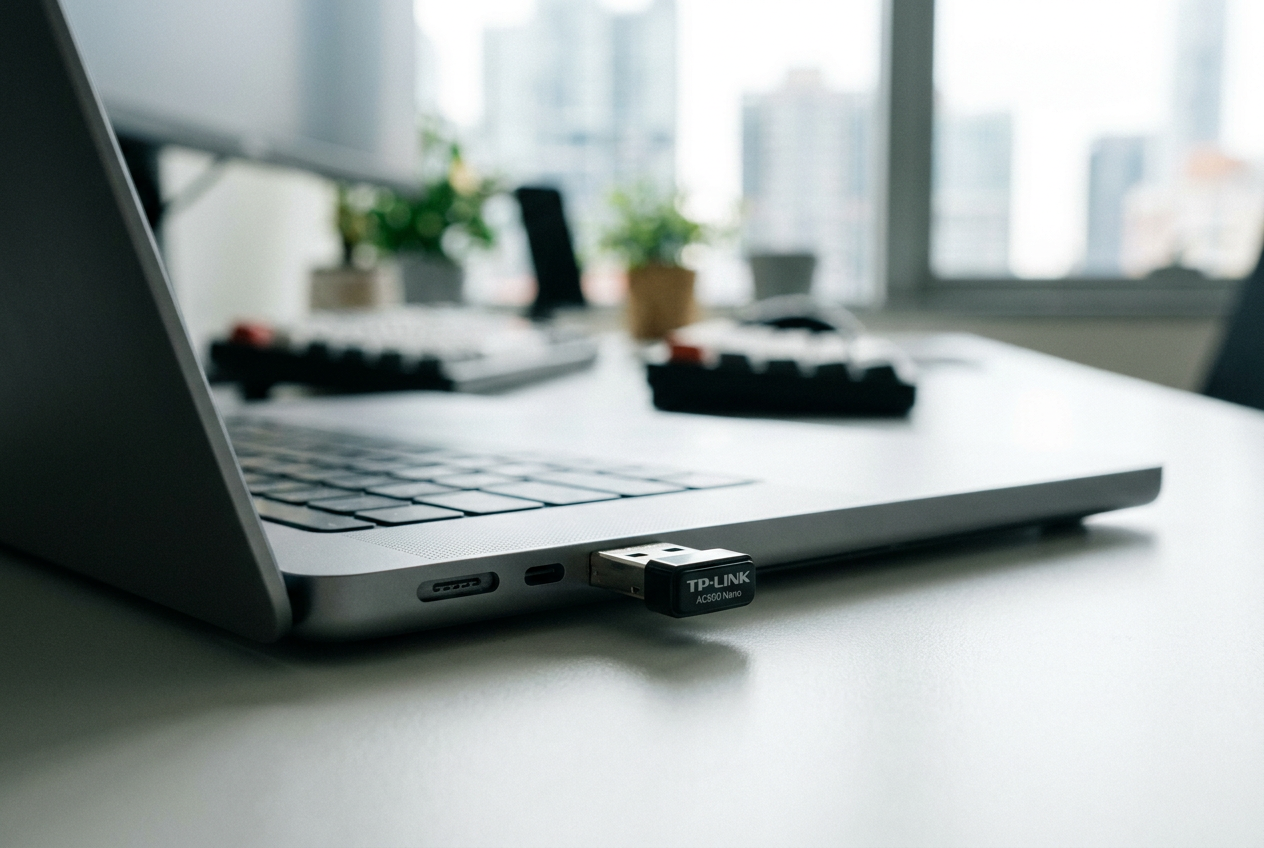
If you're unlucky enough to have your Wi-Fi card soldered to the motherboard or can't find a compatible replacement, don't despair. The simplest solution is a USB Wi-Fi adapter (dongle) . There are tiny models that barely protrude from the port, ideal for carrying your laptop in a backpack, and others with external antennas that pick up the signal much better, very common in desktop computers but useful in laptops if you don't mind the bulk.
In terms of price, a mid-range internal sound card or a decent USB dongle can cost between €20 and €50. Top-of-the-line models with Wi-Fi 7 can go up to €70, but the investment is usually worthwhile if you're looking for stability in online games or work by moving large files on the local network.
