- Use of optimized hardware such as Raspberry Pi 4 or 5 with A2 class SD cards to ensure stability.
- Implementation of the HAOS operating system to facilitate the management of add-ons and updates.
- Simplified installation process using Raspberry Pi Imager or Balena Etcher.
- Configuration of access via local network and optimization using static IP.
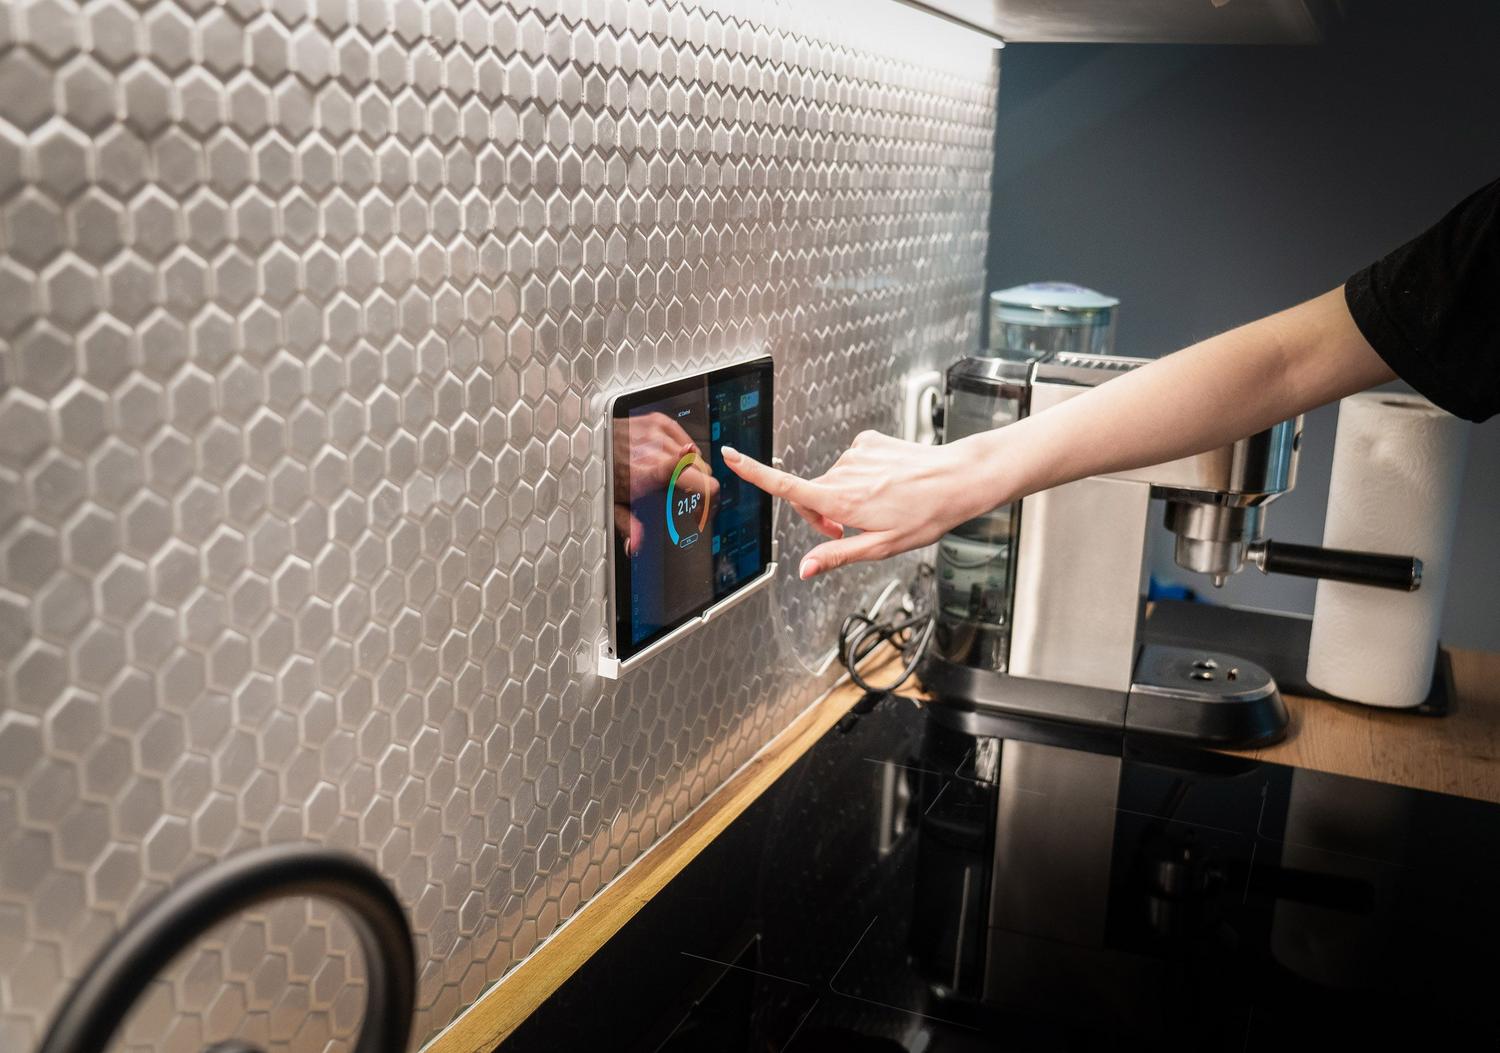
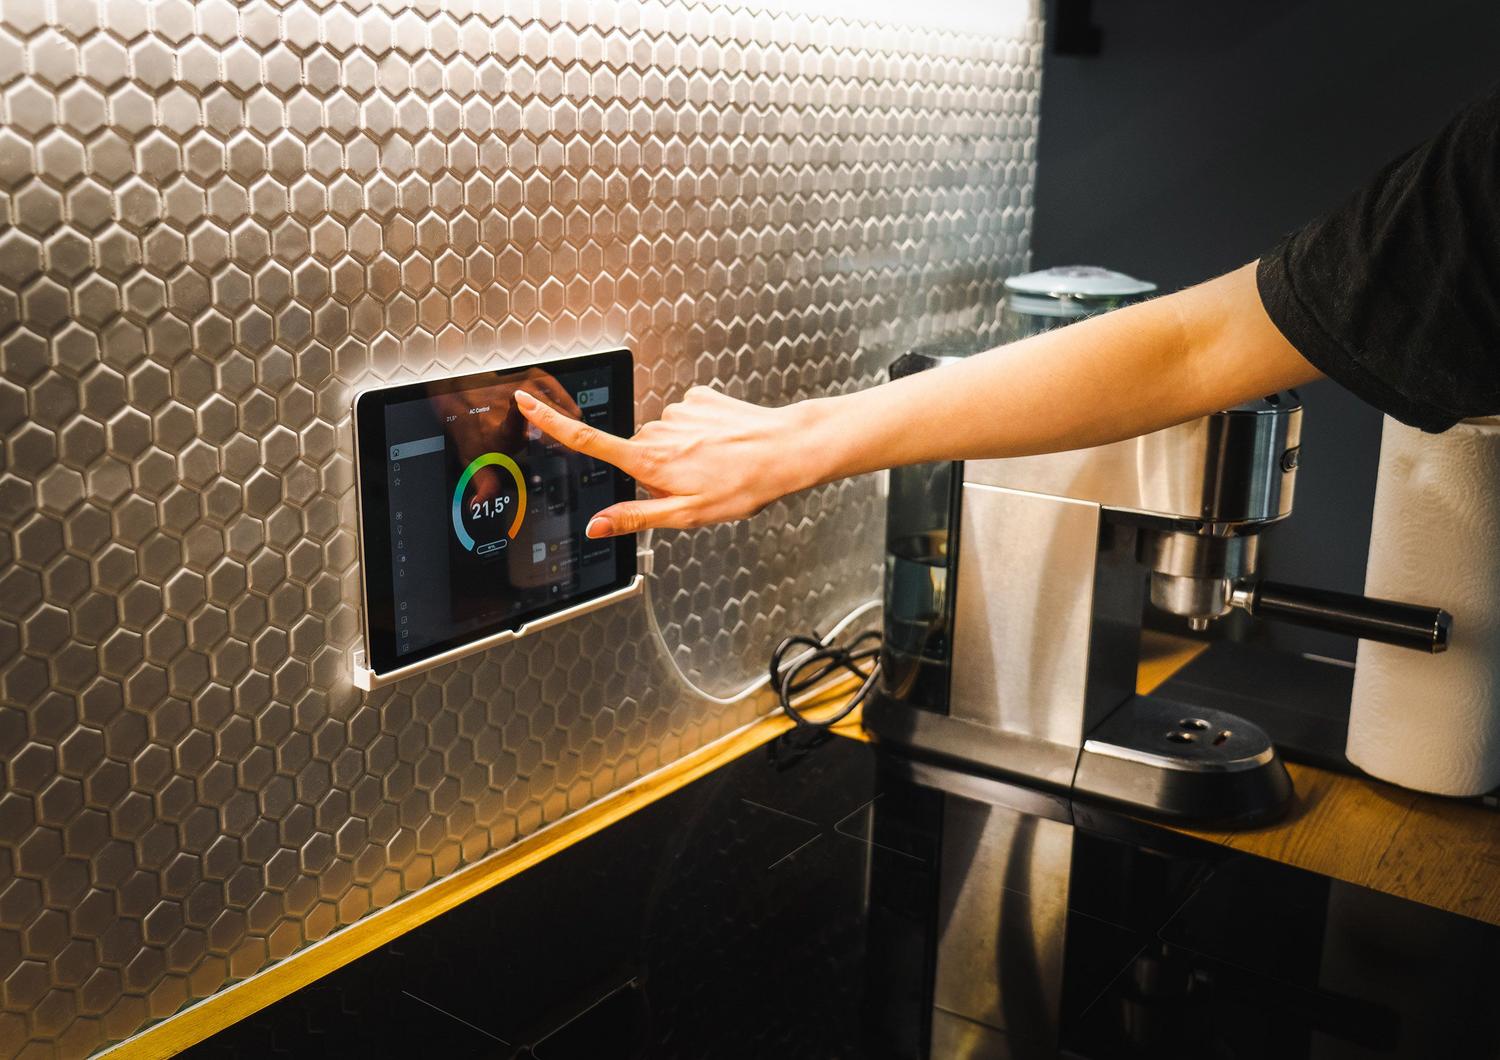
If you love the idea of having complete control over your home without relying on external cloud services or closed hubs that only speak their own language, setting up a Home Assistant server on a Raspberry Pi is simply the best decision you can make. It's an affordable and incredibly flexible way to centralize all your lights, sensors, and cameras in one place, allowing you to create automations that truly make your home seem like something out of a science fiction movie.
The best part is that you don't need to be a computer expert to achieve this. With a little patience and the right hardware, you can go from a bare circuit board to managing your entire home automation ecosystem from your mobile phone in a matter of minutes. In this guide, we'll tell you everything you need to know , from which components to buy to how to fix those little glitches that sometimes drive us crazy during installation.
The necessary equipment: What hardware to choose?
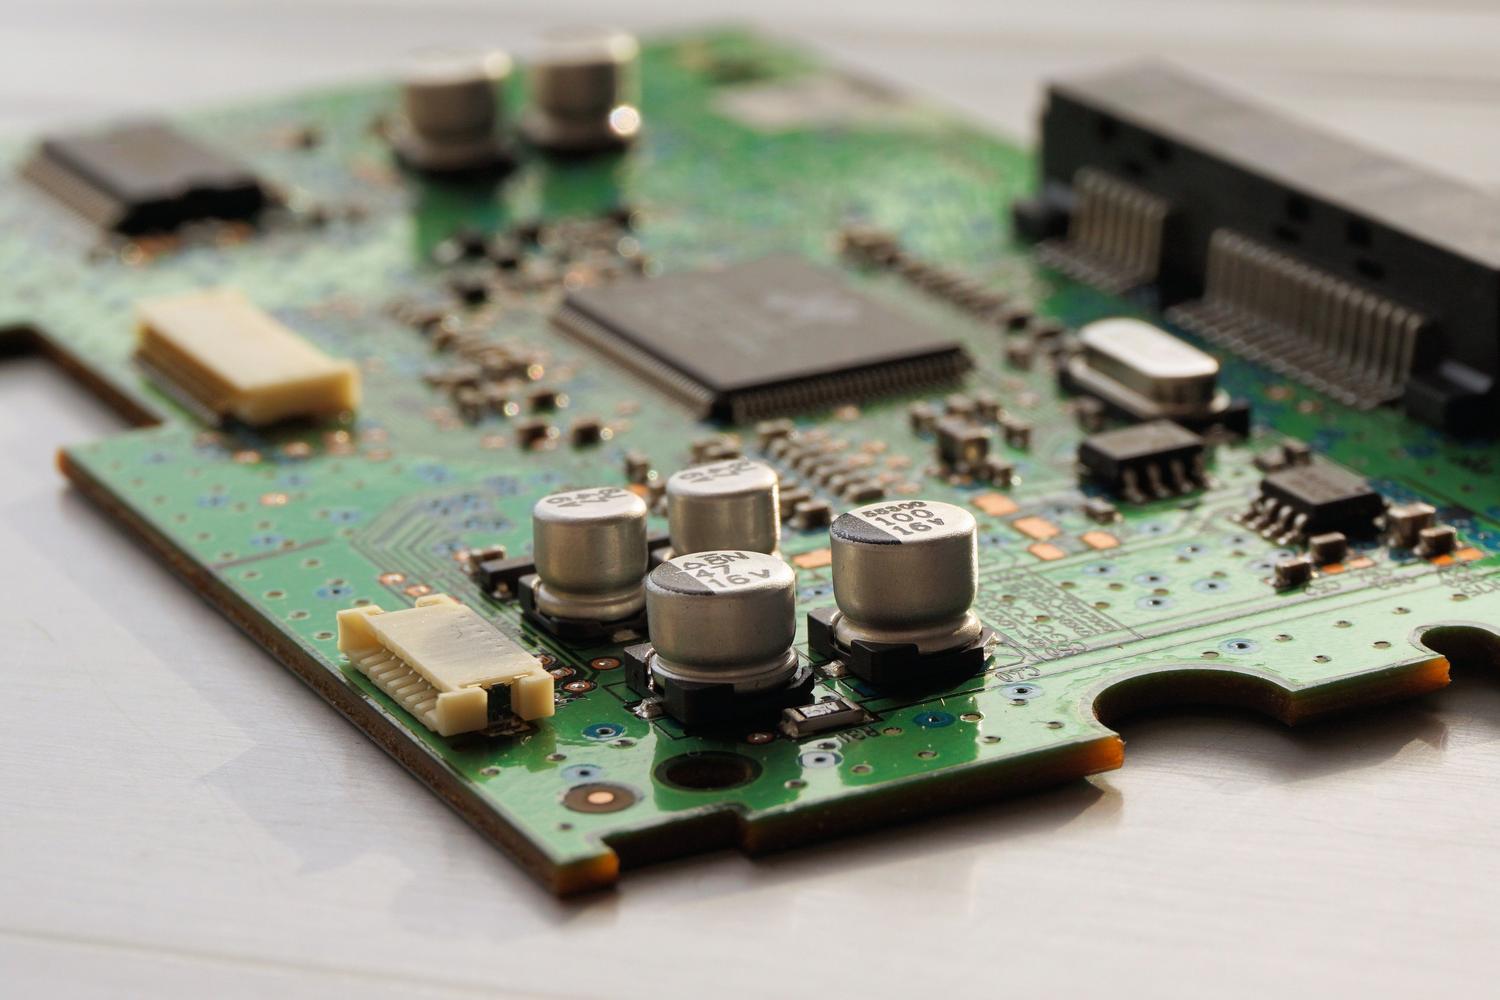
Before we start installing the software, we need to make sure the foundation is solid. Although there are several options, the Raspberry Pi 4 and 5 are the undisputed champions thanks to their balance between power consumption and performance. While the Pi 4 is more than adequate for average-sized homes, the Pi 5 is a real rocket thanks to its faster processor, which is especially noticeable in the database response time and the startup of add-ons.
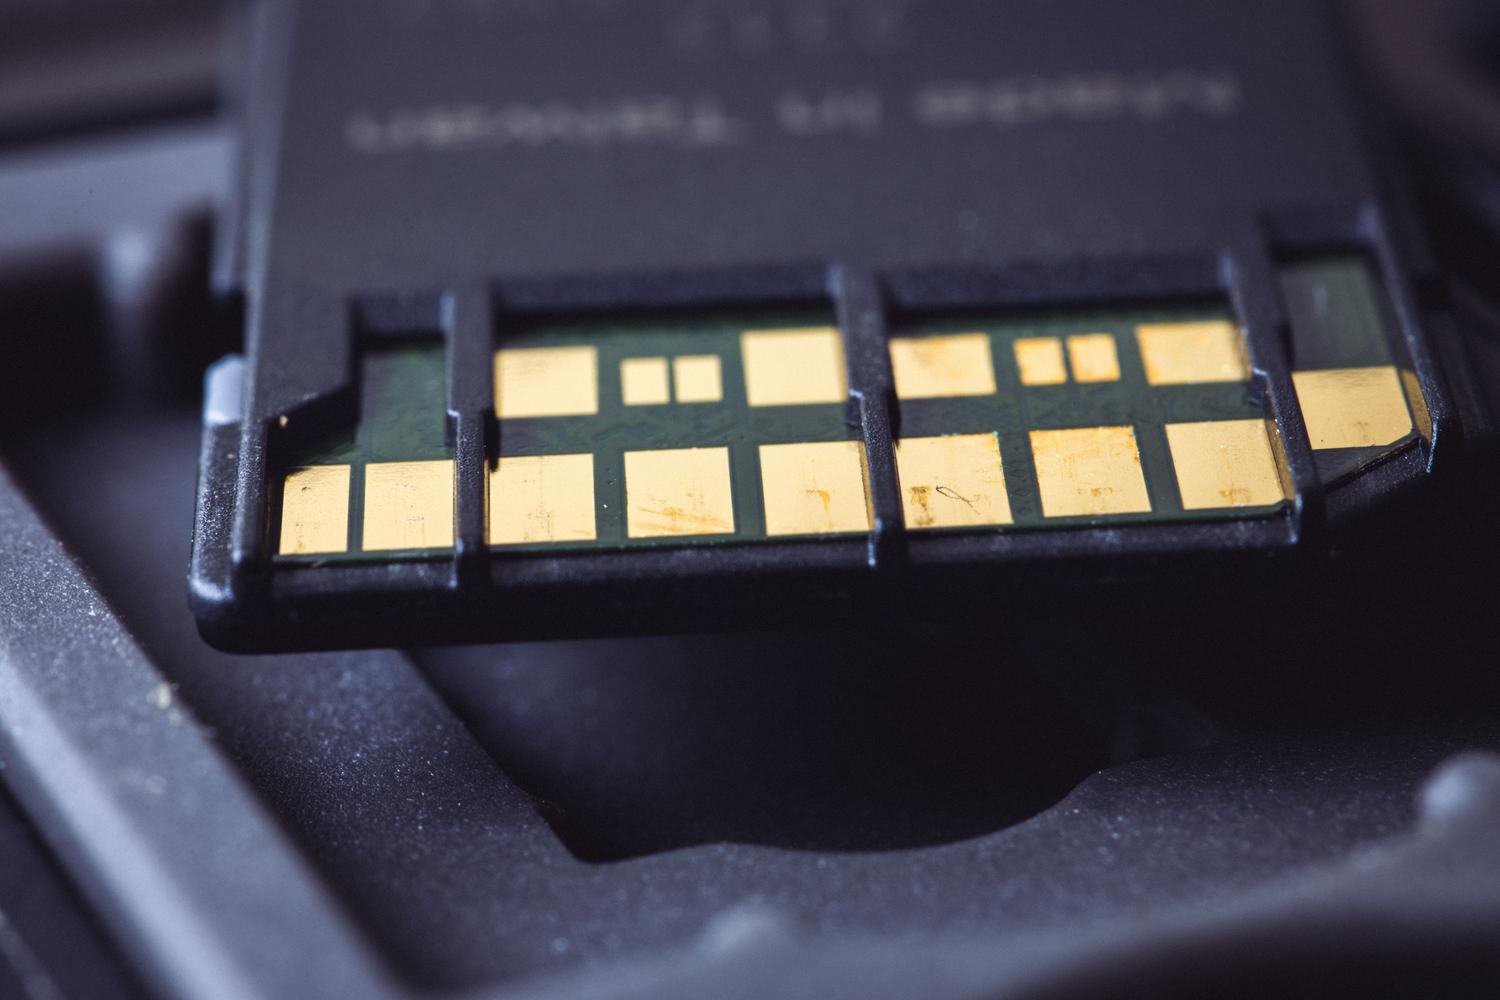
To ensure everything runs smoothly, don't skimp on RAM; ideally, go for a model with at least 4GB or 8GB , although 2GB can be sufficient to start. As for storage, forget about cheap SD cards. Look for a Class 2 (A2) microSD card with at least 32GB, as these are optimized for constantly reading and writing small files, which is precisely what Home Assistant does.
- Official Food: Do not use generic mobile phone chargers. The Pi 4 requires 5V/3A and the Pi 5 needs a 27W PD power supply to prevent random reboots.
- Network connection: Although Wi-Fi is convenient, the Ethernet cable It is mandatory during installation and highly recommended for everyday use due to its stability.
- extra accessories: An SD card reader and, if you want to be on the safe side, an HDMI cable and a monitor to see what happens if the system doesn't boot.
Installation types: Which is the best option?
There are different ways to set up the system, but for the vast majority of users, the recommended option is the Home Assistant Operating System (HAOS) . It's a minimalist, closed operating system, designed specifically to run the Home Assistant ecosystem. Its main advantage is that it includes Supervisor , which manages updates and allows you to install third-party apps or add-ons without having to struggle with the Linux terminal.
On the other hand, there's the Home Assistant Container version . This is ideal for those who already have a Docker server and prefer to manage the operating system themselves. However, keep in mind that this version doesn't support Supervisor or native apps, meaning that complex integrations like Z-Wave or Thread require much more tedious manual configuration.
Step by step: Recording the system on the SD card
The easiest way to get your home's brain up and running is by using the Raspberry Pi Imager tool . First, download and install it on your computer. Once open, the process is very intuitive: select your board model (Pi 4 or 5), go to the Other specific operating system section , find the home automation section, and choose Home Assistant.
If for some reason the Imager isn't working for you, or you prefer the old-fashioned way, you can download the official image from the GitHub repository and flash it using Balena Etcher . Simply insert the SD card, select the downloaded file, and click flash. Remember that all the contents of the card will be erased , so make sure you don't have anything important on it.
Start-up and initial configuration
With the card ready, insert it into the Raspberry Pi, connect the Ethernet cable to the router, and finally, plug in the power . From here, the system will begin configuring itself. On Pi 4 or 5 models, this usually takes about a minute, although it may vary depending on the speed of your card.
To access the control panel, open a browser on your PC or mobile device (connected to the same network) and type the address http://homeassistant.local:8123 . If this doesn't work, you'll need to find the IP address that your router has assigned to the Pi. Once logged in, the assistant will guide you through creating your administrator account, defining your home's location, and choosing your currency and billing system.
Tips and troubleshooting
Sometimes things don't work the first time. If more than 5 minutes pass and you still don't see the web interface, the image was most likely not saved correctly or the SD card is faulty. Try flashing the card again or try a different one. If the problem persists, connect a monitor via HDMI to read the system logs and pinpoint the exact issue.
A golden tip to avoid future headaches is to configure a static IP address on your router. This way, your server's address won't change every time the router restarts, ensuring your external access and settings always work. For Pi 5 users, a significant improvement is to move storage from the SD card to an SSD via PCIe , which dramatically increases system responsiveness.
Having a home automation control center based on Raspberry Pi hardware and HAOS software allows for seamless integration of devices from various brands, eliminating reliance on proprietary hubs. From choosing an A2 board and a stable power supply, to flashing with Raspberry Pi Imager, to configuring a static IP address, every detail counts to ensure your smart home operates smoothly and with maximum privacy.