- Prioritize clean installation, AHCI/UEFI and GPT for maximum compatibility and stability.
- Update your SSD's chipset, drivers, and firmware to avoid misdetections and bottlenecks.
- Enable TRIM and adjust optional services (indexing, SysMain, Search) to reduce unnecessary writes.
- Avoid problematic cloning: copy only data, remove remnants of the old system, and maintain a 10-20% free margin.
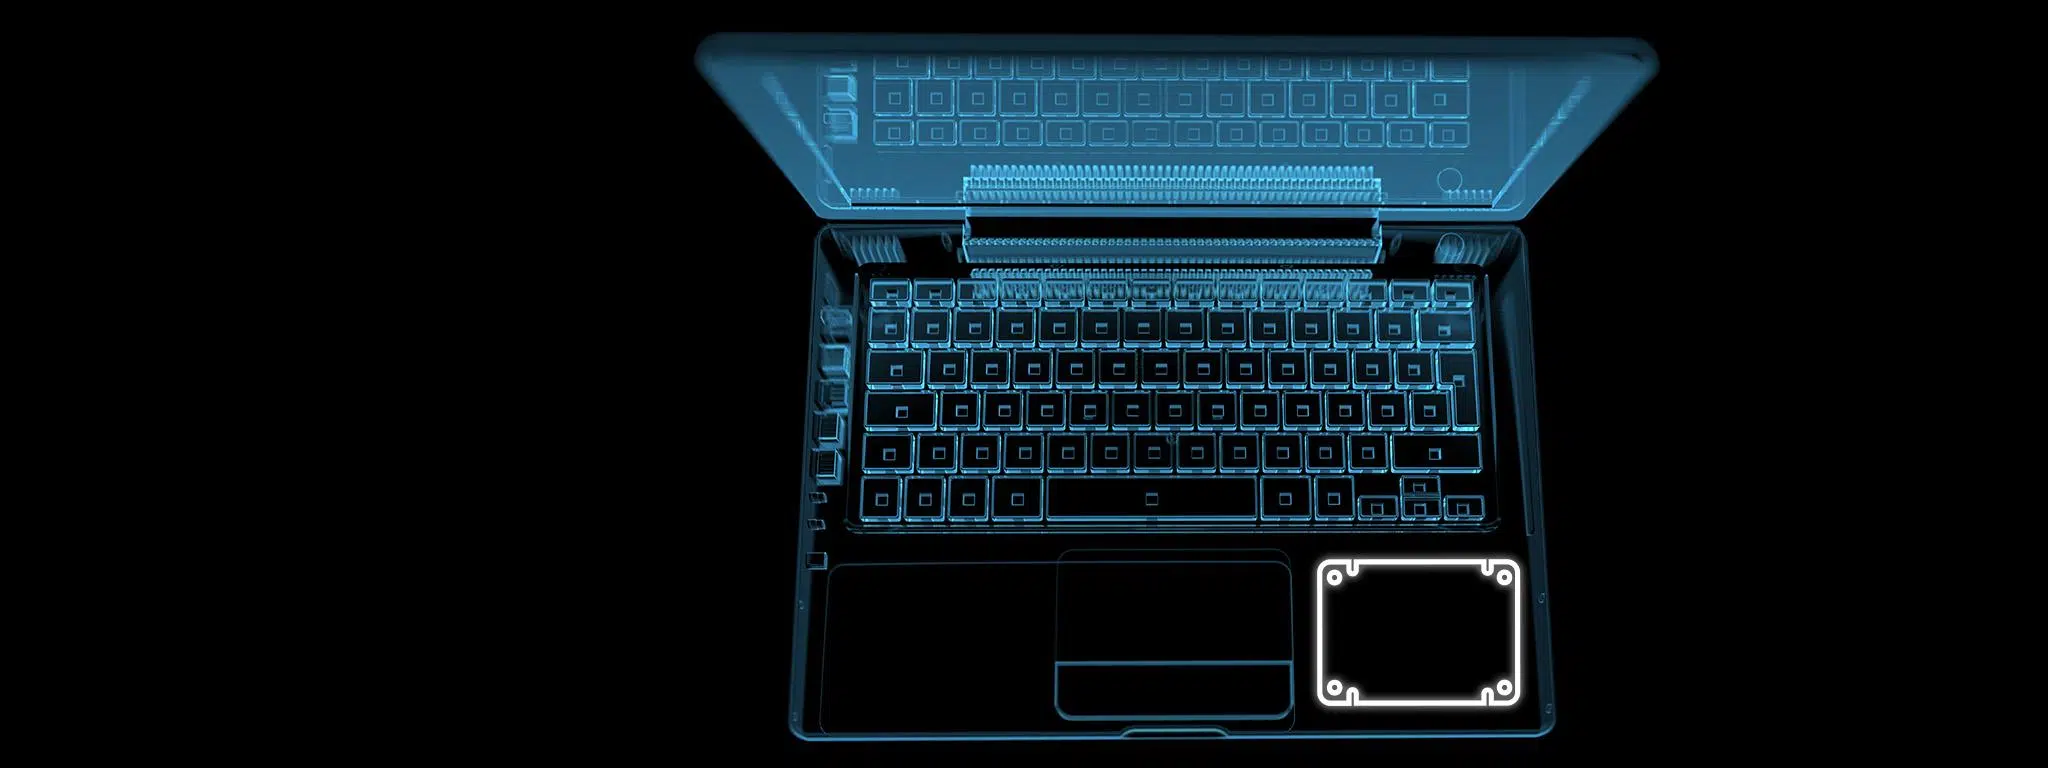
Upgrading to a solid-state drive (SSD) might seem simple, but there are common mistakes people make when installing one in a new PC that you should avoid to prevent getting off to a bad start. From BIOS incompatibilities to driver conflicts or problematic cloning, a poor decision can result in boot failures, blue screens of death, or poor performance.
The good news is that with proper preparation and a few key adjustments, you can get your system running smoothly from the very first minute. In this guide, you'll find out what to do before, during, and after installation , how to configure your system to take full advantage of your SSD, and how to avoid the most common pitfalls without losing your mind.
Prior preparation: the essentials before touching screws
First and foremost, plan ahead. A well-prepared setup minimizes surprises and allows you to quickly diagnose any problems . It's worth investing a few minutes in the basics.
Start with a complete and organized backup: although it might seem like overkill, a power outage or a misstep can leave you without documents, photos, or projects . Use an external hard drive or the cloud and verify that you can open the backed-up files.
Check your system's compatibility. A 2,5" SATA SSD is not the same as an M.2 NVMe SSD, and not all motherboards support all variants. Consult your motherboard manual to confirm the availability of an M.2 slot, the B/M keys, and PCIe x2/x4 support if you're going for NVMe, or the availability of free SATA ports if you're opting for a 2,5" drive.
Have the necessary tools on hand: a Phillips screwdriver, screws or bay anchors, and if possible, an anti-static wrist strap . A simple touch of static electricity in the wrong place can damage a component.
Consider updating your BIOS/UEFI if your motherboard is a few years old. Modern versions generally recognize NVMe SSDs better and support features like UEFI/GPT , and they fix compatibility issues that can save you a lot of trouble.
SSD types and compatibility: don't get caught out by the connectors
2,5" SATA SSDs are universal and very easy to install; you only need a SATA port on your motherboard and SATA power . They work perfectly for most users and are the safest way to upgrade a PC.
M.2 NVMe drives offer significantly faster speeds, but require a suitable slot and PCIe support . Check your motherboard's wiring diagram: some slots share lanes with SATA ports, so installing an M.2 NVMe drive might inadvertently disable a SATA port . This is normal; simply choose the correct port.
Regarding the form factor, if your tower doesn't have any free 2,5" drive bays, you might need an adapter. For laptops, confirm that the SSD socket and height match the chassis's requirements to avoid surprises when closing the lid.
Physical installation: tricks to get your SSD detected on the first try
Connect carefully and double-check. Many detection problems are caused by a loose SATA data cable or a faulty power supply . If possible, try a different cable and a different port on the motherboard.
Enter the BIOS/UEFI and locate the storage section. Confirm that the SATA ports are enabled, and in the case of M.2, verify that the slot is not disabled or reassigned to another mode. Ensure that AHCI is set as the operating mode for SATA drives; this allows the system to take full advantage of the SSD and enable modern features.
If the SSD doesn't appear after installation, don't jump to conclusions: try a different port, a different cable, and check that the power supply is delivering stable power . It's rare for an SSD to lack power, but older power supplies can cause unusual behavior.
Avoid static electricity. Work on a firm surface, touch the metal chassis before handling components, and if possible, use an antistatic wrist strap to minimize risks . It's an inexpensive habit that prevents costly problems.
Initial system setup: initialize, partition, and format
A new SSD typically doesn't appear in File Explorer until you initialize it. Open Disk Management in Windows to create a partition table and file system. For modern computers, GPT is the recommended choice over MBR.
Create a volume and format it as NTFS if you're using Windows; assign a clear drive letter. If the SSD will be the system disk, the Windows installer will handle partitioning and formatting during a clean installation.
If the SSD is a secondary drive for games or data, simply formatting it should be sufficient. Remember that this entire process is reversible: you can delete partitions and recreate them at any time using the same tool.
Install, clone, or migrate: the best strategy to avoid conflicts
The key decision is how to move your system to an SSD or perform a secure migration . The professional option to minimize problems is a clean Windows installation , reinstalling drivers and applications from scratch.
If you're upgrading from another PC, don't reuse the old computer's hard drive with its operating system as is, and don't blindly clone it. You'll be carrying over drivers from the previous chipset, registry entries, and services that can cause blue screens, crashes, or slow performance . The best approach is to connect the old hard drive as a secondary drive (SATA or USB enclosure), copy your personal files, and then format it.
If you need to clone, use reliable tools (such as manufacturer utilities, Macrium Reflect, or Clonezilla) and verify that the source disk's footprint fits on the destination SSD . Before cloning, run chkdsk to check for errors and disable Windows' "fast startup" to prevent locked files.
The 5 most common technical errors when cloning a disk
Cloning can go perfectly, but when it fails, it usually goes big. These are the typical errors we see after poor cloning :
- BSOD on startup: codes like
INACCESSIBLE_BOOT_DEVICEoSYSTEM_THREAD_EXCEPTION_NOT_HANDLEDThey indicate that Windows is trying to load. chipset or storage drivers of the old hardware. - Conflicts in Device ManagerA GPU with "Code 43" or stopped chipset controls reveals Corrupted or incompatible drivers.
- SSD/NVMe slower than expectedWithout the proper drivers from the manufacturer or chipset, the system creates bottlenecks and performance cuts.
- UEFI/Legacy boot misalignment: a cloned disk in MBR will not boot on a motherboard in UEFI mode with GPT; the error “No bootable device found"is the classic symptom."
- Crashes and random instability: remnants of software, services, and registry entries from the old PC clash with the new hardware and cause frostbite.
Drivers, firmware and BIOS: the stability triangle
After installation, first install the chipset and storage drivers for your motherboard. This sequence prevents incorrect detections and improves SSD compatibility . If you're using Intel, consider Intel RST when applicable; for AMD, install the chipset drivers from the manufacturer.
Check your SSD's firmware using the official app (Samsung Magician, Crucial Storage Executive, WD Dashboard, etc.). A firmware update can resolve recognition or performance issues that you won't fix by modifying Windows.
Enter BIOS/UEFI and confirm AHCI mode on SATA ports. If you're switching from IDE to AHCI, Windows may not boot; first enable the AHCI service on your system or perform a clean installation to avoid this issue.
Does Windows think your SSD is an HDD? Steps to fix it
Sometimes Windows labels the drive as a "hard drive" and suggests defragmenting it. Check in Disk Management and the device properties how the system is actually detecting it.
Update the drive driver in Device Manager and check the entries under "IDE ATA/ATAPI controllers" or similar. A generic or outdated driver may be the cause of the incorrect detection.
Check TRIM support from a privileged command prompt: run fsutil behavior query DisableDeleteNotifyIf it returns 0, TRIM is active; if it returns 1, enable it with fsutil behavior set DisableDeleteNotify 0 so that the system maintain SSD performance.
As an advanced alternative, you can check driver parameters in the Windows registry (storahci) if you suspect an irregular configuration, even touching the registry It requires caution and backups. previous.
TRIM, optimization and defragmentation: what to do and what not to do
SSDs are not defragmented; they are optimized. Windows already knows this and runs TRIM periodically. Check in "Defragment and Optimize Drives" that your SSD is listed as such and that the scheduled operation is " Optimize (TRIM) ," not defragment.
If it would make you feel better, you can run a manual optimization or use the command optimize-drive C: /f To force the task, keep TRIM active. It prevents performance loss over time..
Indexing, write caching, and virtual memory: optional settings
File indexing on SSDs offers little benefit and increases write activity. You can disable it in the drive properties to reduce activity, but if you frequently access local content, consider whether it's worth keeping it enabled.
Windows write caching is usually enabled by default and, on many SSDs, is redundant with the device's internal cache. You can try disabling it in the disk properties, under the Policies tab, and see if your computer maintains good performance ; if you notice a drop in performance, you can easily re-enable it.
Regarding the page file: on systems with more than 8 GB of RAM, you might consider disabling it or moving it to an HDD to reduce writes to the SSD. Keep in mind that you will lose memory dumps for diagnostics and, in some cases, stability in resource-intensive applications.
Prefetch, Windows Search and SysMain: when does it make sense to disable them
On modern SSDs (especially NVMe), the benefit of Prefetch/Superfetch is debatable. If you want to minimize writes, you can disable the EnablePrefetcher key (value 0) in the PrefetchParameters directory.
Complement the adjustment by disabling the Windows Search (SearchIndexer) and SysMain services from services.msc. Only do this if you understand the impact, as you will lose indexed searches and preloading , which are useful for certain workflows.
Power and sleep: avoids "turning off" SSDs that don't need it.
In the advanced power options, set "Turn off hard drive after" to 0 (Never). Solid-state drives consume very little power when idle and don't require the typical power cycle of a hard disk drive, which is pointless in this case.
Manufacturer software: health, secure erase, and utilities
Each brand offers its own management suite, and it's worth installing. These utilities allow you to update firmware, perform secure erases , monitor lifespan (TBW, percentage of health), and run performance tests.
Windows Maintenance: Automatic Optimization and Cleaning
Enable "Storage Sense" to have Windows periodically delete temporary files and update remnants. Keeping the drive with free space (ideally 10-20% unused ) improves the SSD's internal management and longevity.
If your SSD is your system drive and you're still using an HDD, move large user folders (Videos, Pictures, Downloads) to the HDD. This will free up space on the SSD for the system and apps, and reduce unnecessary writes.
Boot and UEFI/GPT compatibility: master keys to avoid getting stuck halfway
If you're doing a clean install of Windows, use UEFI and GPT mode. Configure the boot order in your BIOS so that the first boot device is either the installation USB drive or the SSD , depending on the boot order. This will prevent the common "no boot device" error.
If your previous installation was Legacy/MBR and your motherboard is now UEFI, consider migrating to GPT or performing a clean install. Mixing modes can cause boot errors and will require you to repair the bootloader with advanced tools.
Troubleshooting common problems after installation
Is the SSD not showing up? Go back to Disk Management and initialize it if it's listed as "Unallocated." If it's not even listed, check the BIOS/UEFI and physical connections again. More guides on disk detection and troubleshooting are available in Windows detection issues.
Does it boot but run slowly? Install chipset drivers, check AHCI mode and TRIM status. Update the SSD firmware using the manufacturer's tool to fix any incompatibilities.
Blue screen after cloning? Repair the boot process and uninstall drivers for the old hardware, or assume you need a safer, clean install . Sometimes that's the easiest way out.
Temperatures and additional hardware: take care of NVMe drives
NVMe drives generate more heat than SATA drives. If your motherboard includes a heatsink for the M.2 slot, use it; it helps keep temperatures under control and prevents throttling that limits performance under prolonged loads.
Good practices in the medium and long term
Keep your system updated, monitor SMART health (using CrystalDiskInfo or the manufacturer's app), and avoid filling your SSD to 100%. These simple routines make a big difference in stability and lifespan.
Avoid manual defragmentation, don't force aggressive "tweaks," and be wary of "miracle optimizers." With the settings described, your system is now optimized for SSD performance.
If you follow this roadmap, upgrading to an SSD in a new PC will be smooth and seamless: a trouble-free physical installation, a working BIOS/UEFI, up-to-date drivers and firmware, functioning TRIM, sensibly optimized services, and zero remnants from previous systems that could cause instability. The result is a computer that boots in seconds, opens applications instantly, and maintains its performance over time—exactly what we expect when investing in an SSD to revitalize or upgrade a new machine.
