- An SSD can become slow in Windows 11 due to poor configuration, BitLocker encryption, generic drivers, or hardware failures.
- TRIM, the SMART status of the disk, and boot services are key to maintaining performance and detecting wear.
- BitLocker in Windows 11 Pro can reduce SSD performance by up to half when using software encryption.
- If neither system repairs nor a clean install improve the situation, there is likely a physical problem with the SSD or motherboard.
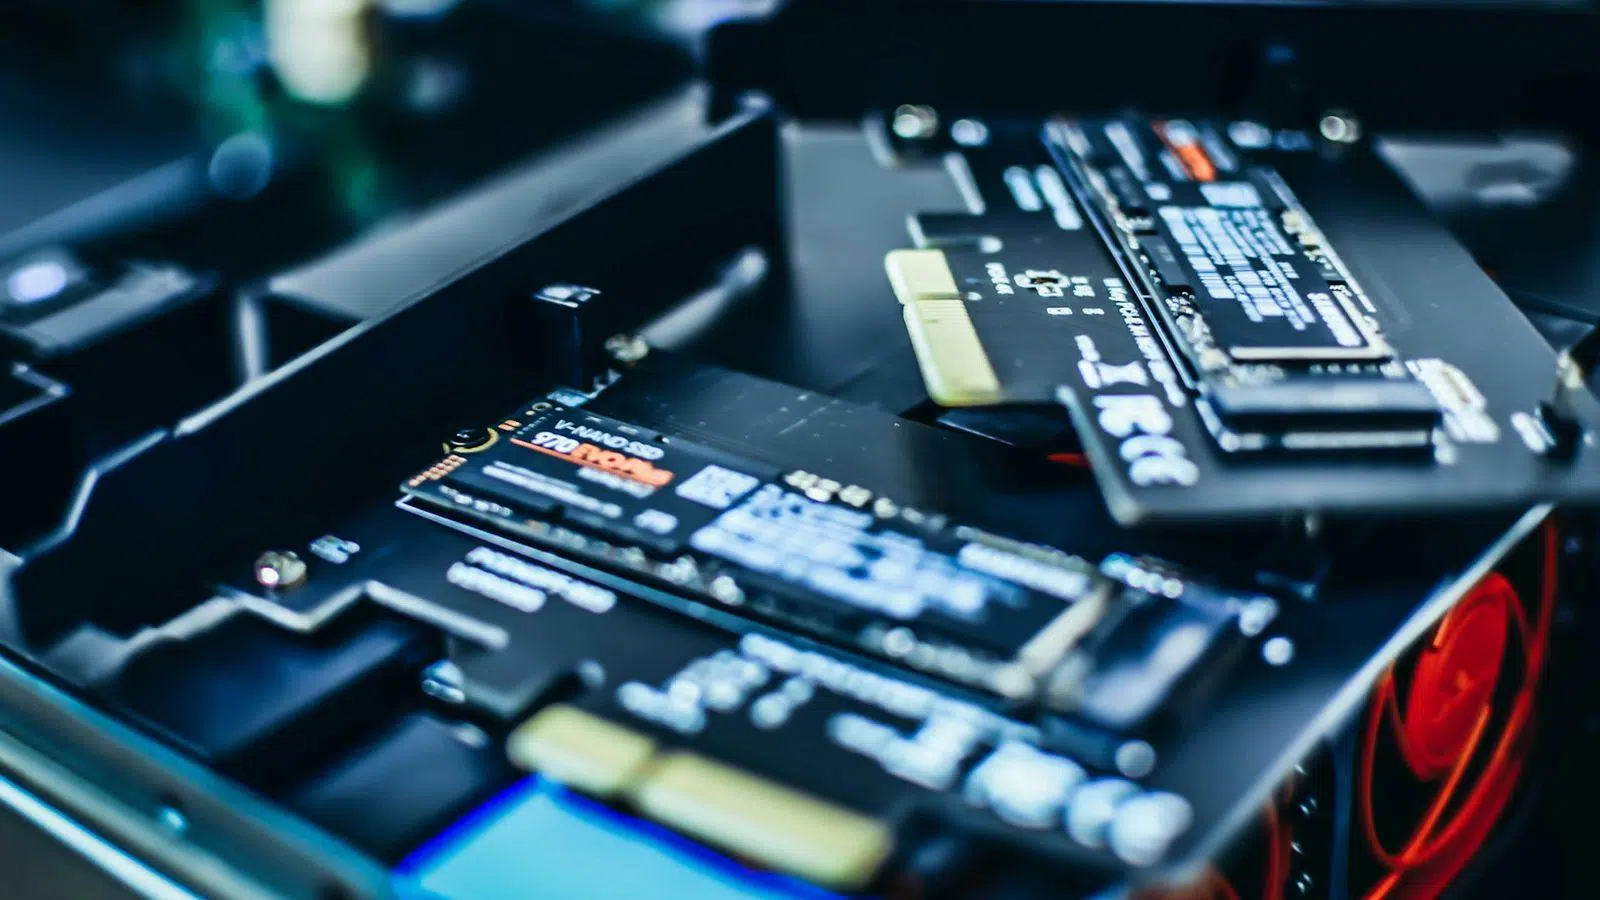
When your Windows 11 PC suddenly goes from running like a dream to behaving like a snail, it's normal to panic. Often the culprit is the system itself, but sometimes the problem is a slow SSD in Windows 11, whether due to configuration errors, physical wear and tear, or poorly configured system functions.
In this article, we'll break down, step by step, everything that might be causing your solid-state drive to run slowly: from TRIM and BitLocker to boot problems, drivers, SSD health, and actual hardware errors . The goal is to help you identify what's happening in your case and know what solutions to apply before your drive gives out and leaves you stranded.
Why an SSD in Windows 11 can become very slow
An SSD shouldn't be slow; in fact, its purpose is quite the opposite. However, several factors can ruin your experience. On many computers, the problem starts subtly: boot times that take a few seconds longer, programs that take longer to open, and crashes when copying large files or installing demanding games . If you ignore it, the system can eventually become almost unusable during any intensive read or write task.
In Windows 11, both the operating system and the hardware come into play. You could have anything from a physically failing SSD to performance-intensive software encryption, unnecessary startup services, misaligned partitions, generic drivers, or even a processor limited by a fault . That's why it's best to proceed step by step, starting with the most likely and easiest issues to check.
There are real cases of users with very powerful laptops who have seen their machines become unusable: CPU cores stuck at ridiculously low frequencies, interminable boot times, errors in the Event Viewer, and no improvement after reinstalling Windows . When even a clean install fails to restore performance, it's a serious warning sign that there may be a hardware or firmware problem with the SSD or the motherboard itself.
TRIM in Windows 11: what it is, why it matters, and how to check it
One of the key factors in maintaining an SSD's speed over time is the TRIM command. Unlike a mechanical hard drive, an SSD cannot directly overwrite old data; it needs to erase the blocks first to reuse them . If the system doesn't tell it which blocks are no longer needed, the drive is forced to perform much slower read-modify-write cycles.
TRIM is precisely the mechanism by which the operating system informs the SSD which data blocks are no longer in use. Thanks to this, the drive can clean up these blocks in the background, maintaining low access times and reducing unnecessary wear on the flash memory cells . Without TRIM, you would notice over time that everything becomes sluggish, especially write operations.
Windows 11, by design, automatically enables TRIM and schedules its maintenance run approximately once a week . Normally, you won't need to do anything, but the feature might be disabled, or you might want to run it manually to ensure your disk is optimized.
To find out if TRIM is active on your system, simply open a Command Prompt window with administrator privileges (by typing "cmd" in the taskbar search box and choosing "Run as administrator") and use this command:
fsutil behavior query DisableDeleteNotify
The key lies in the output returned by the command. If you see something like DisableDeleteNotify = 0 , it means TRIM is enabled for compatible SSDs. Conversely, if you see DisableDeleteNotify = 1 , TRIM is disabled, and your drive's performance may suffer under heavy use.
If TRIM is inactive and you want to enable it, in the same command window with administrator privileges you must run:
fsutil behavior set DisableDeleteNotify 0
After running this command, TRIM support will be enabled, allowing Windows 11 to better manage free space, maintaining SSD speed and extending its lifespan . Conversely, if for a very specific reason you need to disable TRIM (which is uncommon), you could use the value 1, but this is not recommended for normal computer use.
BitLocker in Windows 11 Pro: the encryption that can slow down your SSD
Another point that many users overlook is the impact of encryption on performance. Modern SSDs typically include built-in hardware encryption, designed to protect data without significantly impacting read and write speeds . The problem arises when additional software encryption, which relies on the processor, is added on top of this.
In the Pro editions of Windows 11, Microsoft includes BitLocker, a drive encryption feature that is usually enabled by default on many professional computers or laptops that come with the operating system pre-installed . By encrypting the entire contents of the disk, the processor must constantly decrypt and encrypt the data entering and leaving the SSD.
Several independent tests have shown that with BitLocker enabled and running in software encryption mode, SSD performance can drop by around 40-45%, particularly affecting random read and write operations . And these are precisely the operations that determine system responsiveness: opening programs, loading games, overall desktop responsiveness, etc.
To check if your system drive is protected by BitLocker, simply open a Command Prompt as administrator and run:
manage-bde -status
In the information displayed, there are two important fields: "Conversion Status ," which indicates whether encryption is active or not, and "Encryption Method ." If the latter shows something like XTS-AES, you're using BitLocker with software encryption, and you'll likely notice some impact on the SSD's overall performance.
If you have a desktop computer at home or a device you never take off your desk and you prioritize performance over security, you might consider disabling BitLocker to recover some of the lost speed . Always weigh the risks: on a laptop that could be stolen, that extra layer of protection can be crucial.
If you decide to turn off encryption, the command to use (always in the console with administrator privileges) would be:
manage-bde -off C:
You must replace the letter C with the letter corresponding to the encrypted drive you want to decrypt. The process will take some time, depending on the disk size and system speed, and you will only notice a real performance improvement when it is completely finished . From that point on, the SSD will work without the additional overhead of real-time decryption.
When the problem isn't just the SSD: bottlenecks and hardware failures
There are situations where everything points to the SSD, but the real source is another system component. There have been cases of high-end gaming laptops, with the latest generation Intel Core i7 processors and dedicated graphics cards, that start performing frustratingly slowly in basic tasks , with no apparent software-related cause.
Users usually start with the typical things: disabling startup programs, performing clean boot operations, running antivirus and antimalware scans, updating NVIDIA and Intel drivers a thousand times, installing all Windows updates, and checking the Event Viewer full of mysterious errors , etc., as part of diagnosing a slow PC.
On some of these systems, tools like CPU-Z have shown incredibly low CPU core frequencies, far below expectations . After a completely clean installation, erasing all data, the processor may temporarily return to its normal values, only to soon drop again to ridiculously low levels (even below 400 MHz).
When you reach this point, especially if you've tried clean installs without lasting success, it's very likely there's a hardware or firmware problem: a motherboard failure, a problem with the power supply, a faulty thermal management circuit, or even a problem with the SSD itself . At this stage, the sensible thing to do is contact the manufacturer's technical support, particularly if the device is still under warranty.
It's important to remember that, although less common than with traditional hard drives, SSDs can also have manufacturing defects, damaged memory blocks, or problems with the internal controller . A typical symptom is a sudden drop in performance for no apparent reason, strange errors appear in the Event Viewer, and even though Windows passes basic checks, system behavior doesn't improve.
How to tell if your SSD is on its last legs
When you start noticing freezes while copying large files, crashes while installing games, or Windows updates that temporarily brick your PC, it's worth suspecting your SSD. At first, the symptoms might be subtle: slightly longer boot times, applications that open sluggishly, occasional freezes when writing large amounts of data . If these issues accumulate, something is wrong.
Windows includes tools to check disk health, but they don't always detect all incipient failures. That's why it's a good idea to use specialized solutions like CrystalDiskInfo or SSDLife Pro , which allow you to read the disk's health and display detailed information about its condition.
If, when analyzing the drive, you see that the application marks its status as "Bad" or with alerts, and the overall health is below 40-50%, it's a clear sign that the SSD is nearing the end of its lifespan . At this stage, bad sectors and read errors can appear, resulting in crashes, system freezes, and even data loss.
At the first sign of system degradation, the first thing you should do is create a complete backup of everything important: documents, photos, projects, and critical settings . You can use the built-in features in Windows 11 or third-party cloning and backup software to simplify the process and avoid forgetting anything.
Once your data is backed up, it's recommended to replace the hard drive with a new, high-quality SSD. The easiest way to do this is to clone the old drive onto the new one , so you keep your operating system, programs, and files exactly as they were. After the upgrade, if the problem was with the faulty drive, you should notice an immediate performance boost.
Looking ahead, to avoid unnecessarily shortening the lifespan of your SSD, it's advisable to follow certain best practices: always maintain at least 10% free space, avoid filling it to the brim, don't use it as a dumping ground for huge downloads or constantly changing temporary files, and verify that TRIM is enabled . All of this helps to distribute wear and tear more evenly and ensures the drive lasts longer at a good pace.
SSD controllers, interface, and health: settings that make a difference
Not all performance problems are due to SSD wear and tear; sometimes the bottleneck lies in the software that manages it. On many Windows 11 computers, the system automatically installs generic storage drivers (SATA or NVMe controllers) that work, but don't always unlock the full potential of the drive.
To check if you have the correct drivers, you can open Device Manager (right-click the Start button and choose "Device Manager") and expand the storage-related sections, such as "IDE ATA/ATAPI controllers" or the NVMe controllers group. Ideally, the specific chipset name or driver provided by the motherboard or laptop manufacturer should appear. If not, it's advisable to download the recommended storage drivers from the manufacturer's official website.
If you only see a "standard" or generic Microsoft controller, the optimal driver is likely missing . In that case, you should visit the official support page for your motherboard or PC and download the recommended storage drivers for your model and version of Windows 11. After installing them and restarting, you'll often notice an improvement in overall performance, especially during disk-intensive operations.
In addition to drivers, it's a good idea to check the 4K alignment on relatively new SSDs or those cloned from an older HDD. Incorrect 4K alignment can negatively impact performance, as each logical system write translates into multiple physical writes to the SSD. Tools like EaseUS Partition Master include a "4K Alignment" feature to adjust partitions and maximize performance.
These types of programs also allow you to clone disks, resize partitions, merge volumes, or securely create new partitions , which is very useful if you're migrating from a hard drive to an SSD or reorganizing your internal storage. However, it's always advisable to make a backup before modifying partitions to avoid any unpleasant surprises.
Slow boot times with SSD in Windows 11: services, fast startup, and other settings
A very common symptom is that, even with an SSD, the computer takes between 30 seconds and 2 minutes to boot into Windows 11, far from the typical boot times for these drives . A decent SATA SSD should normally boot the system in around 15-20 seconds, considerably better than the 45 seconds or more that a mechanical hard drive usually requires.
When boot times are incredibly slow, one of the first potential culprits is the programs and services that Windows loads at startup. If you have half the world booting up at once, the SSD can become overloaded with simultaneous reads and writes, resulting in a sluggish and unstable boot process , even if the drive is in perfect physical condition.
To speed up this process, you can open Task Manager (Ctrl+Shift+Esc or by searching for it in the Start menu) and go to the "Startup" tab. From there, disable anything that isn't essential : game launchers, updaters, programs you don't need from the start, etc. The fewer items enabled, the cleaner the startup process will be.
Another key setting is Windows Fast Startup (or Fast Boot), a feature that combines partial hibernation and shutdown to reduce startup time . To manage it, go to Power Options, enter "Additional power settings," and from the side panel choose "Choose what the power buttons do." Then click on "Change settings that are currently unavailable" to select or deselect "Turn on fast startup."
In most cases, this option helps the system boot faster, but if you experience unusual behavior, incomplete shutdowns, or device problems after restarts, you can try disabling it and see if boot performance improves or at least becomes more stable . Sometimes, disabling it eliminates conflicts with certain drivers or firmware.
If you installed a new SSD by cloning an old HDD, or if the slow boot time started right after migrating the system, you should also make sure the SSD is set as the primary boot drive in the BIOS/UEFI , and that the controller mode (AHCI, NVMe, etc.) is the one recommended by the manufacturer. An incorrect BIOS setting can cause the system to take longer to detect the drive or prevent it from taking full advantage of its performance.
System errors, DISM, CFS, and other symptoms of more serious problems
When a PC malfunctions, many users end up exploring the Windows Event Viewer and encountering a barrage of warnings and errors: metadata staging failures, tracking sessions like "ReadyBoot" halted with error codes, services like GameInput flagging newer versions of composite files , and so on. While alarming, not all of these messages are critical.
Built-in system repair tools, such as SFC /scannow and DISM , are used to check for and repair corrupted Windows files. In some cases, SFC doesn't find any problems, but DISM does detect damage and needs to access source files, either locally or from the internet. If the repair gets stuck at a certain percentage or says it can't find the files, it could be a sign of deeper issues, image corruption, or even problems with the underlying hardware.
There are situations where, after successfully completing DISM using a local source image and passing SFC without errors, the computer continues to behave just as slowly, with unacceptable freezes and response times . If this is compounded by multiple "BOOTLOG_NOT_LOADED" entries in the boot log, related to GPU drivers, network adapters, or even graphics kernel components, it's a sign that something more serious is wrong.
Ultimately, a completely clean installation of Windows 11, deleting all disk partitions and installing from scratch, should rule out almost any purely software-related problems . If, after doing that, the SSD is still very slow, crashes occur when writing, or the system continues to exhibit the same symptoms, then you need to look directly at the hardware: the hard drive, motherboard, memory, or even the power supply in desktop computers.
In such an extreme situation, the best option is to rely on the manufacturer's official technical service, especially during the warranty period . Attempting further repairs yourself, without professional tools, could worsen the problem or void your warranty.
With everything we've seen, it's clear that a slow SSD in Windows 11 can be due to a wide variety of causes: from easily improved settings like TRIM disabled or BitLocker consuming resources, to generic drivers, services that overload the boot process, drives on the verge of failure, or deeper hardware failures. Therefore, it's worth carefully reviewing each of these areas before giving up on your computer or buying a new one.
