- Jellyfin is a completely free, open-source alternative that allows you to manage media libraries without subscriptions or paywalls.
- Its client-server architecture facilitates access to content from multiple devices through automatic transcoding and custom plugins.
- The installation is versatile, allowing native deployments on Windows and Linux or via Docker containers to optimize management and security.

If you have a mountain of movies, TV shows, and music stored on your hard drives and you'd like everything to look professional and organized , you've probably heard of Jellyfin. This system acts as a multimedia command center that organizes your digital files and presents them in a highly visual way, automatically finding cover art and technical information for your favorite productions.
What's most appealing is that Jellyfin was born as an open-source answer to Plex , following a philosophy where everything is free from day one. While others charge for basic features like transcoding, here there are no fine print fees or monthly subscriptions, giving you complete control over your privacy and data without relying on external servers.
Why choose Jellyfin over other options?

Unlike its competitors, Jellyfin doesn't inject ads or block tools behind a paywall. It's a flexible and powerful software that lets you create a true "home Netflix." Its capabilities include automatic library management, where the server scans your folders and downloads metadata, synopses, and ratings, making browsing your collection a breeze.
Furthermore, it's a cross-platform system . You can set up the server on Windows, Linux, macOS, or via Docker on NAS servers from brands like Synology or QNAP. To access the content, there are client applications for Android, iOS, Fire TV, Android TV, and virtually any modern Smart TV, ensuring your content is always readily available.
Hardware requirements and performance tips
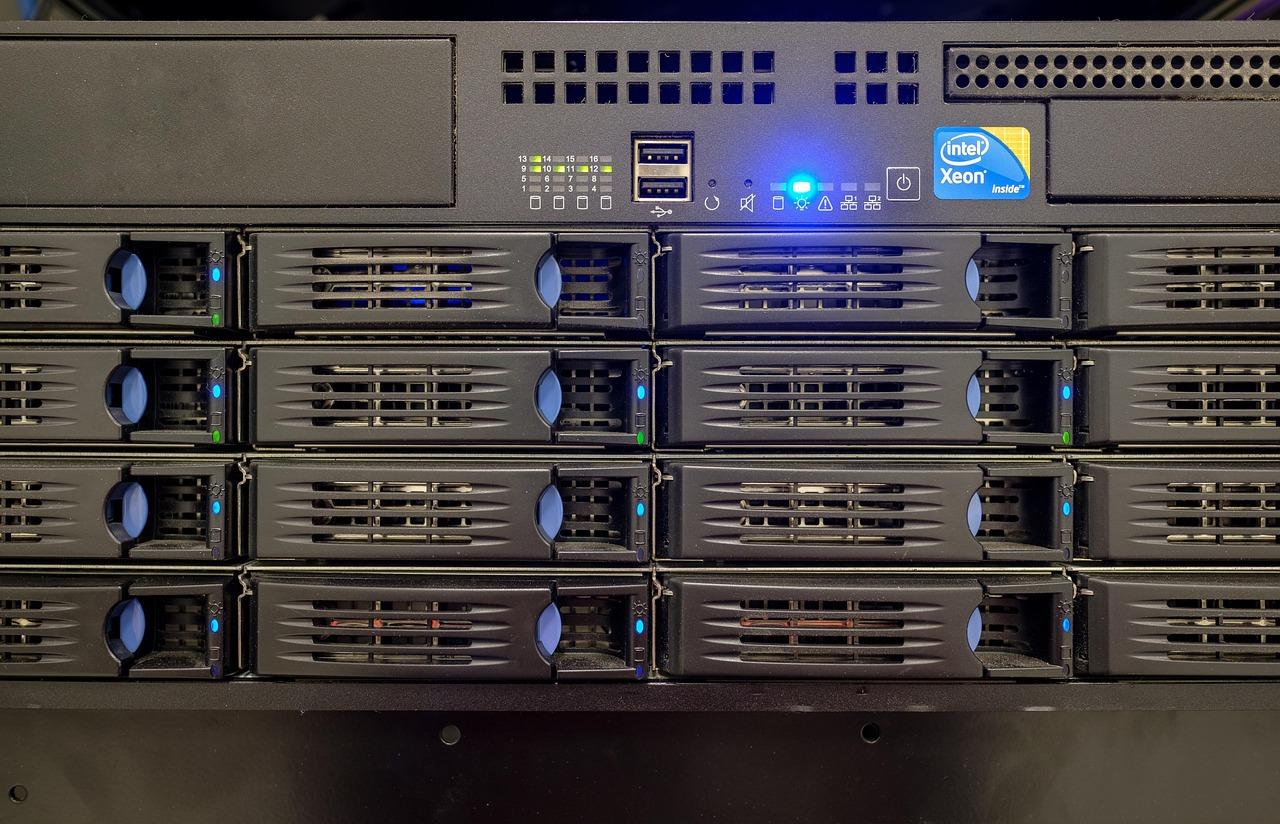
Not all servers are created equal, and depending on your usage, you'll need more or less power. If you're only going to play files in standard formats like MP4 (H.264) for a couple of people, a virtual private server (VPS) with 4 vCores and 4 GB of RAM might be sufficient. However, if you enjoy 4K or HDR content, things change.
The transcoding process (converting the video in real time so the client device can read it) is very resource-intensive. To prevent the server from crashing, it's ideal to have an Intel or NVIDIA GPU that supports hardware acceleration. For demanding users, at least 8 CPU cores and between 16 and 32 GB of RAM are recommended, always prioritizing the use of NVMe drives for much smoother library scanning.
Steps for server installation
The heart of it all is the Jellyfin Server . On Windows, the process is simple: download the .exe file from the official website, follow the wizard, and access it via localhost:8096. On Linux, although it can be installed via a repository, the smarter option is to use Docker and Docker Compose , as it encapsulates the application and makes updates a breeze.
If you choose to use Docker on Ubuntu, you must first update your system and configure the official Docker repository. It's essential to create a clear folder structure on your host (for example, one for configuration, another for caching, and another for media ) and map them correctly, following Docker Compose best practices in your homelab . A vital detail is defining the UID and GID of your Linux user so that the container has the necessary permissions to read your files without issues.

Initial setup and library management

Once the server is up and running, you access it through a web browser and a wizard will greet you. The first step is to create an administrator account; we recommend avoiding the name "admin" and using a strong password, as the server is an entry point to your computer. Next, you need to add the libraries. You must specify the type of content (movies, TV shows, music, photos) and the folder where the files are located.
To prevent Jellyfin from getting confused and finding everything on the first try, you should organize your files hierarchically . For example, movies should be in individual folders named "Movie (Year)," and TV series should be divided by seasons using the format "S01E01." To optimize music management in Jellyfin , it's vital that you follow this order, or the system will likely fail to download album art automatically.
Advanced optimization and security
If you want to get the most out of your server, go to the Control Panel and look for the Playback section. There you can enable hardware acceleration if you have a compatible GPU, which will drastically reduce the CPU load. You can also enable the DLNA protocol to share content with older TVs that don't have the Jellyfin app, although you'll lose the attractive interface.
Regarding security, if you want to access the site from outside your home, don't open port 8096 directly on your router, as this exposes your network to unnecessary risks. It's best to use a reverse proxy like Caddy or a Cloudflare tunnel. Caddy is especially useful because it automatically manages HTTPS certificates, ensuring your connection is encrypted and secure.
Add-ons and extra features
Jellyfin allows you to expand its capabilities through plugins. Although the official catalog is limited, there are add-ons to integrate services like Trakt or connect the server to Kodi and Infuse. Another gem is its ability to manage IPTV lists, although this requires an extra step: configuring an Xteve or Homerun server.
For those who share the library with family, the system offers advanced parental controls . You can create separate profiles with content restrictions, activity history, and personalized libraries, ensuring that each household member sees only what they are meant to see.
Having your own Jellyfin-based media center allows you to become independent of current streaming platforms, keeping your files on your own hardware and enjoying a premium viewing experience at no extra cost. From simple Windows installation to advanced deployment with Docker and reverse proxies on Linux, the system adapts to any technical skill level, always ensuring efficient, private, and fully customizable content management .
