- FRITZ!Box allows you to replace the Movistar/O2 HGU for Internet and VoIP, using the appropriate GPON key and VLAN.
- The FRITZ!OS interface centralizes the management of connection, telephony, WiFi, local network, home automation and network diagnostics.
- The FRITZ!Box 7590 offers extensive WiFi options: advanced security, guest network, repeater mode, and access control.
- Mesh network integration with FRITZ!Powerline repeaters and PLC extends coverage with a single managed WiFi network.
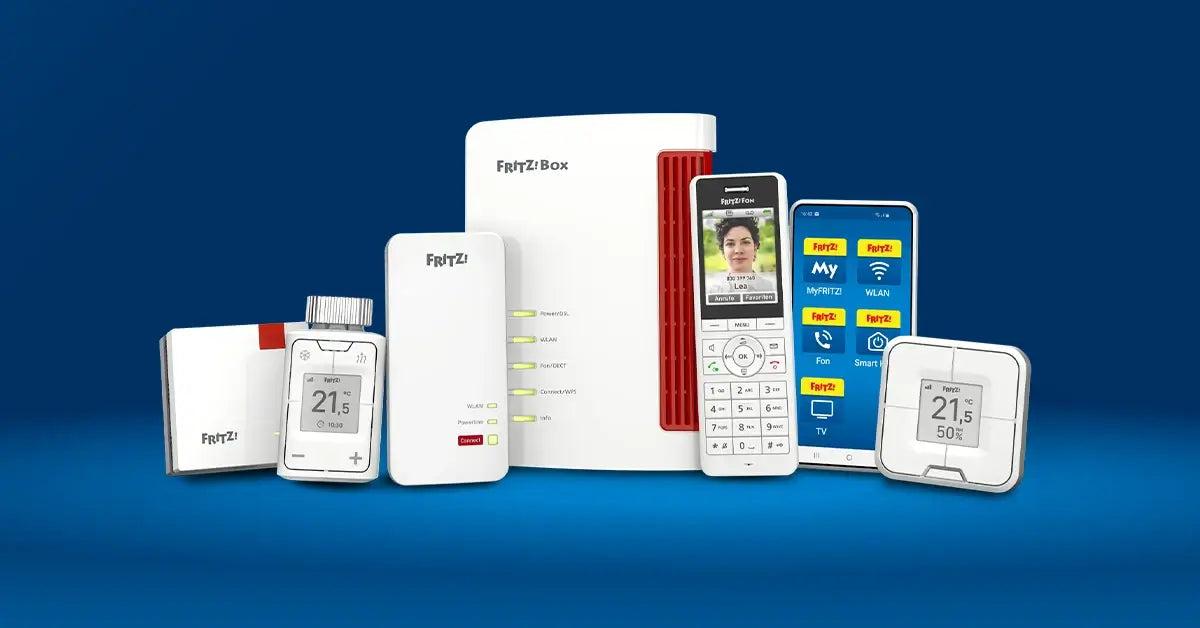
FRITZ!Box routers have become a serious option for those who want to go beyond the typical ISP router and have real control over their network: internet, VoIP landline, advanced Wi-Fi, mesh networking, home automation, and much more. If you're upgrading from a Movistar or O2 HGU and considering a FRITZ!Box, or if you simply want to learn how to explore all its features, here's a comprehensive guide in Spanish (Spain), explained clearly and directly.
Throughout this article, we'll see, step by step and in great detail , how to replace the Movistar/O2 HGU with a FRITZ!Box 5590 Fiber or 5530 Fiber, how to access and manage the FRITZ!OS interface, how to configure and secure the Wi-Fi on a FRITZ!Box 7590, how to create a guest network, how to use the router as a repeater, and how to integrate it into a mesh network. The goal is that, by the time you finish reading, you'll be able to set up your network perfectly without relying on the ISP's equipment.
Replace the Movistar/O2 HGU router with a FRITZ!Box Fiber
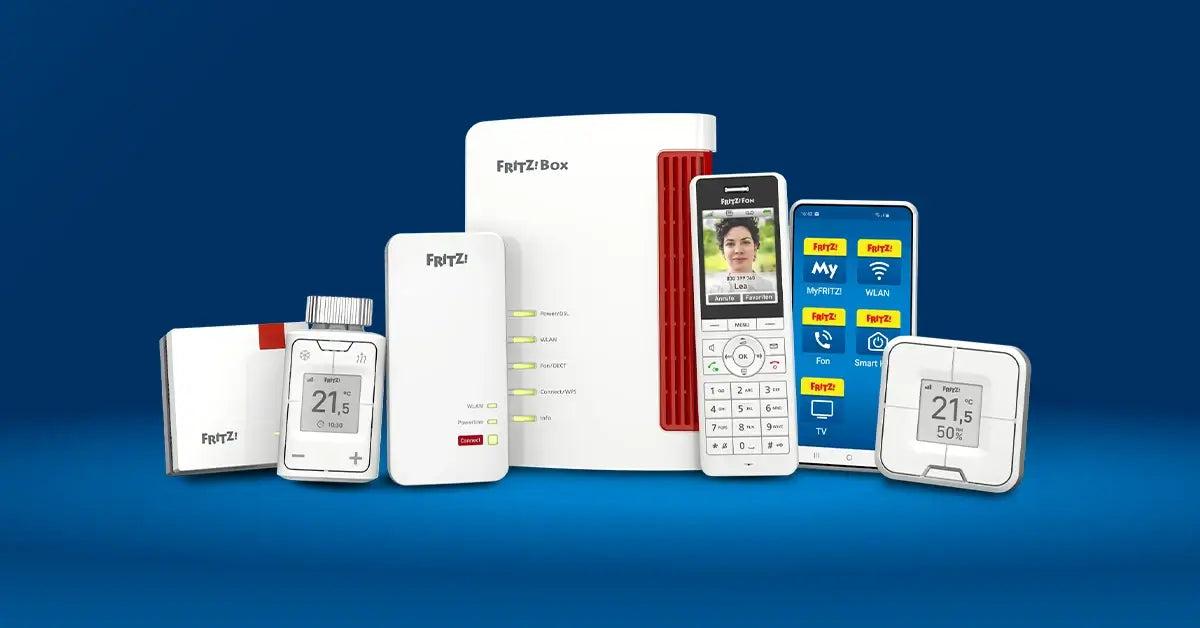
If you have Movistar or O2 fiber optic internet and want to use your own router to manage both your internet and landline via VoIP, the FRITZ!Box 5590 Fiber and FRITZ!Box 5530 Fiber models are among the most interesting options. Developed and manufactured in Europe, they integrate a fiber optic ONT and IP PBX, allowing you to forget about the operator's HGU (Home Gateway Unit)... with one important caveat: they don't support Movistar's triple VLAN or port-based VLANs for Movistar Plus+.
This detail has a key consequence : if you have Movistar Plus+ (IPTV), you won't be able to watch it using only the FRITZ!Box 5590 or 5530, as these models don't replicate the triple VLAN scheme (Internet, VoIP, and TV) managed by the operator's router. You will be able to have Internet and landline over IP, but TV will be unavailable unless you keep the HGU or set up a more complex solution.
If your priority is a powerful router with modern Wi-Fi (Wi-Fi 6 in these Fiber models), good QoS management, integrated IP telephony, and a stable network, replacing the HGU is entirely feasible. The process we'll describe works for both Movistar and O2, as they share the same internet and telephony access parameters. Basically, you'll need to extract the GPON password from your HGU, enter it into the FRITZ!Box, and configure the PPPoE connection with the appropriate VLAN.
How to obtain the GPON password for the Movistar/O2 HGU
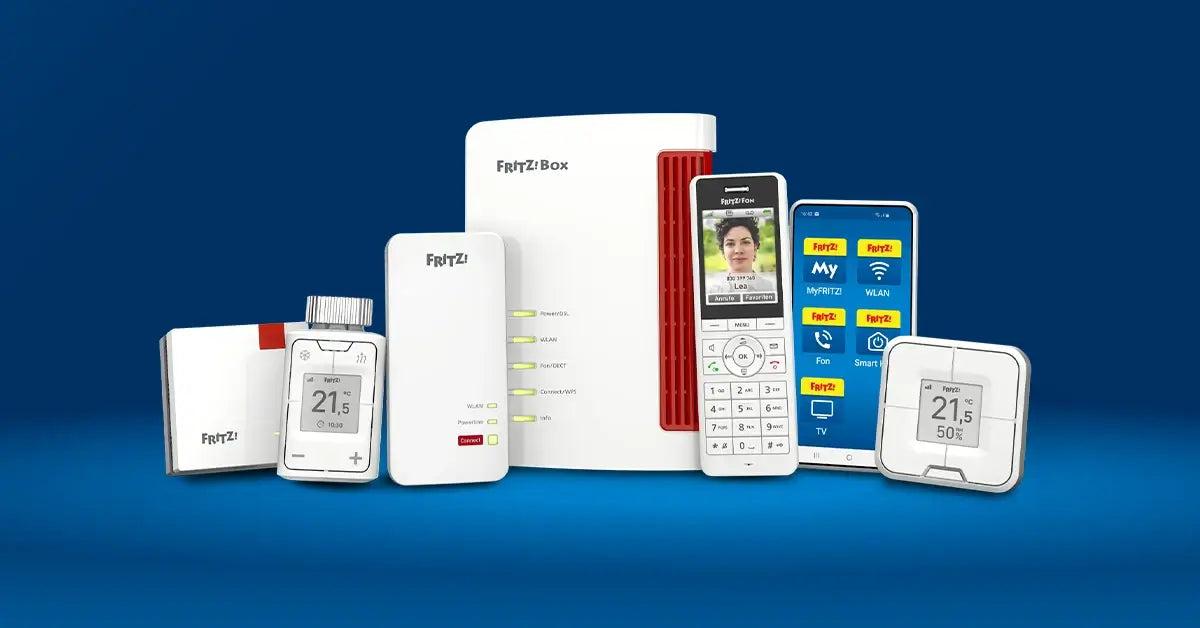
The GPON key is the ONT identifier that Movistar/O2 associates with your fiber optic line. It's a hexadecimal code, usually 20 characters long, that the HGU uses to authenticate itself on the operator's optical network. If you don't transfer this identifier to the FRITZ!Box with integrated ONT, the operator won't grant you network access and you won't have internet.
First, disconnect the fiber optic patch cable from the HGU's optical port , turn on the router, and connect to it from a computer or mobile device. It's important that the device starts up without being connected to the operator's OLT to avoid any unexpected changes during the process.
First way to obtain the GPON key : Access the special HGU installation URL. Open your browser and type the address:
https://192.168.1.1/instalacion
The router will redirect you to a setup wizard where you'll need to enter your administrator password. If you've never changed it, it's printed on the sticker on the bottom of the HGU. If you've changed it and don't remember it, you'll need to perform a factory reset (press and hold the reset button for a few seconds) to restore the default settings and gain access.
Within the installation menu, you'll see a field similar to "ONT ID" or a section displaying the GPON password. Copy it exactly as shown and save it in a notepad or text document, respecting uppercase/lowercase letters and the exact length. This is the credential you'll later enter into the FRITZ!Box.
Second way to locate the GPON password : through the HGU's standard web administration interface. In this case, go to:
https://192.168.1.1
Log in with your administrator username and password and navigate through the advanced menus. The typical path is: Menu > Advanced Settings > accept the prompt, and from there look for an option similar to “Management > GPON Password” or “GPON Password Configuration”. The same GPON key you saw in the wizard should appear there.
It's crucial that you don't change the ONT identifier on the HGU . If you modify it and then want to revert to the original router, the ONT will no longer authenticate correctly, and you'll be without service until the provider re-provisions it. Only read and copy the password; don't change it.
Setting up the Internet connection on FRITZ!Box 5590/5530 Fiber
Once you have the GPON password, you can proceed to the FRITZ!Box . Both the 5590 Fiber and the 5530 Fiber share the same FRITZ!OS interface and the same menus for configuring the fiber, so the steps are identical for both models.
Connect the fiber optic cable directly to the corresponding optical port on the FRITZ!Box (usually labeled Fiber) and turn on the device. Then, from a computer or mobile device connected to the FRITZ!Box via cable or Wi-Fi, access the administration interface.
Go to the menu “Internet > Access Details > Internet Access” . There you will see a form with several fields to configure the provider and connection type. Fill in the details as follows for Movistar/O2 FTTH:
- Provider: Select “Other” and, if you wish, write “Movistar” or “O2” as a descriptive name.
- Internet access via: Choose “Fiber (fiber optic)” or the equivalent option offered by FRITZ!OS for your model.
- Are login details required? Mark that you do.
- PPPoE Username: adslppp@telefonicanetpa
- PPPoE Password: adslppp
- Is an ONT installation ID required? Select yes and enter the GPON password that you extracted from the HGU.
By expanding the advanced connection options (usually labeled "Connection Settings" or similar), you'll find speed and VLAN parameters. It's recommended to specify the following here:
- Downstream and upstream speed: Enter the profile you have contracted (for example, 1000 Mbps/1000 Mbps for 1 Gbps symmetrical). This helps the FRITZ!Box better manage QoS and prioritization.
- VLAN configuration for Internet: Select “Use VLAN for Internet access” and set the VLAN identifier to 6, which is the one Movistar/O2 uses for browsing.
Save the changes by clicking the "Apply" button . The FRITZ!Box will then begin the connection process: GPON authentication with the operator's OLT, establishment of the PPPoE session, and obtaining a public IP address. This process may take approximately one minute.
To verify that everything is working correctly, go to “Internet > Internet Monitor” . You should see that the FRITZ!Box indicates an active connection, an assigned public IP address, and configured DNS servers. The established connection speed and fiber optic synchronization speed will also be displayed on the main screen.
If you want to see more technical details about the fiber (optical power, the exchange you're connecting to, GPON link status, etc.), go to "Internet > Connection Information". There, FRITZ!OS displays advanced data about the physical layer of the fiber connection between your FRITZ!Box and the operator's network.
Configure Movistar/O2 VoIP telephony on FRITZ!Box Fiber
With the internet connection up and running, the next step is VoIP landline telephony , which is one of the strengths of FRITZ!Box routers. These devices integrate an IP PBX that allows you to connect analog phones via the RJ-11 port, as well as DECT cordless devices directly to the router.
For Movistar/O2 VoIP to work correctly , you need to configure a specific VLAN for telephony and register your landline number as your own number with the appropriate settings. It's recommended to configure the connection settings first and then create the number.
Go to the “Telephony > Own numbers” menu and select the “Connection settings” tab . There you will see several parameters related to how the FRITZ!Box connects to the operator's VoIP platform:
- Keep port forwarding enabled for telephony on an internet router: Set a 1-minute interval for associations to renew and prevent incoming calls from dropping.
- DSL/WAN connection settings: indicates that a VLAN is needed for IP telephony.
- VLAN identifier for VoIP: sets the value 3.
- Pbit or priority: Use the value 4, which is the usual value for prioritizing voice.
- Use a separate (PVC) connection for IP telephony: Leave it enabled so that voice traffic travels through its own logical channel.
- Are login credentials required for that connection? No; select automatic IP acquisition via DHCP.
Once you have finished adjusting these values, click on “Apply” . The FRITZ!Box will then establish the VoIP session on VLAN 3 and prepare the environment to register your landline number.
Now it's time to register your phone number . In "Telephony > Your own numbers", go to the "Phone numbers" tab and select "New phone number". In the wizard that appears, select "Other provider" as your phone carrier.
Fill in the form with your landline details , adjusting these fields (we will use a generic number 949111111 as an example, you must enter your real number with the area code):
- Phone number for connection: Your landline number with area code, for example 949111111.
- Internal telephone number in the FRITZ!Box: You can use the same number to identify it within the router.
In the “Access Data” section, enter the authentication information required by Movistar/O2 VoIP:
- Username: your landline number, for example 949111111.
- Authentication name: Your number again, 949111111.
- Password: the key associated with that service (in many example guides the number is repeated, but it is advisable to use the one that your operator has set).
- Registrar (SIP registrar): telefonica.net
- Proxy Server: 10.31.255.134:5070 (IP and port of the SIP signaling proxy that manages the calls).
In the "Other configuration options" section , it's best to leave the values recommended by FRITZ!OS for Movistar/O2, only adjusting advanced parameters if you have very specific needs. Click "Next," check the box "Verify phone number after clicking Apply," and complete the wizard.
The FRITZ!Box will perform a registration check of your number on Telefónica's VoIP platform. If everything is in order, you will see your number in green and with an "active" status in the "Own Numbers" list. From there, you can edit the settings again if you want to adjust ringtones, dialing rules, etc.
The FRITZ!Box home screen should now display both Internet and telephone connections in green . You can test calls using an analog phone connected to the router's RJ-11 port or a compatible DECT phone, such as the FRITZ!Fon models, paired with the FRITZ!Box's DECT base.
Accessing and handling the FRITZ!Box interface (FRITZ!OS)
The FRITZ!Box web interface is the command center for the entire system . From there you control the internet, phone, Wi-Fi, local network, home automation, diagnostics, and updates. It's very intuitive, but it's a good idea to familiarize yourself with what each section offers to get the most out of it.
To access the interface, the most common method is to use the device's local IP address . Many models come pre-configured with an address like 192.168.178.1, which you can type directly into your browser's address bar and press Enter. You can also use the URL fritz.box in some installations.
Upon logging in, the router will ask for the administrator password . This password is pre-printed on the back or bottom of the FRITZ!Box and is the one you should change after the initial setup for security reasons. Once entered, you will access the main control panel.
The initial screen displays a fairly clear summary of the network status : Internet connection type, negotiated speed, connected devices (wired and WiFi), bands in use, possible traffic priorities, and the status of special functions such as the answering machine or the integrated NAS server.
In the top left corner, you'll see the classic "hamburger menu" (three horizontal lines) which opens a sidebar with all the main FRITZ!OS sections. While these may vary slightly depending on the model, you'll typically find:
- General view: the home page with the system summary.
- Internet: connection monitor, access data, content filters, access permissions, MyFRITZ! settings and other options.
- Telephony: call log, answering machine, contact list, alarms, fax, call management, telephone devices and DECT telephony.
- Local Area Network (or Home Network): mesh network settings, LAN parameters, USB and storage configuration, media server and FRITZ!Box name.
- Wi-Fi: It controls wireless networks, channels, security, scheduling, and guest access.
- Domotics: Management of compatible smart devices, creation of groups, automations and consumption tracking.
- Diagnosis: Functionality tests, security checks, and tools for detecting network problems.
- System: Event logging, email notifications, FRITZ!Box user management, buttons and LED indicators, language and region, firmware protection and update.
At the bottom of the interface, there's usually a shortcut to the "Wizards ," short step-by-step guides that help you set up your internet connection, add phones, adjust Wi-Fi, or create a guest network without having to delve too deeply into the menus. There's also a built-in help section with explanations of each option.
Setting up and securing the WiFi network on FRITZ!Box 7590
WiFi connectivity is the most frequently adjusted feature of the FRITZ!Box 7590 , both in homes and small offices. This router offers comprehensive wireless capabilities and allows you to fine-tune numerous parameters to balance coverage, speed, and security.
One of the first common adjustments is deciding which frequency bands to use : 2,4 GHz, 5 GHz, or both. The 2,4 GHz band offers greater range and compatibility with older devices, but it's slower and prone to congestion. The 5 GHz band offers higher speeds and less interference, although its range is somewhat shorter.
In most cases, the most practical solution is to leave both bands enabled and allow each device to connect to the one that best suits its needs. The FRITZ!Box itself can manage a single "combined" network, or you can use different SSIDs for each band if you prefer to distinguish between them.
To activate or deactivate bands on the FRITZ!Box 7590 , access its web interface. In addition to the private IP address configured on your network, this model typically allows access via a special address such as:
IP: 169.254.1.1 (mask 255.255.0.0)
Once you're in the router's settings, click on the "WiFi" menu . From the drop-down menu, select "Wireless Network." On the right, you'll see the main configuration options, including enabling the WiFi network and the names (SSIDs) for the 2,4 GHz and 5 GHz bands.
Make sure the "Active Wireless Network" box is checked for the bands you want to use. You can leave both active and assign a network name to each, or use the same name if you prefer a more seamless band switching for users.
Apply and save the changes . After a few seconds, nearby devices (phones, laptops, etc.) should detect the Wi-Fi networks you just configured. It's a good idea to check from a smartphone that you can see both bands if you've set them up separately.
Change WiFi password and encryption (WPA2/WPA)
Another essential setting is changing the default Wi-Fi password . It's not advisable to leave the password on the sticker, both for security reasons and because it's usually difficult to remember. Ideally, you should create a strong password that you can manage without getting overwhelmed.
Access the FRITZ!Box 7590 control panel again and, in the left-hand menu, go to “WiFi” and then to “Security”. Within this section, on the encryption tab, you will find the “WPA Encryption” section or similar, where you can change the access keys.
Scroll to the area where "Wireless Network Key" appears . This field defines the password that devices will use to connect to the Wi-Fi. You can set a different key for each band or use a single key if you prefer.
To make your password strong, combine various types of characters : lowercase letters, numbers, and special symbols, and uppercase letters if you wish. A reasonable minimum is 12 characters, although you can make it much longer. As you type, the FRITZ!Box interface indicates the security level it considers the password to have.
Regarding encryption, the current recommendation is to use WPA2 (CCMP) . Many models also offer a mixed WPA + WPA2 option designed for compatibility with very old devices, but if all your devices are relatively modern, it's best to stick with WPA2 for enhanced security.
Always avoid leaving weak configurations like WEP or WPA (TKIP) without WPA2, and don't leave the default password. These are two common mistakes that open the door to unauthorized access to your network.
Additional WiFi security options on the FRITZ!Box 7590
In addition to passwords and encryption, the FRITZ!Box offers other options to strengthen wireless security. These aren't mandatory, but managing them effectively helps to make your network more secure against abuse.
One of these is the WPS (Wi-Fi Protected Setup) system , which allows you to connect devices simply by pressing a button on the router or entering a PIN. It's convenient, but it has also had vulnerabilities in the past. In the Wi-Fi security section, you can enable or disable WPS according to your needs.
If you uncheck the WPS option , you'll disable this automatic pairing mechanism, forcing you to always enter your Wi-Fi password manually. This might be slightly less convenient, but it also prevents someone from exploiting vulnerabilities in WPS.
Other security features include filtering connected devices , checking which devices have authenticated to the network, and using MAC address access rules to limit which devices can connect. However, MAC filtering isn't foolproof (it can be spoofed), so it should be seen as an extra measure, not the foundation of security.
In a home environment, with a strong WPA2 password and updated firmware , the most critical point is usually already reasonably covered. You can fine-tune the remaining options for greater control and to reduce unwanted access.
Create and configure a guest WiFi network
The FRITZ!Box 7590's "Guest Access" feature is extremely useful if you frequently have visitors at home or run a small office where clients, suppliers, or external personnel come and go. Essentially, it allows you to create a separate Wi-Fi network for them, without granting them direct access to your internal network.
This additional network significantly improves security , as guests will not be able to see or access your personal or corporate equipment. For a company, this is especially beneficial because it eliminates the need to install a second line just for meeting rooms or common areas.
To activate the guest network, go to the “WiFi > Guest Access” menu . Check the “Guest Access Active” box and the FRITZ!Box will enable a new SSID specifically for this purpose, with its own password.
Choose a descriptive network name , such as "Office Guests" or something similar, and select the encryption type. It's recommended to leave it at WPA2 (CCMP) and create a strong password, even if it's a bit easier for guests to dictate.
After saving the changes, the FRITZ!Box will start broadcasting this guest network . From a mobile phone, laptop, or other device, you can see the new Wi-Fi network and connect using the password you set, keeping your main network, where your regular devices are located, isolated.
In addition, the settings panel offers several very interesting advanced options for controlling the behavior of that guest network:
- Limit internet applications: You can make it so that only web browsing and email are allowed, blocking other types of traffic (P2P downloads, online games, etc.).
- Display a welcome page: It allows guests, upon connecting, to see an initial page with a logo and informative text about the service, terms of use, connection time, etc.
- Allow guest devices to communicate with each other: If you uncheck it, each guest can browse the Internet, but cannot see or communicate with other devices on that same network.
- Automatic deactivation of guest access: You can make the network turn off automatically after a specific number of hours, which is very useful when you set up WiFi for a specific event.
If you want to fine-tune the control even further , from the “Internet > Filters > Prioritization” section you can set additional restrictions, such as blocking certain websites or prioritizing bandwidth for other services over guest network traffic.
Using the FRITZ!Box 7590 as a WiFi repeater
Another interesting feature of the FRITZ!Box 7590 is its ability to act as a WiFi repeater for another FRITZ!Box router, extending the range of your wireless network without the need for additional cables. This is especially useful in large houses or multi-story dwellings.
In this mode, the 7590 connects via Wi-Fi to a base network broadcast by another FRITZ!Box and "repeats" the signal, creating a second coverage area. It's not as efficient as an Ethernet cable, but for many scenarios it's more than sufficient and very easy to deploy.
To configure it, go to the “WiFi > Repeater” menu on the FRITZ!Box 7590. There you can choose the base network you want to connect to, which will usually be the main WiFi network of the router acting as the master.
Select that network and enter the corresponding password . The 7590 will connect as a Wi-Fi client to that SSID and begin forwarding traffic to the devices connected to it (either via Wi-Fi or cable). Apply the changes and wait for the connection to be established.
Keep in mind that performance will depend heavily on the quality of the link between the base router and the 7590. It's best to place them in an intermediate position: so that the 7590 receives a decent signal from the main router, but far enough away to actually extend coverage in the area you're interested in.
The FRITZ!Box also allows other expansion options , such as encrypted access point configurations over Ethernet cable or the use of specific FRITZ!Repeater repeaters, but the 7590's direct repeater mode is a quick solution when you can't or don't want to run cables.
Integrate the FRITZ!Box into a Mesh network
When a single WiFi network isn't enough to cover the whole house , the most elegant solution today is to set up a mesh network. FRITZ!Box devices can act as the "hub" of this mesh, coordinating other devices such as FRITZ!WLAN Repeaters or FRITZ!Powerline adapters with WiFi.
In a mesh network, all access points share the same network name (SSID) and password. Devices move around your home, automatically connecting to the point with the best signal, without you having to manually switch networks.
For the Mesh system to function correctly, you need a minimum version of FRITZ!OS 6.90 or higher on all involved devices (router, repeaters, PLC, etc.). If any device has outdated firmware, you will need to update it.
The update is performed from the “System > Update > FRITZ!OS Version” section of each device's menu. It's advisable to keep the entire ecosystem aligned to a recent version to take advantage of improvements in stability, security, and Mesh features.
Once a day, the central FRITZ!Box coordinates the mesh network and displays all nodes from the "Home Network > General Information" menu (or "Local Network > General Information," depending on the translation). There you will see a map with the connected devices, their connection type (WiFi, PLC, etc.), and their status.
From that same screen, you can add new repeaters or PLCs with a single click, initiate remote firmware updates, rename devices, and verify their integration into the mesh network. The setup process is usually very simple: press one button on the master FRITZ!Box and another on the device to be integrated.
Among the compatible devices are the FRITZ!WLAN Repeater , designed specifically to extend wireless coverage, and the FRITZ!Powerline with WiFi, which uses the electrical network as a means of data transport to the area where you need coverage and there creates an access point linked to the Mesh.
With this combination of central router, repeaters and PLC , you can cover virtually any home or small office with a single coherent WiFi network, with transparent roaming and centralized control from the FRITZ!Box itself.
Understanding all these possibilities—replacing the Movistar/O2 HGU with a FRITZ!Box Fiber, mastering the FRITZ!OS interface, carefully adjusting the 7590's WiFi, creating guest networks, using the router as a repeater, and taking advantage of the Mesh network— allows you to take your home or small business network to a level far superior to that of the operator's standard equipment, gaining control, flexibility, and security with a reasonable effort once you know where to start.