- The e-steps define the exact relationship between the motor steps and the millimeter of extruded filament.
- Incorrect calibration causes structural failures such as underextrusion or rough surfaces due to overextrusion.
- The process requires measuring the actual amount of material ejected and adjusting the firmware using mathematical formulas.
- It is the mandatory baseline setting before calibrating flow, temperature, or retraction.
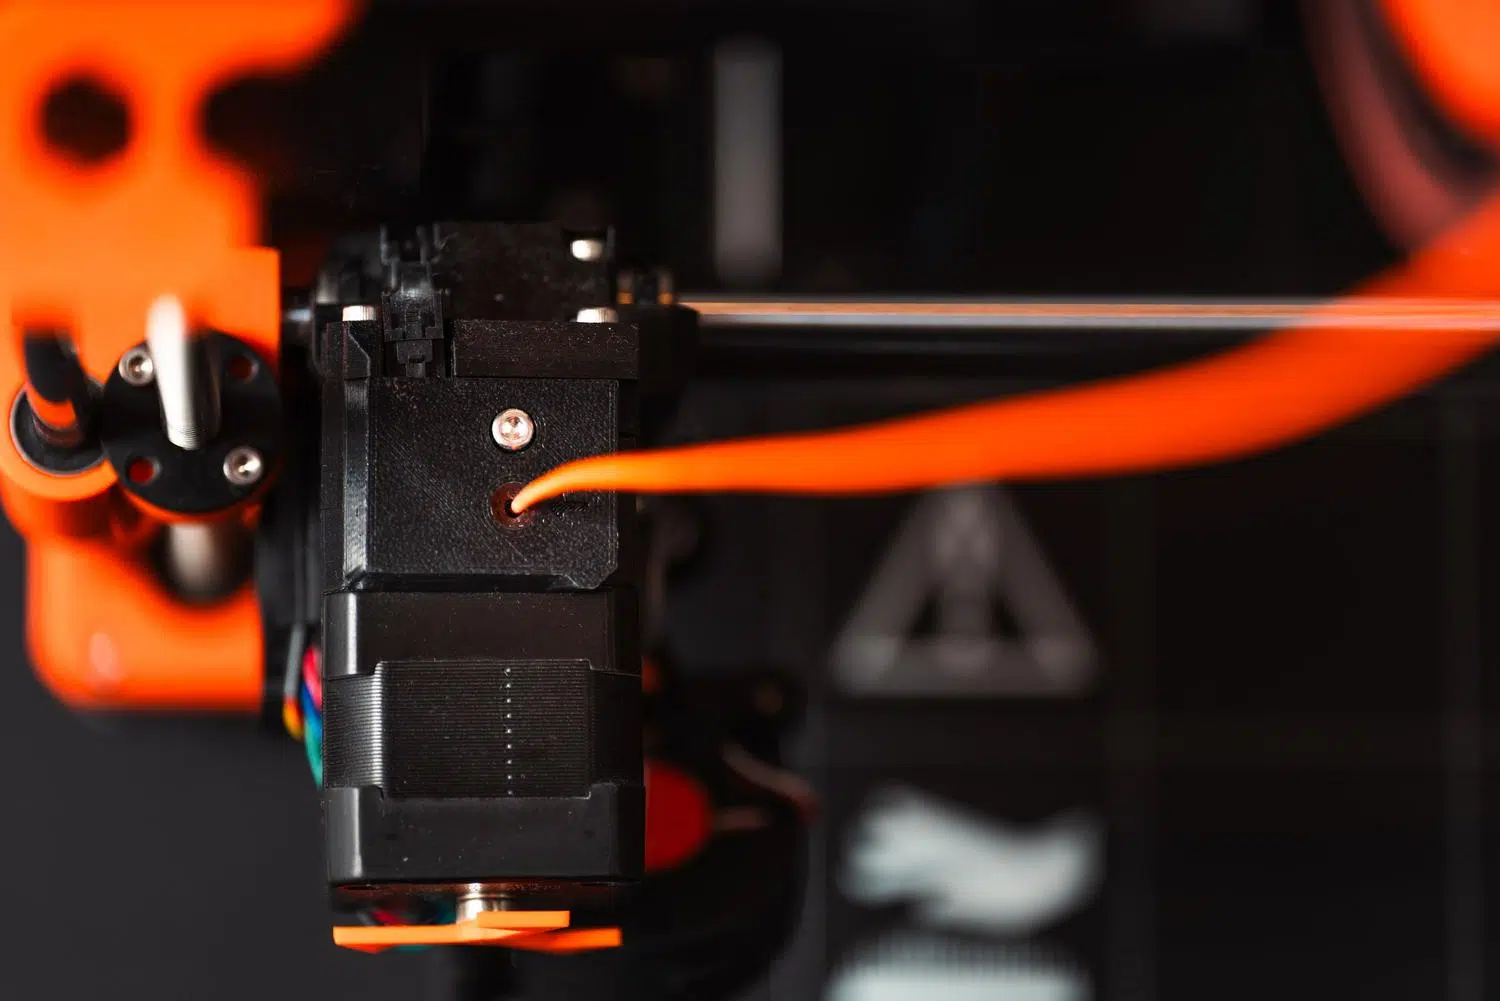
If you notice your prints aren't coming out quite right, the problem might not be the temperature or the design, but rather that your printer isn't extruding the correct amount of filament. Calibrating the e-steps essentially tells the printer exactly how much filament to push so that the requested 1 mm is actually 1 mm, thus establishing the foundation for any subsequent adjustments to make sense.
Many people jump straight to adjusting the flow in the slicer, but that's like trying to hide the sun with your finger if the extruder motor isn't properly configured. If the extruder malfunctions, you'll end up with underextrusion or overextrusion , resulting in weak walls, annoying gaps, or conversely, lumps and a rough surface that looks like a battlefield.

Why is it vital to adjust the extruder steps?
Having the extruder properly tuned ensures consistent and accurate material deposition . When the motor pushes less material than necessary, the part loses structural integrity, resulting in those typical gaps that weaken the piece. Conversely, if too much material is used, stringing and imperfections appear, forcing you to spend hours sanding.
Furthermore, precise calibration is the only way to ensure proper bed adhesion and prevent layer separation. If the flow is erratic, the part is very likely to warp or the supports may not peel off properly, ruining hours of work due to a simple misalignment of steps.
Tools you will need
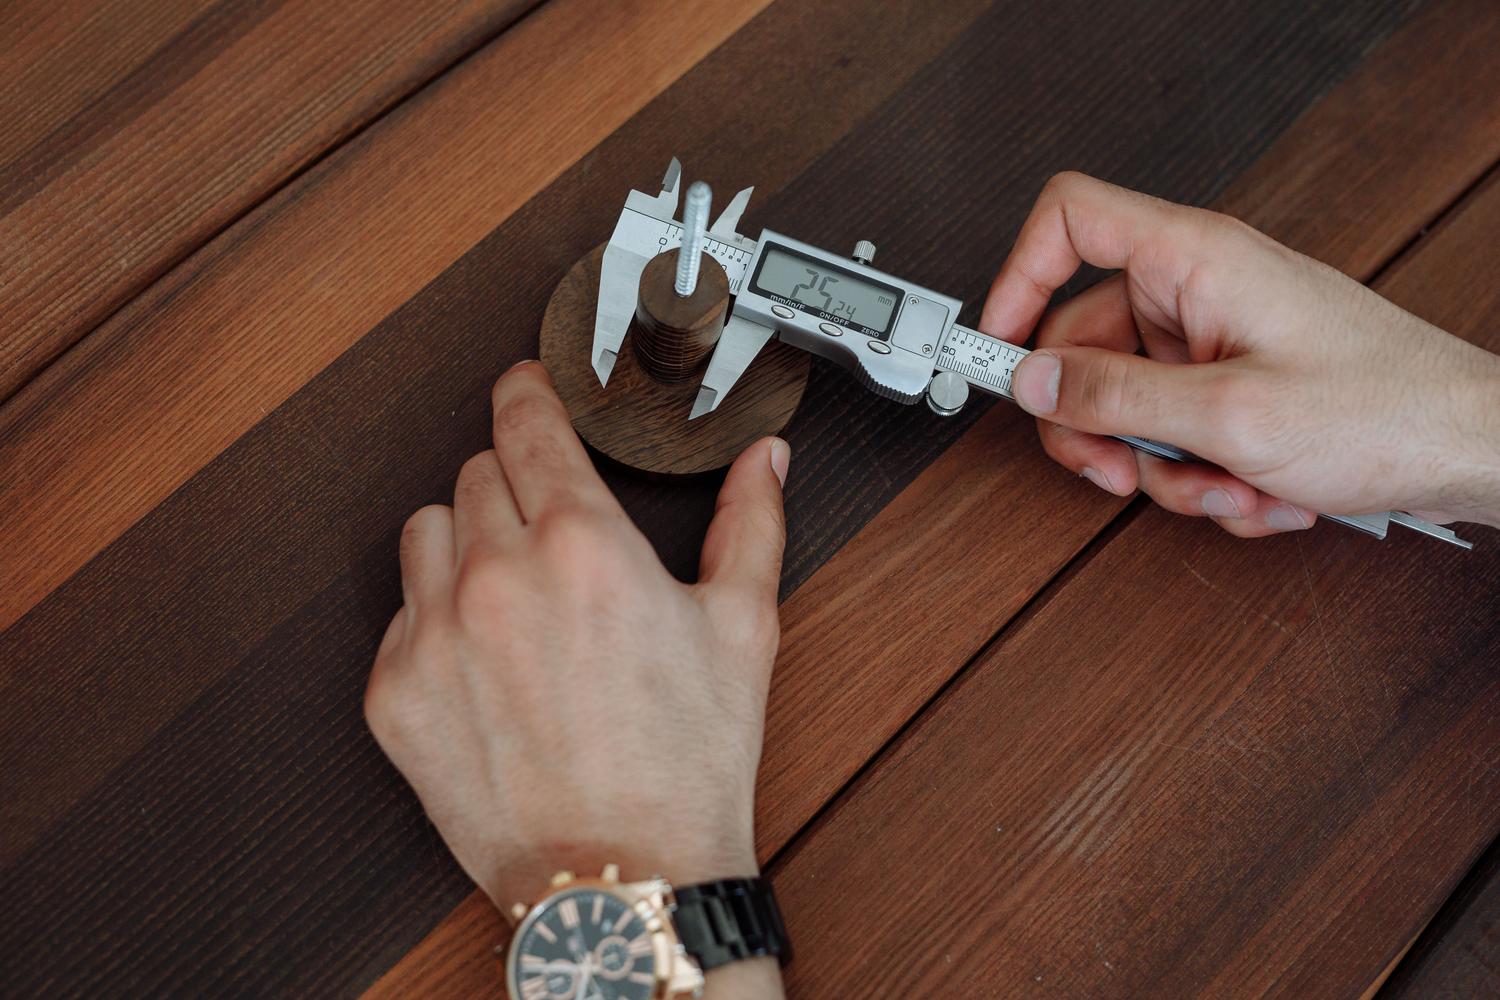
This process doesn't require anything fancy, but it does require precision. Make sure you have the following on hand:
- Un Digital gauge or a very reliable ruler for measuring exact millimeters.
- Un permanent marker to mark the filament.
- Your usual laminating software or a program like Pronterface to send G-code commands.
- Rigid filament (the PLA is usually the best (for this, because of its stability).
Step-by-step guide for calibration
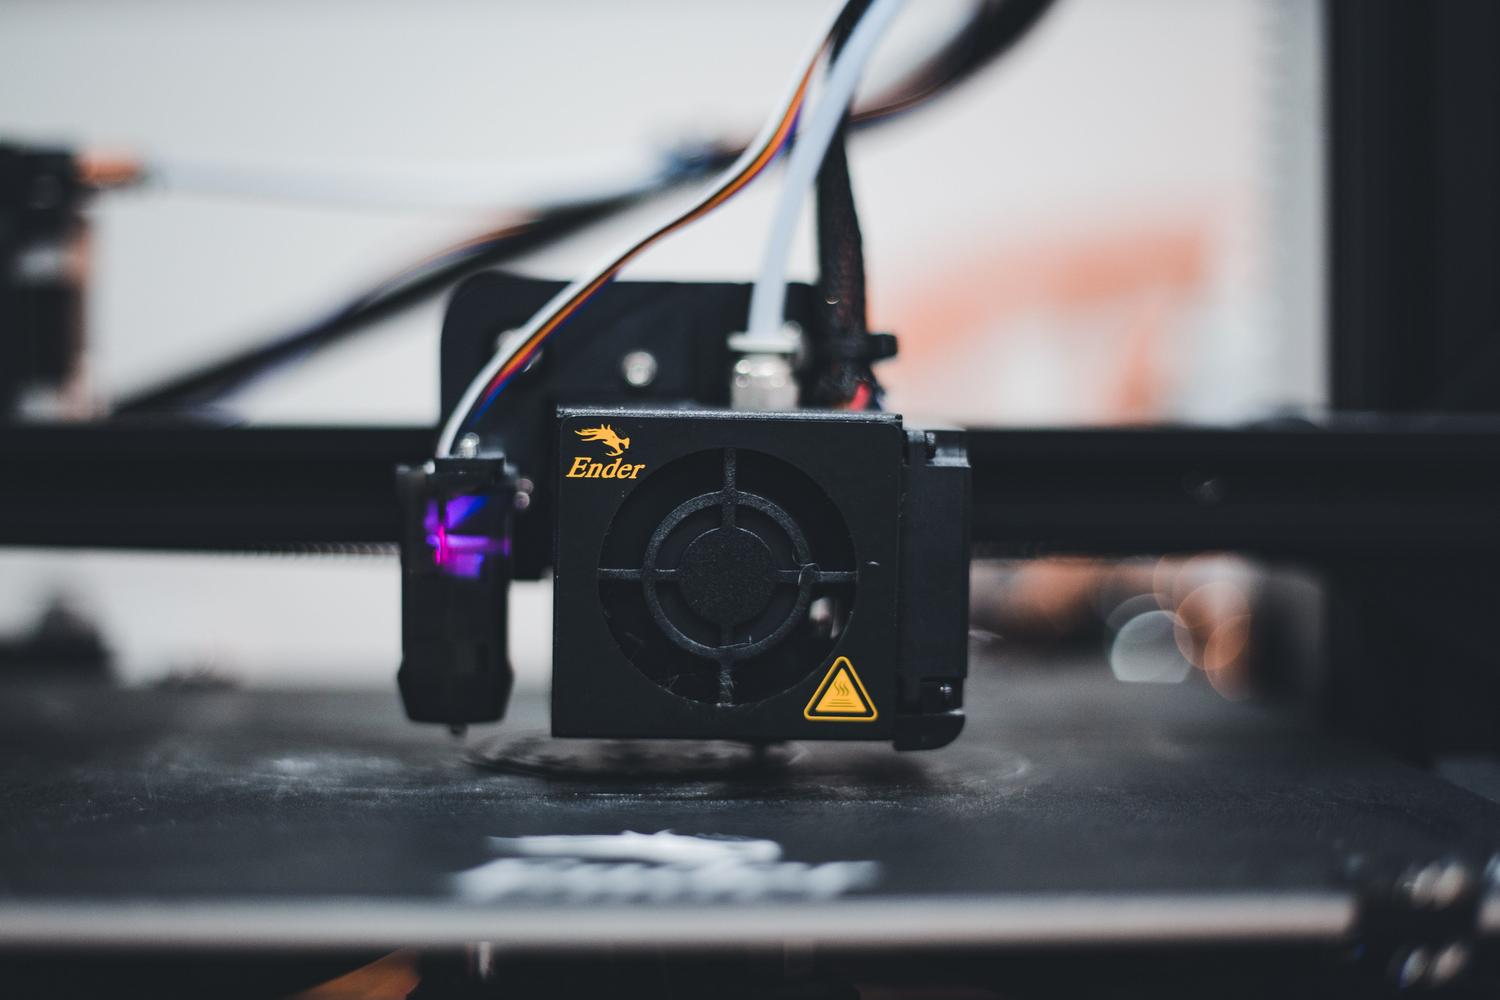
Before starting, heat the extruder to the working temperature of your material so that the plastic flows without restrictions and there is no friction that will distort the measurement.
Step 1: Marking the filament. To avoid the reference point being hidden inside the extruder body, I recommend marking the filament 110 mm from the inlet . This way, after extruding the desired amount, you'll still have some leeway to measure comfortably.
Step 2: Run the extrusion. Connect the printer to the PC and send the command G1 E100 F100 . This tells the machine to extrude 100 mm of material at a slow and conservative speed to prevent the pressure on the hotend from affecting the result.
Step 3: Measuring the result. Measure the distance from the mark you made to the extruder inlet. If the value is exactly 10 mm , you're in luck and you don't need to touch anything! If it's different, it means there's an error that needs to be corrected.
Step 4: Obtain the current value. You need to know what steps the printer is currently configured with. Send the M503 command and look for the line that begins with M92 ; the number following the E value represents your current e-steps.
Step 5: Calculating the new value. First, calculate how much material was actually extruded by subtracting the final measurement from the initial 110 mm. Then, apply the following formula: (100 mm × Current steps) / Actual extruded distance = New steps.
Step 6: Save the configuration. To apply the change, send the command M92 E , replacing the brackets with your result. Very important: then send the command M500 so that the value is saved in the EEPROM memory and is not erased when the machine is turned off.
Step 7: Verification. Turn the printer off, turn it on, and run the 100 mm test again to confirm that the measurement is now accurate.
Special cases: Klipper and other firmwares
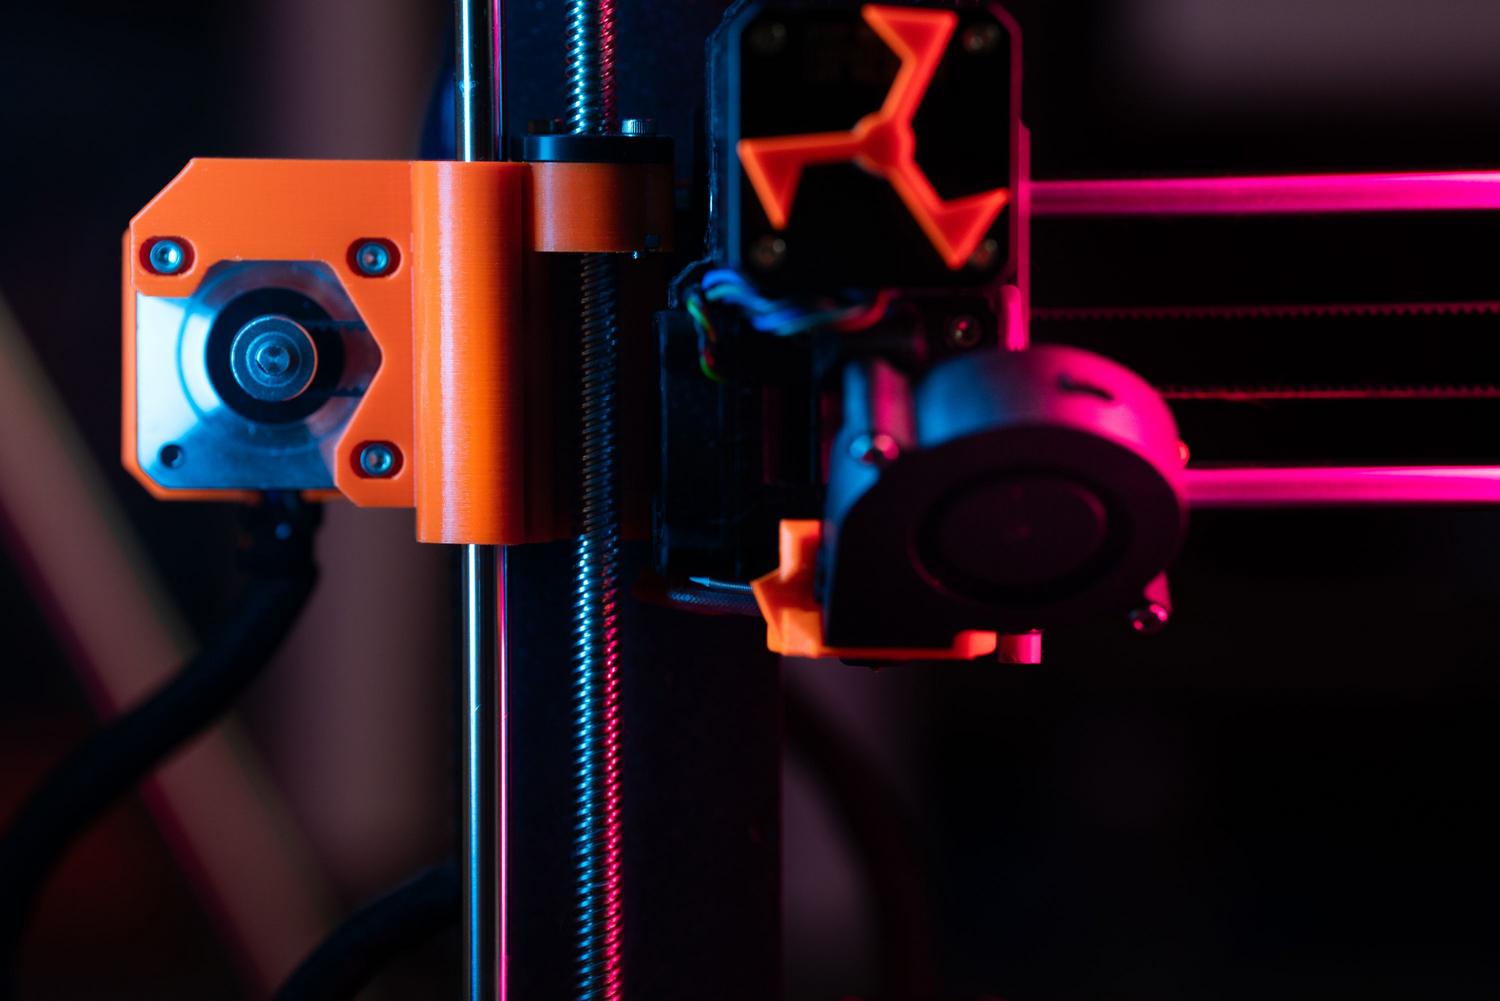
If you're using Klipper , forget about the M92 command, as it doesn't work the same way as in Marlin. In Klipper, you need to find the `rotation_distance` parameter in your `printer.cfg` file. The formula changes slightly: you multiply the current rotation distance by the ratio between the expected output and the actual output.
For Marlin users , if you notice that the extrusion speed is not correct despite the steps, check that the firmware is compatible with your board (for example, using a 32-bit version on modern boards) to avoid communication errors or speed bugs.
What to do after calibrating the steps?
Once the motor is pushing the exact amount of plastic, you can move on to the next adjustments. The logical order would be: Temperature tower to select the optimal material temperature, then the flow multiplier to adjust the wall density, and finally, shrinkage tests to eliminate threads.
Remember that if you perform deep maintenance, such as cleaning the extruder or changing the nozzle, it is highly recommended to go through this process again to ensure that performance remains optimal.
Ensuring that the extruder motor moves the precise amount of filament is the first critical step for any successful print, eliminating underextrusion problems and allowing flow and temperature settings to work on a solid and realistic basis.