- The CMOS battery maintains the BIOS settings and the accuracy of the internal clock (RTC) when the computer is turned off.
- The main symptoms of exhaustion are the loss of date and time or error messages such as CMOS Checksum Error on startup.
- Most modern PCs use CR2032 button cell batteries, while retro equipment may have soldered batteries prone to corrosion.
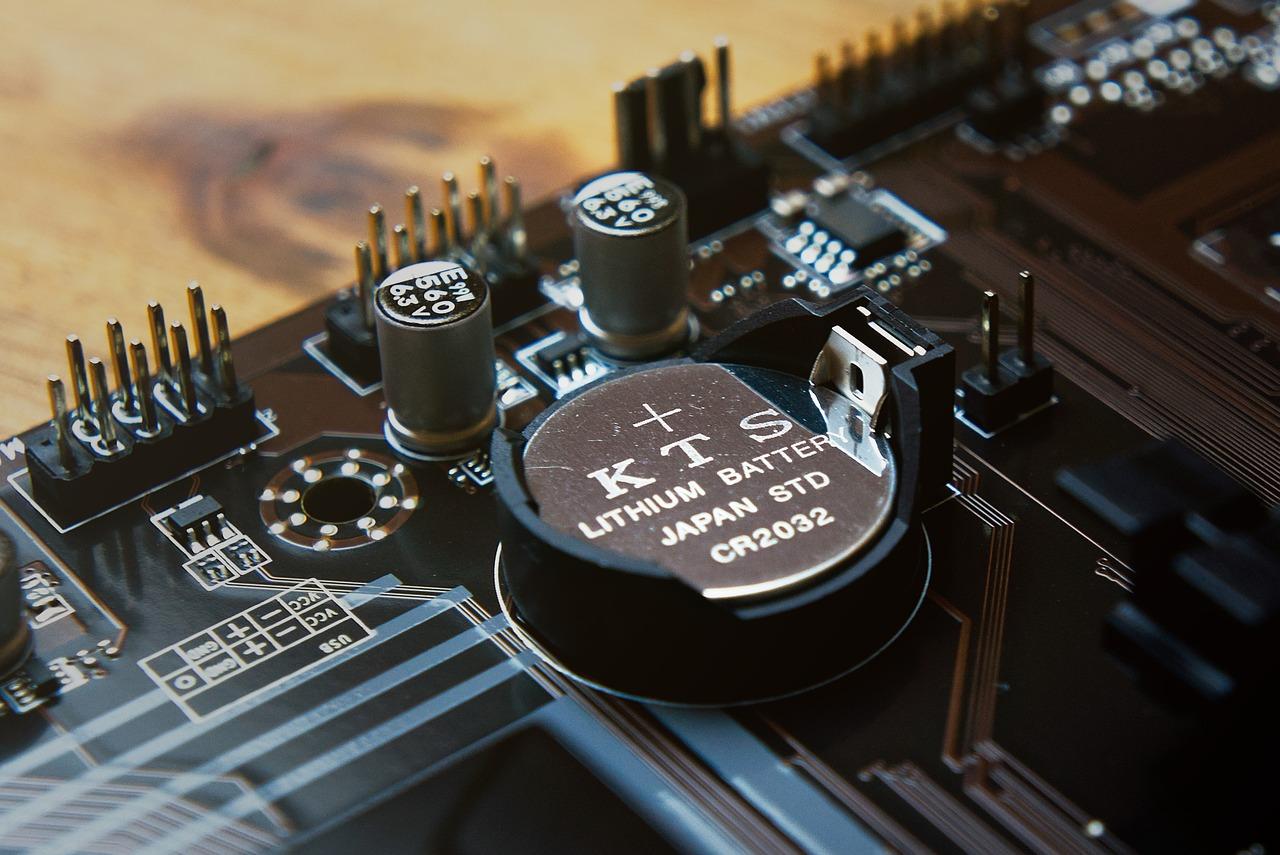
I'm sure it's happened to you: you turn on your computer and suddenly the date and time are completely out of sync, or a strange message pops up at startup that you don't understand. Don't panic, it's most likely not a serious problem; it's just that the small battery on the motherboard has died. This component, although tiny and often overlooked, is what keeps the heart of your computer's system running when it's not plugged in.
In this article, we'll delve into the specifics of the battery, explaining its function, how to tell when it's dead, and, most importantly, how to replace it yourself without making a mess. Whether you have a modern PC or a retro machine with soldered batteries , this guide will help you get your system running smoothly and avoid those annoying BIOS errors.

What is the function of the motherboard battery?
The motherboard battery powers the Real Time Clock (RTC) , which is simply the real-time clock. Thanks to it, the system knows the time even when the PC is turned off. But its job doesn't end there, as it also supplies power to the CMOS memory , where the BIOS's custom settings are stored, such as the boot order of the disks or the cache memory configuration.
The BIOS is essentially the instruction manual that tells the hardware how to interact with the software. If the battery fails, the computer loses this data, and although the computer will still power on, you'll have to reconfigure the settings every time you start it up, which is a significant hassle and can cause connection problems in web browsers by detecting an incorrect date.
Clear signs that you need to change the battery
You don't need to be a computer expert to notice that something is wrong. The most obvious symptom is that the system clock slows down or resets to an old date every time you shut down the computer. In addition, it's very common for specific warnings to appear on the screen during the power-on self-test (POST) process, alerting you to the problem.
Some of the most common error messages are "CMOS Read Error," "CMOS Battery Failure," or the classic "CMOS Checksum Error – Defaults Loaded." You might also encounter warnings about CPU overclocking failures or messages indicating that a new processor has been installed, when in reality it's simply that the BIOS has lost its memory due to a power outage.

Types of batteries according to the age of the PC
Depending on the age of your computer, you'll encounter very different technologies. The vast majority of modern computers use the CR2032 coin cell battery . It's a flat, round, 3-volt lithium cell that's extremely inexpensive and sold in any supermarket or electronics store.
- Button cell batteries (CR2032): They are the modern standard, easy to remove and with a lifespan of between 3 and 5 years.
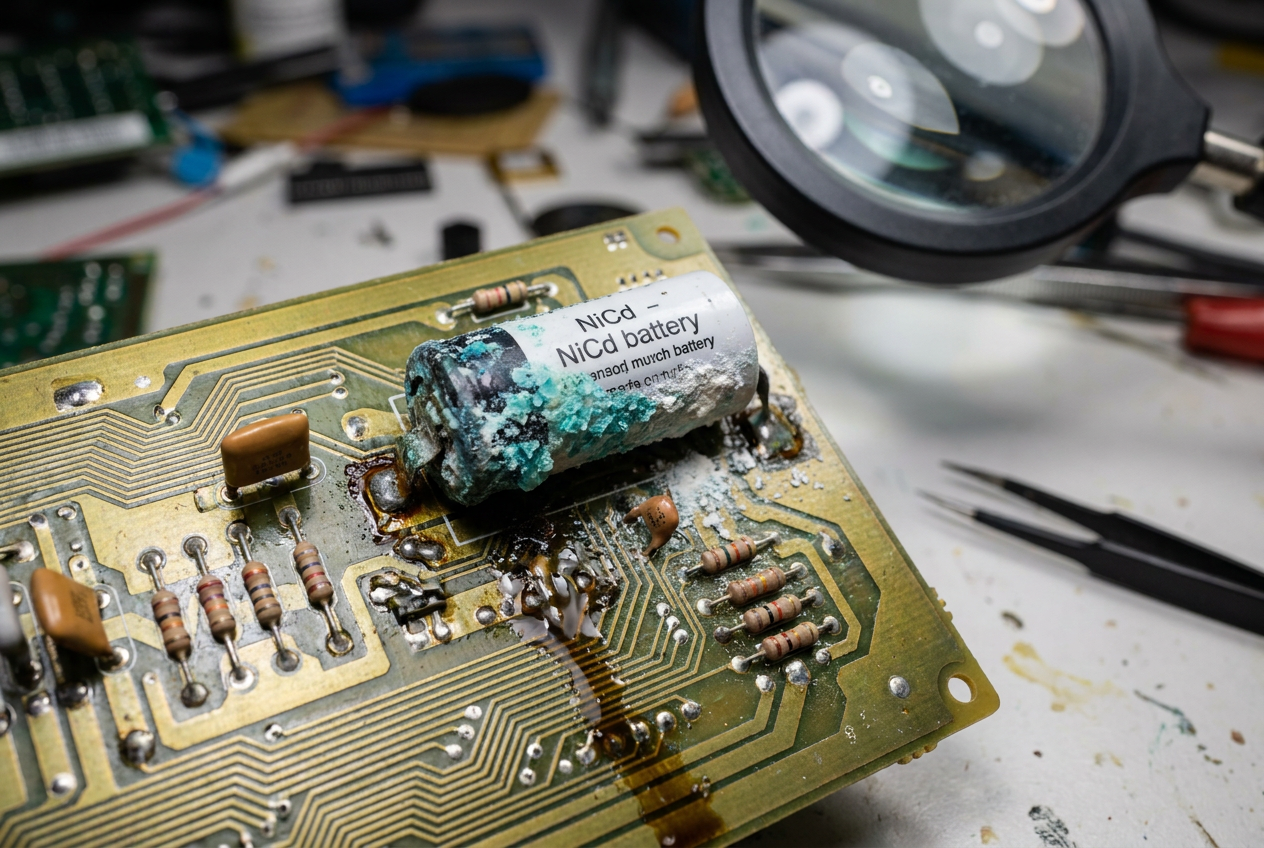
- Retro systems (NiCd and NiMH): Very common in 286, 388, and 486 motherboards. These were rechargeable (3,6V) but have a danger: over time They often release corrosive acid which can destroy the copper traces on the board.
- Other variants: Some older models had integrated RTC chips (like the Dallas DS1287) or wired external batteries.
Step-by-step guide to replacing the battery
Before you start messing with anything, I recommend entering the BIOS setup and noting down the current values . Since removing the battery will reset the system to factory settings, having a record of your configuration will save you a lot of trouble later.

Preparation and security
The first thing to do is turn off the device and disconnect all power cables . Once the casing is open, it's crucial to touch a grounded metal object to discharge any static electricity , as even a small accidental spark could fry a sensitive component. If you have anti-static gloves, even better.
Location and extraction
Look on the motherboard for a round, flat piece. Sometimes it can be hidden under an expansion card or ribbon cables. To remove it, pay attention to the polarity (the positive side is usually facing up). Most have a metal retaining clip that you should gently push with your finger or a small screwdriver to pop the battery out.
Installation of the new part
Take the old battery to the store to ensure you buy an identical one. When inserting the new battery, make sure it fits snugly in the socket and doesn't move, as a poor connection could cause the problem to persist. Once installed, close the casing and reconnect all the wiring.
Final BIOS settings
When you turn on your PC, it will enter the BIOS again. Here you'll need to adjust the current date and time and verify that the settings you noted earlier are still correct. Don't forget to save the changes (usually by pressing F10) before exiting so that everything is saved in the new CMOS memory.

How to proceed with soldered or old batteries
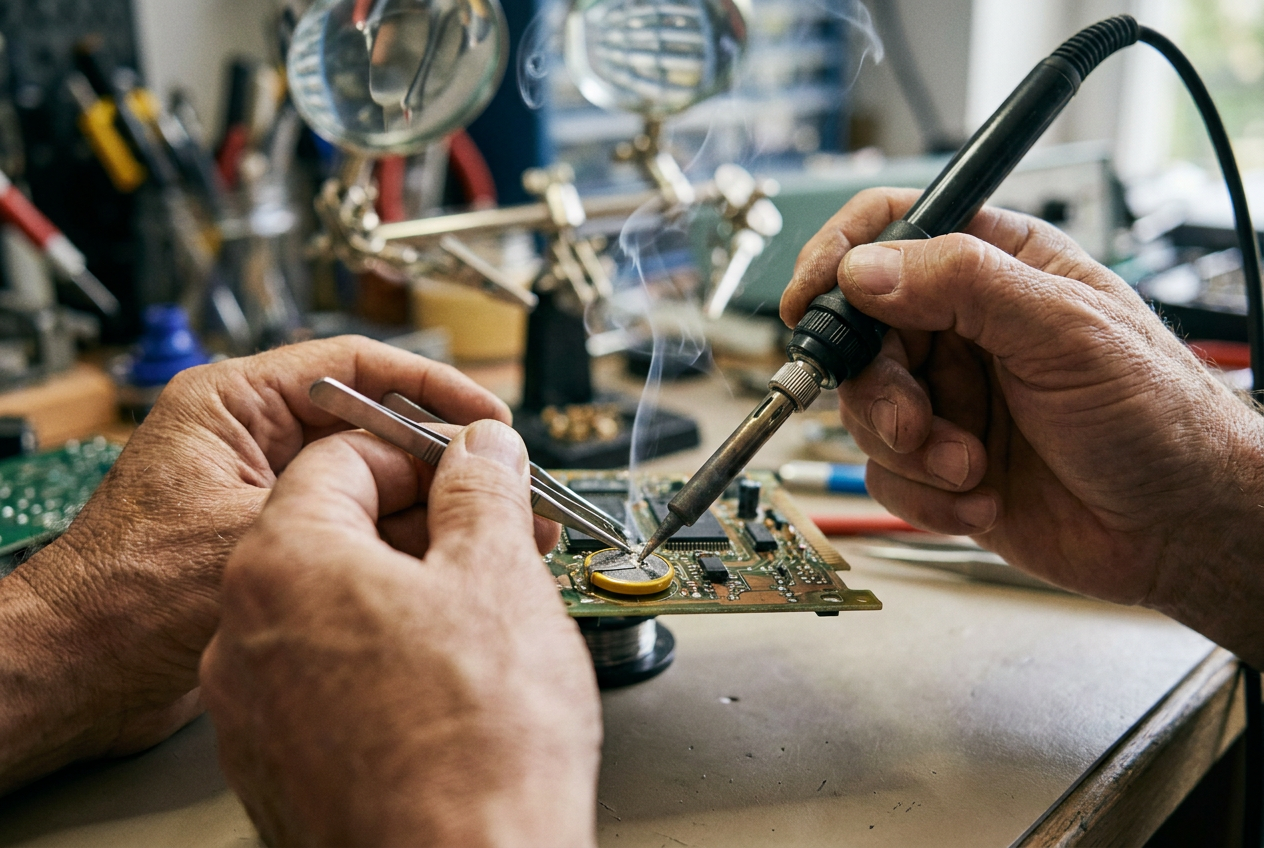
If you have an older device with NiCd or NiMH batteries, the process is more delicate because they are soldered to the circuit board . The most urgent thing is to remove them as soon as possible to prevent irreversible corrosion. You have two options: use battery cutters to carefully remove the battery from the side, or use a soldering iron to desolder each terminal without lifting the copper traces.
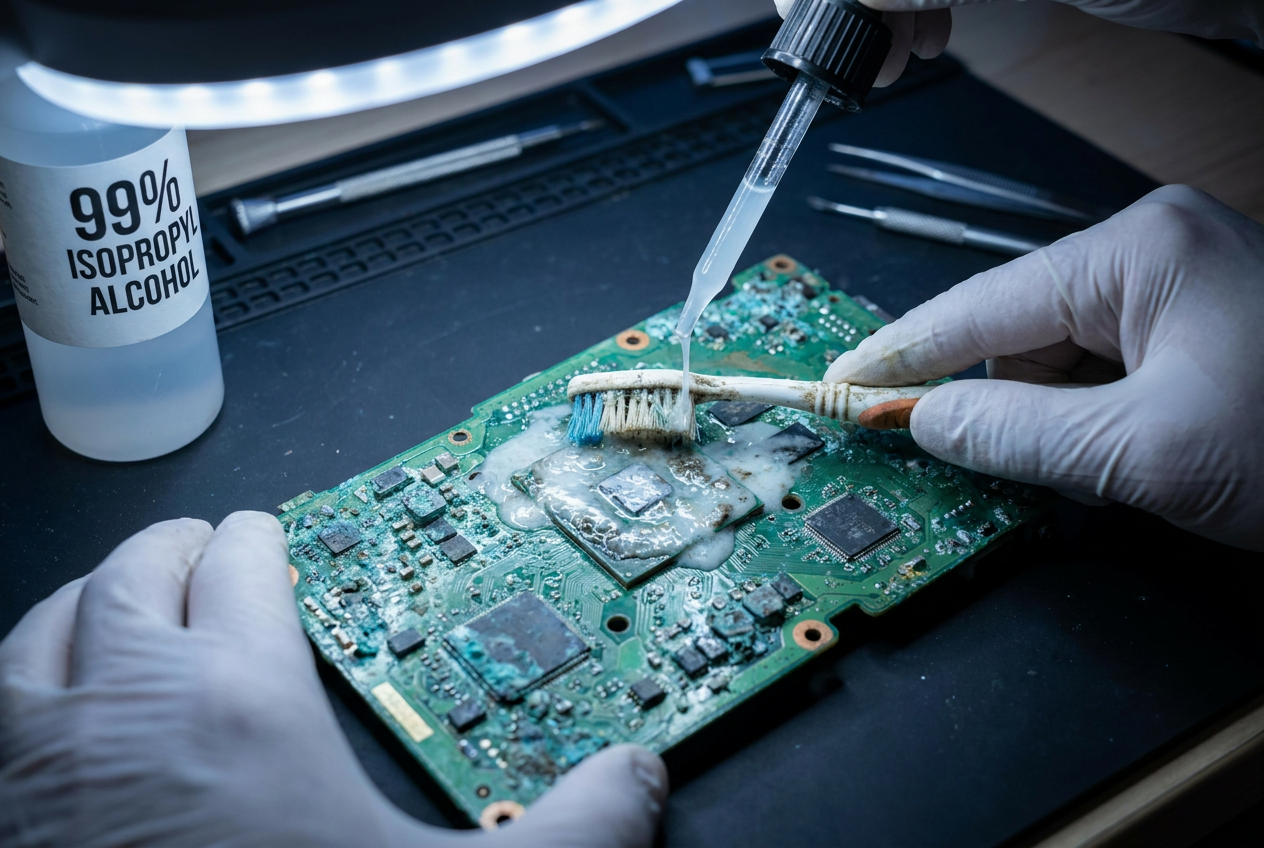
If you notice any battery leaks, clean the area with isopropyl alcohol and a toothbrush . In cases of more severe corrosion, a mixture of baking soda and distilled water , or even white vinegar, can neutralize the acid. It is vital to dry the area completely with compressed air or absorbent paper before attempting to turn on the device.
Keeping your motherboard battery up to date prevents your system from losing critical settings and ensures the internal clock runs accurately. From simply replacing a CR2032 battery to delicately cleaning corroded backlights, taking care of this small component is key to preventing boot errors and ensuring seamless communication between your hardware and software.
