- Windows allows you to install and configure microphones from Settings and Control Panel.
- It is essential to adjust the input volume and test the microphone to ensure clear audio.
- Privacy permissions control which apps can access the microphone.
- Windows 10 and 11 offer tools to manage devices, troubleshoot problems, and improve the user experience.
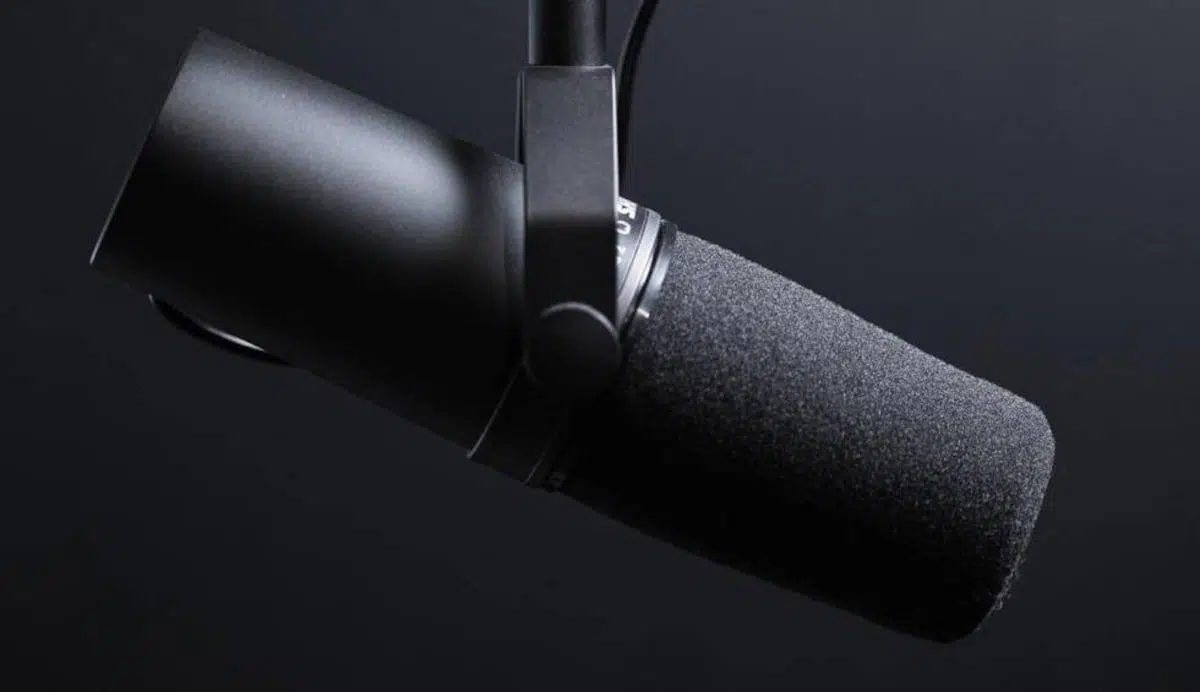
If you use your computer for video calls, online gaming, or recording content, having your microphone properly adjusted in Windows is practically essential. A poorly configured microphone results in low sound, constant dropouts, or simply not being heard at all —something especially annoying in work meetings or online classes.
The good news is that Windows 10 and Windows 11 include comprehensive tools for managing all aspects of audio input. With them, you can install a new microphone, test its functionality, adjust its volume, grant usage permissions to applications , and even fine-tune speech recognition settings. Everything is built into the system itself, without the need for any third-party programs.
Connect and install a new microphone in Windows
First things first: before changing any settings, you need to physically connect the microphone to your computer and make sure the cable or dongle is properly connected. If it's USB, plug it into an available port; if it's a mini-jack, make sure you're using the microphone input and not the headphone input.
Windows usually detects new audio devices automatically and, in most cases, configures the microphone itself as soon as you connect it . Even so, it's worth double-checking that everything is working correctly to avoid any surprises when you join a meeting on Teams, Zoom, or Discord.
In Windows 10 and Windows 11, the starting point for managing sound devices is the same: the System Settings panel . From there, you can see all connected microphones, choose which one you want to use by default, and adjust several basic parameters.
To access these options, in both versions you can press the Windows key + I or open the Start menu and click the gear icon. Once there, you'll have access to the section where all the System and Sound options are grouped , which is where the interesting part for the microphone is located.
Configure the microphone from Windows Settings
The simplest and most straightforward way to fine-tune your microphone is to use the modern Windows Settings app, which centralizes sound input and output settings . This is the recommended method for the vast majority of users.
In Windows 10, when you open Settings, you have to go to the "System" section to access all the options for display, notifications, power, and, of course, sound . In Windows 11, the approach is very similar, although the design is slightly different, but the path remains just as intuitive.
Within System, you'll see the "Sound" category in the sidebar , which is where everything related to speakers, headphones, and microphones is located . Upon entering, the screen is divided into two main sections: output (what you hear) and input (what your microphones capture).
The section we're interested in here is the input. There you'll find a drop-down menu with all the microphones the system has detected and that are available . If you're using a laptop, you'll almost certainly see at least the built-in microphone, and if you've plugged in another one via USB or jack, it should also appear in the list.
If your microphone is Bluetooth, instead of appearing directly, you might need to add it first as a wireless device using the "Add a device" option . Windows will guide you step-by-step through the pairing process, and once connected, it will appear in the input list like any other device.
Just below the device selection, there's usually a section for testing the microphone in real time using a level bar . This bar moves as you speak, and it's a quick way to see if the system is receiving a signal and if the volume is reasonable.
In addition, the sound panel often displays extra buttons, such as a "Device Properties" button for renaming the microphone, disabling it, or fine-tuning its input volume . There may also be shortcuts to an automatic troubleshooter and a list of all connected sound devices to enable or disable them as needed.
Test an already installed microphone and adjust its volume
Even if the microphone appears in the list of input devices, it's important to check that the sound is coming through at a sufficient level and without any unexpected dropouts . Don't just rely on it appearing in the menu: you have to test it.
From the Sound section in Settings, select the microphone you want to check from the input list and, to the right of its name, access its properties page to see the specific options for that device . That's where you can perform a more thorough test.
On that screen, you'll usually find an "Input Settings" section that includes a button to start a quick recording test . When you press it, Windows begins recording your voice for a few seconds while you speak in a normal tone, without shouting or whispering.
Once you're finished, you can stop the test and play back the recorded sample to hear exactly how the system hears you . This is very useful for detecting if the volume is too low, if there's excessive background noise, or if your voice sounds too distorted.
In that same area, you'll see an "Input Volume" slider , which lets you increase or decrease the microphone's sensitivity . If your voice is barely audible when you play back the test, increase the input volume. Conversely, if it sounds distorted or clipped, decrease it slightly until you find a balanced sound.
There's also usually a link to "Additional Device Properties." Clicking there will reveal more tabs with advanced information: driver details, default device selection, level settings, and advanced formatting and enhancement options.
The "Levels" tab is especially important if you notice that the microphone sounds very quiet , even with the volume at maximum in the basic settings. In many cases, you can apply extra amplification or a "boost" there, which strengthens the signal so your voice comes through more clearly.
Configure the microphone from the classic Control Panel
While the modern Windows Settings app is the most convenient way, the classic Control Panel is still available, offering older but very comprehensive tools for managing audio . It's especially useful if you want to tweak features like speech recognition.
To open it, simply go to the Start menu and type "control panel" in the search box. When it appears in the list, click on its icon to open this traditional view of system options , which has been a part of Windows for several versions.
Within the Control Panel, look for the section called "Hardware and Sound," which groups together everything related to devices, printers, and audio . You don't need to choose any specific sub-option at first; simply clicking on the general heading is enough.
In the sidebar or the main list, you'll see the "Sound" category, which opens a dedicated window with all your playback, recording, and communication devices . This window is a familiar one to many Windows users, and it remains very powerful.
Within that window, you have several tabs; the one we're interested in now is "Recording," where all available microphones and input devices are listed . There you can see which one is active, which ones are disabled, and which one is the default for applications.
Double-clicking any of the microphones in the list opens the same properties window as the one accessed through Modern Settings. This means you can also adjust levels, check drivers, and decide whether that microphone will be the primary one for your system.
Additionally, at the bottom there's a button called "Configure," designed primarily to adjust the microphone's behavior for voice recognition tasks . It's not so much for volume or sound quality as it is for helping the system better understand what you're saying.
Clicking on "Configure microphone" launches a wizard that will ask you to select the type of microphone you are using (for example, desktop, headset, or built-in screen ). Then, it will have you read a few sentences aloud to calibrate the level and clarity of your speech.
This configuration is primarily geared towards functions such as voice dictation or voice commands in Windows , but it can also help the system automatically adjust certain parameters to better recognize what you say.
Enable microphone permissions for applications in Windows 10
In recent versions of the system, Microsoft has incorporated a permissions system similar to that of mobile devices. This means that even if the microphone is correctly installed, applications will not be able to use it unless you grant them explicit permission through the privacy settings.
In Windows 10, to review these permissions you need to go to Settings and then to the "Privacy" section . This is where everything related to app access to the camera, microphone, location, etc., is centralized.
Within Privacy, in the left-hand column, you'll see a list of permission categories. Select "Microphone" within the "App Permissions" section . This is where you decide who can and cannot use your audio input device.
At the top of that window, you'll see a switch that controls "Microphone access for this device ." If it's turned off, no application will be able to use it, even if the hardware is working perfectly. Make sure it's in the "on" position.
Just below that is another control to allow applications to access the microphone in general . Again, this switch must be enabled if you want programs like Skype, Zoom, or Teams to even request access.
Below, you'll find a list of Microsoft Store apps, each with its own individual toggle switch . Here, you can enable or disable microphone access app by app, so only the ones you actually need can hear your voice.
If you scroll down further, you'll also see a specific section for classic desktop applications (such as video calling clients, games, or professional tools) . There's a global switch to allow these types of programs to use the microphone; it's a good idea to have it enabled if you work with applications installed outside of the Microsoft Store.
Managing microphone access in Windows 11
In Windows 11, the idea is the same, but the interface has been redesigned to be clearer and more modern. You still need to grant permissions before applications can capture audio from your microphone, both to protect your privacy and to have more control over what each program does.
To get to this section, open Settings (Windows key + I) and in the left sidebar go to "Privacy and security," the command center where all permissions are managed . There you'll see a section called "App permissions" with several entries.
Within that section, click on "Microphone" to access all the access options related to this device . Once there, you'll see a switch called "Microphone Access" that you must have enabled for the system to allow its use.
Below you'll find the setting "Allow apps to access your microphone," which controls whether apps installed from the Microsoft Store can use it . It's recommended to keep it turned on and then decide which specific apps you want to authorize.
The list below shows all the applications that can potentially use the microphone, each with its own individual switch to grant or deny access . You can select only the ones you actually need (for example, your video calling program, your voice recorder, or your video editing software).
In many cases, there's also a section for apps that aren't from the Microsoft Store—that is, traditional desktop apps . There, you can decide whether or not to allow them to access your microphone, which is important if you use tools like Zoom, Discord, OBS, or similar applications.
Thanks to this model, microphone management in Windows 11 is not only simple, but it also allows you to maintain greater control over your privacy by deciding which programs can listen and which cannot. It's an extra step, but highly recommended.
Practical tips and common microphone problems
Even with everything properly configured, it's not uncommon to encounter problems: no sound, excessive background noise, or the voice being too quiet. Fortunately, most of these issues can be resolved by reviewing a few basic settings in the input configuration and application permissions.
If people can't hear you on a call, the first thing to check is that the correct microphone is selected as the default device in Windows . Sometimes, the system defaults to the headset microphone when you want to use an external USB microphone, or vice versa.
It's also a good idea to check that the application you're using to communicate (Teams, Zoom, Google Meet, Discord, etc.) has the same microphone configured as the one you've selected in Windows . Many have their own audio settings, and you might be speaking into one microphone while the program tries to use another.
If the volume is very low even with the controls at maximum, go into the device's advanced properties, to the "Levels" tab, and adjust both the main volume and any additional gain . However, if you increase the gain too much, you can introduce noise, so try different values until you find the right balance.
If you experience annoying noises or buzzing, check the cables, try a different USB port, and move the microphone away from sources of interference such as routers or power strips . Some built-in sound cards generate more noise than others; in those cases, a USB microphone with its own conversion might be a good alternative.
If none of this works, Windows includes tools to automatically find and fix sound problems . You can access these troubleshooters from Sound Settings, which check everything from drivers to basic system settings.
Once you've mastered these options, you'll see that setting up a microphone in Windows, whether version 10 or 11, is just a matter of spending a few minutes in the appropriate sections. With the device properly connected, privacy settings in order, and input levels adjusted, you'll be able to participate in meetings, record audio, or use speech recognition without any hassle.
