- Ventoy allows you to store various ISO, WIM, IMG, and VHD images on a single drive without needing to format the device each time.
- The tool is compatible with a huge variety of operating systems, including Windows, Linux and Unix distributions, in both BIOS and UEFI modes.
- Its operation is based on copying and pasting the files directly into the memory, eliminating the need to extract the contents of the ISOs.
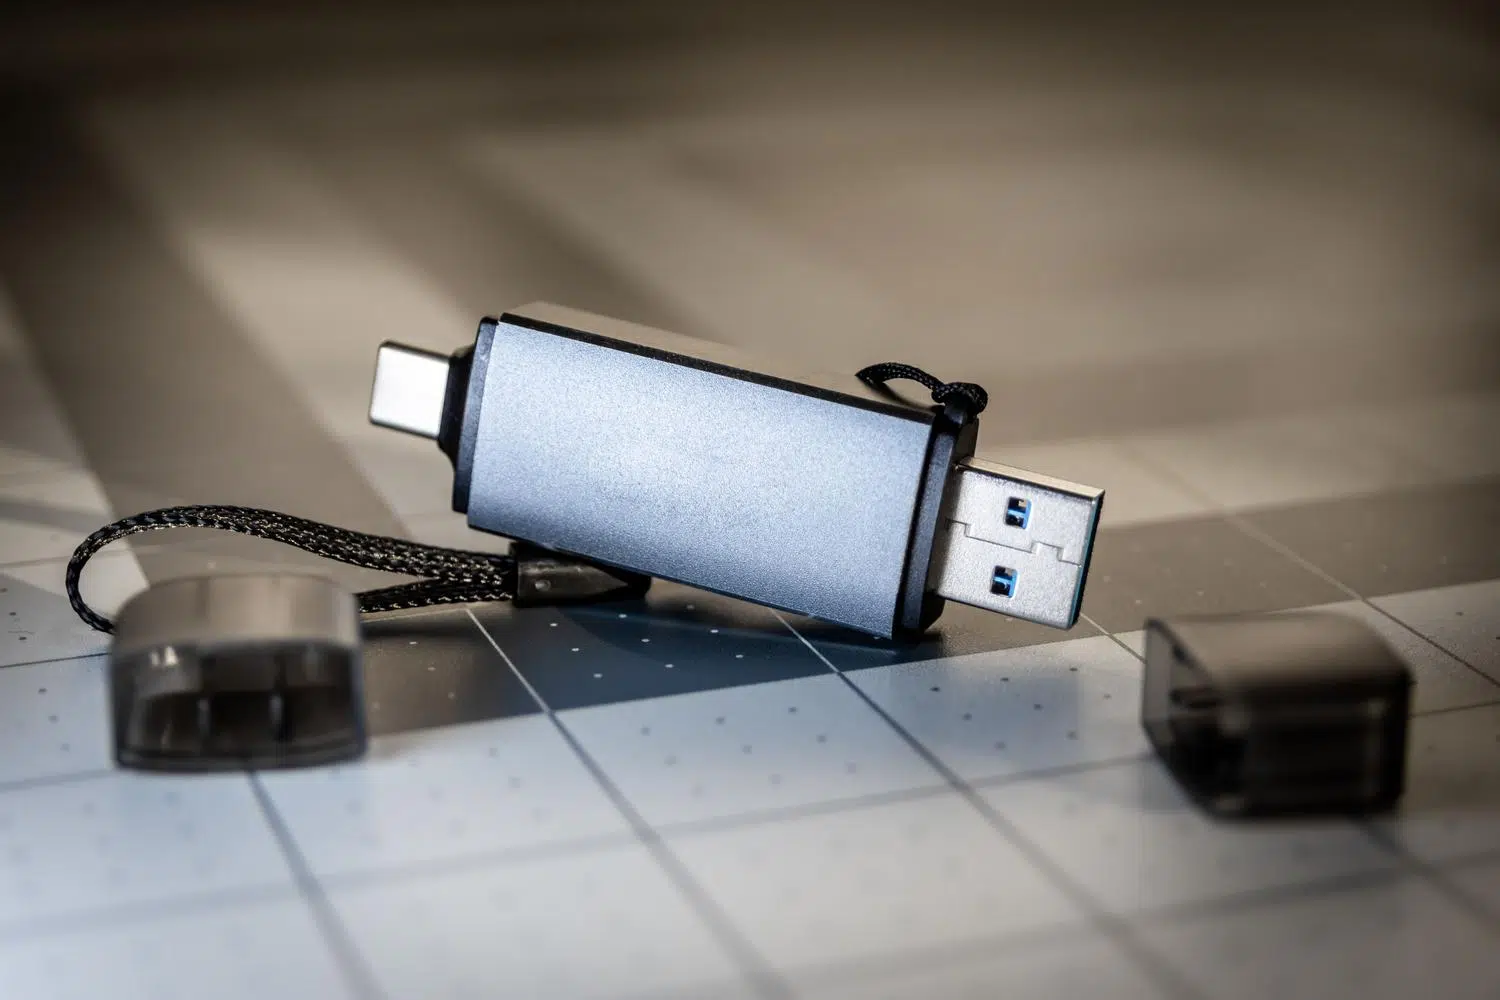
Have you ever needed to install an operating system, and just when you have the USB drive ready, you realize you need a different version or a recovery tool? It's a real hassle to have to erase everything and start over every time. To solve this headache, there's the concept of a multiboot USB drive , a configuration that allows you to store multiple bootable systems on the same device, letting you choose which one to launch via an interactive menu when you turn on your computer.
Among all the available options, Ventoy stands out as the star tool because it's open source and extremely easy to use. Unlike traditional methods, there's no need to decompress ISO images or struggle with complex software; simply install the tool once and then manage your files as if they were a normal folder on your computer, making it ideal for IT technicians and computer enthusiasts.

Main features of Ventoy
What makes this software stand out is its versatility. It supports a vast number of formats, not only ISO files, but also WIM, IMG, VHD(x), and EFI . Furthermore, it's compatible with virtually any boot architecture, from Legacy BIOS to UEFI mode (including IA32, x86_64, ARM64, and MIPS64EL), and can bypass Secure Boot in many cases.
As for system compatibility, the list is overwhelming. It includes Linux distributions like Ubuntu, Debian, Fedora, Kali, and Manjaro , as well as versions of Windows 7, 8, 10, 11, and Windows Server . It even supports virtualization environments like VMware ESXi and Citrix XenServer. Best of all, it supports files larger than 4GB and allows the use of various file systems on the main partition, such as NTFS, exFAT, and Ext4.


Step-by-step installation on Windows
If you're using a Microsoft system, the process is a piece of cake. First, go to the official Ventoy website or its GitHub repository to download the ZIP package. Once downloaded, extract the contents to a folder of your choice and run the file called Ventoy2Disk.exe.
Within the interface, select the USB drive you want to prepare. Be very careful not to erase the wrong drive , as the installation will completely format it. Click "Install," confirm the data loss warning, and wait a few seconds. When the program notifies you that everything went well, you'll see your USB drive appear on your computer as an empty drive, ready to use.
Configuration in GNU/Linux environments
For Linux users, the process is equally quick, although it can be done via the terminal. After downloading the tar.gz file from the official website and extracting it, you must navigate to the folder and run the installation script. This is essential. correctly identify the device path (for example, /dev/sdb or /dev/sdc) using commands such as lsusb o lsblk.
The command to execute would be sudo sh Ventoy2Disk.sh -I /dev/sdXreplacing X with your drive letter. After accepting the wizard in the console, the software will create the necessary partitions. It's worth mentioning that, since version 1.0.36, Ventoy offers a web browser-based graphical interface using the script VentoyWeb.shThis makes life easier for those who don't want to struggle with the command line.

ISO management and system startup
Once Ventoy is installed on your USB drive, the easiest part begins: simply drag and drop the ISOs you want onto the drive's root directory. There's no need to extract anything; the program automatically detects the files and adds them to the boot menu. If you have many images, you can create folders to organize them (for example, one folder for "Windows" and another for "Linux"), and Ventoy will display them neatly in the boot menu.
To get started, connect the USB drive, restart your PC, and enter the BIOS or UEFI (by pressing F2, F12, Delete, or Esc, depending on your motherboard) to change the boot order and prioritize the USB drive. When you boot, a screen will appear listing all the operating systems you've copied; simply select the one you need and press Enter.

Advanced tricks: Persistence and Updates
If you need the changes you make in a Live system (like Kali Linux) to be saved for next time, you can configure a persistent USB driveFor this purpose, the script is used. CreatePersistentImg.shThis generates an image file where the data will be stored. This file must be copied to the USB drive so that the operating system has a actual storage space and not have everything erased upon restarting.
When a new version of Ventoy is released, there's no need to delete your ISOs. Simply download the updated version and run the program, choosing the "Update" option instead of "Install ." This way, the software updates without affecting the files you already have stored on your drive, which is a huge advantage over other flashing programs.
Having a device capable of booting dozens of tools and operating systems without complications is a competitive advantage for any advanced user. Thanks to its direct copy architecture and cross-platform support , Ventoy eliminates the tedious task of constantly formatting USB drives, allowing flexible management of ISO, VHD, and WIM images that greatly simplifies computer maintenance and experimentation with new operating systems.
