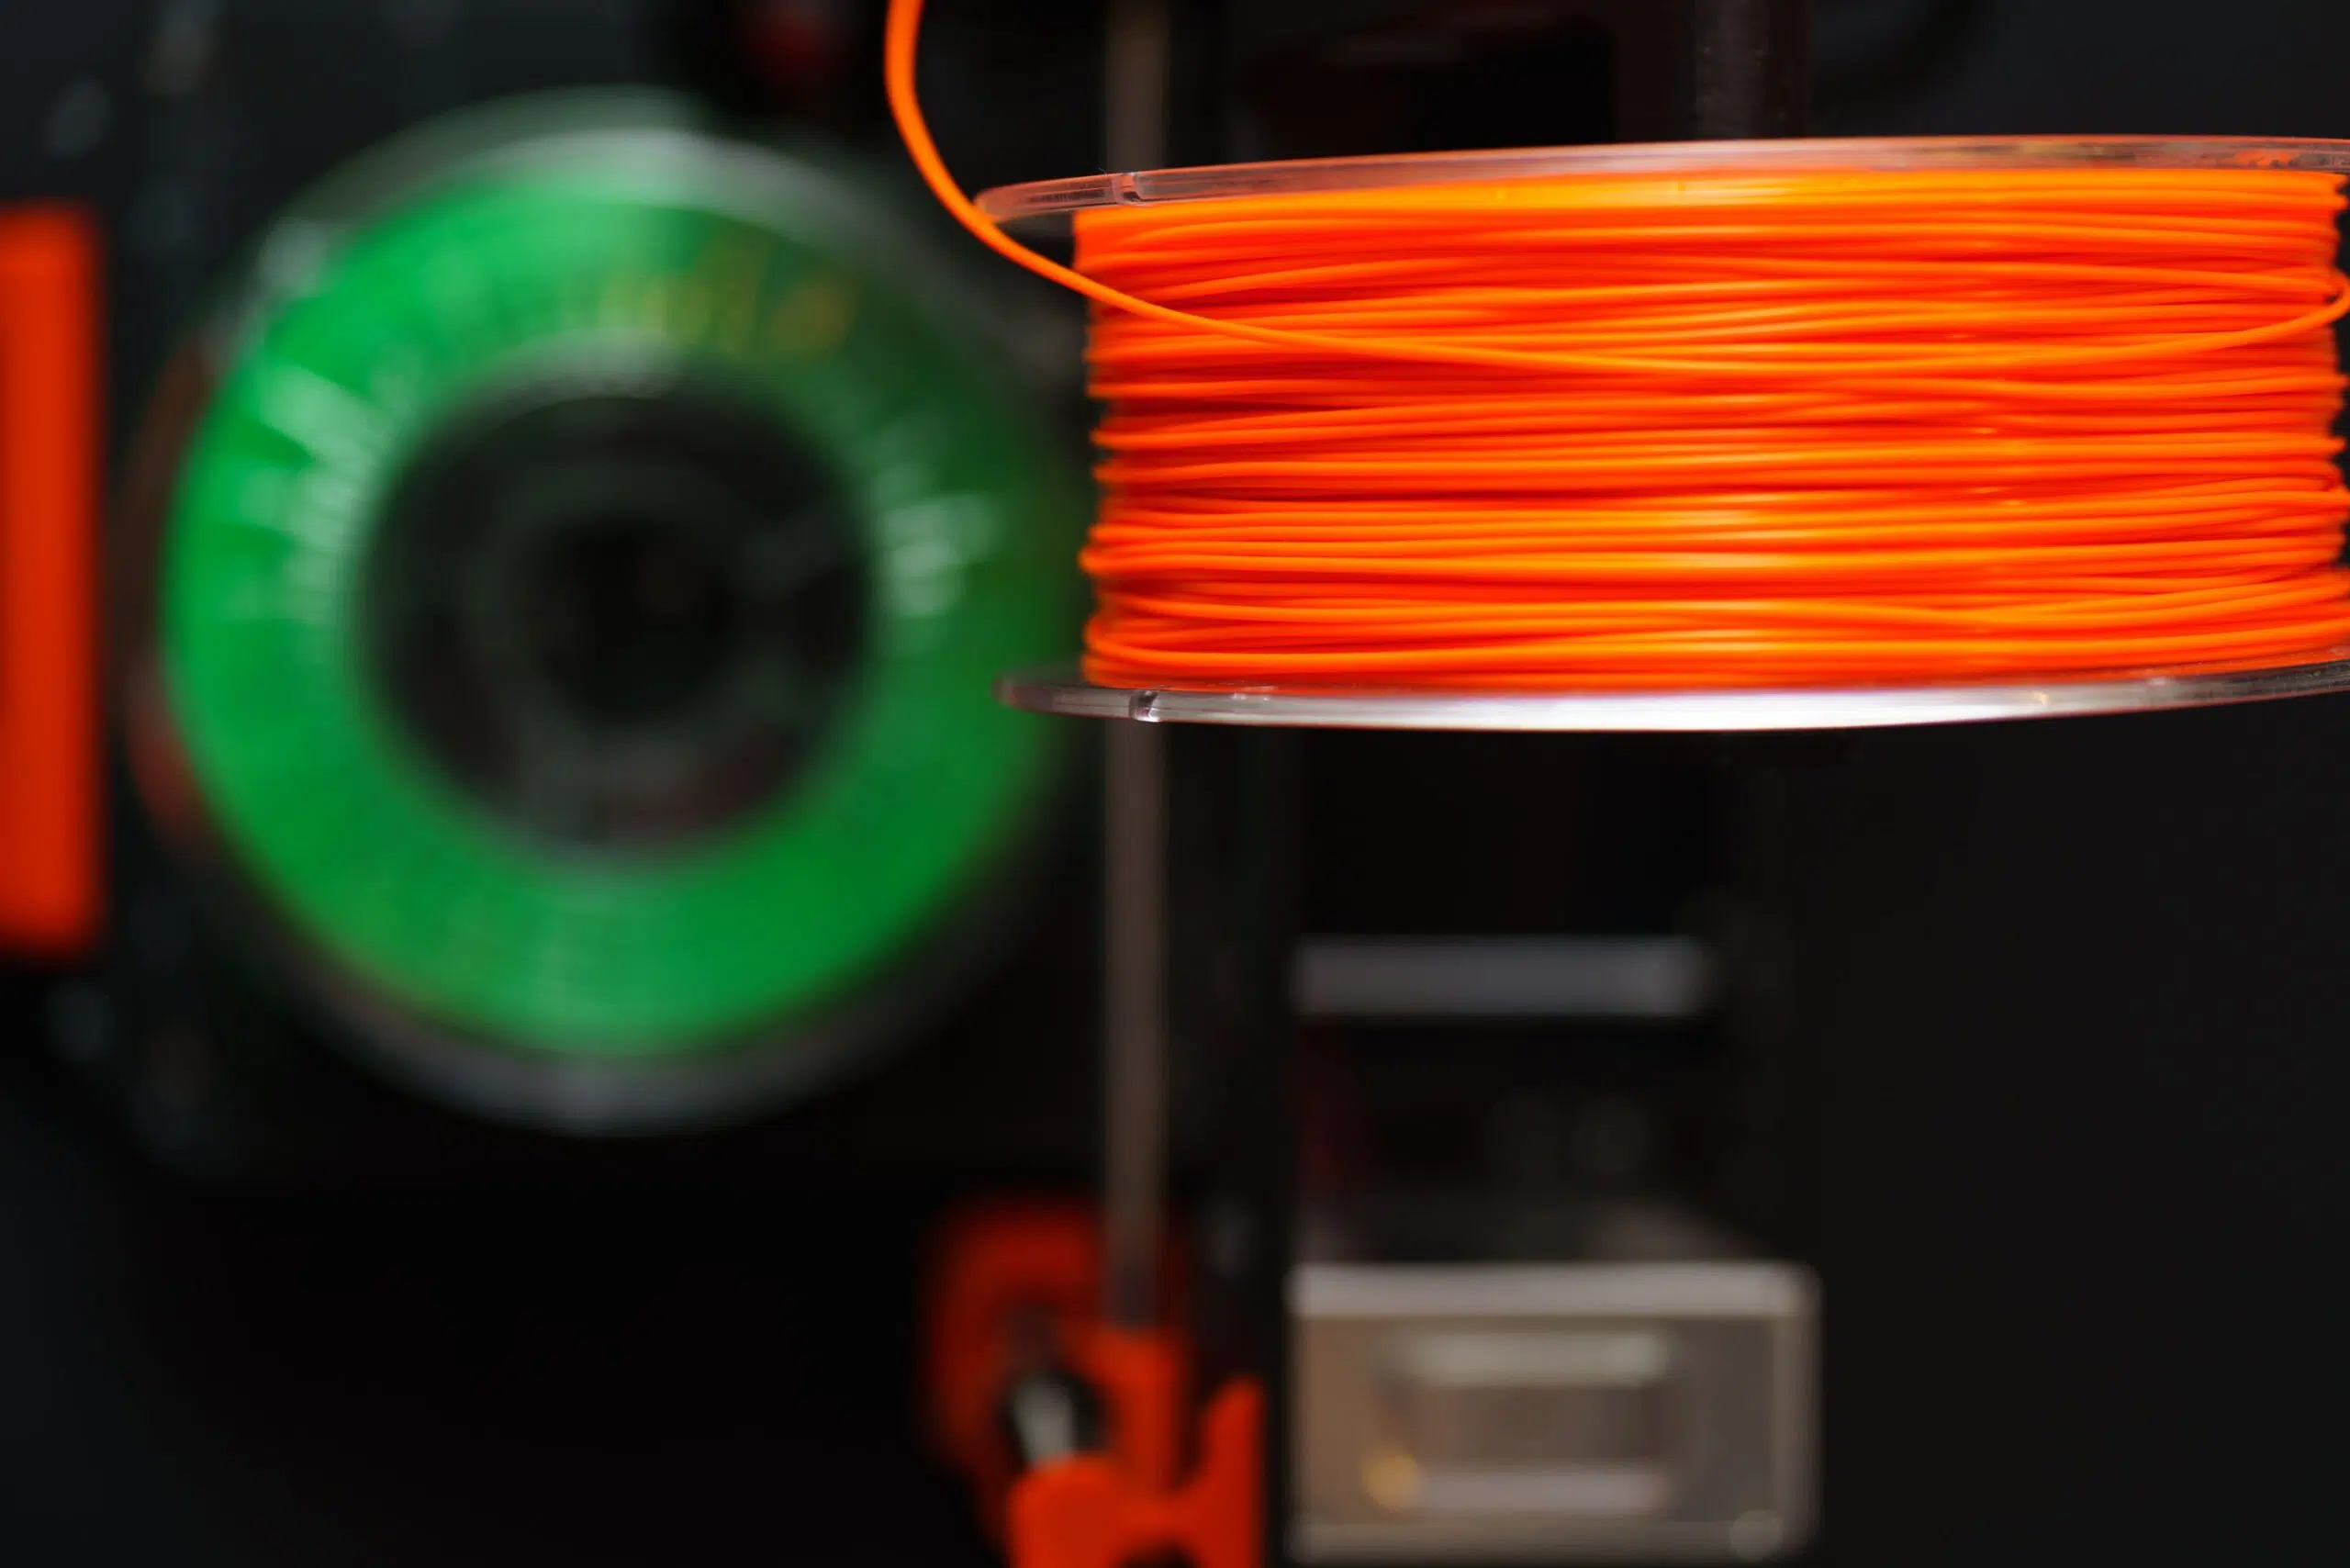
If you've ever felt like your 3D printer has a mind of its own and decides to sabotage you with rough finishes or threads that look like cobwebs, humidity is very likely the culprit. This phenomenon, technically known as hygroscopicity , is the tendency of plastics to absorb water molecules from the environment, turning a perfect spool into an extrusion nightmare in a matter of days or even hours, depending on the weather.
It's not just a matter of aesthetics; water trapped in the material causes micro-explosions of steam to occur when it reaches the hotend, interrupting the flow of the plastic. This not only leaves the part full of bubbles but also compromises the internal structure, preventing the layers from fusing correctly and ruining the mechanical strength of your prototypes.
Clear signs that your filament is wet
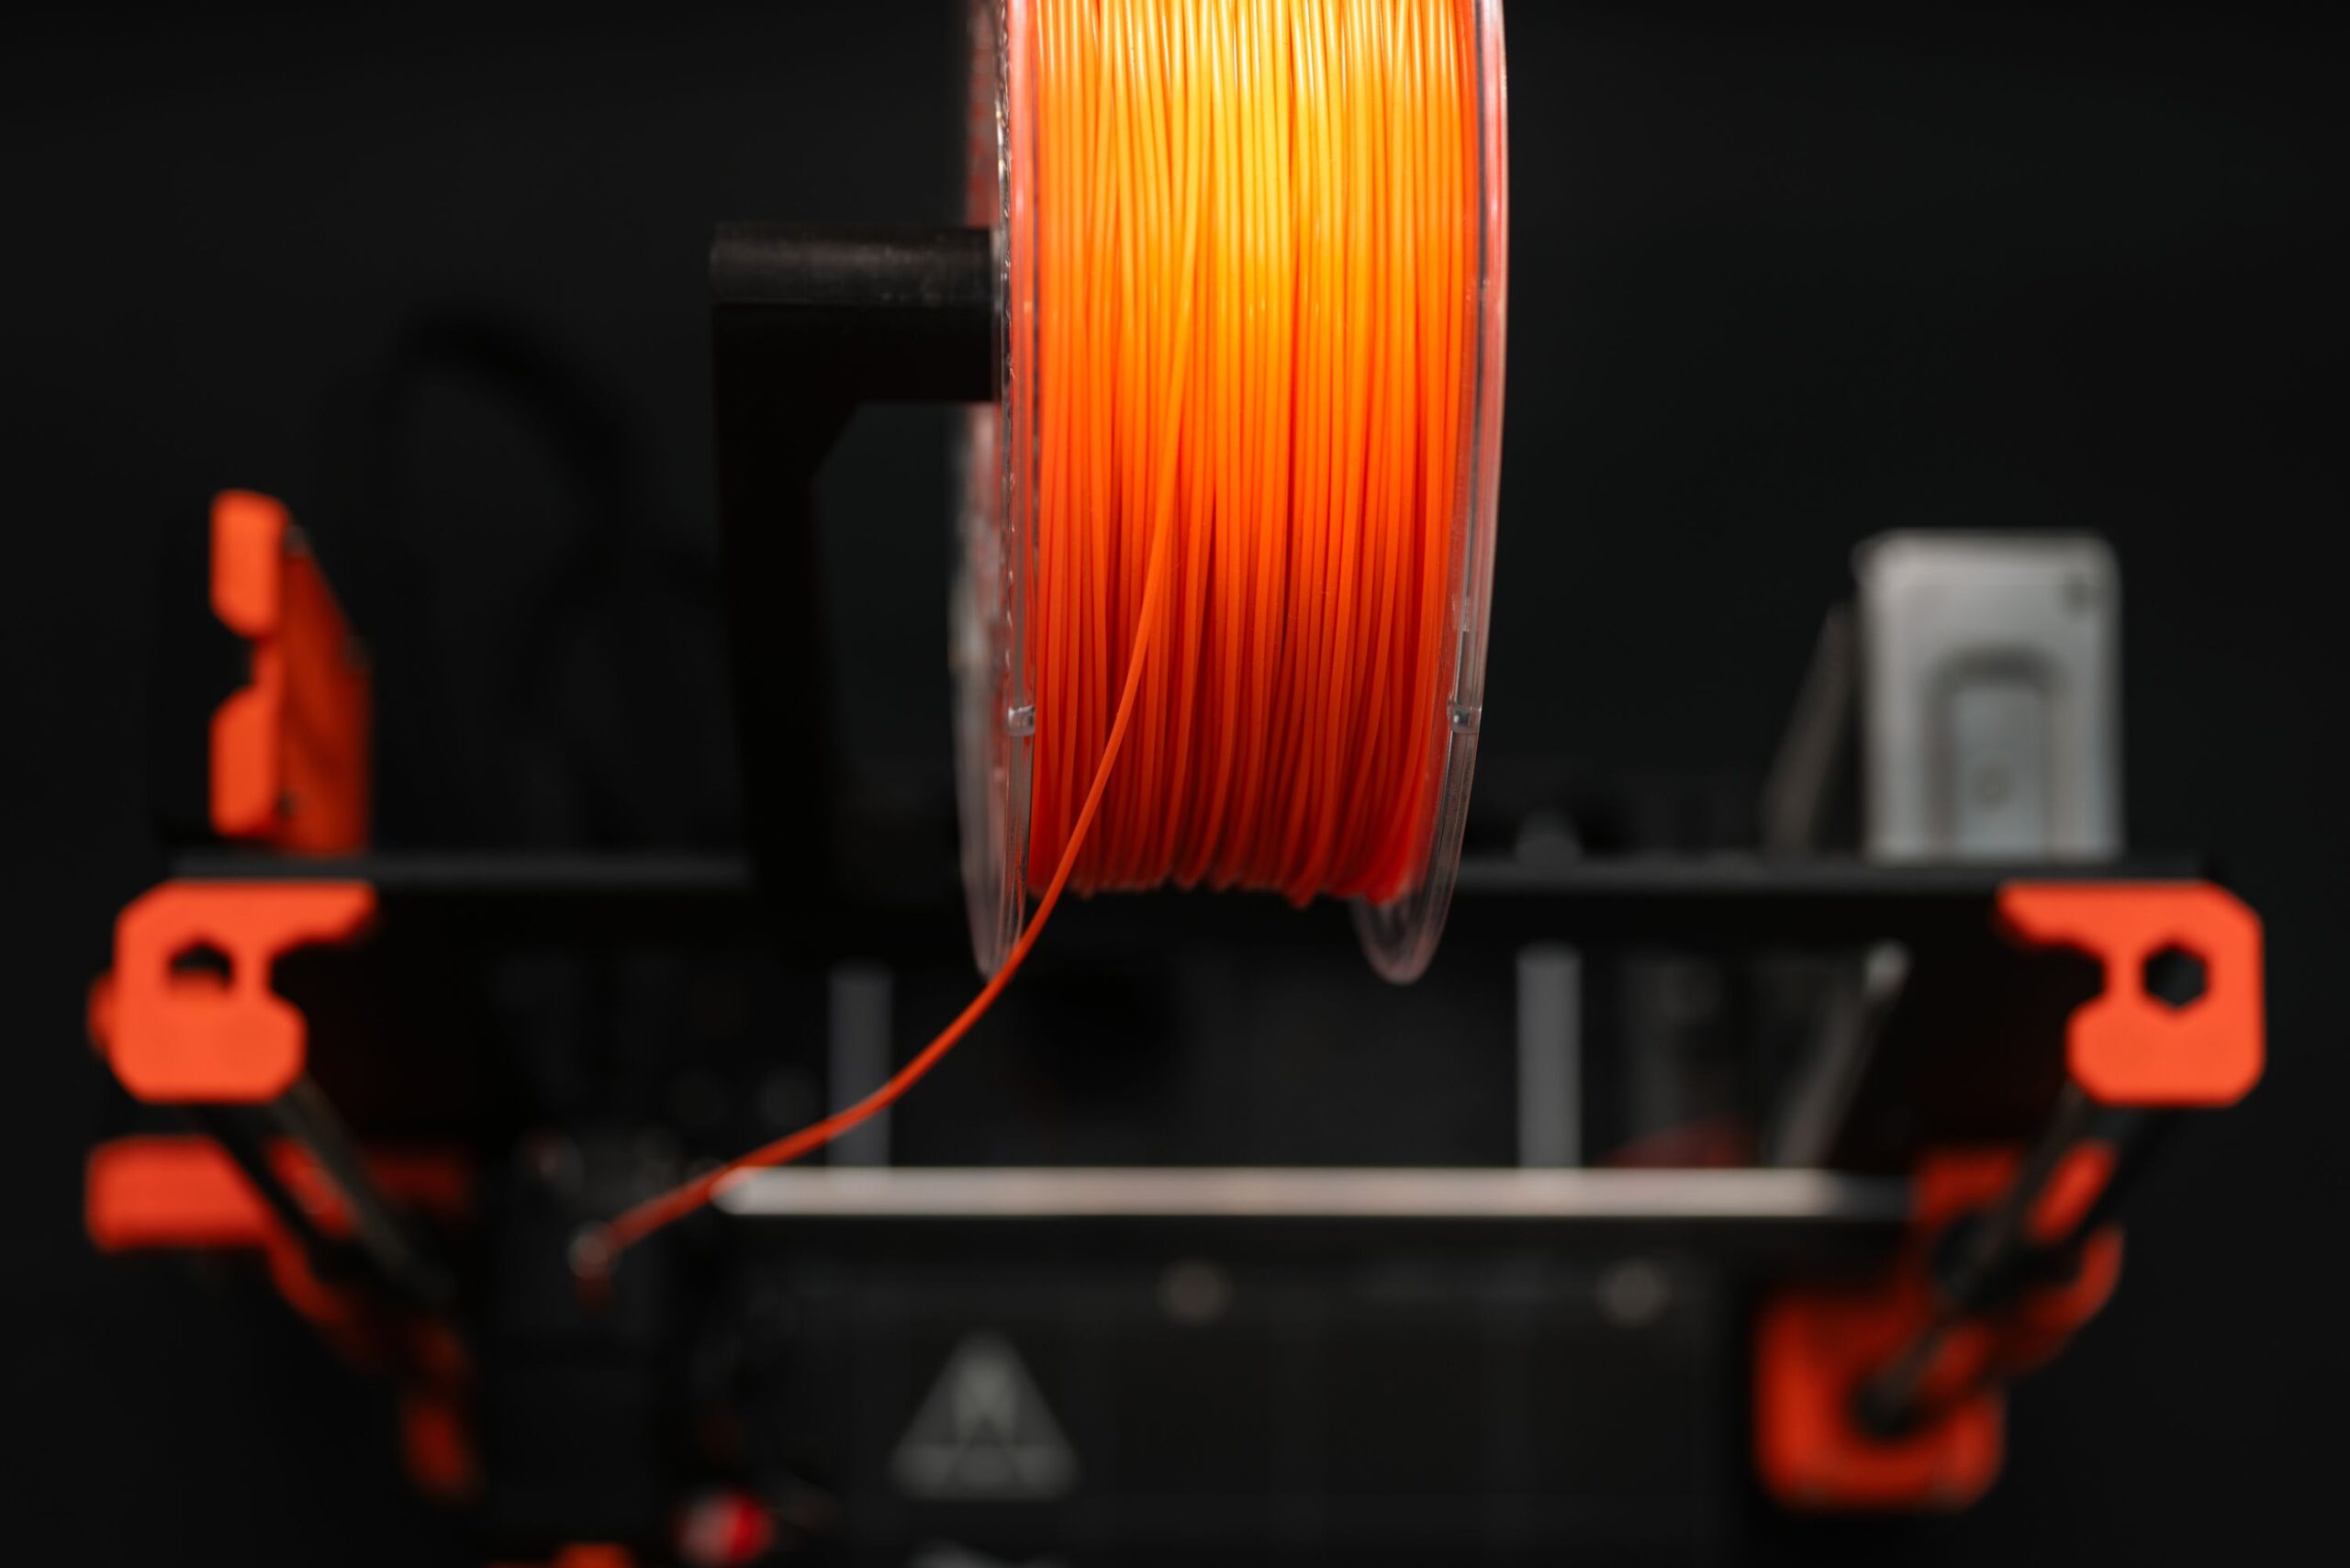
Detecting the problem early is vital to avoid wasting material. The first warning sign is usually your ears: if you hear small clicks or crackles while the nozzle is extruding, it confirms that the water is evaporating rapidly. It's that typical "popcorn" sound that indicates something is wrong.
Visually, you'll notice a porous, orange-peel-like surface finish and excessive, cottony stringing that isn't resolved by adjusting the retraction. Additionally, some materials become extremely brittle; if you try to bend a piece of filament and it snaps like dry spaghetti, it's a clear sign of deterioration.
To be sure, the best thing to do is perform a manual extrusion . Heat the nozzle and push the material out by hand; if the yarn comes out puffy, foamy, or with visible bubbles instead of being a smooth, even line, you need to dry it immediately.
Materials and their sensitivity to humidity
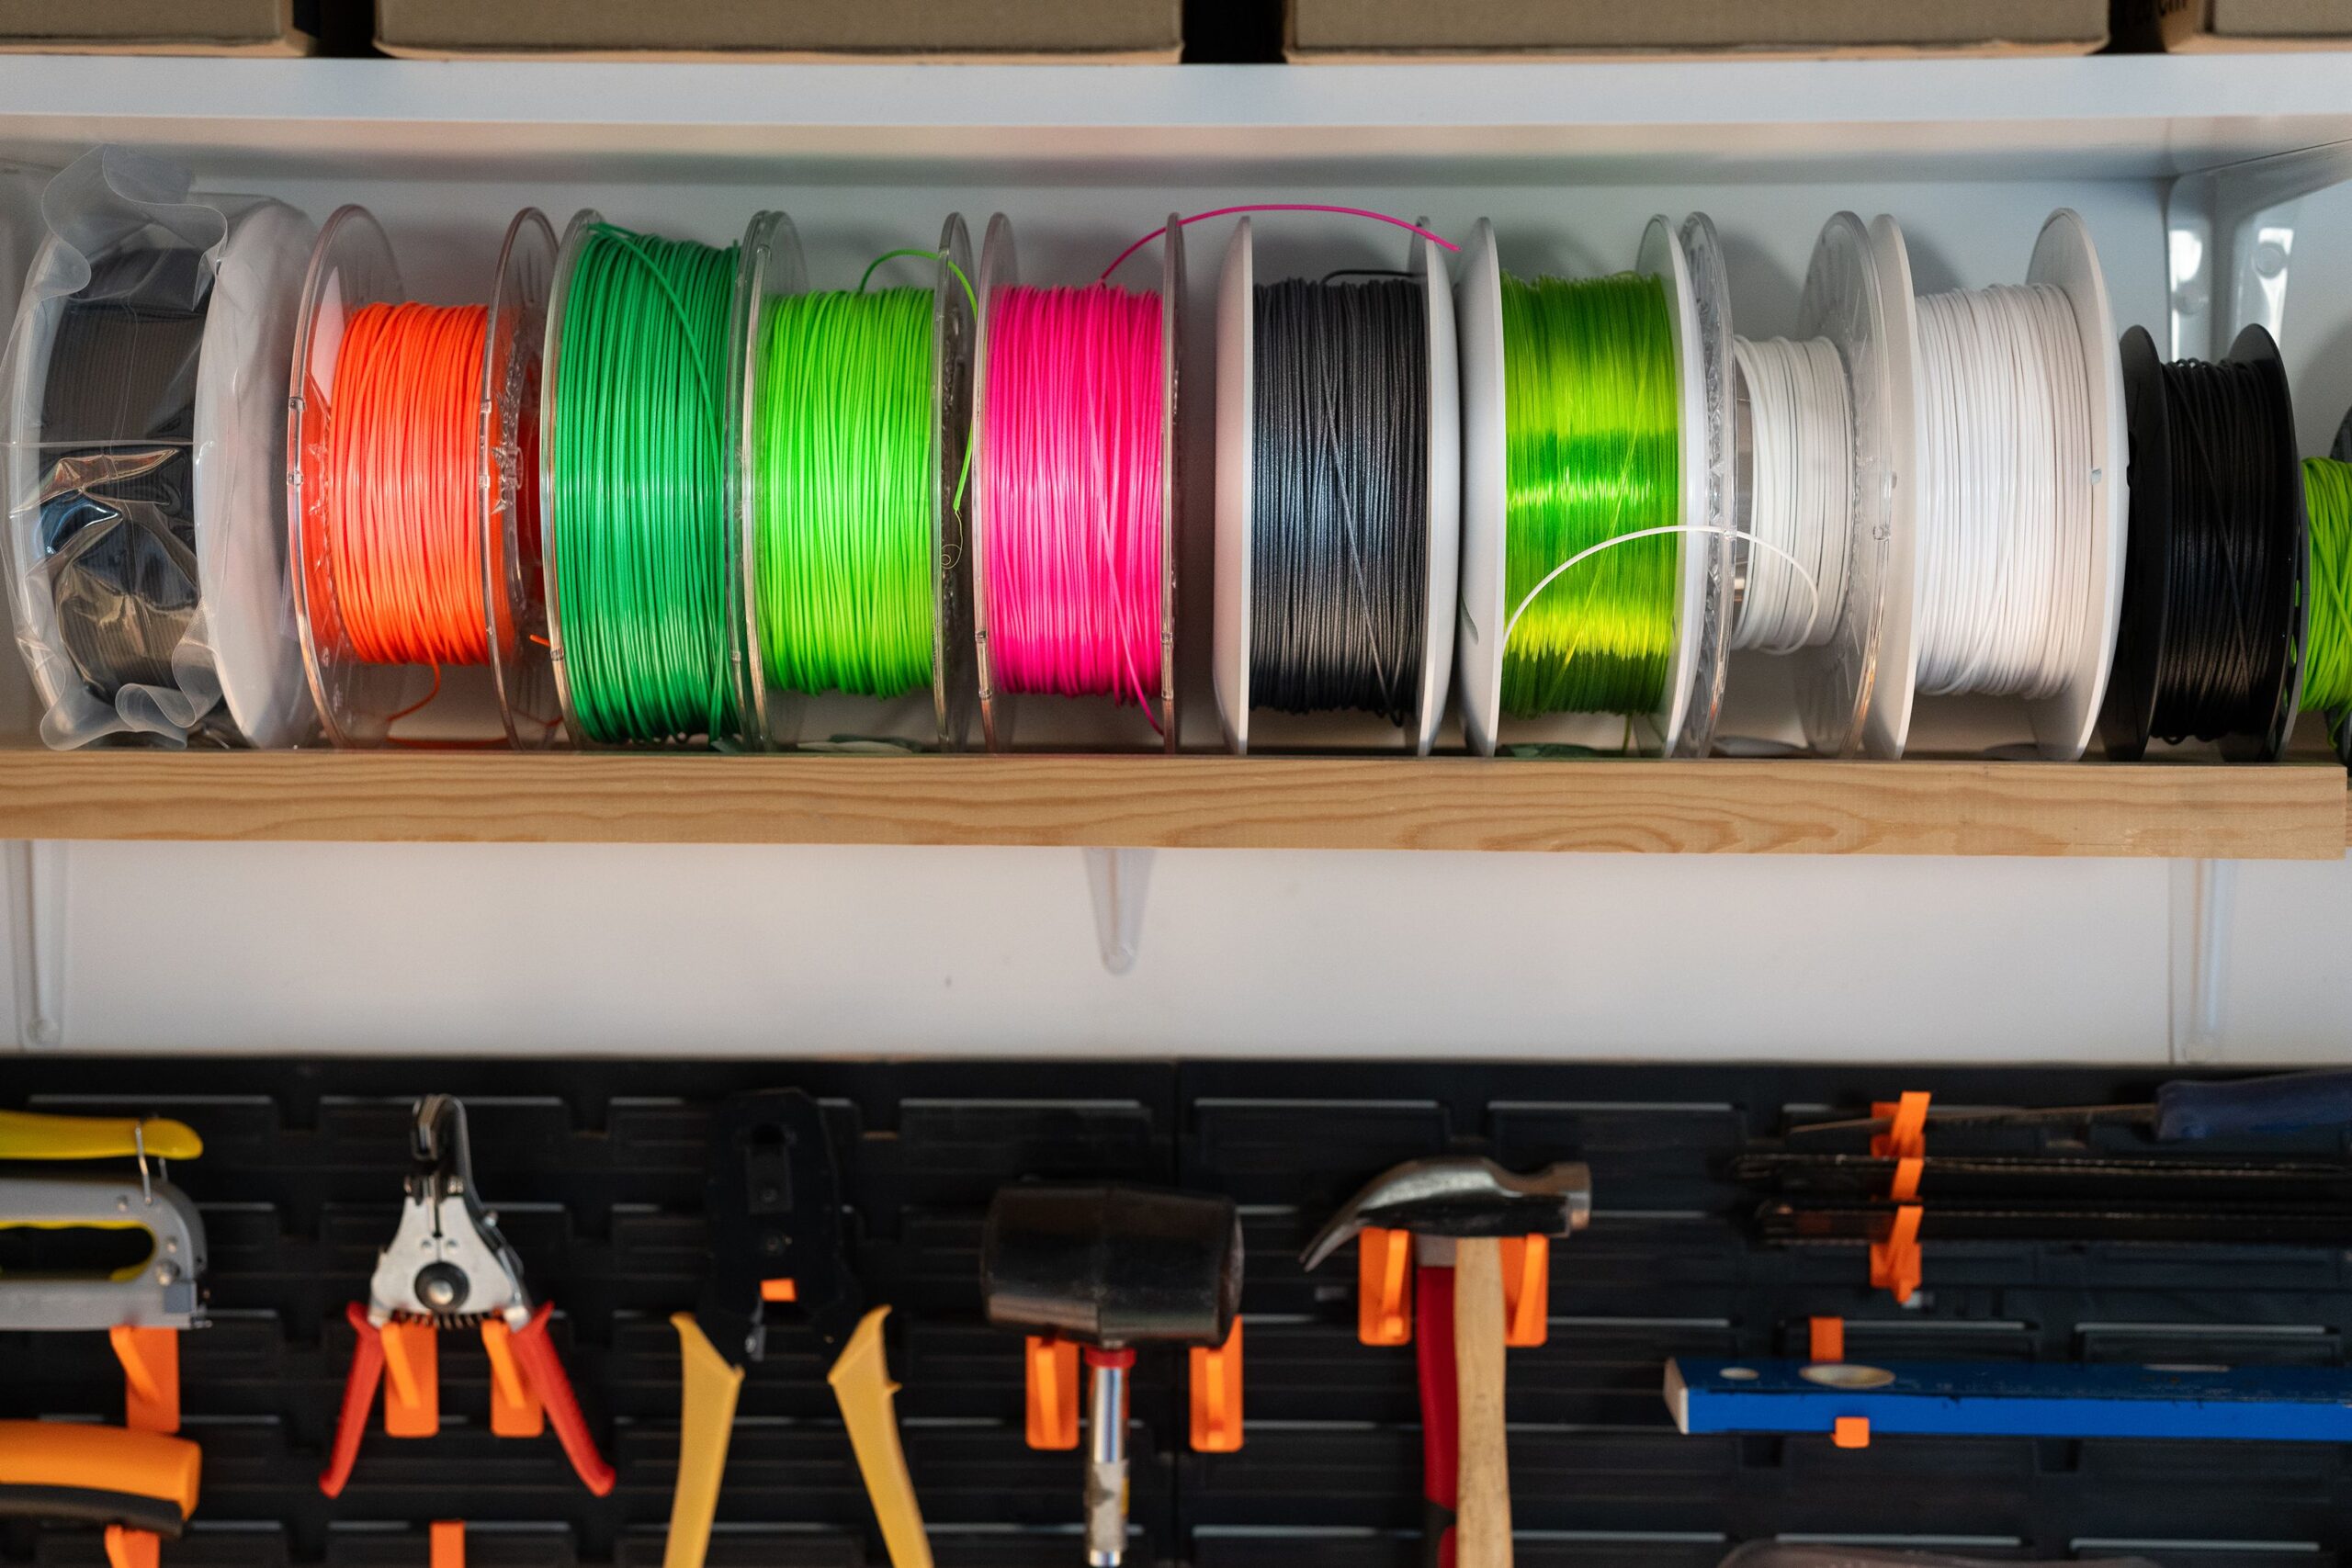
Not all plastics behave the same. PLA isn't the most hygroscopic , but it's not immune either; in humid environments or after weeks of improper storage, it will start to fail. On the other hand, PETG and flexible filaments like TPU are like sponges that require much closer monitoring.
In the realm of technical materials, Nylon (PA) reigns supreme in water absorption. These materials are so sensitive that, even brand-new spools fresh from the factory, it's advisable to dry them before starting any significant printing to prevent the polymer's chemical properties from degrading due to hydrolysis.
Homemade methods for drying filament
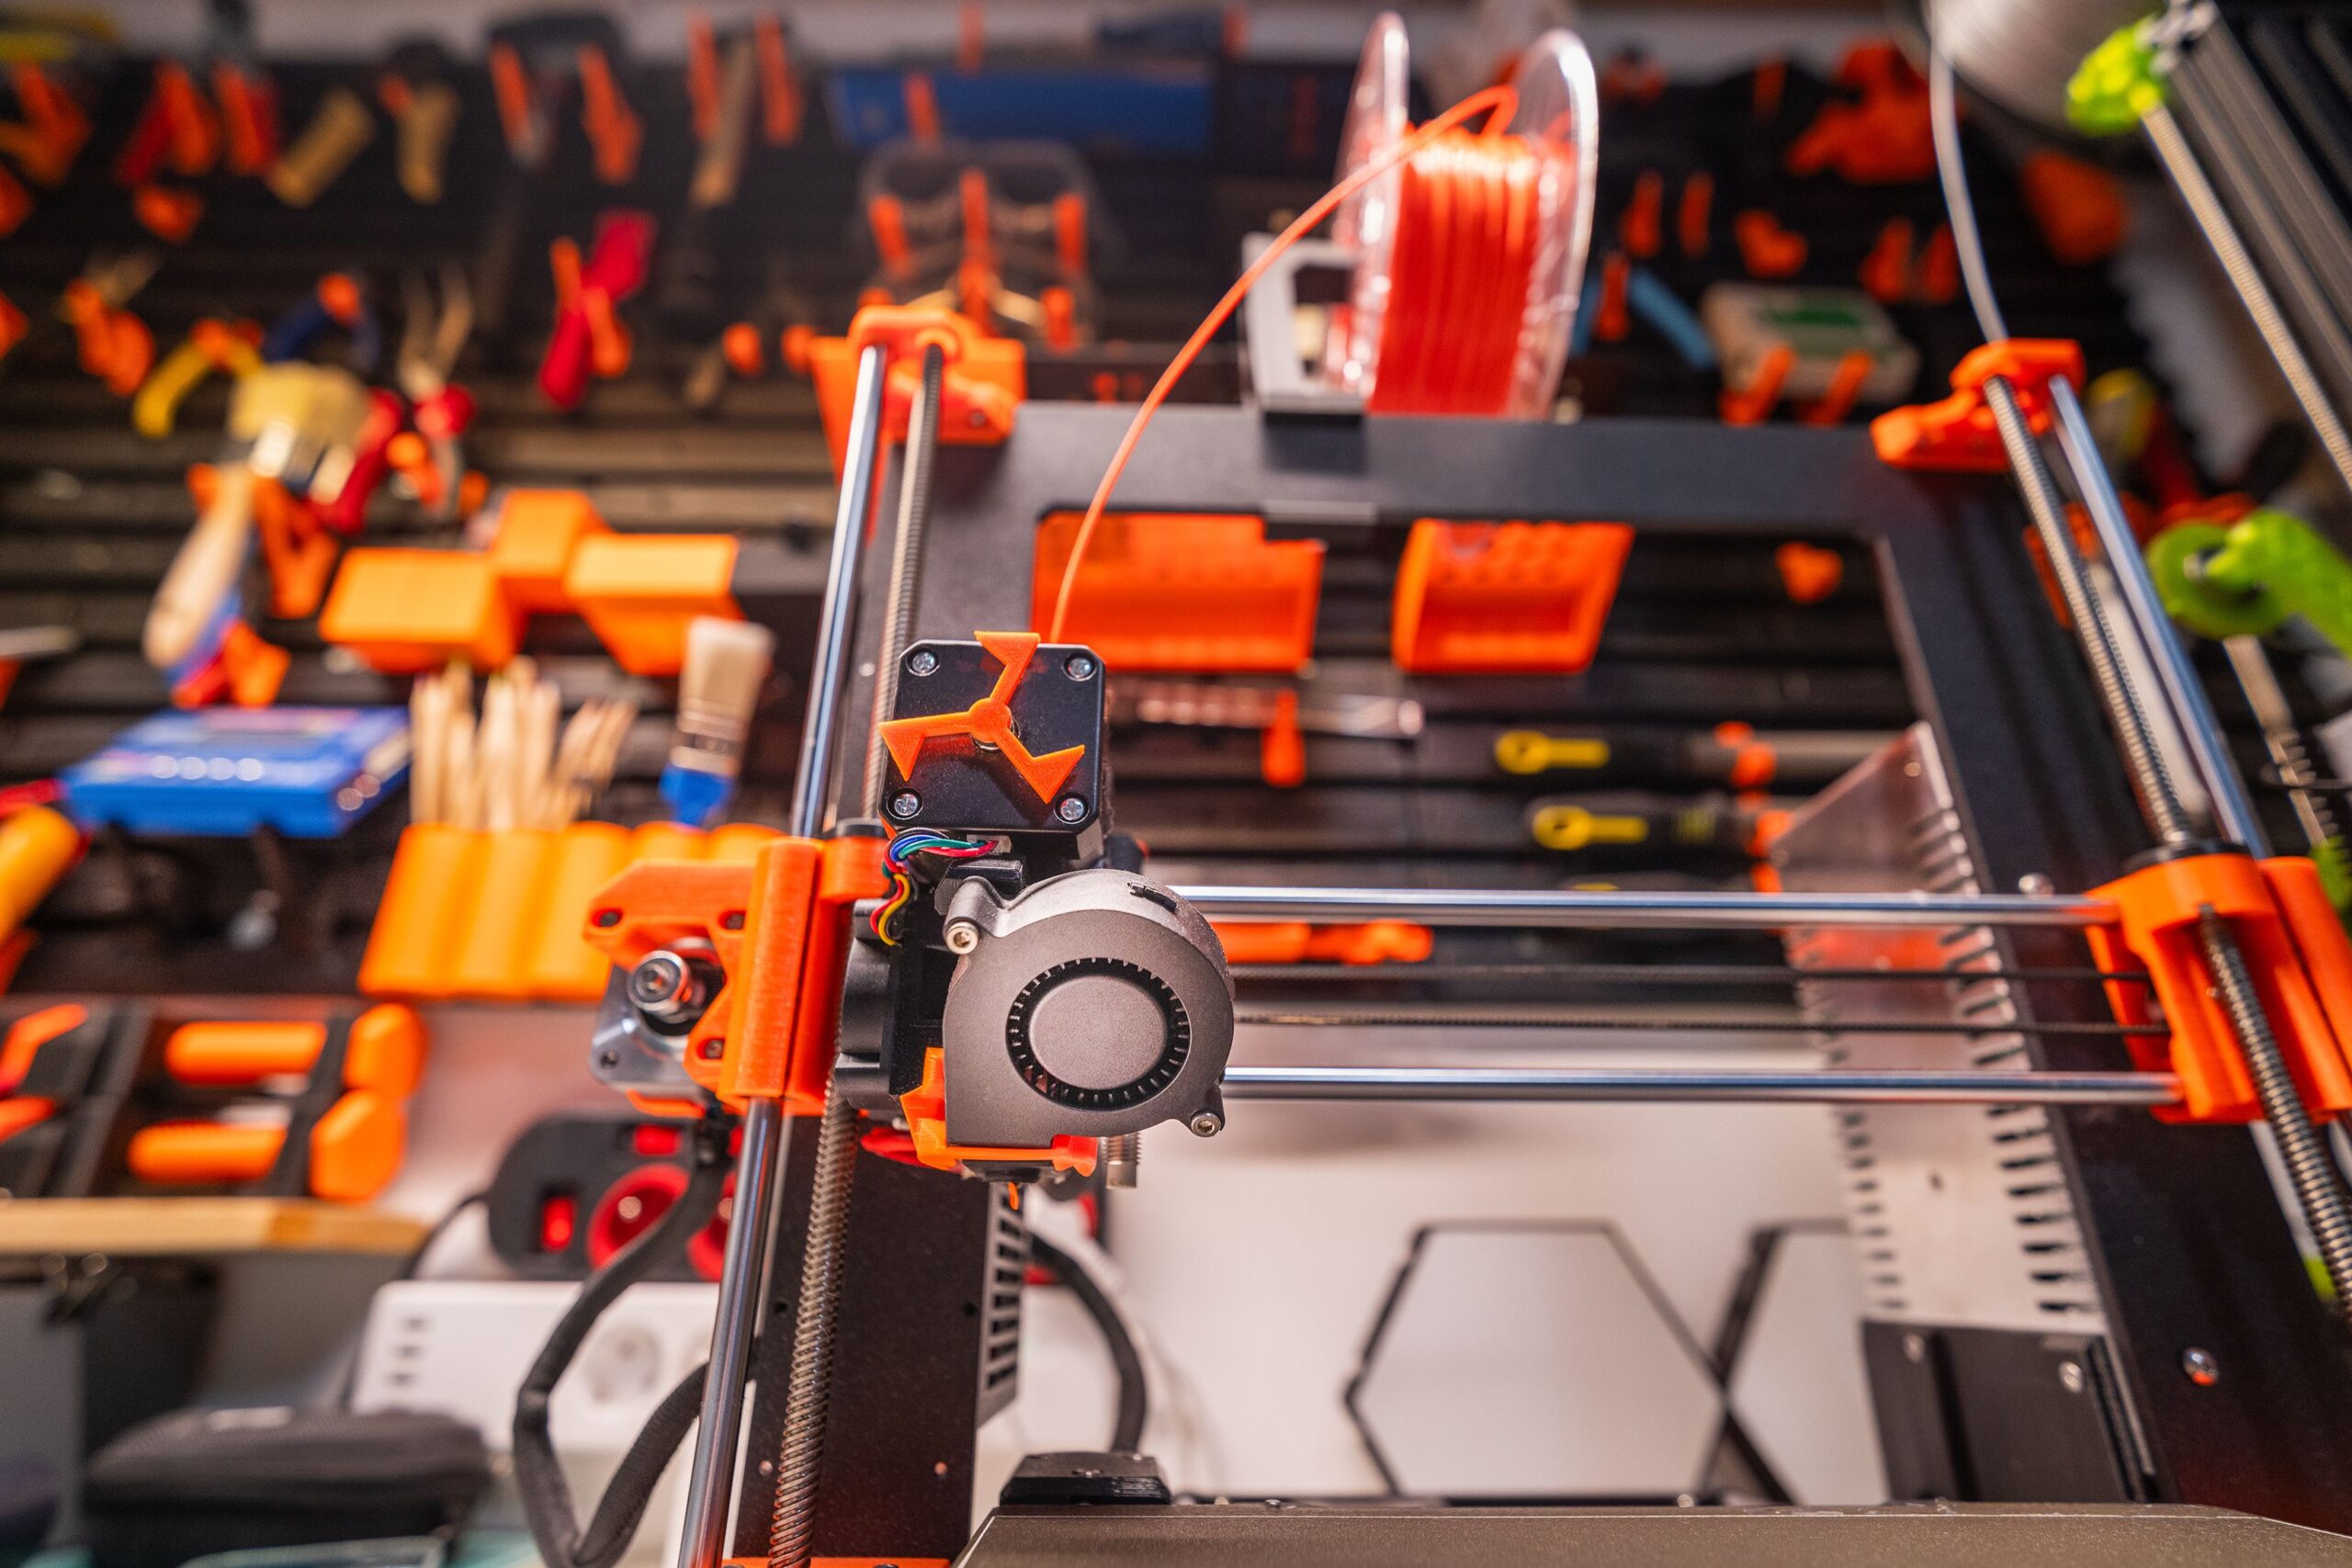
When you don't have professional equipment, you can resort to home solutions, although always with great care to avoid melting the coil. The kitchen oven is the quickest option, but also the riskiest because the temperature is often unstable. If you use it, it's essential to have an external thermometer and prevent the material from touching the walls or heating elements.
A much safer and more balanced alternative is the food dehydrator . Designed to maintain low, constant temperatures with airflow, it's ideal for 3D printing. Many makers choose to trim the tray grids so the filament spool fits perfectly, allowing for even drying without the risk of warping.
If you're looking for something more precise, you can use your printer's heated bed . Place the filament on the heated surface and cover it with a cardboard box or plastic to retain the heat. While this is the least efficient method, it can be a lifesaver in slightly humid conditions if you're patient and monitor the temperature.
It is essential to avoid using a microwave at all costs . The heat distribution is uneven and can create instant melting points that ruin the coil or, worse, release toxic fumes when burning the plastic.
Guide to recommended temperatures and times
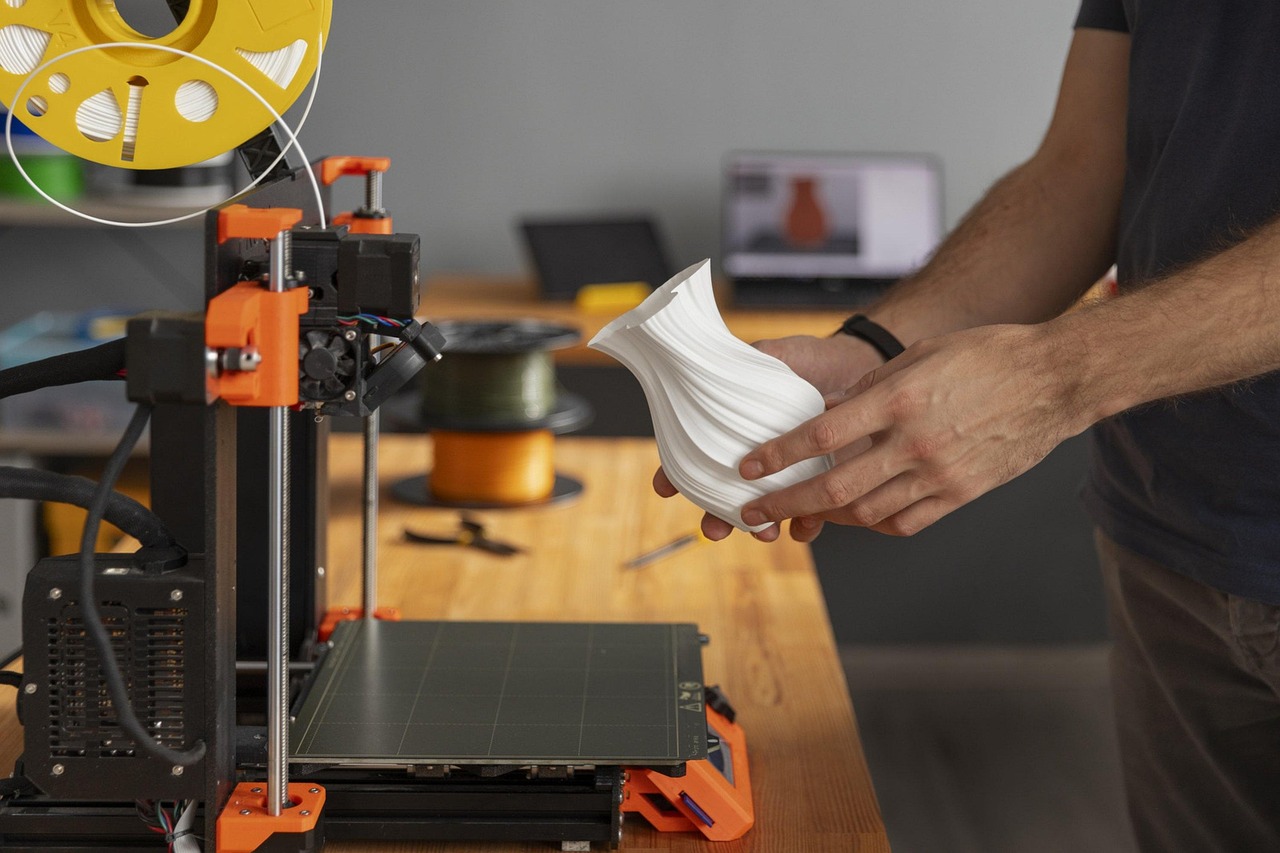
The golden rule is to always dry below the glass transition temperature (Tg) , which is the point at which the plastic begins to soften. If you overheat it, the filament will stick together between the turns and the spool will become unusable.
- PLA / PLA+: Between 40 and 50 °C for 4 to 6 hours.
- PETG: Between 50 and 65 °C for 4 to 6 hours.
- TPU (Flexible): Between 45 and 55 °C for 6 to 8 hours.
- ABS / ASA: Between 60 and 85 °C for 4 to 8 hours.
- Nylon and Polycarbonate: Between 70 and 90 °C, and may require more than 12 hours.
Advanced solutions and storage
For those who print intensively, investing in a dedicated drying box is ideal . These devices not only eliminate humidity but also allow printing directly from the inside, preventing material contamination during the printing process. For electronics enthusiasts, there are DIY projects based on ESP32 and PID control that allow monitoring humidity and temperature via Wi-Fi, even integrating with OctoPrint.
Once the filament is dry, the goal is to keep it that way. The easiest way to do this is to store it in airtight zip-top bags , removing as much air as possible and adding silica gel packets. If you have a large collection, airtight plastic containers with a silicone seal are the best option, ideally keeping the relative humidity below 20%.
For more advanced users, building a homemade Dry Box is the way to go. It consists of an airtight container with spool holders and a PTFE tube that carries the filament directly to the extruder, creating a protected environment that eliminates the need for constant drying.
Maintaining humidity control is the difference between a professional-quality print and a pile of wasted plastic. By combining precise drying for each material, airtight storage with desiccants, and the ability to detect problems early, any maker can ensure maximum quality and mechanical strength in their prints, regardless of their local climate.