- It is possible to install Windows 11 on unsupported PCs using registry keys to bypass TPM, CPU, and other requirements checks.
- Microsoft advises against these methods, warns of potential problems, and does not guarantee the same support or stability on out-of-specification equipment.
- Enabling TPM via firmware (Intel PTT or AMD fTPM) in the BIOS is usually the cleanest way to make a relatively modern computer compatible.
- Forcing the installation involves taking security and future risks, so in some cases it may be more sensible to upgrade the hardware.
If you have a somewhat older computer and have encountered the dreaded message that "this PC can't run Windows 11 ," you're not alone. Many relatively powerful machines have been left out due to the TPM, the processor, or requirements that, in practical terms, seem more like an artificial barrier than a real necessity for daily use.
The situation is complicated because there are contradictory tutorials, outdated tricks, and unclear methods on the internet : some involve messing with the registry, others using modified ISOs, still others relying on miraculous external tools … and in the end, you don't know what's safe, what will work in 2026, and what's best to avoid if you value your Windows installation and your data.
Official Windows 11 requirements and why your PC is “not compatible”
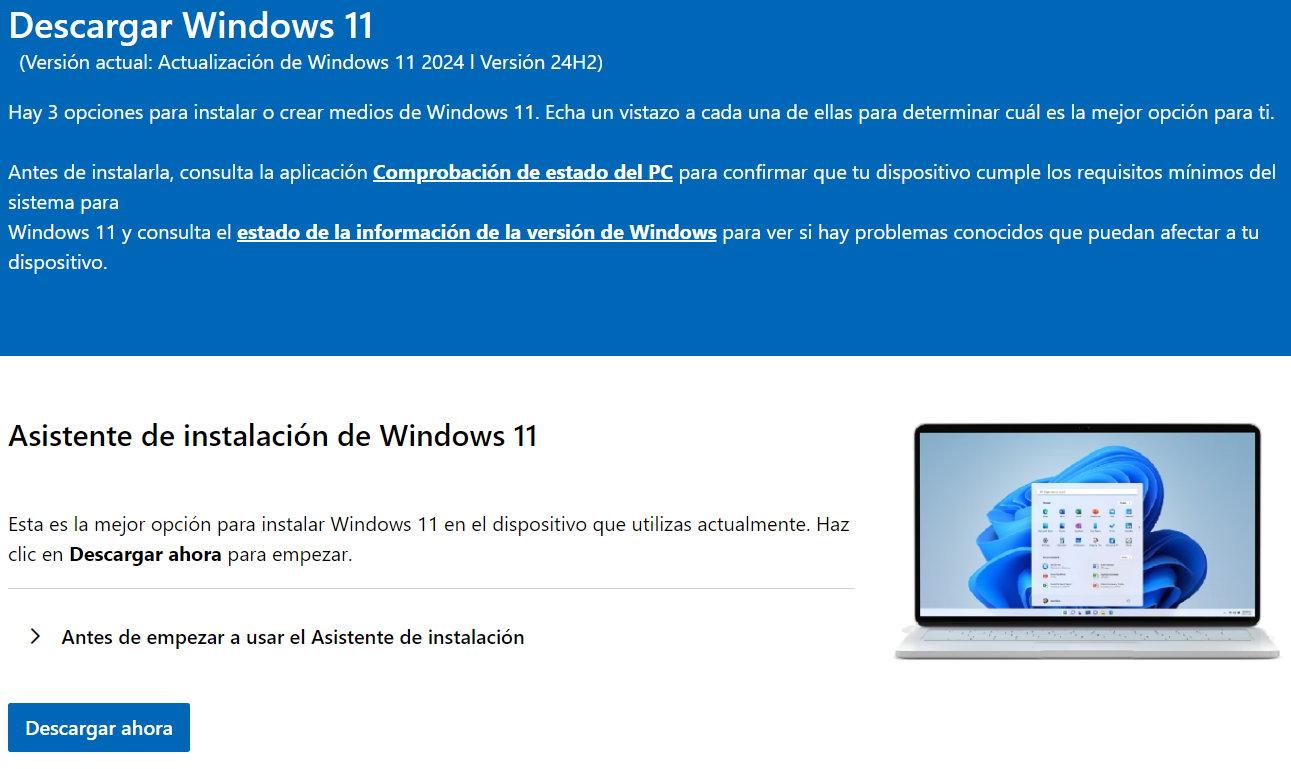
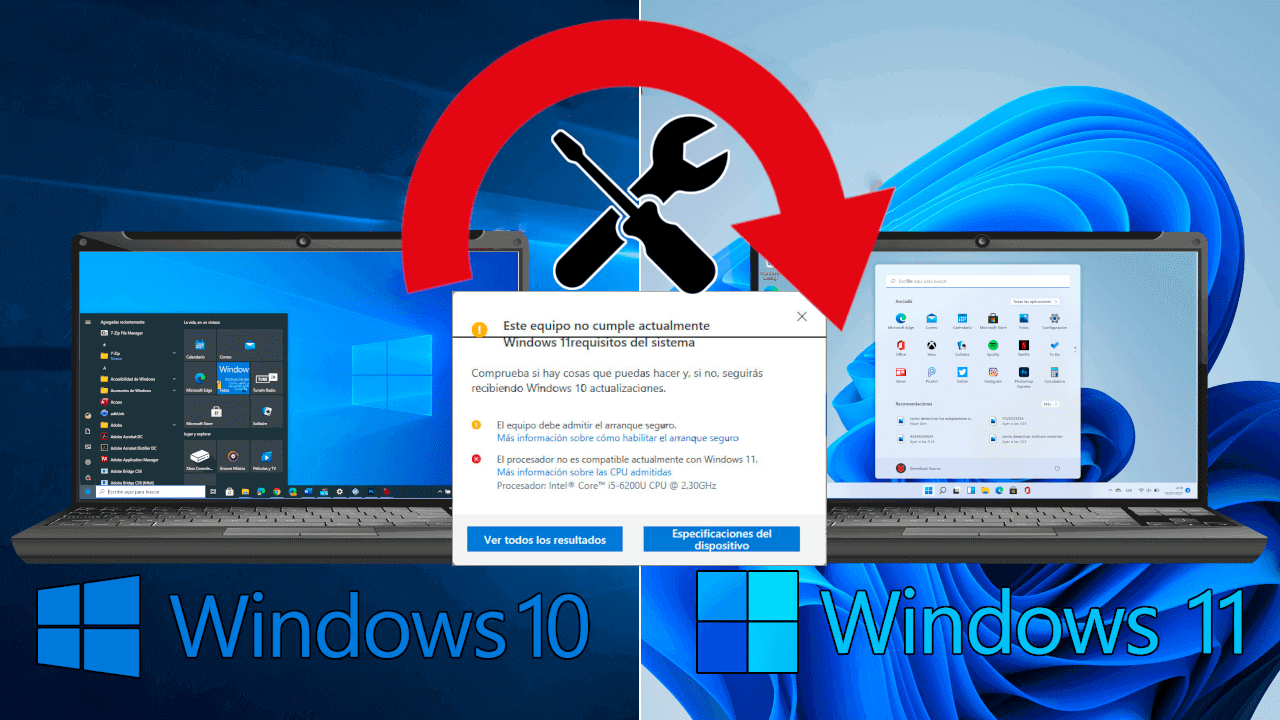
Microsoft sets a series of official minimum requirements for installing Windows 11 , and the problem is that many computers that work perfectly with Windows 10 are left out due to very specific details:
- TPM 2.0 (Trusted Platform Module) or, at a minimum, TPM 1.2 for some installation scenarios.
- Secure Boot enabled in the BIOS/UEFI.
- List of compatible CPUs: relatively modern processors, leaving out many models that have more than enough performance.
- A certain amount of RAM and storage minimums that most current PCs do meet.
To check if you meet all these requirements, Microsoft recommends using the PC Health Check tool , which tells you whether your computer is eligible or not. If you prefer not to change anything, you can also try Windows 11 without installing it.
The official documentation itself acknowledges, however, that they do not recommend installing Windows 11 on unsupported computers , but that it is possible to do so at certain risks. In other words, Microsoft covers its bases, but allows you to force the installation at your own risk.
It's important to keep in mind that, according to Microsoft, a very old PC may experience stability, compatibility, or security issues , and in such cases, they reserve the right to withhold support. This includes potential driver problems, features that don't function as well, or even the possibility that some new features may require TPM 2.0 in the future.
The important thing to know is that, even if your computer doesn't pass the official filter, it's still technically possible to install or upgrade to Windows 11 , either from the Windows 10 desktop itself or through more advanced methods such as images or custom installation media.
Official methods for installing Windows 11 according to Microsoft
Before we start messing with the registry or skipping checks, it's worth reviewing the official Windows 11 installation methods documented by Microsoft. These are the same for both compatible computers and those you might want to "force" later:
- Windows Update from Settings (the recommended option).
- Windows 11 setup wizard, downloaded from the Microsoft website.
- Media creation tool to generate an installation USB or DVD.
- Installation using image using DISM or third-party tools (more advanced).
The recommended approach for most users is to wait for Windows Update to offer the update . If you go to Start > Settings > Update & Security > Windows Update > Check for updates, Windows 11 should appear on a compatible computer when it's ready for your device.
However, on an unsupported PC, even with an up-to-date Windows 10 installation, Windows Update will never show Windows 11 , or will only do so in very specific scenarios. That's when the Windows 11 Setup Wizard or using manual installation media comes into play .
Microsoft makes it clear that other methods of installing Windows 11 (installation wizard, installation media, images, etc.) are not recommended unless instructed to do so by technical support . However, it also describes how to force the upgrade on computers that don't meet all the requirements, using registry keys to bypass certain restrictions.
In the specific case of PCs that are incompatible due to the TPM or the processor, the official documentation explicitly mentions a register value that allows you to bypass TPM 2.0 and CPU family/model controls . This will be one of the cornerstones of the methods you'll see later.
How the Windows 11 Setup Wizard Actually Works
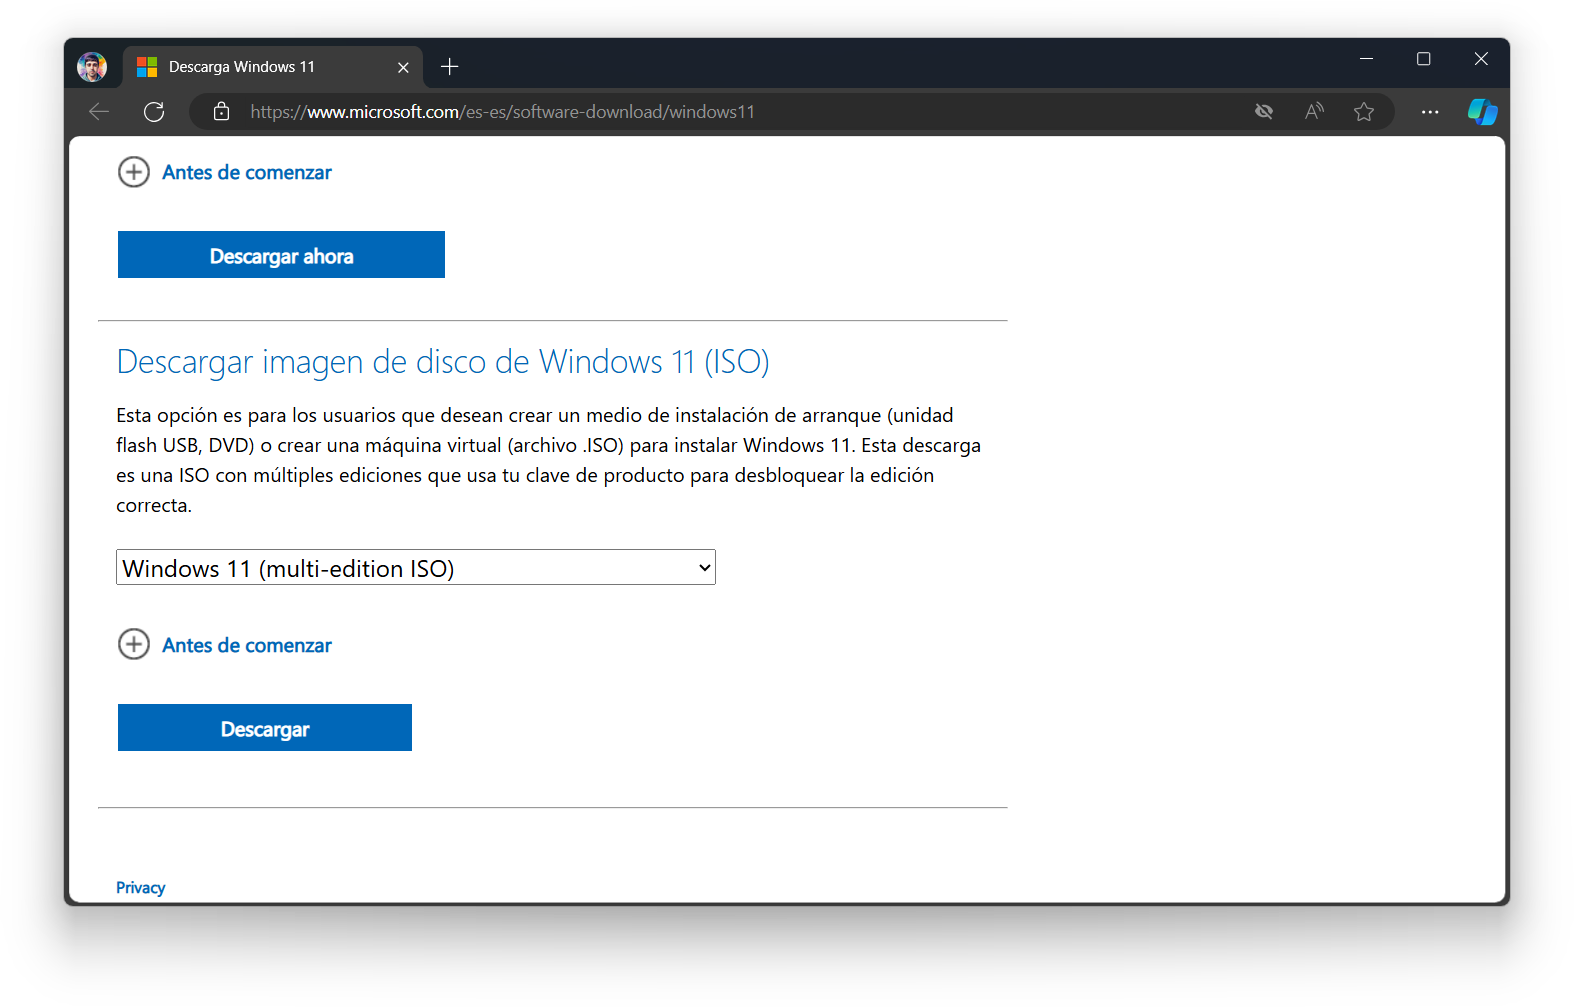
One of the most confusing aspects is how the Windows 11 Setup Assistant works . Many people think it's a kind of "direct setup," when in reality it's a tool that performs two separate compatibility checks.
On the one hand, the assistant performs an initial check before downloading anything . If at this point it detects that your PC doesn't meet key requirements (TPM, CPU, etc.), it displays the typical message that Windows 11 cannot be installed and leaves it at that, without even downloading the ISO.
If you overcome that first hurdle, the wizard downloads the Windows 11 image from Microsoft's servers, unpacks it into a temporary folder on your C: drive, and then runs the setup.exe file from that folder . It is at this stage that another set of checks comes into play, within the Windows 11 installer itself.
Many tutorials only explain how to bypass the restrictions of setup.exe using the MoSetup registry key , but they overlook the fact that the Installation Wizard performs its own filter beforehand, so you will still see the compatibility error even if you have touched the registry in the wrong path.
The practical consequence is that, if you only apply the "classic" MoSetup trick, the Installation Wizard will still block the update initially . You also need to modify another part of the registry to bypass or relax that initial check, allowing you to run setup.exe with the restrictions eased.
This behavior explains why some people swear the registry trick works, while others despair because they receive the "PC not supported" message repeatedly. The key is understanding that there are two different verification levels , and you must configure both if you want to update directly from the desktop using the Microsoft assistant.
Basic trick: allow the update on devices without TPM 2.0 or a supported CPU
Microsoft has officially documented a method to allow the upgrade to Windows 11 on computers that do not comply with TPM 2.0 or whose CPU is not on the supported list . This workaround involves creating or modifying a specific key in the registry:
- Registration path: HKEY_LOCAL_MACHINE\SYSTEM\Setup\MoSetup
- Name:AllowUpgradesWithUnsupportedTPMOrCPU
- Type: REG_DWORD (32 bits)
- Price: 1
To apply this, you need to open the Registry Editor (regedit) , paste that path into the editor's address bar, and check if the entry AllowUpgradesWithUnsupportedTPMOrCPU exists. If it doesn't, create it as a 32-bit DWORD value and set its value to 1.
After closing the editor and restarting the computer, this key theoretically allows you to bypass the strict TPM 2.0 check (requiring only TPM 1.2) and the verification that your processor is on the official list of supported CPUs. In other words, it opens the door for Windows 11 to be installed on more computers, while maintaining a minimum level of security support.
The documentation itself clearly warns: modifying the registry can cause serious problems if done incorrectly , even forcing you to reinstall Windows. This is not a game, so it's advisable to back up your data and, if possible, create a system restore point or image in case you need to revert to a previous state.
This change in MoSetup is usually exploited when you're updating by launching setup.exe from installation media , or when you start the installer from the desktop instead of using the Installation Wizard. But, as you saw earlier, it's not enough to fool the wizard in its first round of checks.
Microsoft also makes an important point: this installation method on computers that don't meet all the requirements won't prevent the system from booting, but it can affect stability and the receipt of future updates . In practice, most users continue to receive patches, but this is something you should consider a possibility.
Advanced solution: skip ALL checks from the wizard
For those who want to upgrade using the official Installation Wizard without burning a USB drive or using third-party tools , there is an additional step that often makes the difference between success and frustration.
In addition to the key in MoSetup, it is necessary to create an extra key in HKEY_LOCAL_MACHINE\SYSTEM\Setup called LabConfig . Within this new key, several DWORD values are added in order to disable specific installer controls:
- Bypass TPM Check = 1
- Bypass Secure Boot Check = 1
- Bypass RAM Check = 1
- BypassCPUCheck = 1
With these settings enabled, you're telling the installation process to ignore TPM, Secure Boot, memory, and processor restrictions when checking your machine. This affects both the initial wizard check and the check performed by setup.exe after the ISO is downloaded.
The actual procedure that has worked for many users can be summarized as follows: first, you create or adjust the MoSetup key to allow updates with "invalid" CPU or TPM, then you create the LabConfig key with the corresponding Bypass values, restart, and finally, run the Windows 11 Setup Wizard again.
By doing it correctly, the assistant will stop showing the "This PC can't run Windows 11" message, download the image, run setup.exe automatically, and you'll be able to upgrade while keeping your files, applications, and settings , without struggling with ISO burners or programs like Rufus.
It's worth remembering that these methods are based on real user experiences and Microsoft documentation , but they are still not the recommended approach. In a professional environment, or if your equipment is critical to your work, disabling all these checks lightly might not be the wisest course of action.
Upgrade vs. clean install on unsupported PCs
Once you have the installation media or access to the Windows 11 setup, you have two main options for installing the system on your unsupported computer:
- Upgrade from Windows 10 running the installation program from the desktop itself.
- Boot from the USB/DVD or created media to do a clean install.
When upgrading from Windows 10 by launching the setup, you can choose several options: a full upgrade that preserves personal files, applications and settings (the most convenient for most), a mode that only keeps personal data but not programs or settings, or a completely clean installation that erases everything and leaves Windows 11 as if it were brand new.
If you choose a clean install by booting from the media , keep in mind that the installer will not preserve anything from the previous installation: not your documents, your programs, or your Windows 10 settings. It's ideal for starting from scratch, but it requires a backup and some patience to reinstall everything.
Microsoft itself emphasizes an important point: before choosing to boot from the media on an unsupported computer, you should verify that you meet at least TPM 1.2 requirements and accept that the installer will not check if your CPU is on the official list or if you have TPM 2.0. This reinforces the idea that the responsibility rests entirely with you.
Another advanced option, intended primarily for administrators and experienced users, is to apply a Windows 11 image directly to the disk using DISM or third-party tools . In this case, some checks, such as TPM 2.0 and the processor list, are automatically skipped, and the system boots without going through the traditional setup wizard.
This last method is especially useful if you want to clone configurations, deploy multiple machines, or restore a system to a previously prepared image . However, it requires you to know exactly what you're doing, because an error when applying the image can render the system unusable until you perform a clean reinstall.
Real consequences of skipping the TPM 2.0 requirement
One of the most frequently asked questions is what happens if you deliberately ignore the TPM 2.0 requirement and force the installation of Windows 11 on a PC without this module, or with an older version. In practical terms, the system will boot and function, but there are important nuances.
On the one hand, without TPM 2.0 (or at least TPM 1.2 enabled) you will lose or see limited certain security features that rely on this chip, such as some advanced encryption features, secure key storage, measured boot, and protections against firmware-based attacks.
Furthermore, Microsoft warns that on devices that do not meet the minimum requirements , they cannot guarantee the same level of stability or full access to all updates . In practice, many users continue to receive security patches and new versions, but there is a risk that at some point, updates may be restricted on these devices.
There's also a future-proofing component: more features and applications are expected to rely on TPM 2.0 over time, either to protect sensitive data or to validate system integrity. Ignoring this requirement today could make certain future features unavailable or require workarounds to function.
That said, many users have installed Windows 11 on PCs without TPM 2.0 and haven't experienced serious problems in daily use , especially if the hardware is reasonably modern. It will largely depend on how you use the computer and how much you value hardware-based security.
In terms of convenience, if your PC is already becoming outdated or you plan to upgrade in the medium term, it might be more worthwhile to upgrade your platform to one that includes TPM 2.0 as standard, rather than investing effort in forcing an installation that will always be a bit "against the grain".
Is it worth buying or activating a TPM 2.0 to install Windows 11?
Another common scenario is that of the user who discovers that their motherboard has a connector for a TPM 2.0 module or that they can activate an equivalent function in the BIOS (such as Intel PTT or AMD fTPM), and is unsure whether to buy the module or simply change platforms.
On relatively modern motherboards, such as many with Z370, B450, X470, and similar chipsets, there is usually a firmware-based TPM integrated into the CPU or chipset itself . On modern Intel processors, it's called PTT (Platform Trust Technology), and on AMD processors, it's usually referred to as fTPM. Enabling it in the BIOS allows the system to detect TPM 2.0 without needing to purchase anything additional.
The typical scenario involves a user with a powerful processor (for example, a Core i7 8700K) and a gaming motherboard who, when running the compatibility tool, receives a "not suitable for Windows 11" error because the TPM wasn't enabled via firmware . After searching in the BIOS options (sometimes in the Peripherals, Security, or similar tabs) and enabling Intel PTT, their PC suddenly meets all the requirements.
In these cases, the best solution is clearly to enable PTT or fTPM from the BIOS if your motherboard offers it. It's the "clean" way to meet Windows 11 requirements without spending extra money or resorting to registry tricks.
Buying a physical TPM 2.0 module to plug into the motherboard is an option, but it's not always worthwhile . Prices have fluctuated over time, and on many motherboards, firmware-based TPM support makes this expense unnecessary. Furthermore, you need to ensure the module is compatible with your exact motherboard model, as not all TPM connectors are standardized.
If your hardware is already aging or you plan to upgrade soon, instead of investing in a physical module, you could consider upgrading directly to a newer platform that integrates TPM 2.0 and official Windows 11 support . In the long run, it will be a more robust solution, better prepared for future changes.
Ultimately, the decision comes down to balancing factors: the cost of a module or a platform change, your actual need for Windows 11, the importance you place on hardware-based security, and the peace of mind of being on an officially supported configuration versus relying on "patches" and registry bypasses.
After reviewing the official options, registry tricks, and the implications of using or not using TPM 2.0, it's clear that installing Windows 11 on an unsupported PC is possible and relatively easy if you know where to look. However, it always involves assuming some of the risk that Microsoft tries to avoid with its requirements, and which each user must assess based on their computer and how they use it on a daily basis.