- Windows 11 can coexist with GNU/Linux in dual boot, provided the hardware meets the requirements and the disk is prepared carefully.
- Distributions like Ubuntu, Linux Mint, or Q4OS make the transition from Windows easier, either by mimicking its appearance or by offering very simple installers.
- Secure Boot, UEFI mode, and proper partitioning are key factors for the boot manager to smoothly display Windows and Linux.
- Alternatives such as WSL, virtual machines or live systems allow you to use Linux from Windows 11 without touching partitions or the boot process.
Switching from Linux to Windows 11, or combining both systems on the same computer, is entirely possible these days, but it's best to do it carefully to avoid losing data or corrupting any installations. Options like dual booting, using virtual machines , or the Windows Subsystem for Linux (WSL) itself offer a wide range of choices to tailor your PC precisely to your needs.
If you're coming from Windows and want to try Linux without giving up your games and programs, or vice versa, if you're on Linux and want to install Windows 11, the process involves checking the requirements, properly preparing your hard drive, configuring the BIOS/UEFI, and figuring out which tool best suits your needs. Below you'll find a complete guide, in Spanish (Spain) and written in the clearest possible language, so you can make informed decisions with confidence.
Requirements and precautions before touching anything
Before considering installing Windows 11 alongside Linux or replacing one system with another, it's essential to check if your hardware meets Microsoft's requirements. Windows 11 is significantly more demanding than previous versions, and if your computer is older, it might be better to opt for a lightweight GNU/Linux distribution rather than trying to force the upgrade.
To check, go to the official Windows 11 specifications (compatible CPU, 4 GB of RAM or more, sufficient storage, TPM 2.0, Secure Boot, etc.). If your computer doesn't meet these minimum requirements, a standard installation won't be possible, or you'll have to resort to unsupported methods, which isn't recommended if you want a stable and secure environment.
In addition to the requirements, it's crucial to back up your data before modifying partitions or changing operating systems. You can use an external drive, a NAS, or the cloud, but the important thing is not to take anything for granted: when resizing volumes, reinstalling, or even changing the boot order, there's always a chance something could go wrong and you could lose important information.
Another key point is to check the BIOS/UEFI mode . In Windows 11 system information, the "BIOS Mode" field should indicate "UEFI". Most modern Linux and Windows installations run on UEFI with GPT partition tables, and mixing MBR with UEFI or legacy BIOS can greatly complicate dual booting.
Secure Boot, UEFI and Linux compatibility
The problem is that Secure Boot can prevent some Linux distributions from booting , especially if they don't have signed binaries or if your motherboard's firmware is particularly restrictive. In practice, this means that even if you've installed Linux, the computer will always boot into Windows and no operating system selection menu will appear.
Some Linux distributions, such as Ubuntu and many derivatives (for example, Linux Mint or elementary OS), are designed to work with Secure Boot enabled. In these cases, a normal installation is usually sufficient, and once the boot manager (GRUB) is created, you can then choose between Linux and Windows when you turn on your PC.
If you're using a distribution that doesn't support Secure Boot, or if you encounter boot errors, you'll need to access the UEFI settings and disable this feature. Keep in mind that not all manufacturers allow you to disable Secure Boot; on some systems, you simply won't be able to change this setting, which would severely limit the distributions you can use.
In the UEFI menu, you'll also need to check the boot order . After installing GNU/Linux alongside Windows 11, a boot entry for the distribution (for example, "ubuntu") is usually created, which must be placed above the "Windows Boot Manager" entry for the operating system selection menu to appear.
Choosing the best Linux distribution to coexist with Windows 11
If you have little experience with GNU/Linux, not all distributions are equally user-friendly . For dual-booting Windows 11, and especially for novice users, Debian- or Ubuntu-based options are usually the most sensible choice.
For many, Ubuntu is the top recommendation when migrating from Windows. It has spent years refining its installer, seamlessly detects the presence of Windows 11, offers a direct "install alongside Windows" option, and supports Secure Boot. There's also an LTS (Long Term Support) version, which is more stable and less prone to sudden changes, ideal if you don't want to be reinstalling frequently.
Linux Mint is another top choice if you're coming from Windows . It inherits Ubuntu's technical foundation but offers desktop environments (Cinnamon, MATE, Xfce) with a start menu that will feel very familiar to anyone used to Microsoft's taskbar and File Explorer. It's lightweight, stable, and very well-suited for users new to Linux.
If you prefer a more polished, macOS-style design, elementary OS might be the distro for you . It's also built on Ubuntu, but offers an elegant, cohesive, and visually very polished desktop. While it doesn't look the most like Windows, it's certainly one of the most pleasant for daily use, with a good set of its own applications.
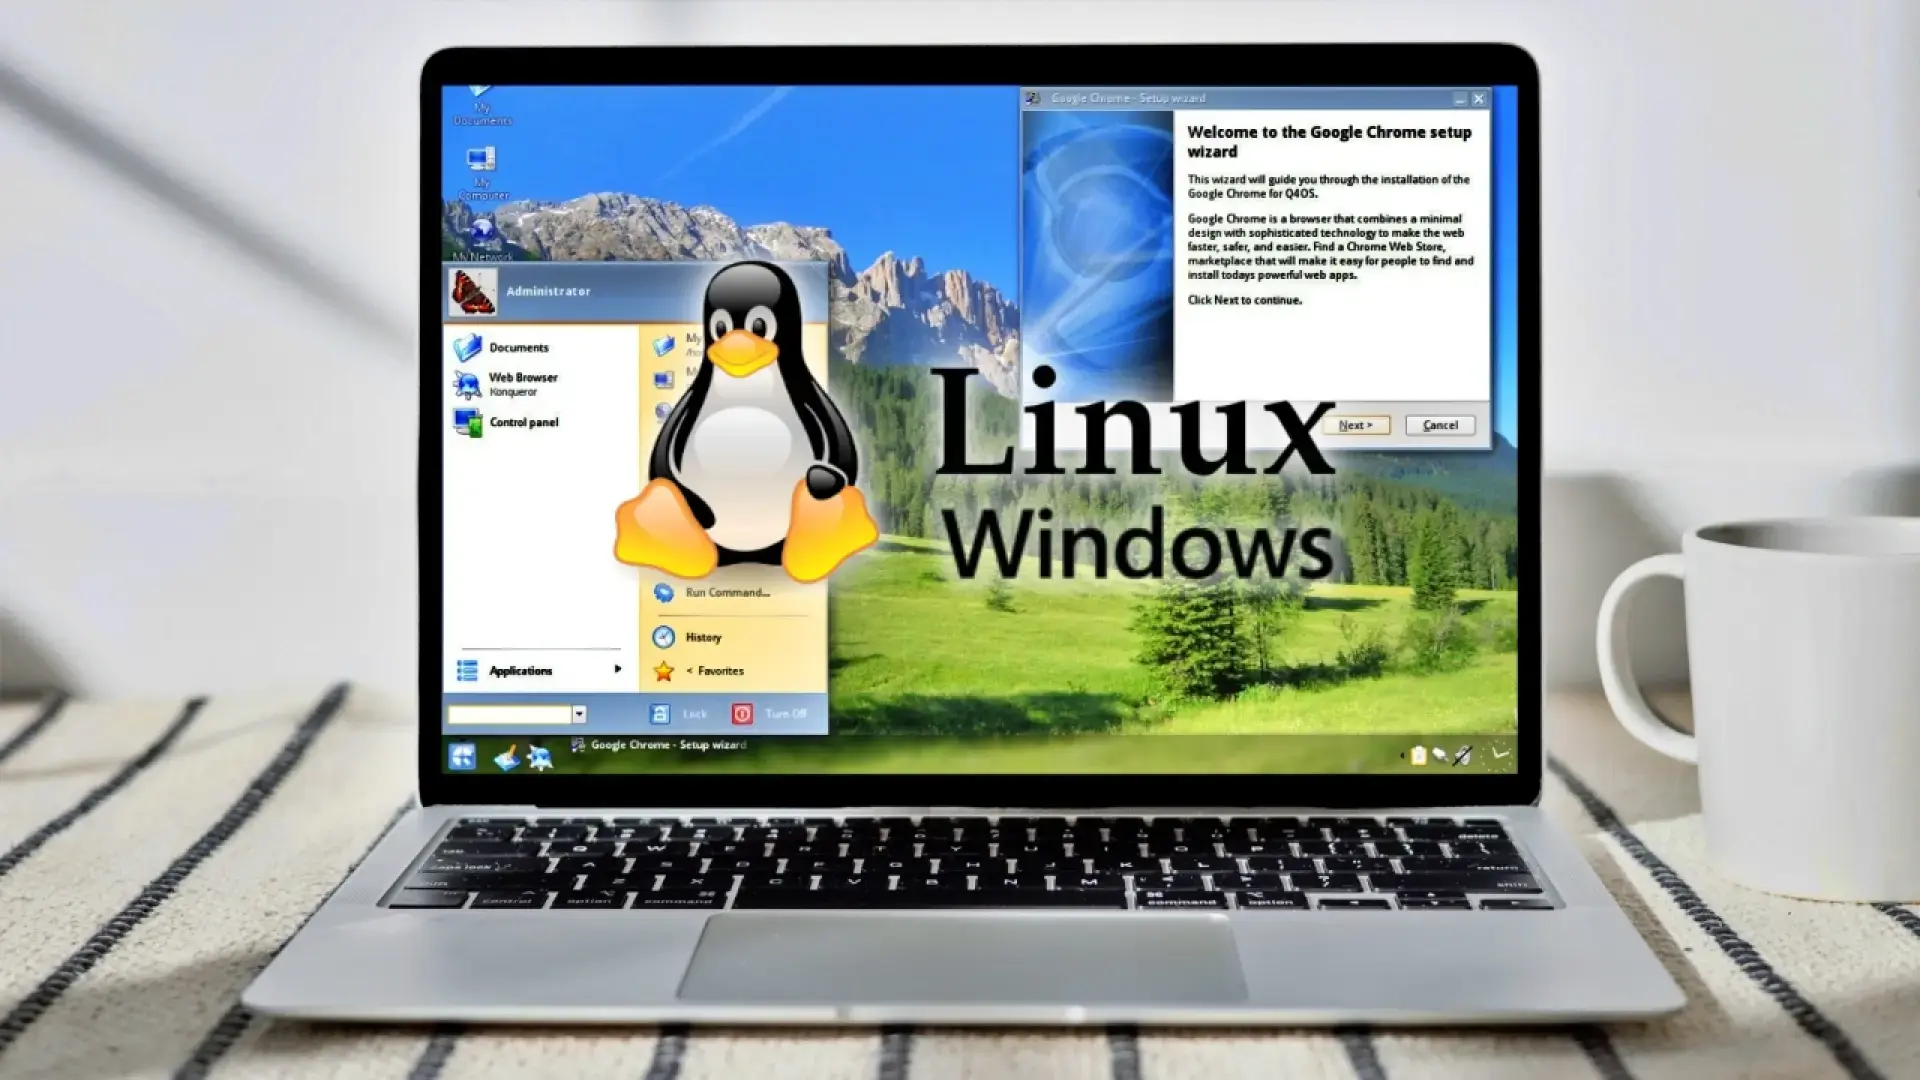
For very old computers or for those who want a Linux distribution that looks like classic Windows, Q4OS is a very interesting alternative. Based on Debian, it runs well even on very modest CPUs (starting at 350 MHz, 256 MB of RAM, and around 3 GB of disk space) and, thanks to its Look Switcher customization tool and the XPQ4 plugin, can quite faithfully mimic the look of Windows XP, 7, 8, or 10.
Q4OS stands out for offering desktop profiles through Desktop Profiler , with ready-made application packages tailored to your needs (office suites, multimedia, etc.), and for allowing you to try the interface without fully installing the system. It can work with desktop environments such as Trinity Desktop Environment (TDE) or KDE Plasma, prioritizing lightweight performance.
However, Q4OS also has its limitations : it's not the best option if you need full compatibility with modern browsers, advanced graphics effects, or if you intend to run very demanding AAA games. It's designed to give a second life to older computers and offer a familiar environment to users who don't want to give up the aesthetics of Windows 10 or earlier versions.
Prepare disk space to install Linux alongside Windows 11
If you already have Windows 11 installed and want to add Linux in a dual boot setup, the first practical step is to free up disk space. Ideally, if your budget allows, you'd have a second hard drive or SSD dedicated to Linux. If that's not possible, you can shrink your main Windows partition to make room.
In Windows 11, open the Start menu and search for “Create and format hard disk partitions .” This Disk Management tool shows you all available drives and partitions. Typically, the system is on C:, with almost all of its capacity occupied by a single large partition.
Right-click on the partition where Windows is installed (for example, C:) and select "Shrink Volume ." The system will calculate how much space it can free up without affecting existing data. In the dialog box, enter the size you want to shrink, in megabytes (MB). This space will become unallocated space where GNU/Linux will later be installed.
The amount of space you need to reserve depends on how you plan to use Linux . For a basic desktop installation, 20-30 GB may be enough for the root partition, but if you plan to store many files, install native Linux games, or have a large /home partition, you should allocate considerably more.
After accepting the reduction, you'll see a black block in Disk Management marked as "Unallocated ." This portion of disk space doesn't yet belong to any partition or file system. It's precisely the space that the installer of your chosen Linux distribution will use.
Create a bootable USB drive with the Linux distribution
With the disk space ready, it's time to create the bootable USB drive from which the GNU/Linux installation will begin. You'll need a USB drive (preferably 8 GB or larger) and the ISO file of the distribution you're going to install, always downloaded from the project's official website (Ubuntu, Linux Mint, Q4OS, etc.).
An ISO file is a complete image of the file system of an optical disc (like a DVD), and bootable USB creation programs are responsible for correctly copying it to the USB drive so that it is bootable. Many Linux distributions offer several versions: in the case of Ubuntu, for example, there are LTS (Long Term Support) versions that are the most recommended for beginners.
To create a bootable USB drive from Windows, a widely used tool is Rufus . It's lightweight, free, and has proven its worth over the years. Simply go to its official website, download the latest version, and open it (no complex installation required).
Within Rufus, make sure you select the correct USB drive in the "Device" field to avoid accidentally erasing another drive. Then click "Select" and choose the .ISO file of the distribution you downloaded. In most cases, the default partitioning and target system options (UEFI with GPT) are suitable if your computer uses UEFI.
When you click "Start," Rufus may ask you which mode you want to use to write the ISO . The recommended option is usually "Write in ISO Image mode." It will also warn you that all previous content on the USB drive will be erased: accept and wait for the process to finish. Once complete, you'll have a USB drive ready to boot the Linux installer on your Windows 11 computer.
Boot from the USB and start the Linux installation
To boot your PC from a bootable USB drive, you have several options . One very convenient method in Windows 11 is to open the Start menu, click the power button, hold down the Shift key, and choose "Restart." This will take you to the Advanced Boot Options menu.
On the blue advanced options screen, select "Use a device ." You'll see a list of drives you can boot from: choose the USB drive where you created the Linux installer and confirm with Enter. The computer will restart, booting directly from that USB drive.
Each distribution has a different initial menu , but in the case of Ubuntu, for example, you'll see options like "Try or Install Ubuntu." Trying the system lets you use it without touching the disk, directly from the USB drive, which is very useful if you just want to take a quick look. However, if your goal is to set up a dual boot, at some point you'll have to click "Install."
During the installation wizard, you'll choose the system language , keyboard layout (Spanish, International Spanish, etc.), and, if desired, the Wi-Fi connection if you're not using an Ethernet cable. Connecting to the internet during installation allows you to download updated drivers and packages, which is usually a good idea.
You'll also be offered a choice between a standard or minimal installation . The standard option includes a set of common applications (browser, office suite, media players, etc.), while the minimal option is limited to the essentials for those who prefer to build their own custom environment. Additionally, there's usually a checkbox for installing third-party software, such as proprietary drivers for the graphics card or Wi-Fi: checking this box helps avoid compatibility issues.
Setting up a dual boot Linux – Windows 11
One of the critical moments of the installer is disk management . If the program detects that you already have Windows 11 installed, it will usually display an option like "Install Ubuntu alongside Windows Boot Manager" (or similar in other distributions). This automatic option creates the necessary partitions in the unallocated space and configures the boot manager without you having to do anything complicated.
If you choose automatic mode, Linux will install in the free space you previously created in Windows, leaving the partition containing your Microsoft system and files untouched. When finished, the computer will restart, displaying a menu (usually GRUB) where you can choose between booting into Linux or Windows 11.
For users who want detailed control over partitions, there's the "More options" or "Manual partitioning" option . There you'll see all the disks, partitions, unallocated space, etc., and you can define how the space is distributed among the different areas of Linux.
In a typical manual installation of GNU/Linux alongside Windows 11, at least three partitions are usually created in the unallocated space: a root partition, a swap partition, and a /home partition for personal data. Depending on the disk size and your intended use, you can adjust the partition sizes to your liking.
The root partition (/) is the heart of the system : it's where system files and most applications reside. It's common practice to format it as ext4, a widely used file system , mark it as primary (if the system requires it), and allocate at least 20 to 30 GB, although with large disks it's advisable to allocate significantly more to avoid running out of space.
The SWAP partition acts as a swap area , a kind of extension of RAM when it's full. It's configured as a logical partition and designated as a "swap area." In many cases, 2-3 GB is sufficient, but if you have little physical RAM or frequently use hibernation, it's recommended to match the size of the SWAP partition to the computer's RAM.
Finally, the /home partition is where you'll store your documents, downloads, and user settings . It's also often described as a logical partition, formatted in ext4, and mounted at /home. Ideally, you should allocate most of your free space to it, as this is where you'll notice if you run out of storage.
After partitioning, the installer continues with some final settings : time zone selection (choose your country's main city or the nearest one), user and password creation, computer name, and login options (automatic login or require a password at startup). Meanwhile, the files are copied and the boot manager is installed.
Once the process is complete, remove the USB drive and restart your computer . If everything went well, you should see a boot menu where you can select Linux or Windows 11. If your computer boots directly into Windows without displaying any options, check your UEFI/BIOS settings and change the boot order so that the Linux entry (for example, "ubuntu") is listed before "Windows Boot Manager".
Alternatives to dual boot: virtual machines, cloud Linux, and Live USB
Not everyone needs a permanent dual boot to use Linux and Windows 11. If you primarily work in Windows but only want Linux occasionally or for specific tasks, there are very convenient alternatives that don't involve changing partitions or messing with the UEFI.
A very popular option is to install Linux within a virtual machine , using tools like VirtualBox, VMware, or Hyper-V. In this case, Windows 11 remains the main operating system, and Linux runs in a window as if it were just another program. This is ideal for testing, software development, or using command-line utilities without affecting the boot process.
Another option is to set up a server with your preferred Linux distribution in the cloud and connect to it remotely (SSH, remote desktop, etc.). This eliminates dependence on your PC's hardware and allows you to work with Linux from any internet-connected device, using Windows 11 as the client.
You can also work with "live" systems (Live USB) , which means booting your computer from a USB drive containing a fully functional Linux distribution without installing it on the internal hard drive. This is a good tactic if you only want to use Linux occasionally or if you need a rescue tool when Windows 11 fails to boot correctly.
Each of these alternatives has its advantages and disadvantages : virtual machines consume additional resources and are not ideal for gaming or highly graphical tasks, cloud servers depend on a stable internet connection, and live systems don't save changes unless you configure them to do so. It's worth considering how you intend to use Linux before choosing a path.
Windows Subsystem for Linux (WSL): Linux inside Windows 11
For developers and advanced users, Windows 11 offers a very powerful solution: WSL (Windows Subsystem for Linux). It allows you to run complete Linux distributions (Ubuntu, Debian, Arch, Kali, openSUSE, and many more) directly within Windows, with access to most command-line tools and utilities, without a traditional virtual machine and without dual booting.
WSL is designed for those already working on Windows 10 (version 2004 or later) or Windows 11 who want to access Bash, package managers like apt or pacman, and the entire Linux ecosystem from the Windows command line or Terminal. It is especially useful for web development, DevOps, data science, and systems administration.
The current WSL installation process has been greatly simplified . You only need to open PowerShell as administrator (right-click > “Run as administrator”) and run the command:
wsl -install
This command automatically enables the necessary features and downloads an Ubuntu distribution from the store by default, unless you specify another one with the -d parameter. After restarting, when you open the distro for the first time, the setup will be completed and you will be prompted to create a user and password for the Linux environment.
If you want to install a distribution other than Ubuntu, you can see the available list with:
wsl.exe –list –online
Then install the one you want using: wsl.exe –install DistroName. You can even import custom distributions from TAR files or, in some cases, using downloaded .appx packages.
WSL supports two main versions: WSL 1 and WSL 2. The latter is recommended in most scenarios because it uses a lightweight virtual machine layer that provides a real Linux kernel, better system call support, and improved performance for many tasks. To check which version you are using on each distribution, run:
wsl -l -v
You can change the default version that new distros will use with:
wsl.exe –set-default-version 1 or wsl.exe –set-default-version 2
And modify the version of a specific distribution by:
wsl.exe –set-version DistroName 1 or wsl.exe –set-version DistroName 2
Once WSL is installed, you have several ways to launch your Linux distributions . You can do this from the Start menu by typing the name (for example, "Ubuntu"), from Windows Terminal by opening new tabs for each distro, or from PowerShell by simply using wsl to enter the default distribution or wsl -d DistroName to open a specific one.
From PowerShell, you can also execute individual Linux commands using the `wsl` command syntax. For example, `wsl pwd` will display the current directory as seen from Linux, and `wsl date` will display the date within the Linux environment, while `Get-Date` still returns the Windows time.
Microsoft recommends following a series of best practices to configure WSL : correctly set username and password, customize Windows Terminal, install and configure Git for version control, use VS Code with the remote development extension, pay attention to where you save your projects (Windows paths or the Linux file system itself), mount external drives when needed, and even take advantage of GPU acceleration in WSL 2 for certain workflows.
If you want to try the latest WSL features before they arrive in the stable Windows 11 channel, you can sign up for the Windows Insider Program and choose the channel that best suits your needs: from the more advanced and potentially unstable development and beta channels, to the preview channel, designed for users who want early access to key features with a degree of stability.
Without switching to the Insider program, you can also get the latest preview version of WSL by running the command wsl.exe --update --pre-release. Additionally, Microsoft publishes WSL releases on GitHub, along with changelogs and downloads of the MSI packages for offline installations.
In environments without direct internet access, WSL can be installed offline by downloading the corresponding MSI, manually enabling the “VirtualMachinePlatform” component with dism.exe, and then importing the Linux distribution from a .wsl file. It's a slightly more technical process, but perfectly viable in closed corporate networks.
By combining dual boot, WSL, virtual machines, or lightweight distros like Q4OS, it's relatively easy nowadays to adapt your computer to work exactly as you need: with Windows 11 for software and gaming compatibility, Linux for development and administration, or even with a Linux that looks almost the same as your old Windows 7 or 10 if you want to minimize the change.
