- Complete remote management of the 3D printer through an intuitive web interface.
- Using Raspberry Pi as a dedicated server to optimize control and monitoring.
- Ability to integrate cameras for real-time surveillance and creation of timelapses.
- Functionality expansion through plugins and direct connection with slicers like Cura.
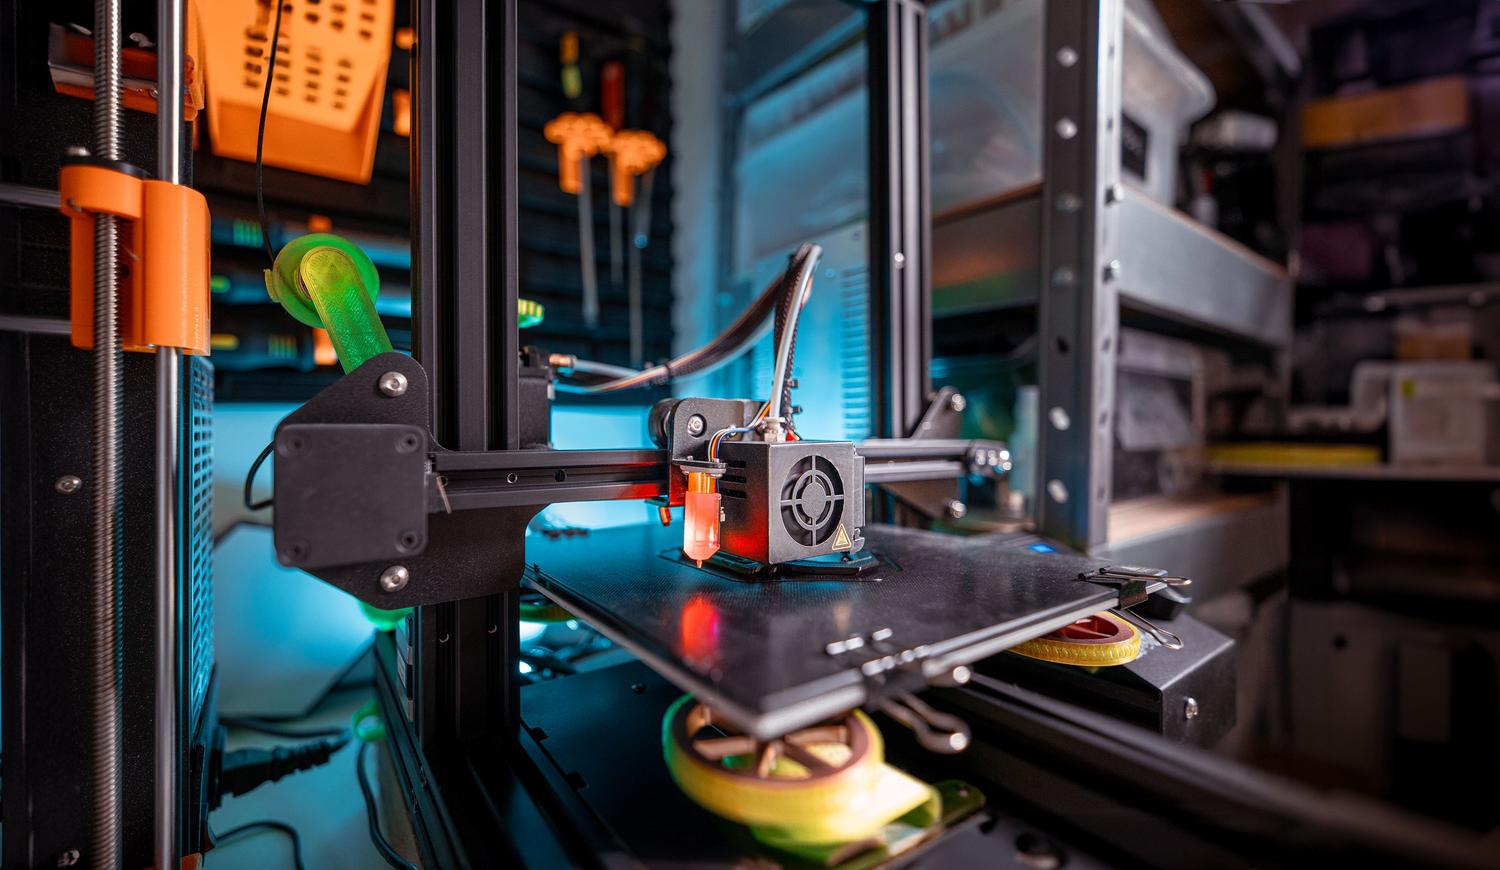
If you're passionate about additive manufacturing, you know there's nothing more frustrating than having to run to your printer every five minutes to check that the first layer is right or that the filament hasn't gotten tangled. This is where OctoPrint comes in , an open-source tool that has become the standard for those looking to manage their machines remotely, allowing complete control from any browser-enabled device.
To get the most out of this software, the most common approach is to set up a server based on a Raspberry Pi , since it's a microcomputer that consumes very little power but has enough processing power to run the interface and manage the G-code data flow. In this guide, we'll tell you everything you need to know to go from having a conventional printer to a smart printing station accessible from anywhere in your home or even the world.
Recommended materials and hardware
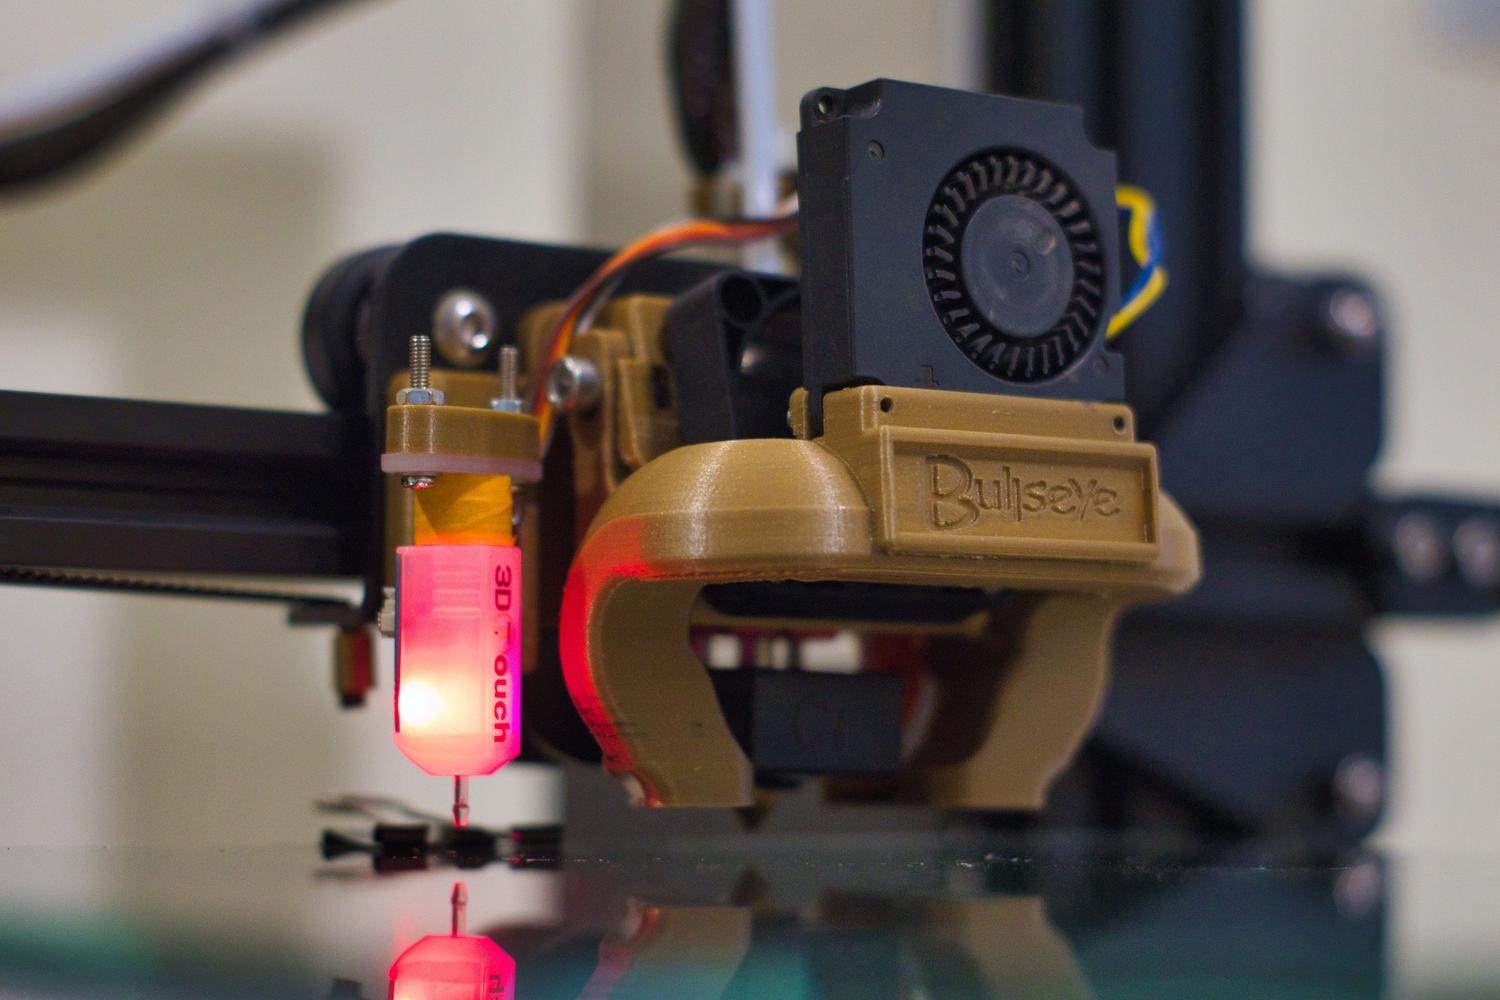
Not all boards are created equal, so it's best to choose the right one depending on what you want to do. Ideally, you should use a Raspberry Pi 3B+, 4B, or Zero 2 , as they offer solid performance. If you opt for older models or the original Raspberry Pi Zero W, be careful: when activating the camera or installing many plugins, the processor can become overloaded and cause brief pauses in printing , which could leave unsightly marks on your print.
As for the other components, you'll need a microSD card of at least 8 GB (though 16 GB or more is recommended, and it should be Class 10 to avoid crashes), a stable power supply, and a USB cable compatible with your printer (either USB-B, micro USB, or USB-C). For video, you can use the official Raspberry Pi camera or any standard USB webcam, which is usually the easiest option to set up.
Installing OctoPi OS
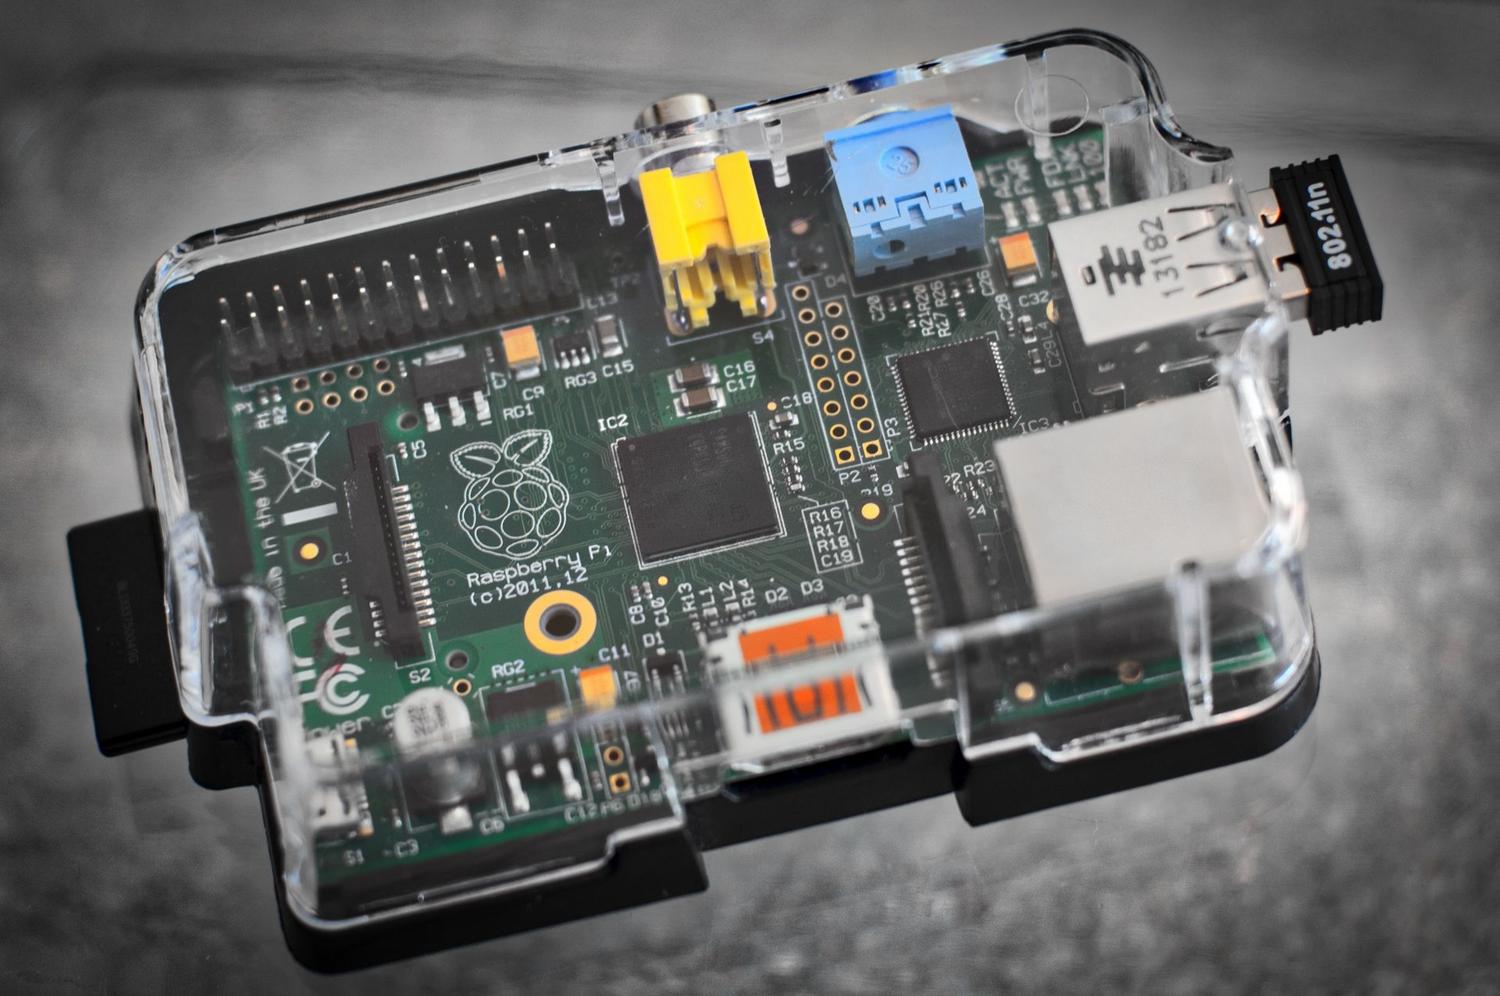
The quickest way to get started is by using OctoPi , which is essentially a Raspbian image that comes with OctoPrint and everything else you need pre-installed. To flash it to the SD card, the easiest way is to use Raspberry Pi Imager . Once installed on your computer, select your board model and, in the operating system section, go to Other Specific Purpose OS , then to 3D Printing , and choose the stable version of OctoPi.
Before recording, click the gear icon to access advanced settings . This is where the magic happens: you can define the hostname, create a username and password for the system (SSH), configure your Wi-Fi network name and password , and adjust the time zone. If you prefer the manual method or use BalenaEtcher, remember that you'll need to edit the octopi-wpa-supplicant.txt file in the root of your SD card, removing the # symbols and adding your network details and country code (for example, ES for Spain).
First boot and initial configuration
Once the card is flashed, insert it into the Raspberry Pi, connect the USB cable to the printer, and power on the device. Wait a couple of minutes and open a web browser on your PC, typing http://octopi.local or the IP address assigned by your router. If you don't know the IP address, you can use applications like Fing to locate the device on your local network.
The first time you log in, a setup wizard will appear. I recommend setting up an administrator user with a strong password , even if the machine is on your local network. You'll also see options to enable plugin blacklisting (very useful for preventing malware) and anonymous error tracking. If you have a camera connected, now is the time to test the video stream to ensure everything is working correctly.
Linking the printer and the profile
To allow OctoPrint to know what it's controlling, you need to create a printer profile. Here you define your printer's name , the print volume size (X, Y, Z), and whether you have a heated bed. In the extruder tab, specify the filament diameter and the number of extruders ; for example, if you're using a Prusa with an MMU, you'll need to enter 5 extruders and check the shared nozzle box.
To establish the physical connection, go to the Connection tab, select the serial port (you can leave it on AUTO so the system detects it automatically), and click Connect. If the USB cable is properly connected, you'll see the status change to Connected, and you'll then be able to send G-Code files from the Files tab or upload a new one from your computer.
Advanced tricks, plugins and optimization
One of the best things about OctoPrint is that you can add functionality through plugins. To access them, go to Settings and look for the Plugin Manager . If you want a more modern interface that's easier on the eyes, install Themeify to enable dark mode. For video enthusiasts, OctoLapse is essential for creating professional time-lapses where the print head is hidden in the frame.
If you use the Ultimaker Cura slicer , you can install a specific plugin in the Cura MakerPlace to connect your software directly to OctoPrint using an API key . This allows you to send the print job directly from the slicer without having to export the file and upload it manually to the website. Additionally, if you are using a Raspberry Pi Zero W connected via GPIO pins , remember to disable the serial console and enable the UART port in the configuration file for stable communication.
Setting up this system completely transforms the printing experience, allowing us to forget about physical SD cards and giving us constant, remote monitoring of our prints. From temperature management and axis control to the ability to stop a print if we see it starting to malfunction, the combination of Raspberry Pi and OctoPrint is simply the best upgrade you can make to any home 3D printer.