- Dust accumulation raises temperatures, causes noise, and accelerates component wear.
- The key tools are compressed air, microfiber cloth, soft brushes, and isopropyl alcohol.
- It is vital to avoid unsuitable liquids, pressurized steam, and powerful vacuum cleaners due to the risk of damage.
- Regular cleaning and proper PC placement improve performance, quietness, and lifespan.
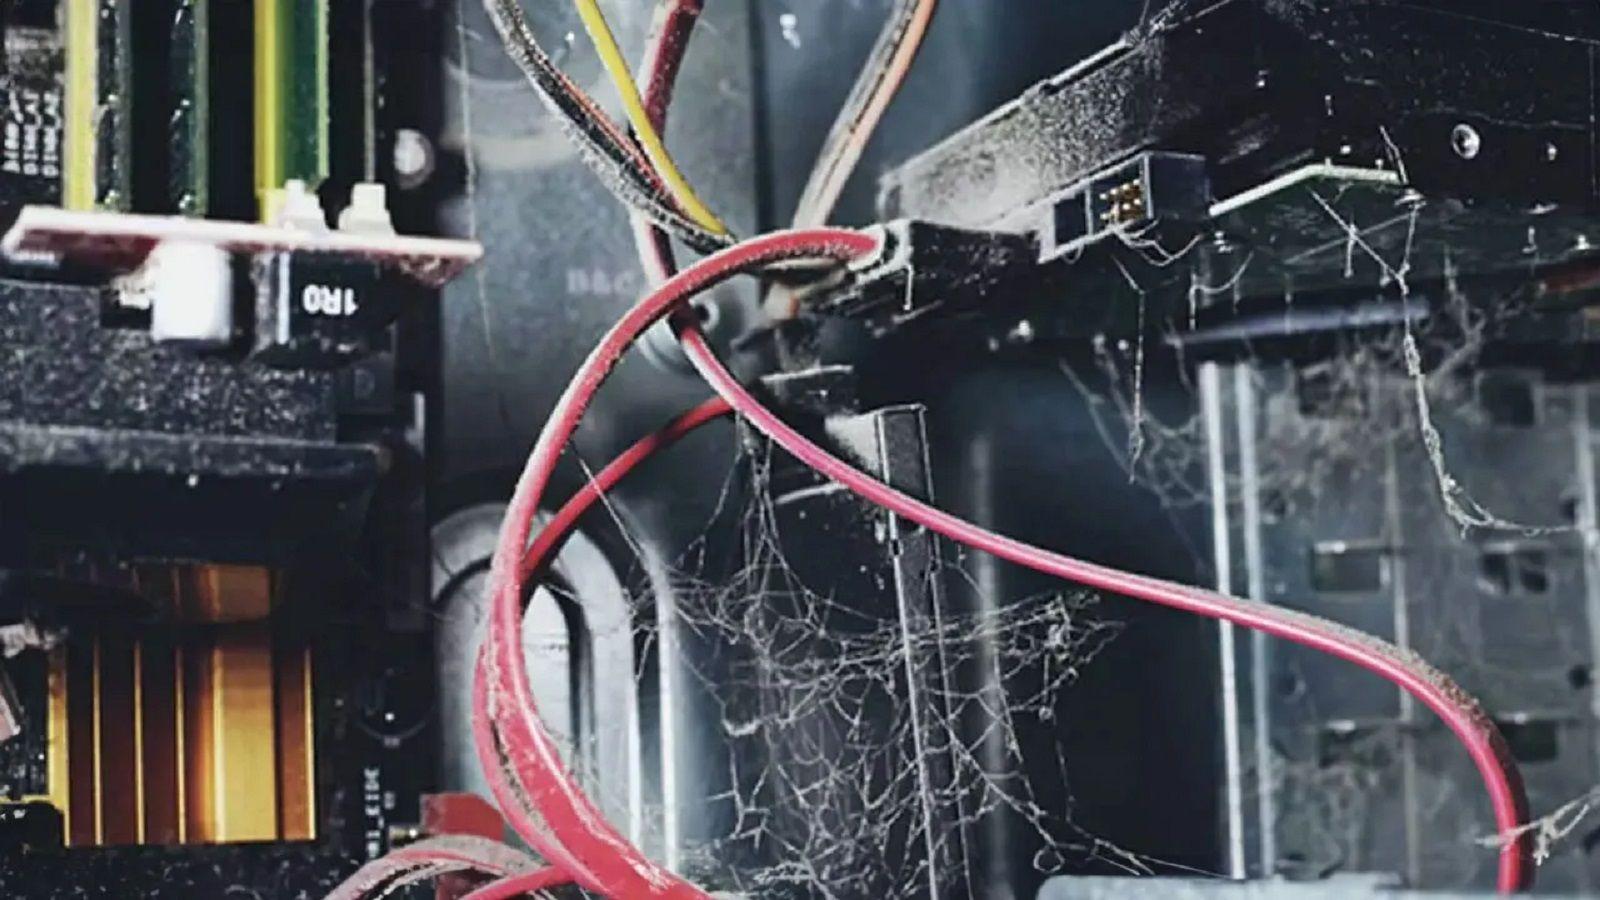
If your computer sounds like a jet engine taking off and the temperatures are soaring, it's very likely you have a thick layer of dust inside the tower. Cleaning the inside of your PC without damaging anything isn't as complicated as it seems, but it does require care, patience, and following a few clear steps.
Over time, dust, lint, and even pet hair accumulate on filters, fans, and heatsinks, reducing ventilation, raising temperatures, and potentially shortening the lifespan of your hardware. This guide will show you how to safely clean the inside of your PC , what tools to use, what to avoid at all costs, and how often you should perform a deep clean.
Why is it so important to clean the inside of your PC?
Inside your computer case, air circulates constantly to keep the temperature of the CPU, graphics card, power supply, and other components under control; when the vents and filters become clogged with dust, the airflow is restricted and the heat remains inside , causing temperatures to spike even during simple tasks.
Dust filters help a lot, but they're not a miracle cure: the finest particles still get through and build up a layer of dirt on heatsinks, fans, and the motherboard. Even with filters, dust will eventually accumulate inside your PC , and if you leave it untouched for years, the problem becomes serious.
This excess heat not only affects day-to-day performance, but also reduces the lifespan of components and can lead to premature failures of the power supply, graphics card, or even the SSD if it overheats for a long time.
Slower computer and thermal throttling
When the processor, graphics card, or even some SSDs reach dangerous temperatures, a safety mechanism called Thermal Throttling comes into play, automatically lowering the operating speed to prevent them from literally frying.
In practice, this means that as soon as the temperature rises a few degrees, the CPU and GPU reduce their frequency and performance drops : games that previously ran smoothly start to stutter, demanding programs take longer to load, and the entire system feels sluggish. If you overclock , the thermal margin is reduced, and the risk of throttling increases.
More noise and forced fans
Dust accumulates mainly in three key areas of the equipment: filters and air intake grilles, heatsink fins and the fan blades themselves, where a layer of dirt forms that weighs down, unbalances and makes the rotation noisier.
When filters or grilles become clogged, cool air doesn't enter the case properly, and the fans have to spin faster to compensate; on heat sinks, dirt creates a kind of insulating blanket that prevents heat from being expelled effectively , forcing the fans to spin faster again.
If the blades are very dirty, they can even become unbalanced, which generates vibrations and annoying noises; in extreme cases, an unbalanced fan can end up damaging its own shaft or rubbing against the frame, producing very unpleasant sounds.
Risk of short circuits and burning smell
Dust mixed with heat, humidity, and small particles of soot can form a semiconducting layer; this means that the dirt accumulated on the motherboard or inside the power supply could conduct electricity between points that should never be connected.
In extreme situations and after years without cleaning, this mixture can cause short circuits, especially inside the power supply or on sensitive areas of the motherboard, with the risk that only the power supply will die in the best case, or take half the PC with it in the worst.
Furthermore, when accumulated dust gets close to very hot areas (VRM, resistors, coils, back of the GPU, etc.), it can partially burn and generate a rather unpleasant burnt smell that is sometimes accompanied by very fine smoke.
All of this also has an impact on your health: a very dirty PC releases dust into the environment around the desktop, so if you are allergic to dust or asthmatic, continuously breathing in that dirt is not beneficial at all and can aggravate your symptoms.
Recommended tools and products (and those you should avoid)
To make your PC look like new without risking the components, it's important to use the right tools; with very little material you can do a deep clean if you're careful, since the basics are combining air, gentle mechanical wiping and some isopropyl alcohol.
Ideally, you'll need a clean microfiber cloth, cotton swabs, a soft-bristled brush, a can of compressed air, and high-purity isopropyl alcohol (around 99%). If you're going to be working on thermal paste replacement, you'll also need some good quality PC thermal paste . This kit will cover virtually all your internal cleaning needs without damaging the electronics.
For the outside of the case, you can use glass cleaner on the tempered glass and slightly damp wipes for the rest of the chassis, always avoiding getting liquid through the ports or ventilation slots, because humidity and electronics are not exactly good friends.
What should be avoided at all costs are strong solvents, types of alcohol other than isopropyl alcohol, pressurized steam cleaners, and wipes loaded with aggressive chemicals, as they can corrode plastics, erase screen printing, and leave conductive residue on the board or graphics card.
Regarding vacuum cleaners, the general recommendation is not to use them inside the PC because they can generate a lot of static electricity and damage sensitive chips if they touch certain components , in addition to straining the fans if they suck them up and make them spin more than necessary.
Basic preparation before getting inside
Before starting to disassemble anything, there are several preliminary steps that must be respected to minimize risks; the first is to turn off the computer completely, unplug it from the power outlet and press the power button for a few seconds to discharge any remaining energy.
If you can work in a well-ventilated place, preferably outdoors or on a balcony, you'll avoid filling the room with dust; also, it's a good idea to touch something metal connected to ground or use an anti-static wrist strap to discharge electricity from your body before touching the motherboard or graphics card.
Remove the side panels of the case and, if you're not very used to disassembling PCs, you can take photos with your mobile phone of how the cables and components are arranged; that way, when it's time to reassemble everything, you'll have a quick visual reference and avoid silly mistakes.
If you don't yet have compressed air and the temperatures are very high, you can do an emergency cleaning with kitchen paper and cotton swabs, as long as you use them dry or barely moistened with isopropyl alcohol; never soak them in water or use generic "miracle" liquids.
How to clean your PC case inside and out
The tower is the first barrier against dust, and over time the sides, grilles and filters become filled with visible dirt; starting here allows you to work more comfortably later, because the interior will be less cluttered when you go for the delicate components.
For the exterior, the easiest way is to use a microfiber cloth slightly dampened with a dusting product or a mild cleaner, going over the side panels, the top and the front; if there are complicated corners, you can use a screwdriver wrapped in the cloth to reach the nooks and crannies.
Inside the box, if you already have compressed air, you can give it a few short bursts outside the house to expel most of the dirt stuck to the grilles and corners; then, finish cleaning with the cloth the areas where you see residue, especially the air inlets which are usually the most affected.
Don't forget the removable dust filters: carefully remove them, clean them with the cloth or under the tap if the manufacturer allows it (always make sure they are completely dry before reassembling them) and ensure that no lint remains trapped that could obstruct airflow when the PC is turned back on.
How to clean heatsinks and radiators without damaging them
Heatsinks and radiators are key to keeping the CPU and, where applicable, the GPU temperature under control; over time, their narrow fins fill with dust, creating a layer that acts as a thermal blanket and prevents heat from escaping effectively into the air.
If you use a tower or dual-tower air cooler, you can thoroughly clean it after removing it from the motherboard; some users even wash it under the tap, then dry it with kitchen paper and a hairdryer on warm air, although you should always do this without the fan and ensure complete drying to avoid any risk of corrosion.
With more compact, shell-type or specially designed heatsinks, you can also use water, provided you remove the fans and then take the time to dry them thoroughly. If you don't want to complicate things so much, you can clean them with compressed air and a soft cloth or brush , taking care not to bend the aluminum fins.
In the case of an AIO liquid cooling system, it is not advisable to submerge the radiator in water; the safe option here is to use compressed air in short bursts at an approximate angle of 45 degrees , so that the dust comes out and does not get embedded further inside.
After removing the coarsest dirt, you can finish with a microfiber cloth, removing anything that's stuck on without leaving any loose fibers; the idea is that you see the fins clearly clean and the radiator free of lint before reassembling it in the case.
How to clean PC fans
Fans are champions at accumulating dust, especially on the edge of the blades and on the frame where they are attached to the case or the heatsink, so cleaning them is a priority; clean fans move more air at lower revolutions and generate considerably less noise than those full of lint.
With the fan disassembled and in a well-ventilated area (preferably outside the house), you can use compressed air, but always hold one of the blades with your finger; otherwise, the high-speed rotation caused by the air jet can damage the internal motor or wear out the bearings faster.
After using the air conditioner, it is advisable to wipe the blades with a microfiber cloth or a cotton swab, removing the layer of dirt that has adhered to them; if there are very narrow areas, you can use a soft-bristled brush to remove the dust without scratching the plastic.
It's also a good idea to clean the frame and the corners where the fan is screwed in, because they tend to accumulate small bits of lint; although it may seem like a minor detail, everything you clear will help improve the overall airflow of the equipment and keep temperatures a little lower.
How to safely clean your graphics card
The graphics card is one of the most delicate and expensive components of the PC, so you have to be even more careful here; dirt tends to accumulate on the fans and the internal heatsink, causing temperatures to rise significantly in demanding games and applications.
If your model allows you to remove only the fans without touching the heatsink, it's the most convenient option: clean them like any other fan and then visually check the accessible fins of the heatsink; if the dirt isn't too ingrained, a good external blow is usually enough.
In many cases, it's not advisable to overuse compressed air directly on the graphics card at high pressure because you could damage fans or move dirt to more complicated areas; it's better to use soft brushes and a microfiber cloth, and reserve the air for controlled bursts.
If there are very stubborn residues, you can use isopropyl alcohol applied to a piece of kitchen paper or cotton swabs, always in small quantities and never soaking; avoid baby wipes or other wet cloths with chemicals because they can damage plastics and varnishes.
When your graphics card is quite old and you notice it overheats even after cleaning, a more thorough operation may be necessary: completely disassembling the heatsink, thoroughly cleaning the entire assembly, and renewing the thermal paste; this is a more delicate process that requires time and following a specific tutorial for your model.
Motherboard and power supply: extreme caution
The motherboard and the power supply are probably the two components that command the most respect when cleaning, because a failure in either of them can drag down the rest of the hardware and leave you without a PC in one fell swoop.
With the power supply, it's best not to open it unless you have experience and it's extremely dirty; as a rule, it's enough to gently blow out the outer grilles and the fan with moderate compressed air and, if you remove the unit from the case, wipe the dust off the casing with a cloth and a very controlled amount of isopropyl alcohol .
If you ever decide to open the power supply, keep in mind that it can retain a charge even when unplugged, so it's not a recommended operation for everyone; any internal manipulation should be done with a minimum knowledge of electrical safety.
For the motherboard, it's safest to start with a very soft-bristled brush, gently wiping over PCIe sockets, RAM slots, ports, and soldered components; this will lift most of the dirt, and then you can finish with a microfiber cloth or cotton swabs with some isopropyl alcohol on specific areas.
The key here is not to put pressure on capacitors, small chips, or resistors, because you could rip or break them; it's better to make several gentle passes than one strong and abrupt one , and avoid at all costs liquids that do not evaporate quickly, such as water or conventional cleaners.
Hard drives, SSDs, and other internal components
Mechanical hard drives and 2,5-inch SSDs are relatively easy to clean because their casings are usually fully sealed; it's basically a matter of removing dust from the surface and the connector area , making sure no lint remains that could get into the ports. If you're concerned about this, see how to cover empty ports to prevent dust from entering.
For these elements you can use a soft brush on the connectors and a microfiber cloth on the rest of the body, always dry or with a minimal amount of isopropyl alcohol; there is no point in opening them or manipulating their interior , since they come sealed precisely to prevent the entry of dirt.
In the case of M.2 SSDs, which are plugged directly into the motherboard, you can carefully remove them and wipe them with a dry cloth to remove surface dust. If they have an integrated heatsink, simply clean the top without disassembling it , unless you're going to replace the thermal paste or thermal pads. If you're installing them, follow the recommendations to avoid errors when installing an SSD.
Take the opportunity to also check and clean the power and data cables that run inside the case, as they tend to be a breeding ground for dust in the gaps; using a dry microfiber cloth is usually sufficient, and if you see any frayed or cut cables, it's wise to replace them as soon as possible.
Changing thermal paste: when and why to do it
If you're doing a thorough cleaning and have removed the CPU heatsink (and, if you're feeling ambitious, the GPU heatsink), it's the perfect time to change the thermal paste ; once you separate the heatsink from the chip, the previous layer no longer performs its function correctly and shouldn't be reused.
To remove the old paste, apply a little isopropyl alcohol to a soft paper towel or cotton swab and clean until the surface of the processor and heatsink is polished and free of residue; it is important not to scratch the surface and not leave any fibers stuck that could hinder contact.
When choosing thermal paste, if you are inexperienced, it is best to opt for a ceramic type, as it is not electrically conductive and greatly reduces the risk of short circuits if you apply too much and some spills around the processor.
Metallic pastes can offer a slight improvement in thermal conductivity, but they require a very steady hand and careful application of the correct amount; a single drop can bridge contacts and cause a serious problem , so they are more of an option for advanced users.
As a general guideline, it's good practice to replace the thermal paste every 6-12 months on computers that work for many hours or in hot environments; if you notice unexplained temperature increases, changing the paste is usually one of the first things to check.
What never to do when cleaning a PC
There are certain typical mistakes to avoid in order not to turn a simple cleaning session into a forced visit to the hardware store; the most common is using unsuitable liquids such as multipurpose cleaners, rubbing alcohol or strong solvents on the motherboard, graphics card or RAM.
Another common mistake is using pressurized steam cleaners thinking that everything will be disinfected and perfect; the combination of humidity, temperature and pressure can seep into connectors, under chips and coils , generating corrosion and breakdowns that sometimes appear weeks later.
It's also not a good idea to forcefully use a household vacuum cleaner inside the PC; besides straining the fans if it spins them wildly, it can accumulate a strong static electricity charge in the nozzle which, upon touching a chip or trace, could instantly fry components.
Using lint-prone cloths, stiff brushes, or unprotected metal tools is also a bad idea, because you can leave fibers everywhere, scratch delicate surfaces, or even dislodge small soldered components if you're too forceful. Avoiding these mistakes, which shorten the equipment's lifespan, is key.
Cleaning frequency and maintenance tips
The frequency of cleaning depends largely on the environment where you have the PC: it's not the same to have a tower on the floor, next to a window and with pets nearby, as it is to have a computer on the desk in a relatively clean and dust-free room.
If you never do quick cleanings, it is advisable to do a deep cleaning at least once a year, disassembling fans, checking heat sinks and changing thermal paste; if you live near the sea with salt in the air, it would be wise to shorten the interval to about six months.
Conversely, if every two or three months you remove the side panel of the case, blow out the filters a little, and brush the fans, dirt will never accumulate as much; in that case, you could space out thorough cleanings to approximately every 18-24 months , unless you notice temperature problems.
A very effective trick is to always place the PC on the desk instead of on the floor, away from carpets or curtains, and avoid having it next to an open window; this simple decision greatly reduces the amount of dust and lint that ends up inside over the months.
With some consistency and using the right tools, keeping the inside of your computer clean becomes a much less tedious task: your PC will run cooler, make less noise, and its components will last longer , all in exchange for dedicating some time to thoughtful maintenance from time to time.
