- Resource optimization through centralizing printing on a single device accessible to multiple users.
- Flexible connection via Wi-Fi wireless technologies, Ethernet cabling, or through the use of a central server.
- Improve business productivity by enabling remote printing from computers, tablets, and mobile devices.
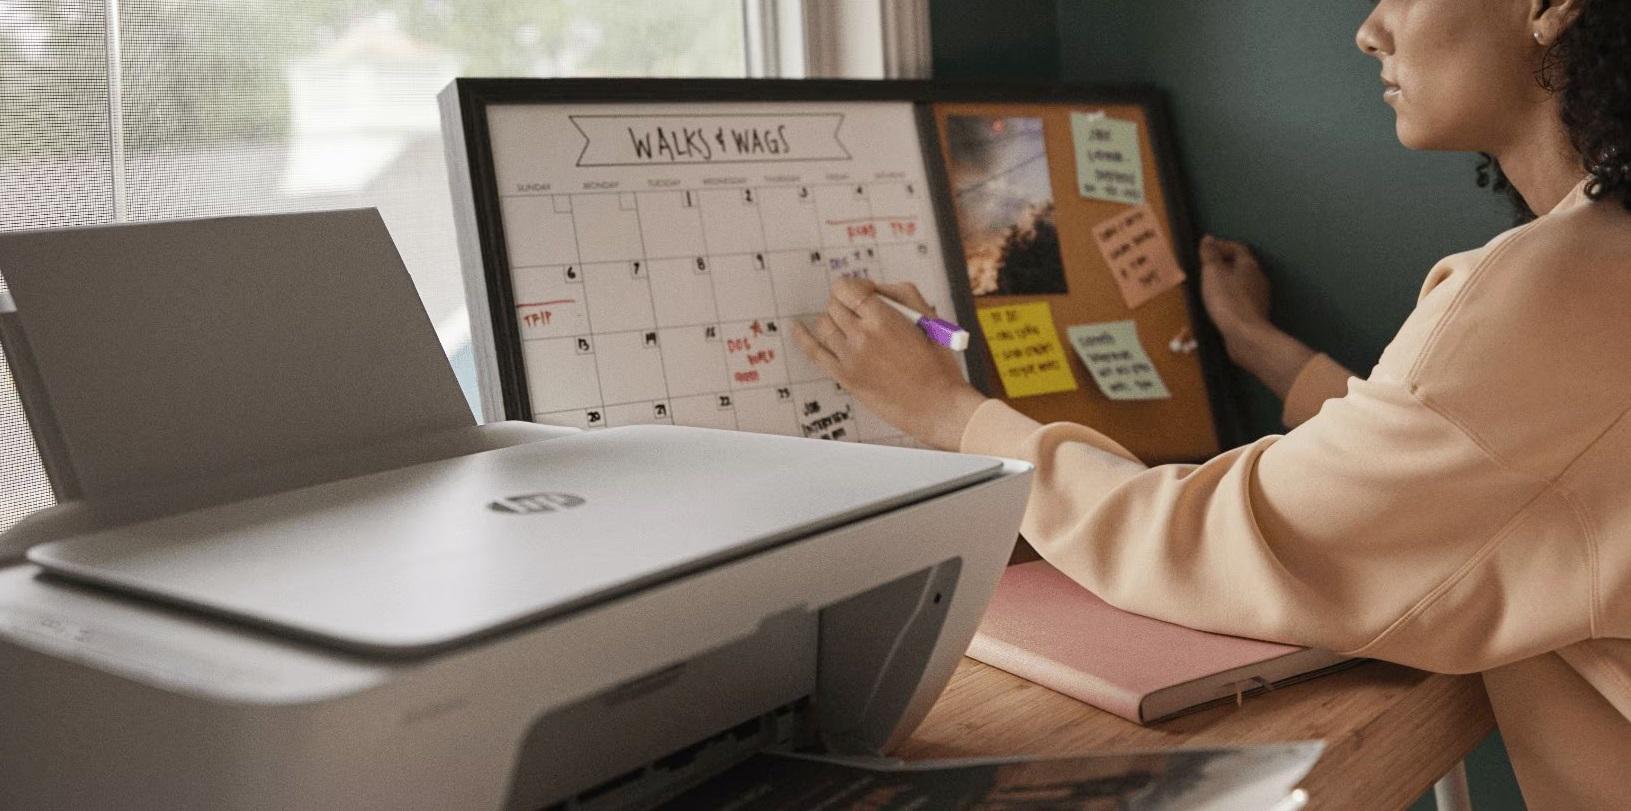
Today, the ability for the entire team to print documents without having to get up from their chairs or fumble around with USB drives is essential for smooth workflow . Whether in a small office or a more complex environment, the ability to interconnect computers makes collaboration much more dynamic and, above all, prevents us from getting bogged down in cabling, giving us a better understanding of the purpose of a computer network in the workplace.
Setting up a network printer isn't rocket science, even if your computer sometimes seems to be acting up. Basically, it involves having a device act as a bridge or allowing the printer to be managed independently by the router, enabling multiple users to print easily from their own workstations, thus saving costs and space.

Basic preparations and hardware
Before diving into the settings menus, it's a good idea to check your device. It's vital to verify that the printer has Wi-Fi connectivity or an Ethernet port . If you have the cable handy and your printer supports it, connecting it directly to the router is usually the most stable option to avoid unexpected interruptions.
If you prefer wireless connectivity, make sure the printer is turned on and follow the manufacturer's instructions to connect it to your office's Wi-Fi network . If your printer is older and doesn't have these options, don't worry: you can use a USB cable to connect it to a main PC, which will then act as a server for the other printers.

Configuration in Windows environments
For the process to work smoothly, the first step is to ensure your network is configured as a private network profile . If Windows thinks you're on a public network, it will block access from other devices for security reasons. You can change this in the Network & Internet section by selecting your connection properties and checking the private network option.
Once this is done, you need to enable network discovery and file and printer sharing. This is found in the advanced network settings. If these options are disabled, other computers in the office will never find the printer, no matter how many times it's turned on.
Share the printer from the main PC
If the printer is connected to a computer via USB, go to the Printers and Scanners section, select the device, and open its properties. On the Sharing tab, check the box to share this printer and give it a simple name. This name will help your colleagues find it quickly.

It's highly recommended to note down the device name or the IPv4 address of your main PC. You can find this information in the System Information section or in the network settings. Having the IP address handy is a lifesaver when Windows' automatic printer search fails and you have to add the printer manually.
Installation on secondary equipment
On other computers, simply go to Add Device. The system will usually scan the network and display the available printer. If it doesn't appear for some reason, don't worry: choose the option to add it manually and enter the path using the format \\computer_name\printer_name or the corresponding IP address.
In more specific cases, you can use the TCP/IP address or hostname wizard . This is where you enter the exact IP address you noted earlier. The system will search for the device at that specific address, and once located, you'll just need to give it a recognizable name and finish the installation process.

Setup on Mac and older systems
If you're using a Mac, the process is different but just as simple. Go to System Preferences and navigate to Printers & Scanners. Clicking the "+" button will reveal a tab called IP address where you need to enter your printer's IP address . Select the appropriate protocol and driver, and your printer is ready to use.
For those still using operating systems like Windows XP, 2000, or even Windows 98, the process is similar, but the menus are different. It's essential to log in with an administrator account to install the software and enable the shared resource, as limited accounts don't have permissions to manage the network.
Advantages and potential disadvantages of network printing
The main advantage is undoubtedly the cost and space savings . It makes no sense to buy a printer for each employee when a single high-capacity machine can serve the entire department. Furthermore, centralized management greatly simplifies driver updates and technical maintenance.

On the other hand, it's important to keep in mind that we are entirely dependent on the internet connection. If the router goes down or the main PC shuts down, no one will be able to print until the service is restored. It's also possible that, if there is too much simultaneous demand, the print queue will become overloaded and the device will take longer to respond.
Another point to consider is security. If permissions aren't configured correctly, anyone connected to the network could access the device's settings . Therefore, it's crucial to manage who has permission to print and who doesn't, especially in companies that handle confidential information.
Having a well-configured printing system optimizes business resources, facilitates mobility by allowing printing from tablets or mobile devices, and drastically reduces cable clutter in the office. Simply ensuring correct IP address assignments and network permissions is all it takes to enjoy a streamlined and efficient workflow.
