- RAM memory can fail intermittently and is only detected through a prolonged and varied testing methodology.
- Windows includes a native diagnostic tool, but combining it with advanced utilities such as MemTest86, MemTest86+ or MemTest greatly improves accuracy.
- Many RAM problems are not physical, but rather related to BIOS/UEFI configuration, compatibility, temperature, or the memory controller (IMC).
- A good diagnosis combines symptoms, software testing, physical checks, and system adjustments to ensure real stability.
RAM is one of the most critical components for the performance and stability of any computer, but it's also one of the most misunderstood when diagnosing problems. We often assume that if the system boots up and doesn't freeze within five minutes, the RAM is fine… but that's not always the case.
When RAM starts to fail, symptoms can range from random blue screens, crashes, and applications closing unexpectedly to silent data corruption or a PC that simply runs slower than usual . Learning advanced RAM diagnostics is key to preventing serious problems and avoiding blindly replacing components.
Symptoms of RAM problems and why you should investigate
Before we start running tests like crazy, it's important to understand the typical signs that point to a RAM failure or a problem with its surrounding components (motherboard, memory controller, IMC, configuration, etc.). Not every problem is caused by the memory, but it's a common suspect.
One of the most noticeable signs is the Windows Blue Screen of Death (BSOD) , especially when it appears with messages like "Memory Management" or others related to memory management. If the error recurs for no apparent reason, even after reinstalling drivers or the system itself, the RAM is immediately considered the culprit.
It's also very common to notice random crashes, system freezes, spontaneous restarts, or applications closing without explanation . Resource-intensive programs like video editors, virtual machines, or video games are usually the first to reveal unstable RAM because they use more capacity and bandwidth.

Another dangerous symptom is the appearance of corrupted files, extraction errors, documents that won't open , or installations that fail midway for no clear reason. This silent corruption can stem from memory cells that sporadically write or read data incorrectly.
Finally, there are very clear clues during startup: BIOS beeps, POST codes on the motherboard, or the system not even displaying an image when you install new modules. All of this can indicate anything from a faulty module to a problem with the slot or the configuration.
Types of RAM failures and why basic diagnostics fall short
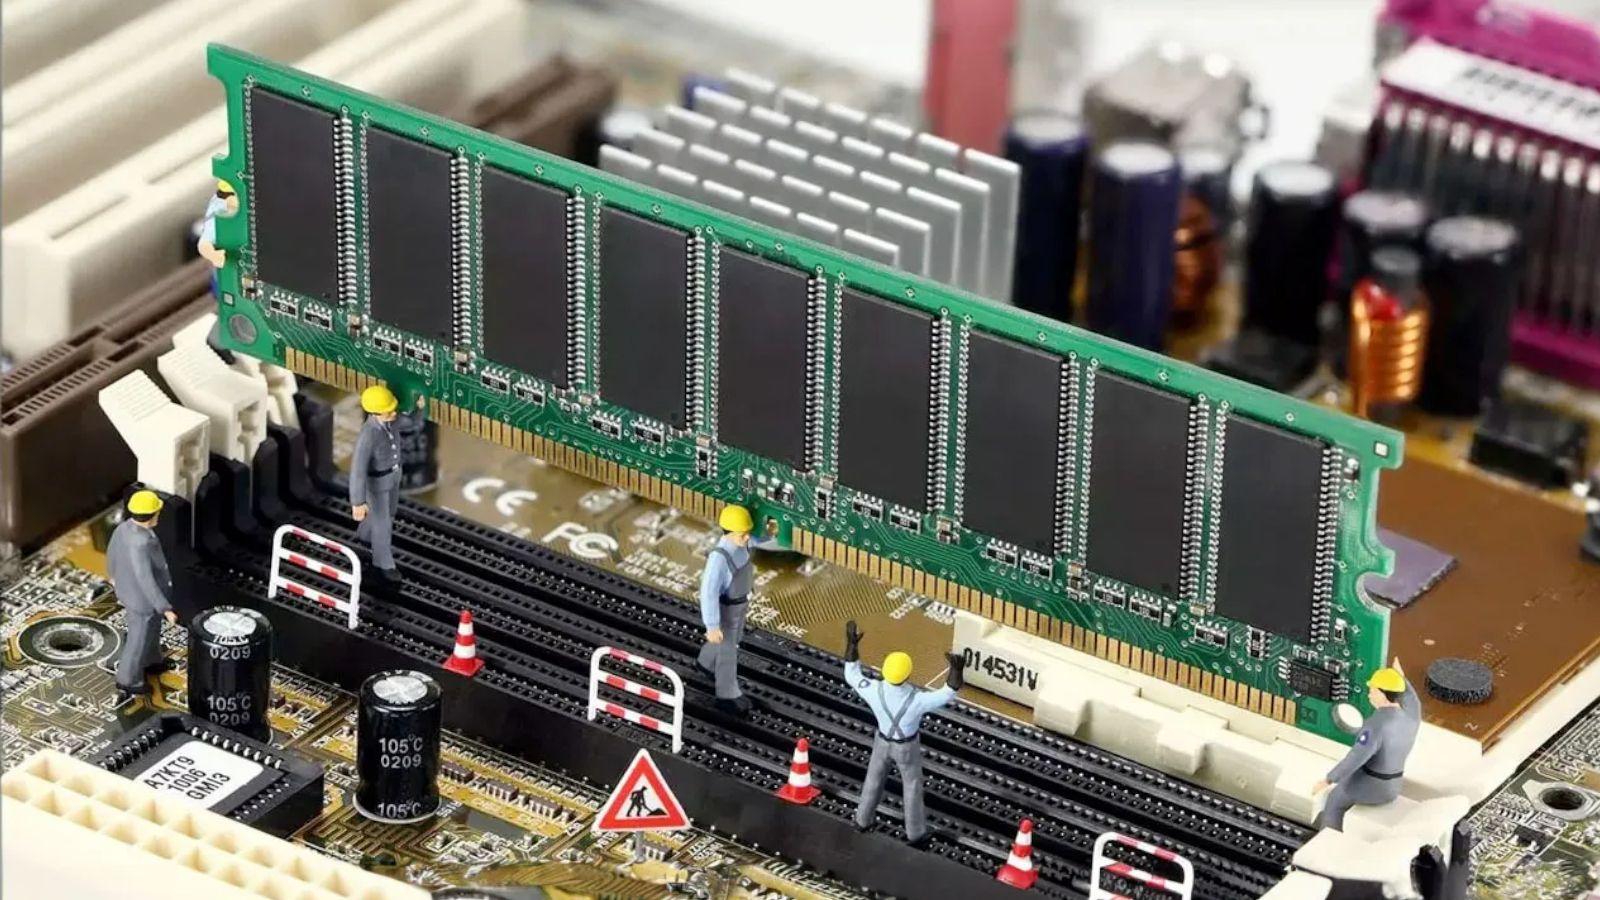
Many people run a quick test, see no errors, and conclude that "the RAM is perfect ." The problem is that some faults only appear under very specific conditions : high temperatures, certain load combinations, aggressive voltage settings, etc.
To make a proper diagnosis, it is important to distinguish between several types of memory-related problems that may have similar symptoms but very different solutions:
- Physical module failures: damaged cells, faulty soldering, chips that have aged or were defective from the factory.
- Instability due to configuration: XMP/EXPO profiles overly optimistic, poorly tuned overclocking, latencies or voltages out of specification.
- IMC (integrated memory controller in the CPU) errorsThe controller cannot handle the combination of frequency, number of modules, or installed density.
- Motherboard or trace layout problems: damaged slots, dirty contacts, borderline design, or immature BIOS.
- Thermal or electrical interference: excessive temperature in modules or CPU, unstable power supply, electrical noise on the motherboard.
A single, quick test rarely discriminates well between all of these factors. Professional methodology is based on combining various tools and load scenarios , and on isolating components until the true source of the problem is identified.
Check if Windows and the BIOS detect all the RAM
One of the most common issues is that the system doesn't recognize all the RAM you supposedly have installed . For example, you install 16 GB and Windows only shows 8 GB as usable, or the BIOS doesn't even detect some modules.
The first sensible step is to enter the BIOS/UEFI and check the total amount of RAM detected and how many modules are listed . If you don't see the full capacity even from there, you almost certainly have a hardware problem (module, slot, compatibility, or basic configuration).
It's also advisable to check that the installed memory is compatible with the motherboard and that the BIOS is up to date. Manufacturers publish Qualified Vendor Lists (QVLs) with tested RAM kits; not following them doesn't mean it will fail, but it reduces the risk of problems.
If the BIOS count is incorrect, it's time to perform the classic test: power off, disconnect the power, discharge any static electricity, reset the CMOS if necessary , and leave only one module installed in the recommended slot (usually A2 or the one indicated in the manual). If it detects the modules correctly, you can add them one by one to see when the problems appear.
When the BIOS correctly detects all the memory, but Windows shows less usable memory, the operating system comes into play: boot configuration, 32/64 bit version, memory reserved for the integrated graphics and other settings may be limiting the available RAM.
Windows limitations and configurations that cap RAM
In Windows there are two typical errors that cause the computer to use much less memory than it actually has , even though physically everything is correct: the 32-bit version and the famous "Maximum memory" option in msconfig.
If the system is installed in 32-bit (x86) mode, the practical limit for RAM usage is 4 GB , even if you have 8, 16, or 128 GB installed. This is a limitation of the architecture itself, not a hardware failure; the only real solution is to reinstall Windows in 64-bit (x64) mode, provided the CPU is compatible.
The other potential issue is the advanced boot settings. Press Win + R → msconfig → the "Boot" tab → "Advanced..." and you'll find a box labeled "Maximum memory". If it's checked, Windows will only use the amount shown there , ignoring any other available physical RAM.
For normal use, it's best to leave that box completely unchecked so the system can manage all the memory automatically. If it was checked with, for example, 4096 MB on a computer with 8 GB, the system would have been working as if it only had 4 GB.
Another detail to consider is the memory reserved for the integrated graphics card (iGPU) . Many processors with integrated GPUs use a portion of the system RAM as VRAM. In that case, Windows will show you the total installed RAM, but will indicate that only a portion is usable, because the rest is dedicated to video. You can adjust this amount in the BIOS/UEFI or even disable the iGPU if you have a dedicated graphics card.
Windows Memory Diagnostic Tool: Basic and Advanced Use
Before moving on to external utilities, it's worth exploring Microsoft's native tool: "Windows Memory Diagnostic ." It's not perfect or the most comprehensive, but it's free, comes built-in, and serves as a fairly decent first filter.
The quickest way to launch it is by pressing Win + R, typing mdsched.exe, and confirming . You can also search for it in the Start menu. When you run it, the system will offer two options: restart now to begin the test or schedule it for the next boot.
When your PC restarts, you'll see a blue screen displaying the test progress. By default, a Standard mode is run, which includes six consecutive memory tests covering different access patterns. After each run, you can repeat them until you manually exit.
If you press F1 during execution , you'll access the advanced options: you can switch between Basic, Standard, and Extended modes, as well as adjust parameters such as the number of passes or processor cache usage. Extended mode performs 11 different tests and can take hours, but it's much more thorough.
The advanced menu also allows you to disable the CPU cache , forcing all operations to be performed directly on RAM, which enhances the diagnostic process. Once finished, the computer will restart, and if errors were detected, Windows will display a notification with the results upon login.
Other ways to run Windows memory diagnostics
If the system fails to boot normally, you can still launch this utility from recovery environments and installation media . It is especially useful when RAM failures prevent Windows from starting stably.
One option is to force the system into the Windows Recovery Environment (WinRE) : when you see the spinning dots at startup, press and hold the power button for 5-10 seconds to perform a hard shutdown. Repeat this twice; on the third try, Windows will usually enter the recovery menu automatically.
From there, you'll have access to Troubleshoot → Advanced options → Command Prompt . Once in the console, you can type mdsched.exe again and schedule the scan for the next restart, just as you would from a system that boots normally.
If you have a Windows installation USB drive or DVD , you can also boot from it, select "Repair your computer," and then go back to Advanced Options, open Command Prompt, and run the same tool. The process will be identical: schedule the test and let it run upon restart.
Keep in mind that this utility, while very useful, can only test up to 4 GB of RAM on certain older architectures , so on computers with a lot of installed memory it falls short and will practically force you to combine it with more powerful external tools.
Professional tools: MemTest86, MemTest86+ and other advanced tests
When you're looking for a more robust diagnosis, the built-in Windows test is no longer sufficient. That's where low-level tools like MemTest86 and MemTest86+ , along with other operating system stress tests, come into play.
MemTest86 is probably the best-known memory testing software in the hardware world. It runs from a bootable USB drive before the operating system boots. The download package itself includes a wizard to create this bootable USB drive quite easily: you choose the drive, click "Write," and you're done.
The modern version of MemTest86 runs on BIOS/UEFI systems and supports 32-bit and 64-bit processors , including recent Intel and AMD architectures. It allows mouse and keyboard input in a relatively user-friendly interface, letting you choose which types of tests to run, how many passes, and other fine-tuned configuration details.
MemTest86+ , meanwhile, is a long-established open-source project that has recently regained popularity. Version 8.0 introduces significant improvements: better DDR5 support, module temperature readings, compatibility with modern multi-core CPUs , fixes for XMP 3.0 profiles, and enhanced compatibility with BadRAM and SPD detection.
Both tools focus on low-level testing outside the operating system , avoiding interference from drivers or background processes. Running multiple complete passes (not just one) is crucial, especially if you suspect intermittent errors that only appear after hours of operation or when the modules heat up.
In addition to these classic tools, there are programs like TechPowerUp's MemTest64 , which runs directly from Windows without installation. It fills the memory with data, interacts with the page file, and applies considerable stress to detect corrupted data while you continue using the system. It's ideal for validating system stability under load.
Tools under operating system and validation in real use
Testing outside the system is essential, but advanced diagnostics also consider real-world loads under Windows or Linux itself , since some errors only manifest themselves when CPU, RAM, GPU and storage are working simultaneously.
In addition to MemTest64, you can use CPU + RAM stress tests and mixed loads such as long compilations, video rendering, or virtualization with multiple active machines. These scenarios put the IMC (memory controller), RAM channels, and power supply under much more realistic stress.
To monitor what happens in memory during these loads, applications like VMmap (from Microsoft) allow you to see detailed RAM usage by process and thread. It's not designed for integrity checks, but it is useful for detecting anomalous usage, unusual spikes, or suspicious behavior that might point to poorly designed software or even memory-resident malware.
A professional approach always combines three levels of validation : low-level testing (MemTest86/MemTest86+ extended), OS testing (MemTest64, combined stress tests) and validation in real use (your daily work, games, virtual machines, builds, etc.).
Only when the system passes all these phases without errors or strange behavior can we begin to speak with some confidence of "real stability" and not just an appearance of stability after 10 minutes of testing.
Professional interpretation of memory errors
Seeing a red error line on a memory test is alarming, but not all errors point to a faulty module . Carefully interpreting the context and the pattern of errors is what makes the difference between a shoddy diagnosis and a professional one.
Tools like MemTest86 display the memory address, the expected pattern, the value read, and the type of operation that failed. If errors appear very early, from the first pass and always in similar situations, it usually points to configuration problems (frequency too high, insufficient voltage, tight latencies) rather than physical damage.
When errors only appear after several hours of testing or in the final runs, they are often related to temperature or marginal voltages that cause the system to start malfunctioning as it heats up. Factors such as case ventilation and power supply quality also come into play here.
Random and fluctuating errors in different directions , without a clear pattern, may suggest IMC instability or electrical noise on the motherboard. In some cases, slightly increasing the RAM voltage or the memory controller voltage (within safe parameters) stabilizes the system.
Modern motherboards often include POST codes, diagnostic LEDs, or even displays with hexadecimal codes that help pinpoint the exact stage at which the boot process is stuck. Combined with the traditional beeps from the internal speaker, these help determine if the problem lies with the RAM, CPU, GPU, or another component.
Therefore, rather than obsessing over a single test, it is essential to interpret the whole picture: symptoms, results from various tools, temperature, BIOS/UEFI configuration, and the physical state of the hardware.
Isolation methodology: module, slot, IMC and motherboard
When tests indicate problems, the next step is to isolate the source. The golden rule is to work in the simplest and cleanest conditions possible , and gradually increase the complexity of the scenario.
A typical professional diagnostic sequence would be:
- Leave only one module installed in the primary slot recommended by the manufacturer.
- Disable XMP/EXPO profiles and use only standard JEDEC settings (official frequency and voltage).
- Reset BIOS/UEFI to factory settings to avoid residual old configurations.
- Happen MemTest86/MemTest86+ in extended mode during several passes.
If errors persist in this minimal scenario, there is most likely a physical fault in the module or the slot . To determine this, the same module is tested in another known, working slot, and the same tests are performed.
If the error shifts with the module, the module itself is faulty. If the error is specific to a particular slot, the problem lies with the motherboard (slot, trace routing, or solder joints) . When everything fails after trying multiple modules and slots, suspicion shifts to the CPU's integrated circuit (IMC) or even the power supply.
It's important to keep in mind that the IMC also ages and can become less tolerant over time of high frequencies or configurations with four dense modules. What was once stable with fast, loaded RAM may cease to be so years later, forcing you to relax parameters or reduce capacity.
In server or workstation scenarios with ECC memory, the error counters in the BIOS or operating system are an invaluable resource: if they start to rise rapidly, you have a system that apparently "works", but is using ECC to cover up very real problems in the RAM or the IMC.
Physical checks and RAM compatibility
A thorough diagnosis doesn't stop at the software. A physical inspection of the modules and the motherboard can save many hours of testing and frustration.
It's advisable to remove each module and carefully inspect it for bent pins, dirty contacts, areas blackened by heat, bubbles on the PCB , or sunken components. Sometimes rough handling or a bump during transport leaves a visible trace.
A simple but effective trick is to clean the gold contacts with isopropyl alcohol and a cotton swab or a white eraser (don't overdo it). Then dry them thoroughly and reinstall the module, always making sure that the slot tabs are fully engaged on both sides.
Mixing memory modules with very different frequencies, latencies, and voltages is another common source of problems. Although in theory the system downgrades everything to the lowest common denominator, in practice not all combinations are stable, especially with four modules and high-speed kits.
It's advisable to check the motherboard manufacturer's QVL lists and, if possible, use identical RAM kits (same brand, model, and capacity). Enabling the correct XMP/EXPO profile and letting the BIOS automatically configure the recommended timings is usually more reliable than tinkering with each parameter without experience.
What to do when RAM errors are confirmed
If, after all the testing and isolation processes, you confirm that a module is faulty, there's no magic bullet that will reliably fix it . Continuing to use it is like playing Russian roulette with your data.
The first step is to check if the memory is still under warranty . Many manufacturers offer 5-year, 10-year, or even lifetime warranties on their modules. If so, you'll need to open an RMA with official support and send the module (or the complete kit, as applicable) for replacement.
If the warranty no longer applies, the only sensible option is to replace the defective module with another one compatible with the motherboard and, if possible, with characteristics that are the same or very similar to the rest of the modules to avoid mismatches.
If you find a damaged slot on your motherboard, the decision is more complicated: if the motherboard is under warranty, the best option is to get it repaired or replaced . If it's not, you can either use only the healthy slots (if your system allows) or consider replacing the motherboard.
When the problem lies with the configuration itself, it can usually be fixed by adjusting more conservative frequencies, slightly increasing voltages within safe limits , updating BIOS/UEFI, or simply disabling overclocking if you are not familiar with the subject.
Best practices for maintaining stable RAM in the long term
Once you have everything fine-tuned, the key is to maintain stability over time and avoid going back to square one at the slightest provocation.
The first recommendation is to avoid aggressive memory overclocking without knowledge . Increasing frequencies without understanding how they affect latencies, IMC, and voltages is a recipe for the most difficult-to-trace intermittent errors.
Updating the BIOS/UEFI when the manufacturer improves compatibility with new kits or fixes memory bugs is generally a good practice, provided it is done carefully and without power interruptions during the process.
It's also very important to maintain proper airflow inside the case : RAM, the motherboard's VRM, and even the CPU itself can suffer if heat builds up. Regular dust removal and a logical fan placement contribute to both the stability and lifespan of all components.
Finally, it's always a good idea to schedule memory tests from time to time after major hardware changes or significant operating system updates , and to maintain backups of your data. RAM is one piece of the stability puzzle, but when it fails, it can drag the rest down with it.
Mastering advanced RAM diagnostics involves going far beyond the typical quick test: it's about combining symptoms, various tools, component isolation, physical inspection, and configuration adjustments until you are certain that the system is truly stable, taking full advantage of the RAM's capacity without compromising either performance or the integrity of your data.