- Linux Live mode allows you to boot from USB or CD without installing or modifying the hard drive, ideal for testing and rescue.
- A Live USB with persistence saves configurations and some data, although it does not replace a full installation in terms of performance and updates.
- Current tools (Rufus, BalenaEtcher, Live-Usb-Install, Ventoy) make it easy to create bootable and even multiboot USB drives with several distributions.
- Choosing between Live USB, full disk installation, or dual boot depends on the balance you're looking for between speed, portability, and ease of use.
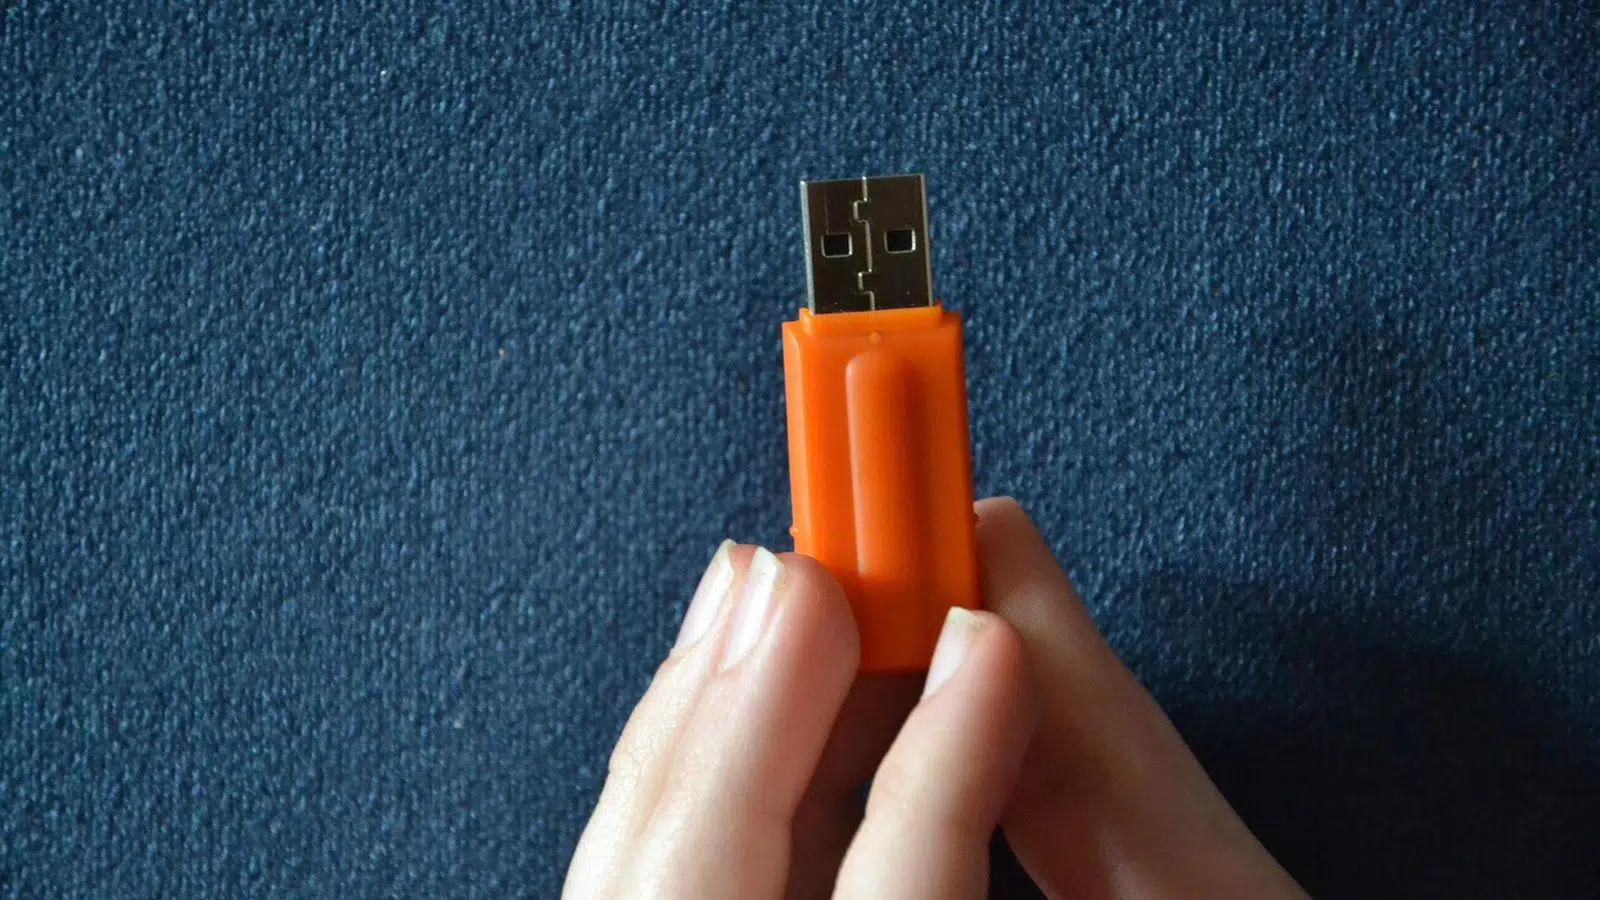
Booting Linux in Live mode or from a persistent USB drive has become one of the most flexible ways to use this system without touching the hard drive. If you're hesitating between dual-booting with Windows or relying on a Live USB, or simply want to have an emergency Linux system in your pocket, you'll want to understand what each option offers and where their limitations lie.
For years, many users have used dual-boot setups : Windows for gaming or occasional use, and Linux for work, programming, or tinkering. Others, however, prefer a USB drive with Linux ready to boot any PC without leaving a trace. In this article, we'll delve into the advantages of Live mode, USB persistence, how it differs from a full disk installation, and how all of this fits into the dual-boot experience.
What exactly is a Linux Live mode (CD/USB)?
A Linux Live system is a bootable image (usually an ISO) that runs directly from external media, such as an older CD/DVD or, nowadays, almost always a USB drive. The system is largely loaded into RAM, so it can function without being installed on the computer's hard drive.
The idea isn't new: back in the late 90s and early 2000s, distributions like DemoLinux and Yggdrasil Linux/GNU/X emerged that could be tried by booting from a CD, without messing with partitions or risking a Windows installation. This helped many people overcome their fear of Linux, because they could experiment without fear of messing anything up.
Over time, the format evolved: first LiveCD and LiveDVD , very popular because optical drives were cheap and fast for the time, and later Live USB , which are now the standard because almost no modern PC has a CD or DVD drive.
Essentially, when you boot into Live mode, the system is mounted in memory and the internal hard drive can remain completely untouched , unless you choose to mount its partitions to access the data. This makes Live environments ideal tools for both testing Linux distributions and recovering systems.
Live USB vs. Live CD: Why the USB drive won the battle
Compared to the traditional CD, using a USB drive to boot a Linux Live offers some very clear advantages . The first is obvious: a USB drive can be written to and erased easily, so you can update the image, change distributions, or add persistence without throwing away another disk.
Furthermore, USB flash drives have no moving parts, making it much faster to find small files than with an optical drive. This means that lightweight programs open faster from a Live USB than from a CD or even some older mechanical hard drives.
Not everything is perfect: the bandwidth of many USB drives, especially if you're working with USB 2.0 ports or even 1.1 on very old computers, can limit system boot speed . On machines without USB 2.0 support, booting from a Live USB can be frustratingly slow compared to a modern internal hard drive.
It's also important to note that not all computers support USB booting , especially very old machines . In those cases, you can use workarounds such as a small bootable CD or even a bootable floppy disk that "redirects" the boot process to the USB drive.
Practical advantages of Live mode: testing, repair, and privacy
One of the great advantages of a Linux Live (for example, Ubuntu Live) is that it allows you to try the distribution without installing anything . The system loads into RAM, and as long as you don't mount or modify the hard drive, all your data remains intact. This is ideal if you're deciding between several distributions or want to see how it performs on your hardware.
This mode is also a Swiss Army knife for diagnosing and repairing systems . Since it doesn't depend on the operating system installed on the disk, you can boot a PC that has stopped starting Windows or Linux, mount its partitions, and: recover deleted files, copy data to another drive, repair the boot manager, run offline antivirus scans, or check the hardware status.
Live is perfect for risk-free testing : you can change settings, install packages in that session, test hardware, or run powerful analysis tools knowing that the changes will disappear when you shut down. As long as you don't touch the internal disks, it's impossible to "break" your main installation.
In terms of security and privacy , Live systems have another advantage: they leave no persistent trace on the hard drive of the computer where they are used. Everything runs in memory, and if you don't enable persistence on the USB drive, when you shut down the computer there is no local evidence of your activities left behind—something highly valued in forensic or auditing contexts, or simply when you don't want to leave any digital breadcrumbs.
Finally, a USB drive with Linux Live functions as a portable desktop . You go to a friend's house, a study center, or an internet café with a computer that isn't yours: you boot from your USB and work with your environment (and, if you've configured persistence, with your data and programs). When you disconnect the device, nothing remains on the host computer.
Live without persistence, persistent Live, and full installation on USB
When we talk about "Linux Live on USB," we're actually mixing several different approaches. The simplest is the classic Live without persistence ; that is, a clone of a LiveCD, but on a USB drive: a compressed image is loaded, the system runs in RAM, and everything you do is lost upon reboot.
This is where persistent Live drives come into play . In this model, in addition to the system image, a special file or partition is created (for example, casper-rw in Ubuntu or overlay-USBLABEL-UUID in Fedora) where your preferences, some installed packages, and documents are stored. When you restart, these changes are applied to the base system transparently.
This persistence feature allows you to customize the distro without multiple installations : you can have a single USB drive with Ubuntu Live and keep your settings, Wi-Fi passwords, some additional programs, documents, etc. A few hundred MB or a couple of GB of space is usually enough for moderate use.
However, a persistent Live environment has significant limitations: it's not designed for kernel updates or full system upgrades , and certain operations, such as installing highly specific drivers, can be problematic. It's very useful for moderate tweaking, but it doesn't completely replace a traditional installation.
The next step is to turn the USB drive into a complete Linux installation , just like an external hard drive. In this case, you're not working with a compressed ISO but with a "real" system installed on the USB drive: boot manager, partitions, system directories, user, full encryption if desired, etc.
This approach has clear advantages: you can update packages, change kernels, install any software , and customize everything just as you would on an internal drive. Furthermore, it's relatively easy to enable end-to-end encryption to protect your data if you lose the drive.
Its main drawback lies in performance and the wear and tear on the storage medium: USB drives aren't designed to withstand the same volume of writes as an internal SSD, and a fully installed system will generate more I/O. Compatibility between different hardware is also a factor to consider: Linux adapts quite well to a variety of hardware, but if you install a 64-bit version and try to boot it on older 32-bit machines or very old laptops , you'll run into problems.
Tools for creating Live USB and multiboot
These days, it's incredibly easy to create a bootable USB drive without having to manually wrestle with GRUB or LILO. There are specific utilities for generating Live USBs from ISOs of virtually any current distribution.
On Ubuntu and its derivatives, one of the classic options is to use the built-in boot disk creator, although there are more comprehensive alternatives. One of the most versatile is Live-Usb-Install , a cross-platform tool that works on both Linux and Windows and supports dozens of different distributions and versions.
The beauty of Live-Usb-Install is that it lets you download the ISO directly from the internet and burn it to a USB drive, without having to manually go to each distribution's website. You simply choose the distro, version, architecture, destination, and optionally, the persistence size. For Ubuntu, Debian, Fedora, Mint, openSUSE, rescue distributions, and many more, it's usually as simple as a couple of clicks.
On Windows, programs like Rufus and BalenaEtcher are practically indispensable. Rufus lets you select the ISO image, choose the partition type (MBR or GPT), the target partition (BIOS or UEFI), and even define a persistence area on some distributions. BalenaEtcher offers a minimalist, three-step interface : choose the image, select the device, and click to burn.
If you want a multiboot USB drive, with several distributions or even rescue tools on the same drive, programs like Ventoy, YUMI, Universal USB Installer, or RMPrepUSB are very useful. Ventoy, for example, turns the USB drive into a kind of boot manager where you only need to copy the ISOs onto it: when you boot, you choose which one you want to run.
Creating a Live USB of Ubuntu (or another distro) step by step
To use Live mode, you first need an ISO image of the distribution . In the case of Ubuntu, it's recommended to download the LTS (Long Term Support) edition for its stability and long-term support. The ISO is several GB in size, so you should have a USB drive of at least 8 GB.
Once you've downloaded the ISO, you can use Rufus on Windows: connect the USB drive, select it, choose the Ubuntu image, define the partition scheme (MBR or GPT depending on your BIOS/UEFI), verify that the formatting is correct, and start the process. If you enable the persistence option (when available), you can reserve space on the drive to save changes between sessions.
BalenaEtcher is even more straightforward: you choose the ISO, select the USB drive, and click "Flash." The program takes care of creating the bootable drive , validating the copy, and preparing the Live environment without too many technical questions. It's perfect if you don't want to get bogged down in partitioning details.
In Linux, tools like Live-Usb-Install or the Ubuntu boot disk creator do something very similar. In Live-Usb-Install, you choose "Distribution" mode, select whether you want to download the image directly or use a local ISO, choose the distribution, version, target device, and, if desired, enable persistence.
For advanced users, there's always the "manual" option: using dd or equivalent utilities to copy the ISO to the device and then installing and configuring GRUB manually. This offers more control, but it's not usually necessary except in very specific cases.
How to boot your PC from a Live USB
Once the USB drive is ready, the next step is to get the BIOS/UEFI to boot from it . Normally, you insert the USB drive with the computer turned off and, when you turn it on, press the boot device selection key (F8, F12, Esc, or the one indicated by your motherboard) to manually select the USB drive.
If your computer is still always booting from the hard drive, you can access the BIOS/UEFI settings and change the boot order to prioritize USB devices. On modern computers, Secure Boot can also be a factor : if it's enabled and the distribution isn't properly signed, you might need to disable it to boot some Live images.
When the system boots from the USB, you'll usually see a menu (GRUB or another boot manager) offering you the option to try the distro without installing it or to launch the installer directly. If you choose to try it, the Live environment will load into RAM and you can use it normally.
From that Live environment, most distributions include a shortcut to install the system to disk if you decide to use it. This allows you to go from a simple trial to a permanent installation, either by replacing your current system or creating a dual boot with Windows.
Minimum requirements and actual performance of Live mode
Although many Linux Live distributions are surprisingly lightweight, it's a good idea to check the minimum requirements of the distribution you want to try. In the case of Ubuntu, a 64-bit processor, at least 1 GB of RAM (although 4 GB is much more reasonable), and a minimum screen resolution of 800x600 are recommended.
If your computer is old or has very limited resources, you can opt for lighter Linux distributions (Lubuntu, Xubuntu, Puppy Linux, Tiny Core), many of which also have Live versions available. These options are updated regularly, so you're not stuck using outdated software just because you have old hardware.
In daily use, you'll notice that a Linux Live system typically consumes fewer resources than an equivalent Windows installation . There are even minimalist distributions designed to breathe new life into computers considered "dead" for modern versions of Windows, perfect for browsing, light office applications, or basic tasks.
However, keep in mind that the performance of a Live installation depends heavily on the USB speed and port . A cheap flash drive in a USB 2.0 port won't compete with an internal SSD, and this will be especially noticeable when loading demanding applications or during boot times. For intensive use, it's best to opt for high-quality flash drives or even external SSDs.
Live USB versus dual boot: which is right for you?
The big question for many users is whether to set up a dual boot with Windows and Linux or use a Live USB (with or without persistence). Each option has its clear pros and cons.
A dual-boot system installed on the hard drive offers better performance, greater stability, and fewer limitations for updates, drivers, games, or resource-intensive programs. It's the best choice if you're going to use Linux extensively on that particular computer, for example, for daily work or study.
In contrast, a Live USB excels in mobility, security, and flexibility : you carry it with you, use it on any machine, don't touch partitions, and can recover other people's systems. With persistence, you can even carry over your settings and some of your software.
For someone who only uses Linux occasionally or wants an emergency environment , a Live USB might be sufficient. Many users, after considering the availability of other user profiles on the same PC, game compatibility, and convenience, end up choosing dual booting as their primary solution and keeping a Live USB as a backup tool.
If your PC has plenty of processing power and RAM, another option is a virtual machine : you run Linux inside Windows (with VirtualBox, for example) without partitions or dual booting. It's very convenient for testing and development, although the performance will never be the same as that of a natively installed system.
Other ways to use Linux without installing it
Besides Live USBs, there are other ways to try Linux without touching your hard drive . As we've already mentioned, virtual machines allow you to boot an ISO image as if it were a PC within your current system. This is perfect for exploring the interface, testing programs, and learning, although it doesn't reveal potential problems with Wi-Fi drivers, graphics, etc.
There are also cloud services that offer Linux sessions in your browser , such as online demos of distributions or OnWorks-type environments. These can give you an idea of the look and feel and some applications, but with clear limitations: severely restricted performance, no access to the actual hardware, and often no terminal or software installation restrictions.
In Windows 10 and 11, Microsoft offers the Windows Subsystem for Linux (WSL) , which allows you to run distributions like Ubuntu or Kali without full virtualization, integrated directly into Windows. It's not a typical Live environment, as it is installed on the system, but it provides another way to use Linux without formatting or partitioning.
For very specific uses (development, cybersecurity, servers), some distributions like Kali Linux for penetration testing , Tails, or Rocky Linux also offer Live ISOs. Kali is geared towards penetration testing; Tails prioritizes anonymity, running in RAM and routing all traffic through Tor, while Rocky Linux targets the server market as a binary clone of RHEL.
Finally, it is worth mentioning that some Live distributions include integrated virtualization tools (VirtualBox, VMware or others) ready to use from the USB itself, turning the flash drive into a small portable testing and demonstration kit.
Limitations and precautions to consider with Live USBs
Although a Live USB seems like a magic bullet, it has significant technical limitations that are worth being aware of. In many cases, updating individual applications is not easy, or simply impossible, if the distribution is packaged in a single compressed image.
The size of the base installation also varies considerably: there are very small Live installations (50-200 MB) designed for rescue or ultra-light use , and others that range from 700 MB to several GB because they include numerous applications. On a USB drive with limited capacity, this will leave less room for persistence and personal data.
Persistence isn't a silver bullet either. While you can install some software and save documents , it's not feasible in many Live distributions to update the entire system or modify certain internal parts (like the kernel) without risking breaking the image structure.
Encryption is also an important consideration . In some scenarios, encryption is performed at the file level (for example, for the persistence file), which offers acceptable protection but isn't as robust as full disk encryption. If you handle highly sensitive data, a complete Linux installation on a USB drive with end-to-end encryption might be a better option.
Finally, remember that a Live USB is intended to be relatively temporary . If you find yourself using it as your primary system, with frequent writes and updates, it might be time to consider installing on an internal hard drive or a dedicated external SSD for greater reliability and speed.
Ultimately, Linux Live modes and Live USBs combine the philosophy of experimenting without breaking anything with the ability to take your environment anywhere. Knowing their limitations, what performance you can expect, which tools to use to create them, and how to integrate them with a dual boot or virtual machine is key to getting the most out of them and avoiding unnecessary frustration when you need them most.

Table of Contents
- 1 What exactly is a Linux Live mode (CD/USB)?
- 2 Live USB vs. Live CD: Why the USB drive won the battle
- 3 Practical advantages of Live mode: testing, repair, and privacy
- 4 Live without persistence, persistent Live, and full installation on USB
- 5 Tools for creating Live USB and multiboot
- 6 Creating a Live USB of Ubuntu (or another distro) step by step
- 7 How to boot your PC from a Live USB
- 8 Minimum requirements and actual performance of Live mode
- 9 Live USB versus dual boot: which is right for you?
- 10 Other ways to use Linux without installing it
- 11 Limitations and precautions to consider with Live USBs